Replacing damaged dartboard wires is a straightforward process that can significantly extend the life of your dartboard. This article will guide you through the steps involved, ensuring you get your game back on track quickly. We’ll cover everything from identifying the problem to completing the repair, and offer helpful tips for maintenance.
⚠️ Still Using Pen & Paper (or a Chalkboard)?! ⚠️
Step into the future! The Dart Counter App handles all the scoring, suggests checkouts, and tracks your stats automatically. It's easier than you think!
Try the Smart Dart Counter App FREE!Ready for an upgrade? Click above!
Before we dive into the specifics of replacing damaged dartboard wires, let’s first understand why this might be necessary. Over time, consistent use can cause the wires to become loose, frayed, or even break completely. This can lead to uneven bounces, inaccurate scoring, and ultimately, a frustrating playing experience. Addressing this issue promptly is key to maintaining a high-quality game.
Knowing how to correctly replace damaged dartboard wires not only saves you money on replacing the entire dartboard but also ensures your game remains consistent and enjoyable. Regular maintenance is crucial for maintaining your dartboard’s integrity and prolonging its lifespan. In this comprehensive guide, we will delve into practical solutions and preventative measures.
Replacing Damaged Dartboard Wires: A Step-by-Step Guide
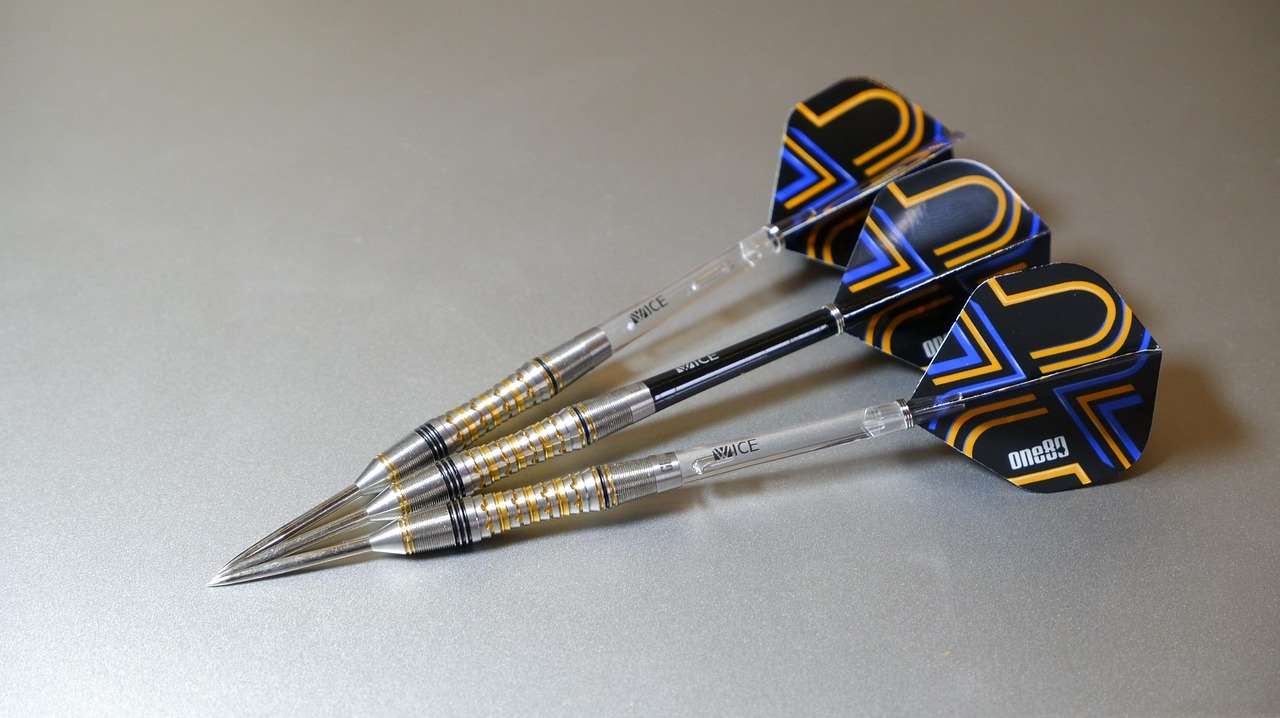
The process of replacing damaged dartboard wires requires precision and careful attention to detail. This step-by-step guide will walk you through the process, ensuring a smooth and effective repair. First, you’ll need to gather your tools. This typically includes a wire cutter, needle-nose pliers, and a new set of wires – ideally, ones that match the original gauge and material. You’ll also want to have a sturdy surface to work on. We recommend working with a partner for this, as one person can hold the wire while the other tightens.
Step 1: Assessment and Preparation
Begin by carefully inspecting your dartboard to determine the extent of the damage to the wires. Identify which wires are broken or significantly weakened. This will help you estimate the quantity of new wire you need. It’s a good practice to replace any visibly damaged wires, rather than just focusing on a single area, to avoid future issues. If you find yourself facing significant issues, consider looking into more advanced repair methods and potentially consulting a professional. If you’re not comfortable performing the repair yourself, you can find skilled professionals who specialize in dartboard maintenance and repair.
Step 2: Removing the Damaged Wires
Use the wire cutters to carefully snip the damaged wires close to where they are attached to the dartboard. Take your time and be precise to avoid accidental damage to the surrounding area. Gently remove any loose or frayed wire segments. This stage requires patience and a steady hand to prevent further damage.
Step 3: Installing the New Wires
Carefully thread the new wire through the existing holes or loops where the old wire was attached. Make sure the new wire is securely placed and positioned to correctly secure the wire’s position and reduce the risk of unwanted shifting. When possible, try to use the exact wire gauge and type as your original wires to ensure optimal performance. If you’re unsure, you can always compare it to the original wires before proceeding.
Step 4: Securing the New Wires
Once the new wires are in place, use the needle-nose pliers to firmly secure them. Make sure they are taut and evenly distributed to provide even tension and prevent future damage. It’s crucial to ensure the wires are firmly secured to maintain the integrity of the dartboard. You may need to use different tools depending on how the wires are initially connected (stapled, tied, etc.).
Step 5: Testing the Repair
After securing the new wires, test the dartboard by throwing a few darts. Check if the darts bounce back evenly and that the wires are holding up to normal use. If you notice any issues, carefully re-check your work and make any necessary adjustments. For more advanced repairs, consider looking at resources dedicated to replacing stapled dartboard wires, as these require a slightly different technique.
Preventing Future Damage: Maintaining Your Dartboard
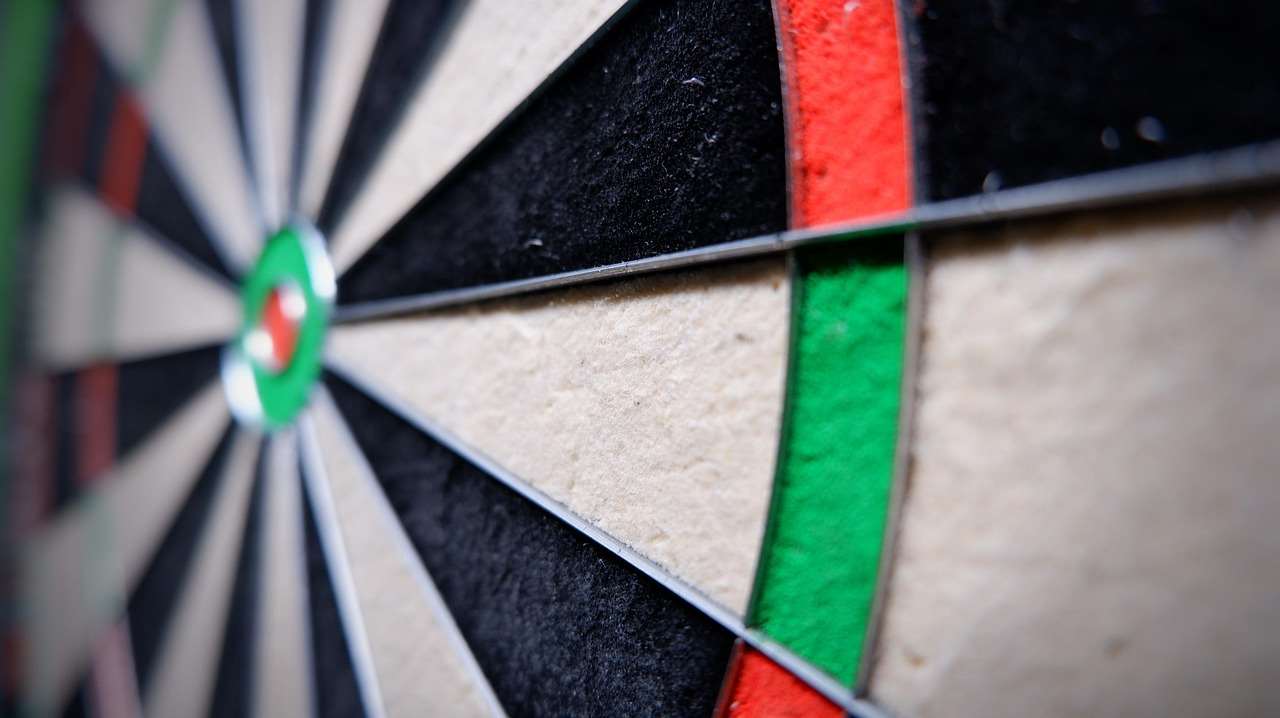
Regular maintenance is key to preventing issues with your dartboard wires, and indeed with your entire dartboard. Consider establishing a routine maintenance plan. This includes regular inspections for any signs of wear and tear, such as loose or damaged wires. Regular checks allow you to address minor problems before they escalate into major repairs. For more information on preventative maintenance, check out our guide on Darts Equipment Maintenance Customization.
Another crucial aspect is the correct technique. Throwing darts with improper technique can put excessive stress on the wires and board, leading to premature wear and tear. Ensuring correct positioning and a consistent throwing motion will contribute to maintaining the integrity of your dartboard for much longer. Understanding how to accurately throw your darts can vastly impact the durability of your equipment.
Finally, keeping your dartboard clean and dust-free can also help prolong its life. Dust and debris can accumulate in the wires and surrounding areas, causing friction and potentially leading to damage. Regular cleaning, with a soft cloth, will contribute to the longevity of your dartboard. Remember, a clean dartboard not only improves performance but also looks more presentable, adding to the overall enjoyment of your game.
Choosing the Right Replacement Wires
When replacing damaged dartboard wires, selecting the appropriate replacement wires is crucial for ensuring a successful and long-lasting repair. The most important factors to consider are the gauge and material of the wires. Choosing the correct gauge will guarantee proper tension and prevent sagging or breaking. The material should also match the original wires to ensure compatibility and durability. It’s recommended to purchase wires specifically designed for dartboards to ensure optimal performance and longevity.
Before purchasing, it’s advisable to carefully measure the length and diameter of the original wires to ensure you select accurate replacements. In addition, you should choose wires of a high-quality material that is strong yet flexible enough to withstand the forces involved during gameplay. To understand how to correctly maintain your equipment and prevent future damage, consider consulting a professional or using reliable online resources.
Knowing how to choose the correct replacement wires is critical for the longevity and performance of your dartboard. Investing in high-quality replacement wires is a cost-effective way to maintain the quality of your game and avoid premature wear and tear. While this repair might seem insignificant, choosing the right materials makes all the difference between a quick fix and a permanent, lasting repair.
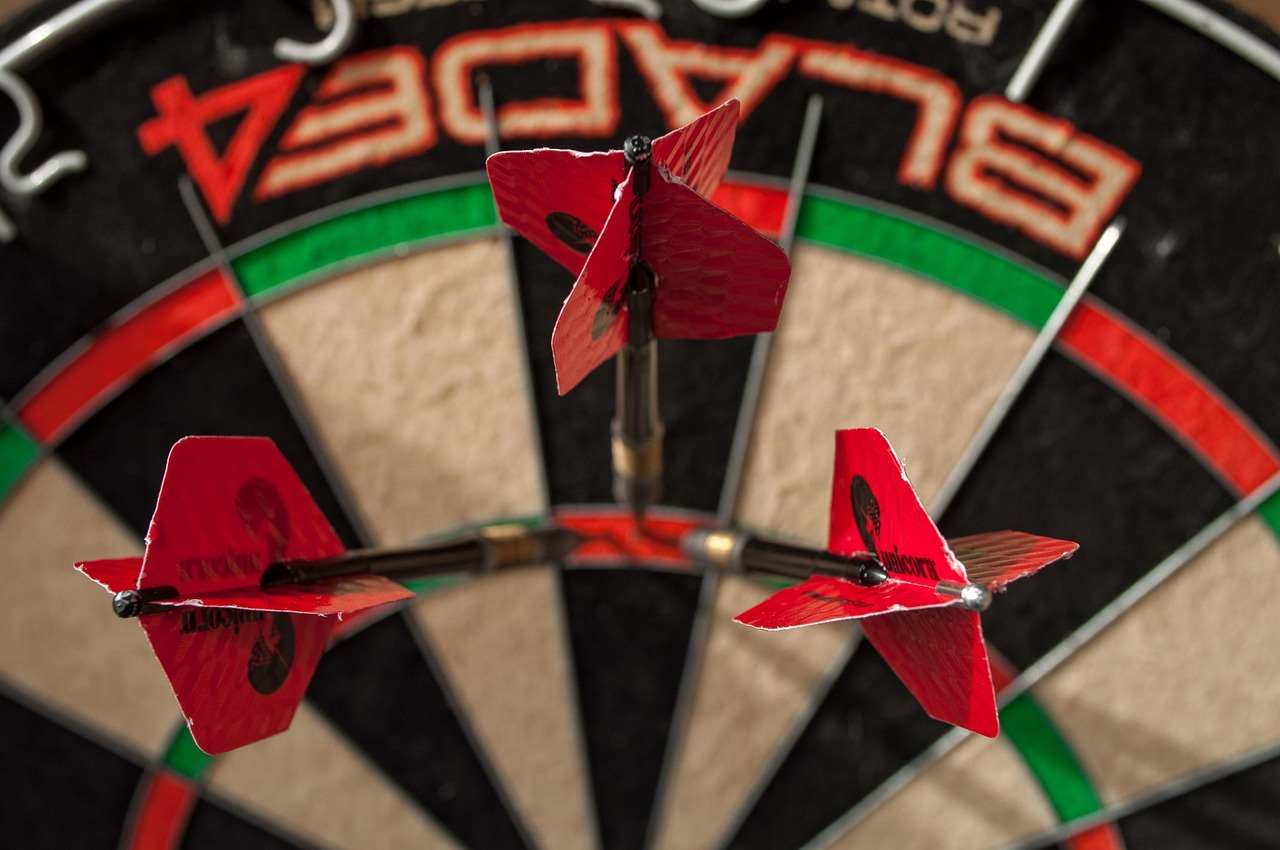
If you’re finding yourself frequently needing to replace damaged dartboard wires, it may indicate a more significant problem. Consider improving your throwing technique. Learning proper throwing techniques can alleviate excess stress on the wires, extending the life of your dartboard. There are numerous resources online, and some local leagues may offer training. If you are facing a persistent problem, please consult the dart equipment replacement process flow for guidance.
Alternatively, you may want to investigate if your dartboard has additional issues, such as spider damage. If the spider itself is compromised, it may be contributing to the wire damage. Check out our guide on repairing dartboard spider marks for more information. Similarly, if you have issues with your flights, our guide on dart flight replacement tools will be of use.
Troubleshooting Common Issues
Sometimes, even after carefully replacing damaged dartboard wires, you might encounter some persistent problems. One common issue is inconsistent bounces. This could indicate that the wires aren’t evenly tensioned, or there might be other underlying issues with the dartboard itself, such as a warped surface. If this happens, you may need to revisit the tensioning process and re-check for any inconsistencies. Additionally, consider whether the issue might be related to the dartboard’s overall condition rather than just the wires themselves.
Another potential problem is difficulty in inserting or securing the new wires. If you’re facing challenges in this area, it might be necessary to use different tools or techniques, depending on the type of wire and the dartboard’s construction. If you are working with stapled wires, then you may want to consider a different method or check our guide on replacing stapled dartboard wires.
If you’re struggling with any aspect of the repair, don’t hesitate to seek help from experienced dart players or professionals specializing in dartboard maintenance. A professional can accurately identify the issue and advise on the most appropriate solution. Remember, consulting with a professional can be an investment in the long-term health and performance of your dartboard.
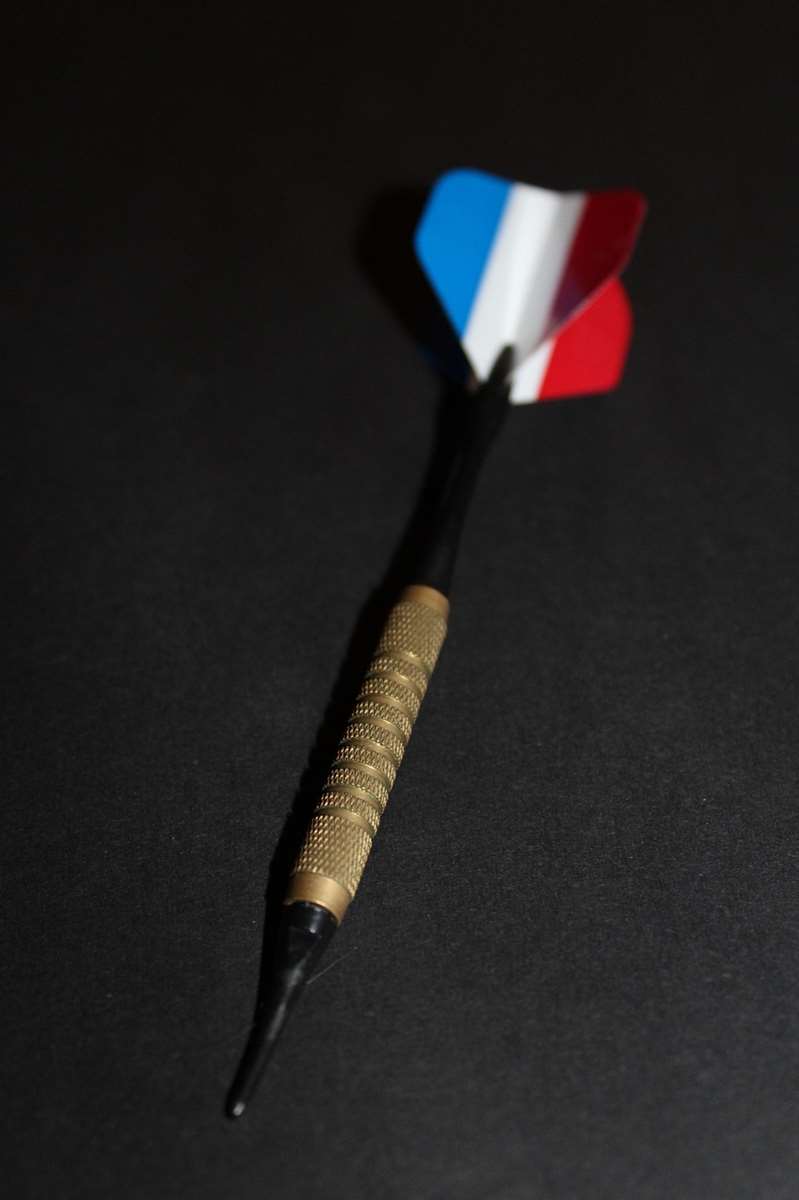
For those interested in customizing their dart experience, we also offer a guide on custom dart shafts for gifts. These options can enhance your game and showcase your unique style, while learning about maintaining custom darts will further elevate your expertise. Remember, the more you understand your equipment, the easier it will be to maintain and repair it over time.
In addition, understanding the specifics of dart maintenance, such as proper care for your shafts, is critical. Our guide on replace broken dart shafts offers detailed instructions for handling different types of shaft materials and ensuring your shafts remain in excellent condition. The proper maintenance of all dart components enhances gameplay and reduces the need for major repairs.
Beyond Wire Replacement: Comprehensive Dartboard Care
While replacing damaged dartboard wires is an essential maintenance task, it’s just one aspect of overall dartboard care. Regular cleaning is crucial for maintaining a hygienic and consistent playing surface. Dust and debris can accumulate and impact the accuracy of your throws. We recommend regularly cleaning the board with a soft cloth. More thorough cleaning can be done with specialized dartboard cleaning products which will make your dartboard look newer for longer. Proper cleaning extends its life, improving game accuracy and preserving its visual appeal.
Another crucial aspect is the proper storage of your dartboard. When not in use, it’s best to cover your dartboard to protect it from dust and potential damage. This will help to minimize any external factors that could impact the integrity of the wires or the overall board’s surface. It also prevents premature deterioration, ensuring your dartboard is in top condition for years to come. Protecting your investment through appropriate storage is a worthwhile investment for any serious dart player.
Finally, it’s important to regularly check the condition of all the components, including flights and shafts. Addressing minor issues before they escalate can help avoid major repairs down the line. Having a proactive approach will significantly reduce the likelihood of having to do major repairs to your dartboard, and will reduce the need for frequent wire replacements. Keeping all your dart components in pristine condition enhances the game and guarantees a more enjoyable experience.
Consider exploring our resource on dartboard spider replacement guide to expand your knowledge of dartboard maintenance. It provides a deeper understanding of the internal mechanics and potential repair solutions for your dartboard, extending the life of your equipment. Investing in knowledge is an investment in a longer-lasting and more enjoyable dart experience.
Furthermore, our guide on sisal board repair for small issues will provide valuable insights for minor repairs, and may prevent problems that may lead to wire damage in the first place. Preventative maintenance is essential in the long run, extending the lifespan of your dartboard.
Conclusion
Successfully replacing damaged dartboard wires requires patience, precision, and the right tools. By following the steps outlined in this guide, you can restore your dartboard to its optimal playing condition and extend its lifespan. Remember, proactive maintenance is key. Regularly inspect your dartboard for signs of wear and tear, and address minor issues promptly to prevent more significant problems. This will save you money in the long run, and ensure you can continue to enjoy your dart game for years to come. So grab your tools, and get ready to get back to the game!
“`
Hi, I’m Dieter, and I created Dartcounter (Dartcounterapp.com). My motivation wasn’t being a darts expert – quite the opposite! When I first started playing, I loved the game but found keeping accurate scores and tracking stats difficult and distracting.
I figured I couldn’t be the only one struggling with this. So, I decided to build a solution: an easy-to-use application that everyone, no matter their experience level, could use to manage scoring effortlessly.
My goal for Dartcounter was simple: let the app handle the numbers – the scoring, the averages, the stats, even checkout suggestions – so players could focus purely on their throw and enjoying the game. It began as a way to solve my own beginner’s problem, and I’m thrilled it has grown into a helpful tool for the wider darts community.