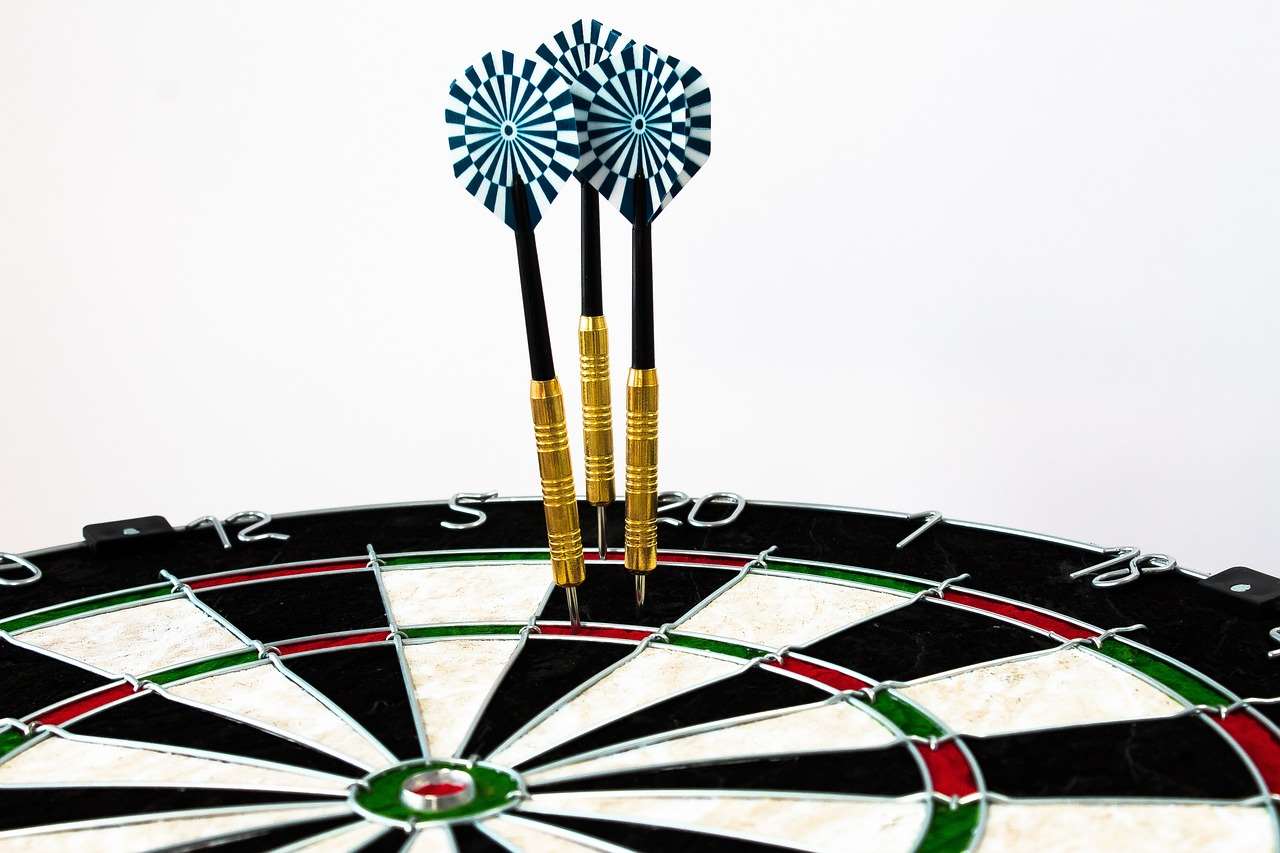
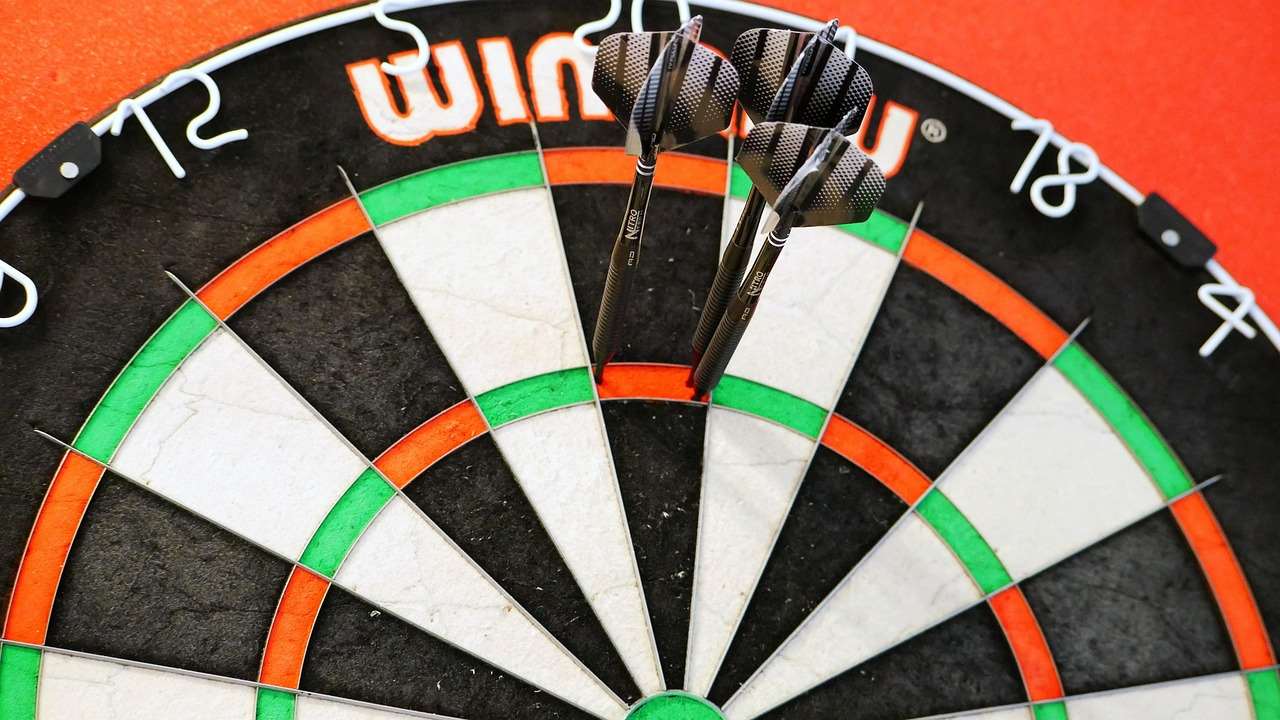
Replacing stapled dartboard wires is a straightforward process that can significantly extend the life of your dartboard. This article will guide you through the steps involved, covering everything from identifying the problem to choosing the right replacement wires. We’ll also offer tips on preventing future wire issues and maintaining your dartboard’s overall condition.
⚠️ Still Using Pen & Paper (or a Chalkboard)?! ⚠️
Step into the future! The Dart Counter App handles all the scoring, suggests checkouts, and tracks your stats automatically. It's easier than you think!
Try the Smart Dart Counter App FREE!Ready for an upgrade? Click above!
Before embarking on replacing stapled dartboard wires, it’s crucial to understand the purpose of these wires. They hold the sisal fibers firmly in place, creating a consistent and reliable playing surface. Damaged or loose wires compromise the integrity of the board, leading to poor dart penetration and ultimately, a less enjoyable game. Therefore, knowing how to address this issue is vital for any serious dart player.
Knowing when to address the problem is just as important as knowing how to replace stapled dartboard wires. Look out for signs such as loose wires, noticeable gaps in the sisal, or difficulty inserting darts properly. Ignoring these issues can lead to further damage, eventually requiring a complete dartboard replacement.
Replacing Stapled Dartboard Wires: A Step-by-Step Guide
This section focuses specifically on replacing stapled dartboard wires, a common maintenance task that extends the life of your dartboard. The process requires patience and attention to detail, but the results are well worth the effort. We’ll break down the process into manageable steps.

First, carefully examine the damaged area to assess the extent of the wire damage. Note which wires need replacing and gather the necessary materials. This typically includes replacement wires, a small pair of pliers, and possibly some wire staples depending on your dartboard’s construction. For optimal results, we recommend using wires of a similar gauge (thickness) to the originals. A heavier gauge might damage the sisal fibers while a lighter gauge might be too weak to provide sufficient support.
Tools and Materials You Will Need:
- Replacement dartboard wires (match the gauge of the originals)
- Small pliers (needle-nose pliers are ideal)
- Wire staples (if needed, check if your dartboard uses these)
- Small flat-head screwdriver (optional, for prying loose wires)
- Scissors or wire cutters
Once you’ve gathered your materials, carefully remove the damaged wires using the pliers. Work slowly and gently to avoid damaging the surrounding sisal fibers. If the wires are particularly stubborn, a small flathead screwdriver can help to pry them loose. Remember, patience is key here, and rushing the process can lead to mistakes.
Now, it’s time to install the new wires. Begin by carefully inserting one end of the replacement wire into the appropriate hole. Use your pliers to firmly secure the wire in place. If your dartboard uses staples, use the pliers to gently tap them into position, ensuring that the wire is firmly fixed and not pulling away from the sisal. Ensure the wire runs smoothly along its groove.
Repeat this process for each replacement wire. Take your time and ensure that each wire is securely fastened. This step is crucial for the longevity of your dartboard. Inspect your work thoroughly. Once you have finished replacing stapled dartboard wires, admire your handiwork!
Maintaining your dartboard is an ongoing process. Regular inspections and timely repairs will significantly extend the lifespan of your dartboard and keep it in peak playing condition. This includes not just replacing stapled dartboard wires, but also addressing other issues such as repairing spider marks or cleaning the dartboard mat. Remember, a well-maintained dartboard offers a far superior playing experience, increasing your enjoyment and improving your overall game.

Preventing Future Wire Issues
While replacing stapled dartboard wires is occasionally necessary, proactive maintenance can significantly reduce the frequency of this task. Here’s how you can keep your dartboard in top shape:
- Proper Dart Insertion: Avoid throwing darts with excessive force. This puts undue stress on the wires and can cause them to become loose or damaged over time.
- Regular Inspection: Periodically check the condition of the wires, looking for signs of damage or loosening. Addressing small problems early prevents them from becoming major issues.
- Dartboard Location: Protect your dartboard from extreme temperatures and humidity. These conditions can weaken the wires and sisal fibers.
- Quality Wires: Consider the quality of wires when replacing them. High-quality wires can better endure the force of darts.
- High-Quality Dartboard: Invest in a high-quality dartboard constructed with durable materials and strong wires to start with. This significantly reduces future maintenance. Consider investing in new dart equipment as needed.
Remember that consistent maintenance is far more efficient than emergency repairs. While replacing stapled dartboard wires is a manageable task, preventing the problem is always preferable. This extends not just the life of the wires but also maintains the overall integrity and quality of your playing surface, ensuring consistent performance and a longer playing life.
Common Dartboard Problems & Solutions
Beyond replacing stapled dartboard wires, other issues might arise with your dartboard over time. Knowing how to address these proactively can further enhance your gaming experience.
Dealing with Loose Sisal Fibers:
Loose sisal fibers are a common problem and can easily be remedied with a little care. Gently tuck any loose fibers back into place. If a larger area is affected, consider using a small amount of adhesive to secure the affected fibers. Always choose an adhesive that is compatible with sisal and won’t damage the fibers or wires.
Addressing Spider Marks:
Spider marks, those small tears around the dart holes, are a sign of wear and tear. Learning how to repair dartboard spider marks can help prolong your dartboard’s life. In many cases, carefully repairing these areas can prevent them from worsening.
Maintaining the Surroundings:
Maintaining your dartboard’s surrounding environment is also crucial. Regularly cleaning your dartboard mat helps prevent dirt and debris from damaging the board or causing wires to become damaged. A clean space is key for a consistent and high-quality game.
By taking a proactive approach to dartboard maintenance, including regularly assessing the condition of the wires, you’re ensuring not only that you are prepared to tackle issues like replacing stapled dartboard wires when necessary but also extending the life and performance of your equipment.

Advanced Tips and Troubleshooting
For those seeking a more in-depth understanding, we will cover some more advanced aspects of dartboard maintenance and problem-solving. This section will delve deeper into troubleshooting techniques and how to deal with more complex scenarios.
Understanding Wire Gauge and Material:
Different dartboards utilize wires of varying gauges and materials. Understanding the type of wire in your dartboard is critical when replacing stapled dartboard wires. The correct gauge ensures proper tension and prevents damage to the sisal. Using a wire too thin may lead to repeated problems while using one that is too thick could cause further damage. Always try to use a wire of the exact same dimensions for optimal performance.
Dealing with Broken Staples:
If staples break while attempting to replace stapled dartboard wires, you’ll need to carefully remove the broken pieces. Using small needle-nose pliers, work gently to extract any remaining fragments. After removing the broken staples, new ones need to be inserted. Make sure these are firmly fixed in their location to ensure structural integrity.
Considering Professional Help:
For extremely damaged dartboards or situations where you’re unsure about the repair process, seeking professional help might be the best option. A professional can assess the damage accurately and perform the necessary repairs to extend the lifespan of your dartboard. Remember that prevention is always better than a cure and by regularly inspecting your dartboard, you’ll minimize the need for extensive repairs.

Conclusion
Replacing stapled dartboard wires is a relatively simple yet important maintenance task for any dart player. By following the steps outlined in this guide and incorporating preventative maintenance practices, you can significantly extend the life of your dartboard, ensuring many more hours of enjoyable gameplay. Remember, a well-maintained dartboard not only enhances your gaming experience but also saves you money in the long run. Regular inspection, proper dart throwing technique, and proactive repairs, including replacing stapled dartboard wires when necessary, are key to ensuring years of enjoyment from your favorite game.
Start practicing your dart throwing skills today, and learn more about Darts Equipment Maintenance Customization for a better experience. Also, if you’re looking to improve your dart game, we recommend checking out our guide on dart sharpening frequency and dart sharpening lessons.
Hi, I’m Dieter, and I created Dartcounter (Dartcounterapp.com). My motivation wasn’t being a darts expert – quite the opposite! When I first started playing, I loved the game but found keeping accurate scores and tracking stats difficult and distracting.
I figured I couldn’t be the only one struggling with this. So, I decided to build a solution: an easy-to-use application that everyone, no matter their experience level, could use to manage scoring effortlessly.
My goal for Dartcounter was simple: let the app handle the numbers – the scoring, the averages, the stats, even checkout suggestions – so players could focus purely on their throw and enjoying the game. It began as a way to solve my own beginner’s problem, and I’m thrilled it has grown into a helpful tool for the wider darts community.