Creating a DIY dartboard surround is a fantastic way to enhance your game room and protect your walls. This article will guide you through building your own, covering everything from material selection to installation, and offering tips for a professional finish. You’ll also discover how to improve your game with related upgrades and maintenance tips.
⚠️ Still Using Pen & Paper (or a Chalkboard)?! ⚠️
Step into the future! The Dart Counter App handles all the scoring, suggests checkouts, and tracks your stats automatically. It's easier than you think!
Try the Smart Dart Counter App FREE!Ready for an upgrade? Click above!
Choosing the right materials is crucial for a durable and aesthetically pleasing DIY dartboard surround. Consider the size and style of your dartboard, as well as your personal preferences. A common choice is wood, offering both strength and a customizable aesthetic, but MDF (medium-density fiberboard) is a more budget-friendly alternative. Remember to account for adequate space around the dartboard itself to prevent darts from hitting the surround – a minimum of 12 inches is a good rule of thumb. For a truly personalized look, consider incorporating other materials like reclaimed wood for a rustic feel or sleek metal accents for a more modern aesthetic. The possibilities are endless with a DIY dartboard surround project!
Designing Your DIY Dartboard Surround
Before you start gathering supplies, carefully plan the design of your DIY dartboard surround. Consider factors such as the overall dimensions, the type of wood or material you’ll use, and whether you want a simple frame or something more elaborate. Sketch out a design on paper, noting measurements and details like the desired thickness and the type of finish you’ll apply. This preliminary planning stage will save you time and frustration down the line, ensuring a smoother and more successful project. You might even want to find some inspiration online by searching for “DIY dartboard surround ideas” to spark your creativity.
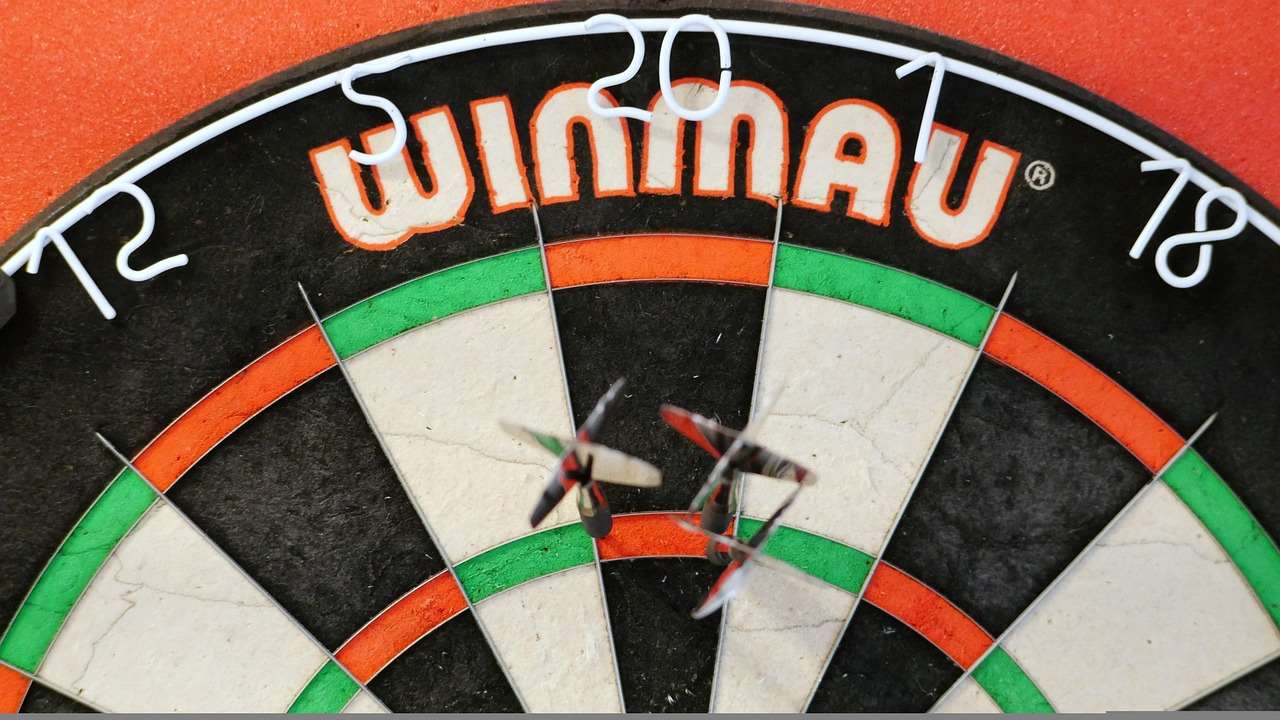
Measure your dartboard carefully and add the desired extra space around it (remember, at least 12 inches is recommended). Transfer these measurements to your chosen material, and then cut it to size using appropriate tools. If you’re working with wood, a circular saw or jigsaw is ideal, while MDF might be easier to cut with a utility knife and a straight edge. Remember to wear appropriate safety gear, including eye protection and gloves, throughout the entire process. Precision is key in this stage; careful cutting will lead to a professional-looking final product. You can also consider adding features like angled edges or shelves for additional accessories.
Choosing the Right Wood
The type of wood you select for your DIY dartboard surround will significantly impact its durability, aesthetics, and overall cost. Hardwoods like oak or maple offer superior strength and longevity but tend to be more expensive. Softwoods such as pine or fir are more budget-friendly, but they might require more care and maintenance to prevent damage from dart impacts. Consider your budget and the overall style of your game room when making your selection. A well-chosen wood can significantly elevate the look and feel of your DIY dartboard surround.
Building Your DIY Dartboard Surround: A Step-by-Step Guide
Once you have your materials ready and your design finalized, you can begin the construction process. For a simple frame, measure and cut the wood into four pieces, creating a rectangular or square shape around the dartboard dimensions. Use wood glue and screws to securely fasten the corners, ensuring the frame is perfectly square and stable. Consider using corner braces for added strength and stability. For a more complex design, you might need to add additional pieces of wood or other materials. If your project includes features such as shelves or compartments, plan their construction and integration meticulously during this step.
After assembling the frame, carefully sand all surfaces to remove any splinters or rough edges. Start with coarser grit sandpaper and gradually move to finer grits for a smooth, professional finish. This step is crucial for both safety and aesthetics. A smooth surface is less likely to damage darts and creates a more pleasing appearance. After sanding, clean the surface thoroughly to remove any dust or debris before moving on to the finishing process. This attention to detail will make a significant difference in the overall quality of your DIY dartboard surround.
Finishing Touches
Once the frame is assembled and sanded, it’s time to add the finishing touches. This might involve painting, staining, or applying a clear coat. Consider the overall style of your game room when selecting a finish. A dark stain can create a sophisticated look, while a bright paint can add a pop of color. A clear coat will protect the wood and enhance its natural beauty. Make sure to follow the manufacturer’s instructions carefully when applying any finishes. Proper application is crucial for a long-lasting, beautiful DIY dartboard surround.
Installing Your DIY Dartboard Surround
Installing your newly constructed DIY dartboard surround is the final step in the process. Make sure the wall area is clean and free of any obstacles. You can use screws or adhesive to attach the surround to the wall, ensuring that it’s securely fastened and level. Use a level to verify the placement and adjust as needed. Ensure your dartboard is properly mounted and secure within the new surround. Consider using additional support or brackets if necessary, particularly if you have a heavier dartboard or a large and elaborate DIY dartboard surround. A secure and properly level installation is crucial for maintaining the structural integrity of your creation.
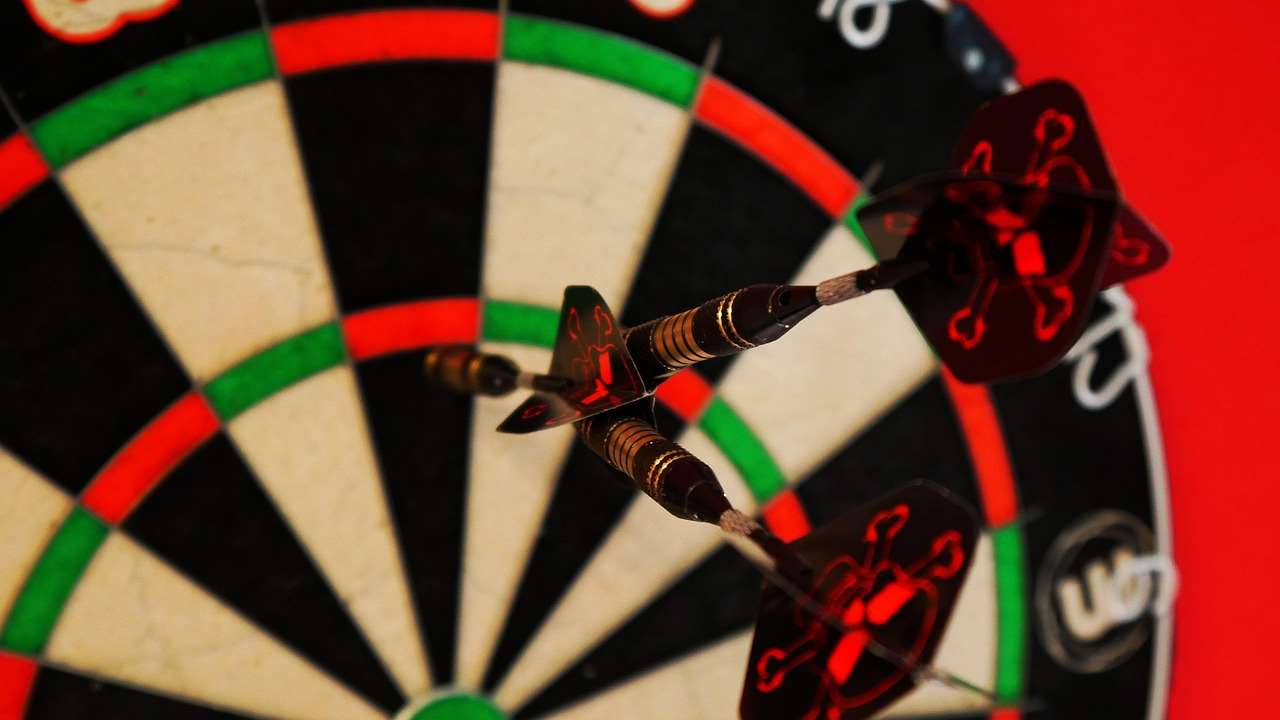
For added protection, consider lining the inside of your DIY dartboard surround with a soft material like felt or rubber. This will help to absorb the impact of the darts and prevent damage to both the surround and the wall behind it. This is especially important if you use metal-tipped darts, as they can easily damage the wood over time. Remember, a well-protected surround will extend its lifespan and keep your dartboard game safe.
Advanced DIY Dartboard Surround Techniques
Want to take your DIY dartboard surround to the next level? Consider incorporating additional features such as built-in storage for darts and accessories, lighting, or even a scoreboard. Adding shelves or compartments allows you to keep your game organized and your accessories within easy reach. This can significantly enhance the overall functionality and appeal of your DIY dartboard surround project. A homemade dartboard light ring is another excellent way to improve visibility and the overall look of your setup.
For a truly personalized touch, you can customize your DIY dartboard surround with personal details such as engravings, painted designs, or even inlaid wood patterns. Get creative and let your personality shine through. The possibilities are vast when creating a custom dartboard surround. The more you personalize your DIY dartboard surround, the more enjoyable your games will become. Don’t be afraid to experiment with different materials and techniques to achieve your desired effect.
Maintaining Your DIY Dartboard Surround
Once your DIY dartboard surround is installed, regular maintenance is important for preserving its appearance and extending its lifespan. Periodically inspect it for any signs of damage or wear and tear. If you notice any loose screws or damage, repair them promptly. For wooden surrounds, regular cleaning will help to prevent dirt and grime from accumulating, as well as the occasional polishing or wax treatment to enhance the finish. Remember to properly care for your darts as well, for example through dart case maintenance. Proper care will help your equipment last and enhance the overall look and feel of your dart playing space.
Maintaining your DIY dartboard surround also means taking care of the dartboard itself. Regular cleaning of the dartboard and the use of appropriate darts will improve performance and preserve it from damage. Proper calibration of the dartboard segments can also lead to a more accurate and enjoyable gaming experience. Consider the overall setup and the ways in which you can improve it, such as using grip tape for your darts for better control and precision. By incorporating the relevant maintenance and improvements for the darts themselves, you increase the longevity and efficacy of your setup.
Troubleshooting Common Issues
During the creation or use of your DIY dartboard surround, you might encounter some issues. Loose screws are a common problem, easily fixed by tightening them. If you notice any warping or cracking, consider sanding down and refinishing the affected areas. Proper installation and regular maintenance can prevent most issues. However, if you have persistent problems, consult with a woodworking professional or seek advice in online forums dedicated to DIY projects or Darts Equipment Maintenance Customization.
Conclusion
Creating a DIY dartboard surround is a rewarding project that allows you to personalize your game room and protect your walls. By following these steps and incorporating personalized touches, you can create a stunning and functional addition to your home. Remember to prioritize safety, plan your design carefully, and take your time during the construction and installation process. With a little effort and attention to detail, you’ll enjoy a custom-built DIY dartboard surround for years to come. So, grab your tools and unleash your creativity – let the crafting begin!
Hi, I’m Dieter, and I created Dartcounter (Dartcounterapp.com). My motivation wasn’t being a darts expert – quite the opposite! When I first started playing, I loved the game but found keeping accurate scores and tracking stats difficult and distracting.
I figured I couldn’t be the only one struggling with this. So, I decided to build a solution: an easy-to-use application that everyone, no matter their experience level, could use to manage scoring effortlessly.
My goal for Dartcounter was simple: let the app handle the numbers – the scoring, the averages, the stats, even checkout suggestions – so players could focus purely on their throw and enjoying the game. It began as a way to solve my own beginner’s problem, and I’m thrilled it has grown into a helpful tool for the wider darts community.