Successfully completing a dartboard surround installation is crucial for protecting your walls and ensuring a safe, enjoyable dart-playing experience. This article will guide you through the entire process, from choosing the right surround to securing it in place, and will also cover essential maintenance tips and common mistakes to avoid.
⚠️ Still Using Pen & Paper (or a Chalkboard)?! ⚠️
Step into the future! The Dart Counter App handles all the scoring, suggests checkouts, and tracks your stats automatically. It's easier than you think!
Try the Smart Dart Counter App FREE!Ready for an upgrade? Click above!
Before diving into the specifics of dartboard surround installation, let’s address the importance of choosing the right surround. Consider the size of your dartboard, the material of your walls, and your personal aesthetic preferences. Some surrounds offer added features like built-in cabinets or lighting. Proper planning during this phase will significantly impact the success of your dartboard surround installation project.
Selecting the right dartboard surround will significantly improve the overall look and functionality of your dart setup. This section will delve deeper into choosing the best material for your surround: wood, MDF, or even custom-made options.
Understanding your wall type is also essential for successful dartboard surround installation. Drywall, plaster, and brick require different approaches for secure mounting.
Choosing the Right Dartboard Surround
The market offers a wide variety of dartboard surrounds, each with its own advantages and disadvantages. Consider these factors when making your choice:
- Material: Wood surrounds are classic and visually appealing, offering durability. MDF (Medium-Density Fiberboard) offers a more budget-friendly option, while custom-made surrounds allow for complete personalization. Think about the overall style of your game room. Will a rustic wood surround complement your existing décor, or would a sleek, modern design be a better fit?
- Size: Ensure your chosen surround is the right size for your dartboard, leaving enough space for safe play. Too small, and your darts could damage the walls; too large, and it might look awkward and feel cumbersome. Carefully measure your dartboard and compare the dimensions to the surround’s specifications before purchasing.
- Features: Some surrounds offer added features like built-in storage for darts and accessories, integrated lighting for improved visibility, or even scorekeeping areas. Consider your needs and budget when weighing these additional features against the cost. For example, dartboard lighting for focused play is a valuable addition for many players.
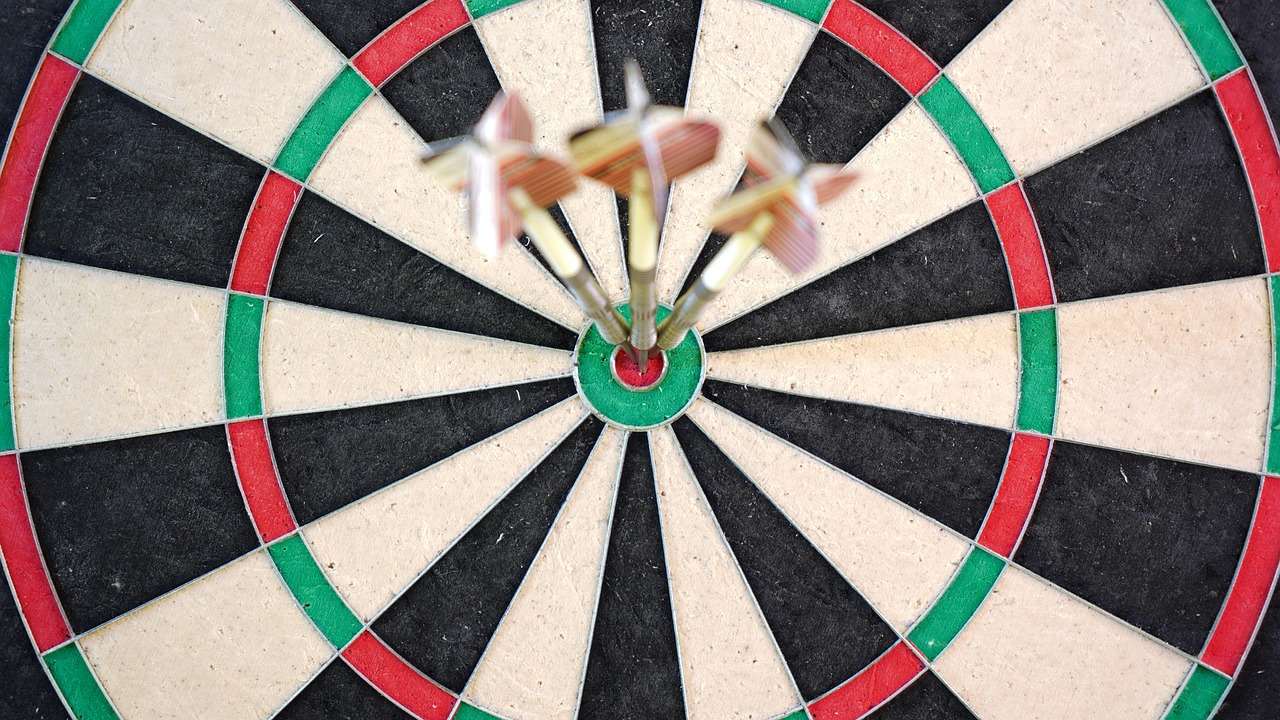
Material Considerations for Your Surround
The material you select for your dartboard surround significantly impacts both its aesthetics and longevity. Let’s examine popular choices:
- Wood: Known for its durability and classic appeal, wood offers a natural and elegant look. However, it can be more expensive than other options and may require more maintenance over time. Regular cleaning and occasional refinishing might be needed to preserve its beauty.
- MDF: A more affordable alternative, MDF is easy to work with and can be painted or stained to match your existing decor. However, it’s not as durable as wood and may be more susceptible to damage from impacts.
- Custom-made: For a truly unique look, consider commissioning a custom-made surround. This option allows for complete personalization in terms of materials, size, and design. It can get quite expensive but ensures a perfectly tailored fit for your space and style preferences.
Step-by-Step Dartboard Surround Installation Guide
Once you’ve selected your dartboard surround, it’s time for installation. Follow these steps for a successful and secure installation:
- Preparation: Carefully read the manufacturer’s instructions. Gather necessary tools, including a level, drill, screws, and possibly a stud finder. Mark the location on your wall where you want to install the surround. Ensure the area is clear and stable.
- Mounting: Use a stud finder to locate wall studs for secure mounting. Attach the surround to the wall studs using appropriate screws. If studs aren’t readily accessible, use wall anchors designed for the weight of the surround and dartboard combined. Remember to use a level to ensure the surround is perfectly aligned.
- Dartboard Installation: Carefully install the dartboard according to the manufacturer’s instructions within the surround. Ensure it’s securely fastened and centered for optimal gameplay. A well-installed dartboard is key to an enjoyable game.
- Finishing Touches: Once the surround and dartboard are installed, take a step back to admire your work. Check for any gaps or misalignments. If necessary, make adjustments and ensure everything is securely fastened. A perfectly aligned surround enhances your playing experience. Maintaining this alignment can extend the darts gear lifespan project.
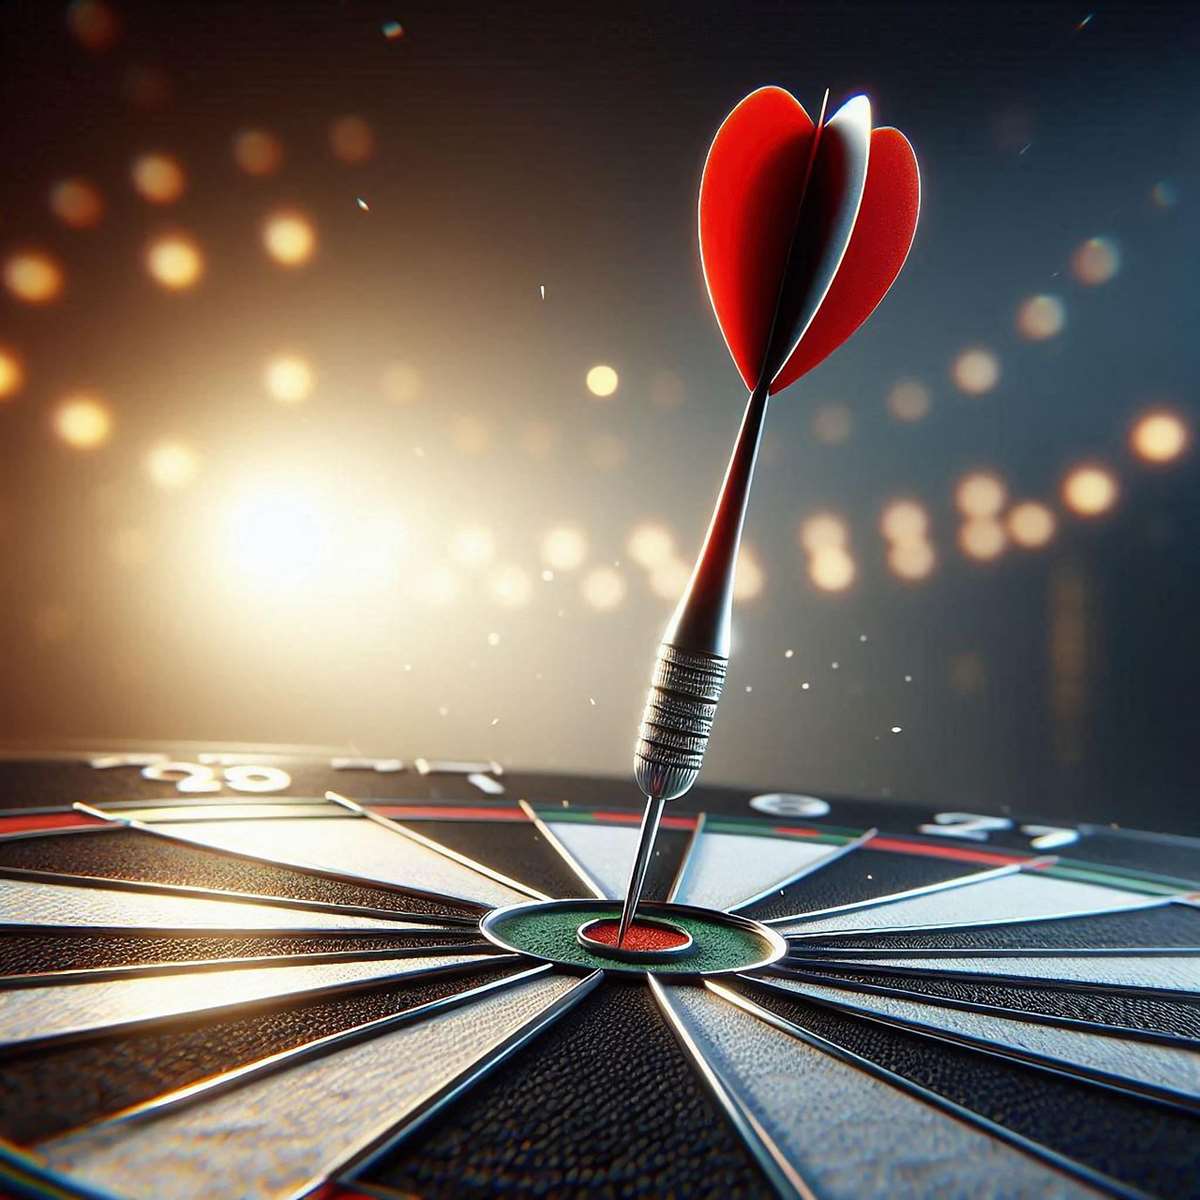
Essential Tools for Dartboard Surround Installation
Having the right tools makes the installation process smoother and more efficient. Here’s a list of essential tools:
- Stud finder: To locate wall studs for secure mounting.
- Drill: To create pilot holes for screws and possibly to pre-drill holes in certain materials.
- Screws: Choose screws appropriate for your wall material and the weight of the surround. Using unsuitable screws could lead to issues.
- Level: To ensure the surround is perfectly aligned. A crooked surround looks unprofessional and might impact game play.
- Measuring tape: To accurately measure and mark the location on the wall. Precision during measuring is vital for proper installation.
- Wall anchors (if necessary): If you cannot mount directly into studs, suitable anchors are crucial for secure installation.
Troubleshooting Common Dartboard Surround Installation Issues
Even with careful planning and execution, you might encounter some challenges during dartboard surround installation. Here are some common issues and their solutions:
- Uneven Surround: If the surround isn’t level, double-check your measurements and ensure you’re using a level during installation. Re-adjust screws as needed to ensure a level surface. You may need to readjust your mounting points.
- Loose Surround: Make sure you’ve used the correct screws and secured them tightly. Consider using longer screws or adding additional mounting points for better stability.
- Damage to Walls: To minimize the risk of damaging your walls, always use a stud finder and pre-drill pilot holes before inserting screws. Use appropriate wall anchors if necessary.

Maintaining Your Dartboard Surround
Regular maintenance will prolong the life and enhance the appearance of your dartboard surround. Here are some tips:
- Regular Cleaning: Wipe down the surround with a damp cloth regularly to remove dust and debris. For more stubborn stains, use a mild cleaning solution.
- Inspect for Damage: Regularly inspect the surround for any signs of damage, such as loose screws, cracks, or scratches. Address these issues promptly to prevent further problems. Consider adding padding behind the dartboard if you’re experiencing problems with dart board vibration, which is often a cause of surround damage.
- Repairs: For minor repairs, such as filling small cracks or repainting, use appropriate materials and techniques. For significant damage, consider replacing the surround.
Proper maintenance not only improves the visual appeal but also helps extend the lifespan of your equipment. This links directly to the darts gear lifespan theory, emphasizing the importance of regular care.
Beyond the Basics: Enhancing Your Dart Setup
While a successful dartboard surround installation is key, you can elevate your game room experience with these enhancements:
- Lighting: Proper lighting is crucial for better visibility and enhances the overall atmosphere. Consider installing dedicated dartboard lighting for a more focused playing experience.
- Cabinetry: Incorporate a custom cabinet or shelving unit to store darts, accessories, and other items, keeping your game room organized.
- Accessories: Upgrade your dart accessories to enhance your gameplay. Experiment with different dart flight designs for impact or explore the options for custom dart flights Ireland if you’re based there. Regularly replace worn components like movable dart points to maintain optimal performance. Consider adding things like grip dots to improve your throwing technique.
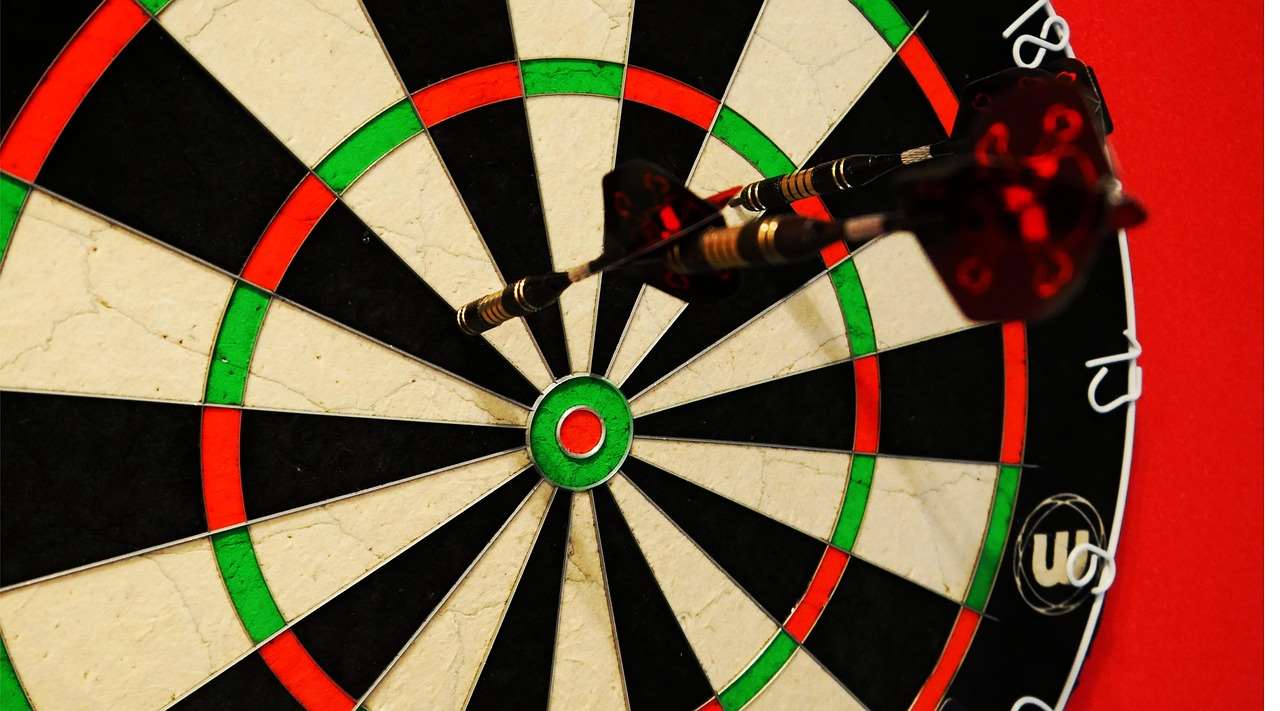
Creating a dedicated dart playing area enhances both the enjoyment and performance of your games. With the proper planning and execution of your dartboard surround installation, your gaming space will be truly transformed.
Conclusion
Successful dartboard surround installation significantly enhances your dart-playing experience. By following the steps outlined in this guide, carefully selecting your surround, and performing regular maintenance, you can ensure a safe, enjoyable, and aesthetically pleasing game room setup. Remember to always prioritize safety and use appropriate tools and techniques for installation. If you’re looking for inspiration for other DIY projects, check out our article on building a modern cabinet.
Investing time in proper dartboard surround installation not only protects your walls but also improves your gaming experience. Don’t forget to regularly maintain your setup for optimal performance and a long-lasting, aesthetically pleasing game area. To learn more about caring for your darts equipment, see our comprehensive guide, Darts Equipment Maintenance Customization.
Hi, I’m Dieter, and I created Dartcounter (Dartcounterapp.com). My motivation wasn’t being a darts expert – quite the opposite! When I first started playing, I loved the game but found keeping accurate scores and tracking stats difficult and distracting.
I figured I couldn’t be the only one struggling with this. So, I decided to build a solution: an easy-to-use application that everyone, no matter their experience level, could use to manage scoring effortlessly.
My goal for Dartcounter was simple: let the app handle the numbers – the scoring, the averages, the stats, even checkout suggestions – so players could focus purely on their throw and enjoying the game. It began as a way to solve my own beginner’s problem, and I’m thrilled it has grown into a helpful tool for the wider darts community.