Setting up your dartboard properly is crucial for a fun and fair game. A correct dart board set up ensures accurate throws and prevents damage to your walls or board. This article will guide you through the entire process, from choosing the right location to understanding the rules of the game.
⚠️ Still Using Pen & Paper (or a Chalkboard)?! ⚠️
Step into the future! The Dart Counter App handles all the scoring, suggests checkouts, and tracks your stats automatically. It's easier than you think!
Try the Smart Dart Counter App FREE!Ready for an upgrade? Click above!
Before we dive into the specifics of dart board setup, let’s talk about why proper placement is so important. An improperly positioned dartboard can lead to frustrating misses, inconsistent gameplay, and even damage to your walls and the dartboard itself. Understanding the best practices for dart board setup will not only enhance your game but also ensure the longevity of your equipment. It also helps create a safer environment for you and your fellow players. This guide covers everything you need to know, from finding the perfect spot to maintaining your board, guaranteeing your darts experience is top-notch.
Choosing the Perfect Location for Your Dart Board Setup
The first step in a successful dart board set up is finding the right location. Consider these factors:
- Space: Ensure you have enough space behind the dartboard (at least 5-7 feet) for a safe throwing distance, and adequate space around the dartboard to avoid collisions. Also, make sure there’s enough wall space. Remember that a proper dart board set up requires appropriate room to throw darts without risk of injury.
- Wall Material: A solid, sturdy wall is essential. Avoid drywall alone; it might not be able to withstand repeated dart impacts. Consider reinforcing the wall with plywood or another strong backing. This protects your wall and ensures a stable dart board setup.
- Lighting: Sufficient lighting is crucial for accuracy. Ensure the area is well-lit to avoid shadows that could hinder your vision and affect your game. Remember, a well-lit area aids precision, a fundamental aspect of a good dart board set up.
- Safety: Keep children and pets away from the area while playing. The dartboard should be mounted out of the way of high-traffic areas to prevent accidents.
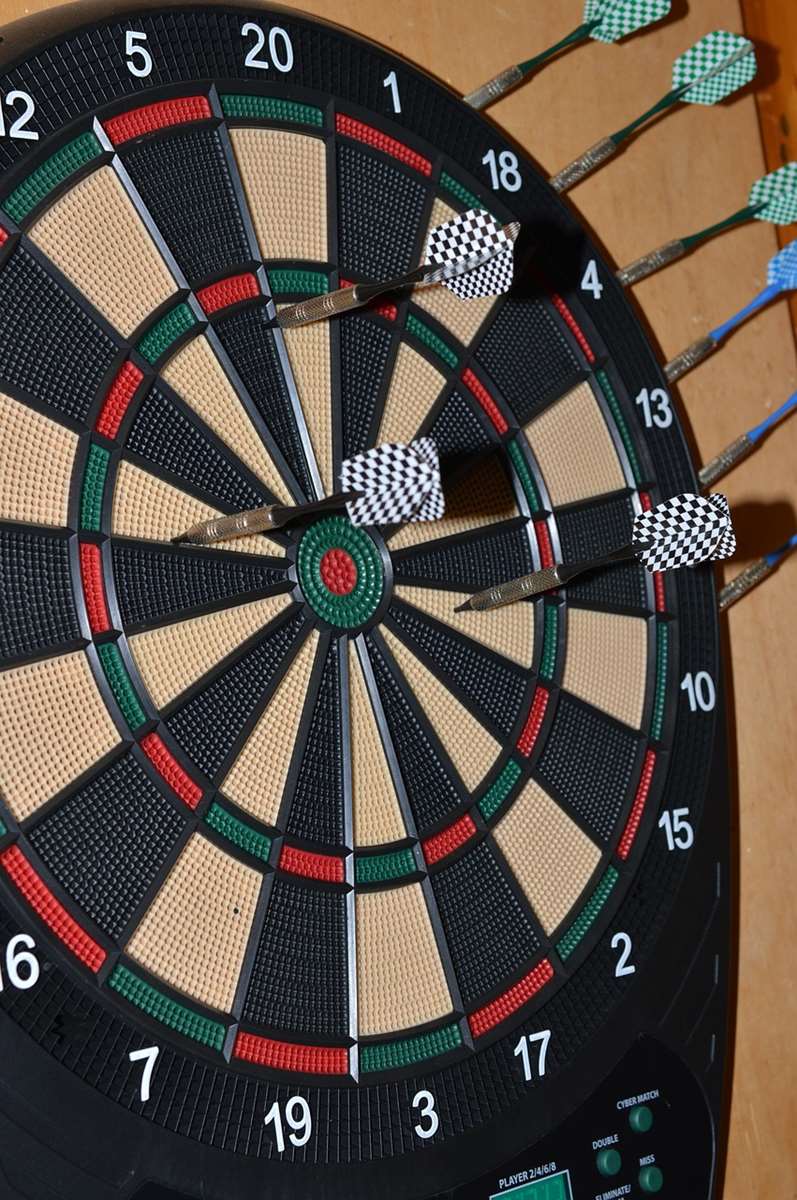
Remember, a safe and well-lit space is paramount for a successful dart board set up. Prioritize safety to avoid accidents and ensure everyone enjoys the game. Once you’ve found the perfect spot, it’s time to move onto the next step.
Mounting Your Dartboard: A Step-by-Step Guide
Mounting your dartboard correctly is crucial for optimal gameplay and the longevity of the board. Here’s how to do it:
1. Preparing the Wall
Before you even think about mounting your dartboard, you’ll need to prepare the wall. If you’re using drywall, adding a backing board (like plywood) is highly recommended. This will provide a sturdy surface for the dartboard and prevent the darts from damaging your wall. Make sure the backing is securely attached to the wall studs. A strong and stable wall is the cornerstone of a successful dart board setup.
2. Choosing the Right Mounting Hardware
Use high-quality mounting hardware designed specifically for dartboards. These usually come with the dartboard or can be purchased separately. Avoid flimsy hardware, as it could result in the dartboard becoming loose or even falling. Your dart board setup depends on sturdy hardware.
3. Aligning and Securing the Dartboard
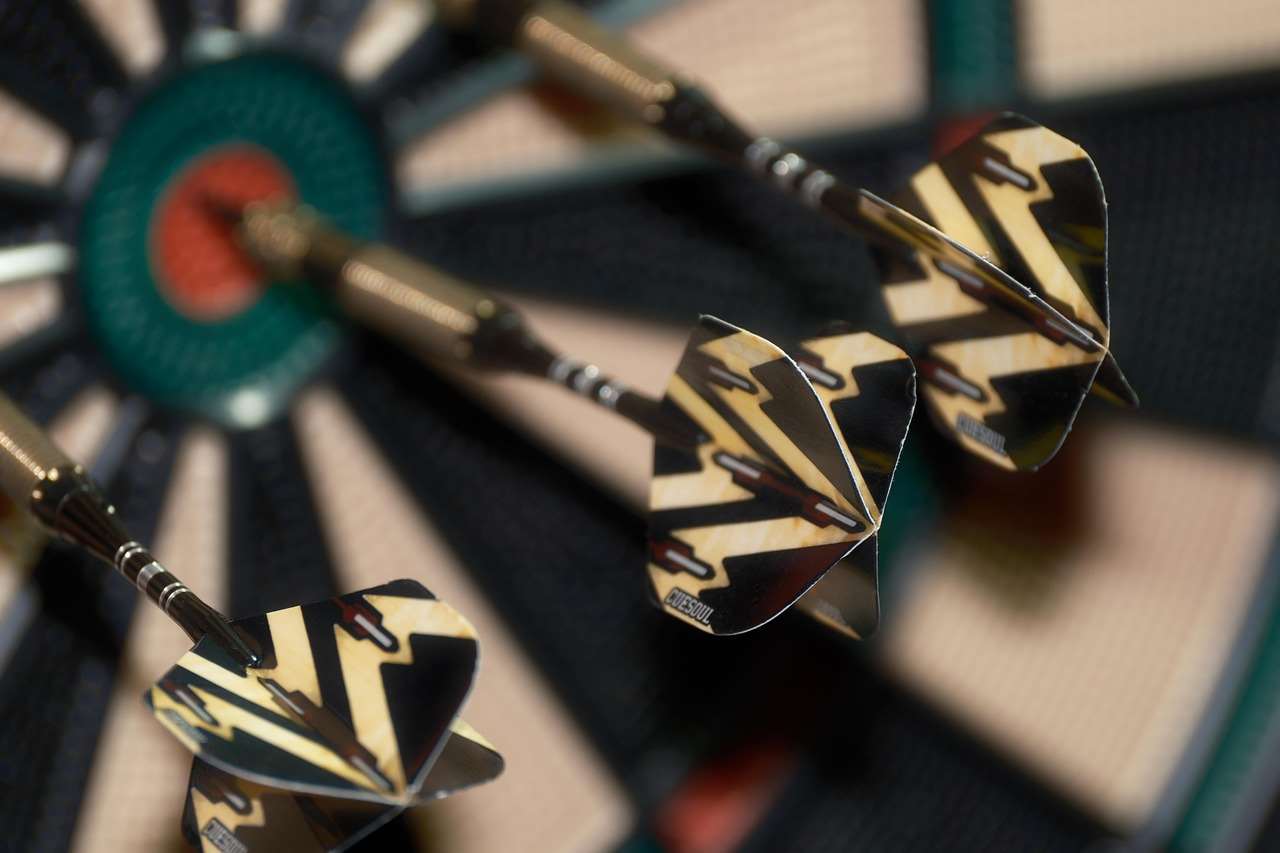
Carefully align the dartboard on your prepared surface, ensuring it’s level. Once you’re happy with the position, use the provided hardware to firmly attach the dartboard to the wall. Make sure all screws are tight to prevent the dartboard from moving or wobbling. A secure mounting is essential to a proper dart board setup. This step guarantees that your board stays perfectly in place and aids in more accurate throws.
The Oche: The Critical Element of Your Dartboard Setup
The oche (pronounced “ock-ee”) is the throwing line. It’s a crucial part of any dart board setup, and a critical factor in ensuring a fair and consistent game. The standard distance from the oche to the dartboard face is 7 feet 9 1/4 inches (2.37 meters). Accurate measurement is crucial to maintain fair play.
You can use a tape measure to ensure the precise distance. For a professional feel, consider purchasing a dedicated oche. These come in various materials and designs and can greatly enhance the visual appeal of your dart setup. For a more permanent installation, you can paint or secure a line on the floor to mark the oche line. Regardless of your method, maintaining the correct distance is crucial to the proper dart board set up and the integrity of the game.
Essential Dartboard Accessories
Beyond the board itself, several accessories can enhance your dart board setup and overall playing experience. Here’s a breakdown:
- Surround: A dartboard surround protects your walls from stray darts, preventing costly repairs and extending the life of your walls. A good surround significantly enhances the overall safety and aesthetic appeal of your dart board setup.
- Cabinet: A dartboard cabinet provides storage for your darts, accessories, and scoresheets. It’s a useful element in organizing your game setup and keeping your dartboard protected. A cabinet enhances both the functionality and aesthetic of your dart board set up.
- Dartboard Lights: For improved visibility, especially in lower-light conditions, consider investing in dedicated dartboard lights. The right lighting significantly improves the overall gaming experience of your dart board set up, promoting consistent performance.
- Scoreboard or Scorekeeping App: Whether a traditional scoreboard or a Dart game scoring app, accurate scorekeeping is a necessity for any dart game. It streamlines game play and keeps things organized. Efficient scorekeeping greatly enhances the overall game experience of your dart board setup.
Maintaining Your Dartboard and Setup
Regular maintenance is essential to keep your dart board set up in top condition. Here’s what to do:
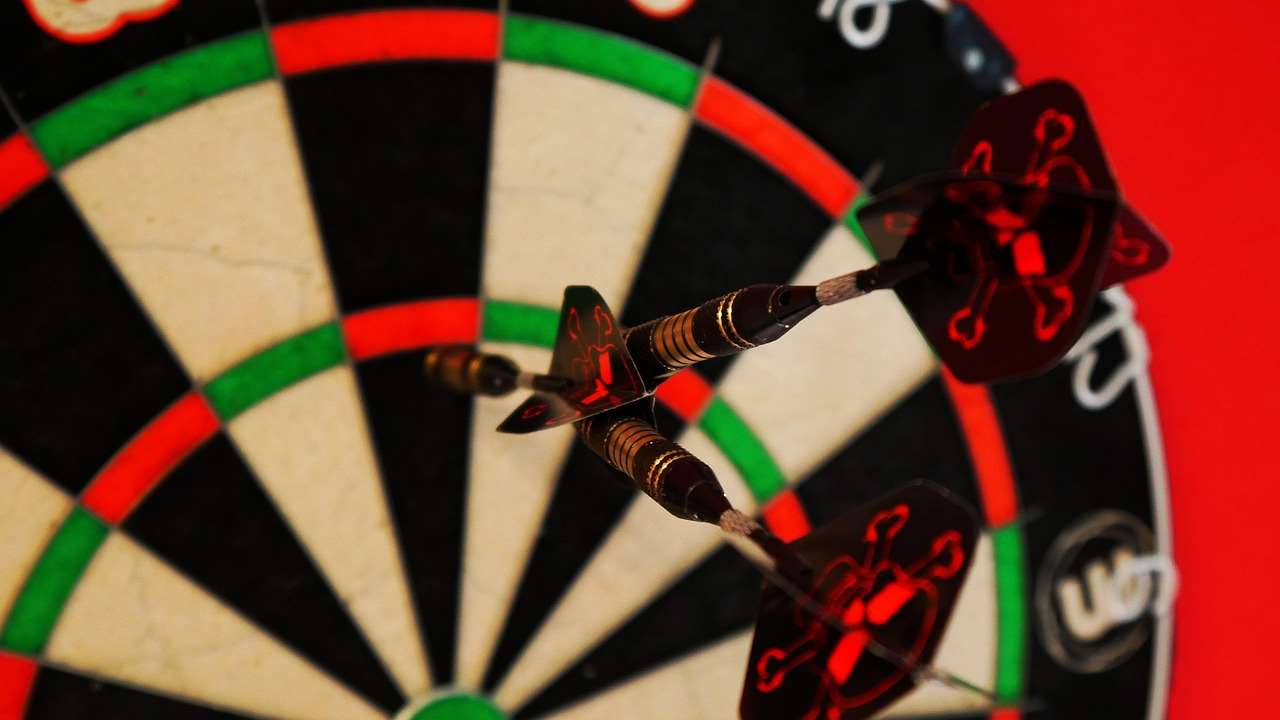
- Regular Cleaning: Wipe down the dartboard with a damp cloth occasionally to remove dust and debris. This helps improve the stickiness of the dartboard and ensures consistent gameplay.
- Inspect for Damage: Regularly check the dartboard for any signs of wear and tear. Replace it if necessary, as a damaged dartboard affects the fairness of the game. A properly maintained dartboard is key to maintaining a functional dart board setup.
- Tighten Screws: Periodically check and tighten the screws holding the dartboard to the wall to ensure it remains firmly attached. Ensuring that screws are properly tightened is key to a properly secured dart board set up.
Different Types of Dartboards and Their Setup Considerations
There are various types of dartboards, each with its own considerations for setup. The most common types are bristle dartboards and electronic dartboards. Bristle dartboards require more careful maintenance, while electronic ones need to be plugged in and may require specific software setup. When choosing a dartboard, always check the manufacturer’s instructions for specific dart board setup guidelines.
For instance, vintage dartboards may require more specialized mounting techniques due to their age and construction. Regardless of the type of board you choose, a proper dart board setup is critical for a good gaming experience.
Troubleshooting Common Dartboard Setup Issues
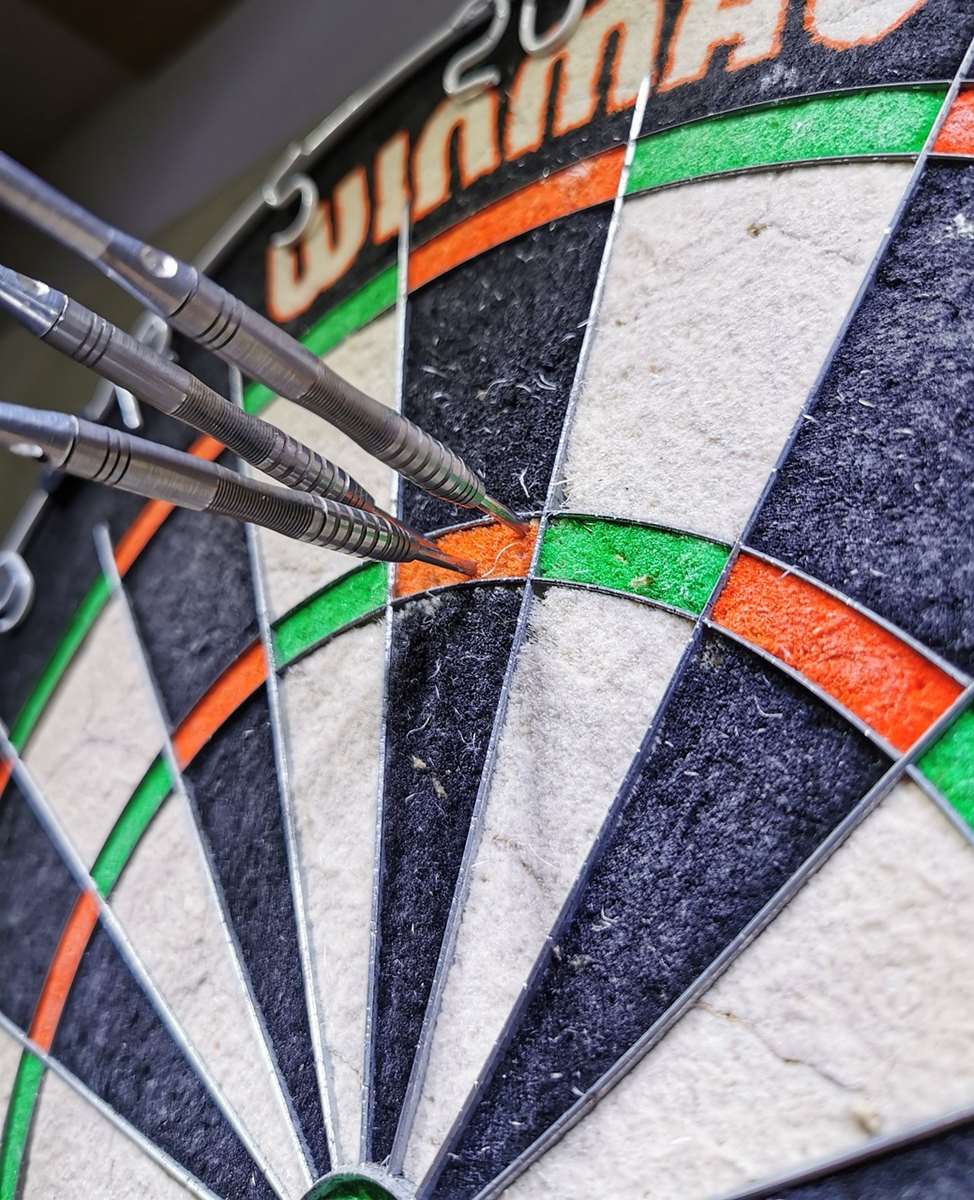
Even with careful planning, you might encounter issues during your dart board setup. Here are some common problems and their solutions:
- Uneven Dartboard: If your dartboard isn’t level, check the mounting and ensure the wall is flat. Readjust the board until it is perfectly level.
- Loose Dartboard: Tighten the screws that secure your dartboard to the wall. If the problem persists, you might need to reinforce the wall or use stronger mounting hardware.
- Incorrect Oche Distance: Double-check the distance from the oche to the dartboard face. Use a tape measure to ensure the 7 feet 9 1/4 inches standard is met.
Remember, a properly functioning dart board set up begins with careful planning. Paying attention to detail and following these steps will ensure you have a fun and fair game. This allows for a consistent and enjoyable experience for all players. A properly calibrated dart board set up can be the difference between an enjoyable game and a frustrating one. Having a perfect dart board set up dramatically impacts the overall game experience.
For those seeking to improve their game further, consider learning more about darts flight systems or how to keep track of darts score effectively. Understanding darts wrist mechanics can also significantly enhance your accuracy and score. You can even look into more advanced equipment like Target Zenith darts or v2 darts. And if you’re aiming to take your skills to the next level, darts referee 180 techniques might interest you.
Conclusion
Setting up your dartboard correctly is fundamental to enjoying the game of darts. This guide provides a comprehensive overview of dart board setup, encompassing everything from choosing the right location and mounting the board to essential accessories and maintenance. By following these steps and tips, you can ensure a safe, fair, and enjoyable dart-playing experience for yourself and others. Remember to always prioritize safety and adhere to the recommended dimensions for the oche to ensure a fair game for everyone involved. Now, go forth and enjoy your perfectly set-up dartboard!
Hi, I’m Dieter, and I created Dartcounter (Dartcounterapp.com). My motivation wasn’t being a darts expert – quite the opposite! When I first started playing, I loved the game but found keeping accurate scores and tracking stats difficult and distracting.
I figured I couldn’t be the only one struggling with this. So, I decided to build a solution: an easy-to-use application that everyone, no matter their experience level, could use to manage scoring effortlessly.
My goal for Dartcounter was simple: let the app handle the numbers – the scoring, the averages, the stats, even checkout suggestions – so players could focus purely on their throw and enjoying the game. It began as a way to solve my own beginner’s problem, and I’m thrilled it has grown into a helpful tool for the wider darts community.