A custom built dartboard surround transforms your game room from ordinary to extraordinary. It offers superior protection for your walls, adds a personalized touch, and elevates the overall aesthetic. This article will guide you through the design process, material selection, and installation tips for your perfect dartboard surround, while also exploring maintenance and common design choices.
⚠️ Still Using Pen & Paper (or a Chalkboard)?! ⚠️
Step into the future! The Dart Counter App handles all the scoring, suggests checkouts, and tracks your stats automatically. It's easier than you think!
Try the Smart Dart Counter App FREE!Ready for an upgrade? Click above!
Beyond the purely functional aspect of protecting your walls, a custom built dartboard surround allows for unparalleled personalization. You can tailor the design to perfectly match your existing décor, from rustic wood finishes to sleek, modern designs. The possibilities are truly endless, making your game space a unique reflection of your personal style.
Designing Your Custom Built Dartboard Surround
The design process begins with considering your space and style. What existing décor do you want to complement? Do you envision a simple, functional surround, or a more elaborate, statement piece? Consider the dimensions of your dartboard and the available wall space. Remember to factor in sufficient clearance around the dartboard for comfortable throwing.
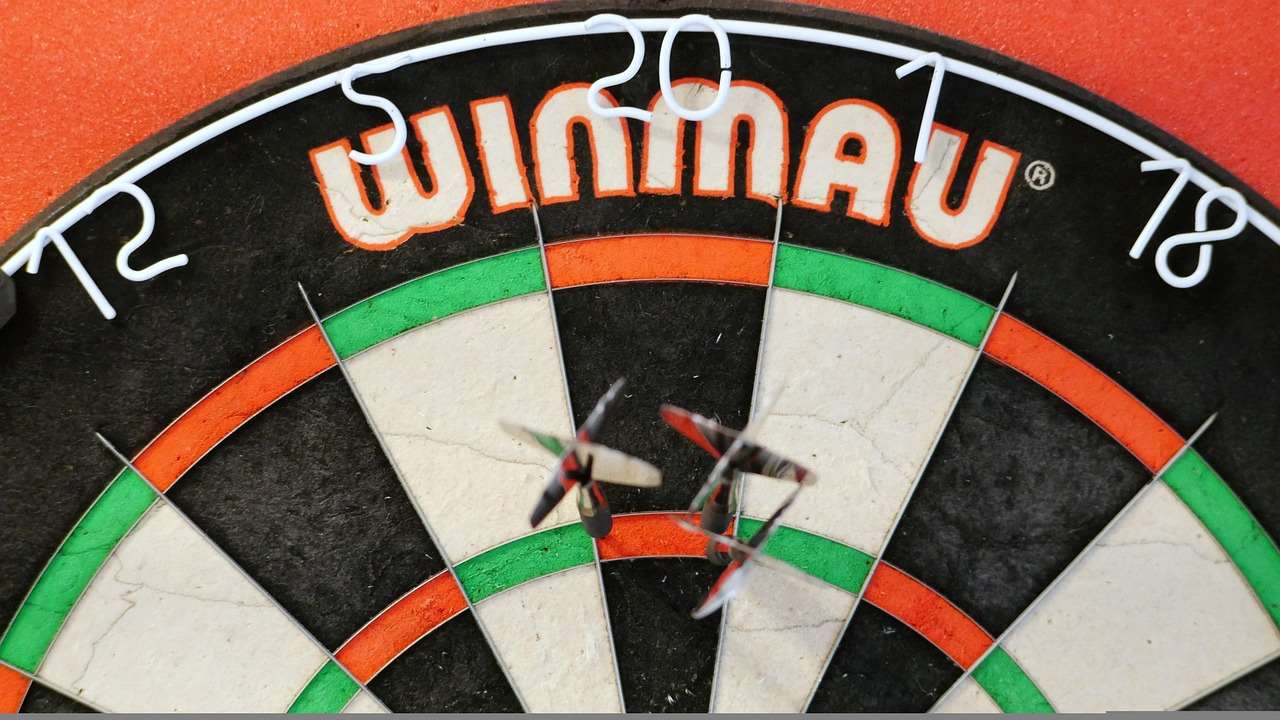
Once you have a clear vision, start sketching different designs. Explore various materials like wood, MDF, or even reclaimed materials. Think about the overall style – rustic, modern, minimalist, or perhaps something more whimsical. A custom built dartboard surround can be as simple or as elaborate as your creativity allows. You could even incorporate lighting or shelving into your design.
Choosing the Right Materials
The material you select will greatly impact the durability, aesthetic, and cost of your custom built dartboard surround. Wood offers a classic look and excellent durability, but may require more finishing work. MDF (Medium-Density Fiberboard) is a more affordable option, but is less durable and susceptible to damage from impacts. Reclaimed wood provides a unique, eco-friendly option with plenty of character. Consider the weight of the material; a heavier surround might require more robust wall mounting.
No matter which material you choose, ensure that it’s thick enough to provide adequate protection for your walls. Remember, dart flights can occasionally glance off the board and impact the surrounding area. Proper material thickness will absorb the impact and prevent damage to your walls. Darts Equipment Maintenance Customization also involves material choice.
Building Your Custom Built Dartboard Surround
The construction process will vary depending on your chosen design and materials. If you’re working with wood, you’ll need to cut and assemble the frame. Precise measurements are critical to ensure a snug fit around the dartboard. Pre-drill holes before driving screws to prevent the wood from splitting. If you’re using MDF, the construction process is similar, but MDF is more prone to chipping, so take extra care when handling it.
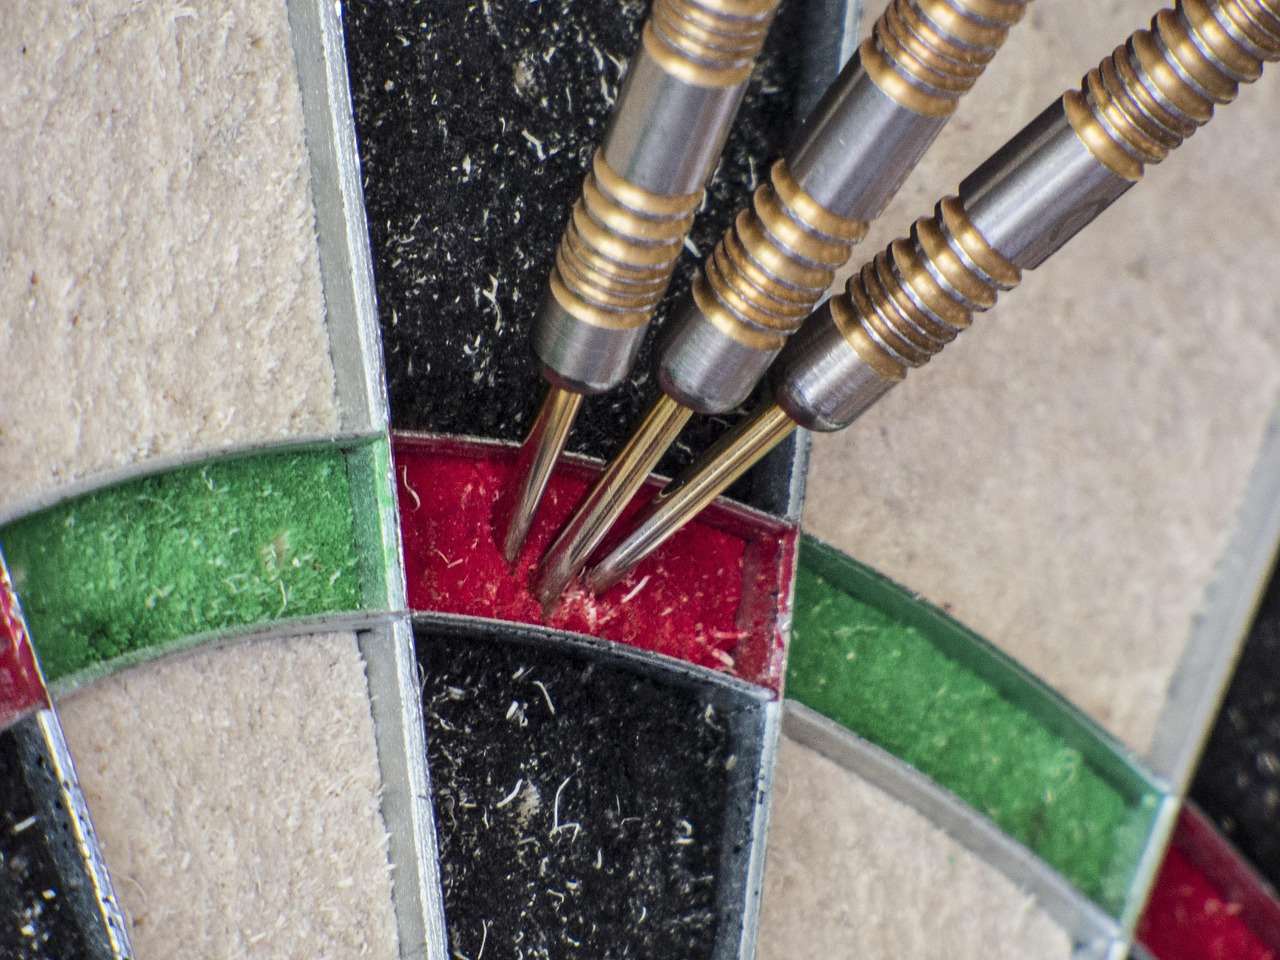
For those who lack carpentry skills, don’t worry! You can easily find pre-made dartboard cabinets or surrounds online or in sporting goods stores. While these lack the complete customization of a custom built dartboard surround, they offer a convenient and cost-effective alternative. However, even these pre-made options may benefit from personal touches to truly make them your own.
Finishing Touches
Once your surround is built, it’s time to add the finishing touches. Sanding is crucial, especially with wood, to create a smooth surface. Apply stain or paint to achieve your desired aesthetic. You could also add decorative elements such as molding, trim, or even personalized engravings. Consider adding a clear coat for extra protection against scratches and moisture.
If you’re incorporating lighting, carefully plan the wiring and ensure it’s safely installed and conforms to all electrical codes. Always prioritize safety when working with electricity. For a rustic look, consider leaving some of the wood’s natural grain visible. For a modern design, a clean, smooth finish is usually preferred. This is where a grip wax application might be considered, though not directly relevant to the construction.
Installation and Mounting Your Custom Built Dartboard Surround
Installing your custom built dartboard surround requires careful planning. First, make sure your wall can support the weight of the surround and the dartboard. You’ll likely need to use sturdy wall anchors and screws appropriate for your wall type. If you are unsure about the structural integrity of your wall, consult a professional.
Properly secure your surround to the wall, ensuring it’s level and firmly in place. Ensure that there’s enough clearance around the dartboard for comfortable throwing. You might want to use a level and measure twice before drilling any holes. Always remember safety first; wear appropriate safety glasses when working with tools.
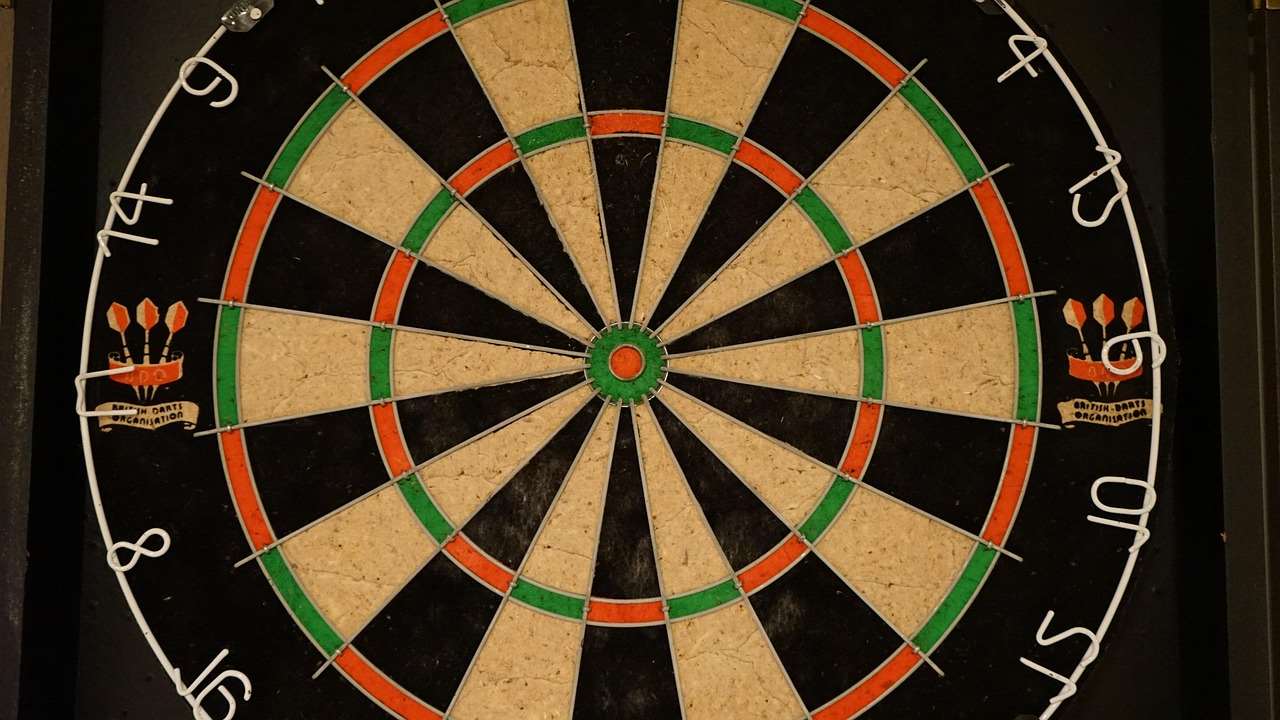
After installing the surround, carefully mount the dartboard itself within the confines of your custom creation. Ensure it is correctly centered and securely fastened. Many dartboards come with pre-installed hanging hardware. If not, you will need appropriate hanging hardware specifically designed for dartboards. This ensures a safe and secure setup. Proper installation is paramount to the overall enjoyment and longevity of your dartboard setup.
Maintaining Your Custom Built Dartboard Surround
Regular maintenance will help preserve the beauty and durability of your custom built dartboard surround. Dust and clean regularly, depending on the material. Wood surrounds may need occasional re-staining or refinishing. MDF can be cleaned easily with a damp cloth. For more specific care instructions, refer to the guidelines for your chosen material.
Keep an eye out for any signs of wear and tear, such as loose screws or damaged areas. Address these issues promptly to prevent further damage. Regular inspections and timely maintenance will keep your surround looking great for years to come. This also links to the importance of Darts gear lifespan guide principles.
Choosing the Right Dartboard for Your Surround
Your custom built dartboard surround should complement the dartboard it houses. Different dartboards come in various sizes and styles; some are more aesthetically pleasing than others, making material and style choices important. Choose a dartboard that complements your surround’s style. If you have a rustic wood surround, you might pair it with a traditional sisal dartboard, for instance. The size of your dartboard should also align with the dimensions of your surround.
Consider factors like bristle type and dartboard thickness when selecting a suitable dartboard. Different materials will affect the bounce of the darts, potentially requiring alterations to your throwing technique. Remember, your dartboard is a critical component in your overall gaming experience, and should be carefully selected to enhance that experience.
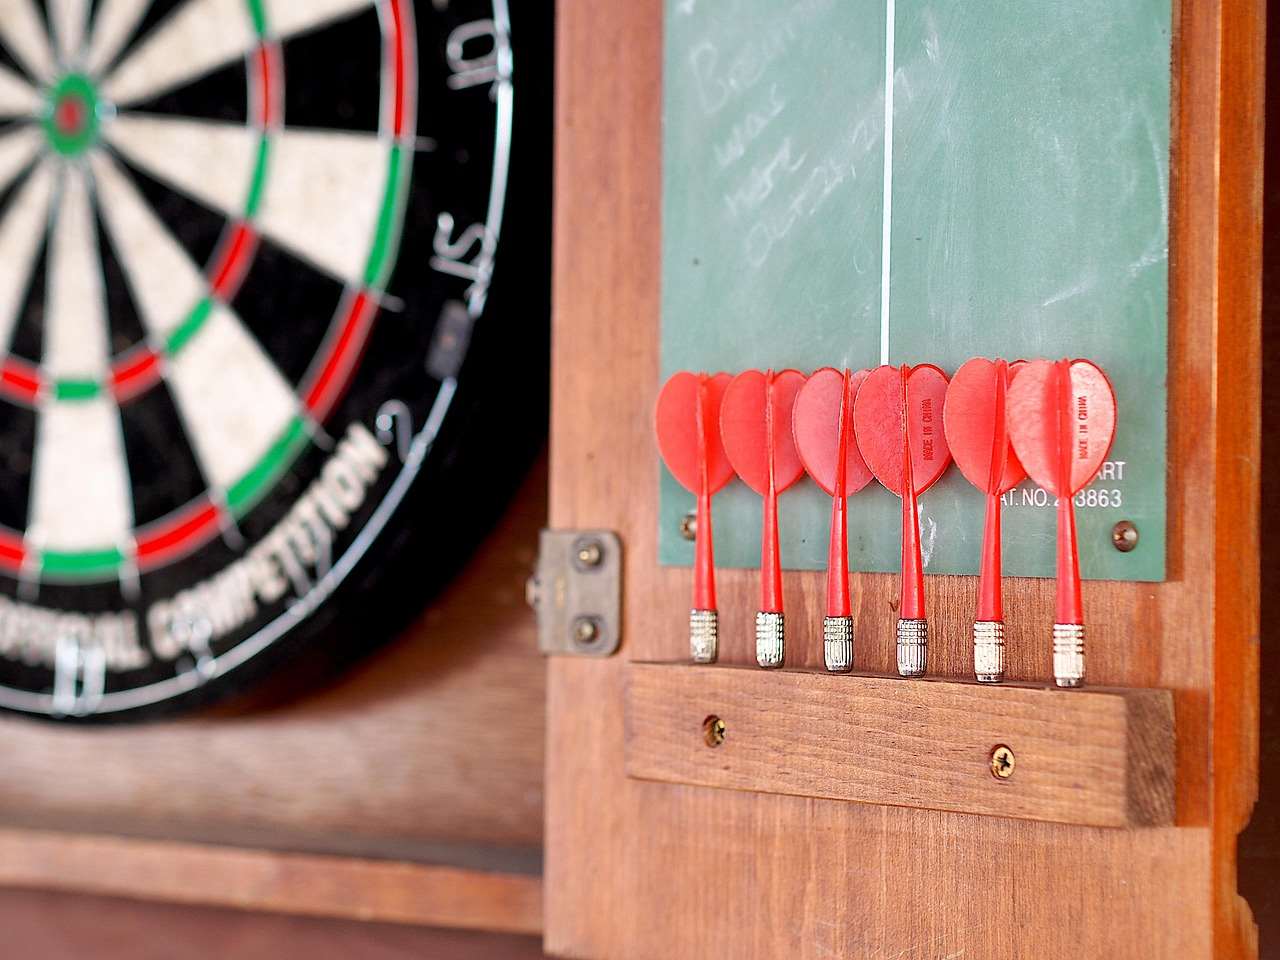
Along with considering the type of dartboard, it is crucial to understand the importance of proper cleaning dart scoreboards and cleaning dart shafts, as well as cleaning dart barrels rear loaded, to maintain the overall quality of your equipment and your game space.
Adding Personal Touches: Lighting, Accessories, and More
Elevating your game space beyond simply a functional area is all about the details. Consider adding ambient lighting to enhance the atmosphere of your game area. This could involve installing integrated LED strips within your custom built dartboard surround or utilizing strategically placed spotlights. You could also explore adding shelving for storing your darts, accessories and scorecards.
Don’t forget about custom dart accessories – they can add a personalized touch that truly makes the space your own. These accessories can range from custom dart flights and barrels to personalized scoreboards, all contributing to a cohesive and uniquely personal feel. This aspect also connects to the concepts explored in Darts gear lifespan lessons.
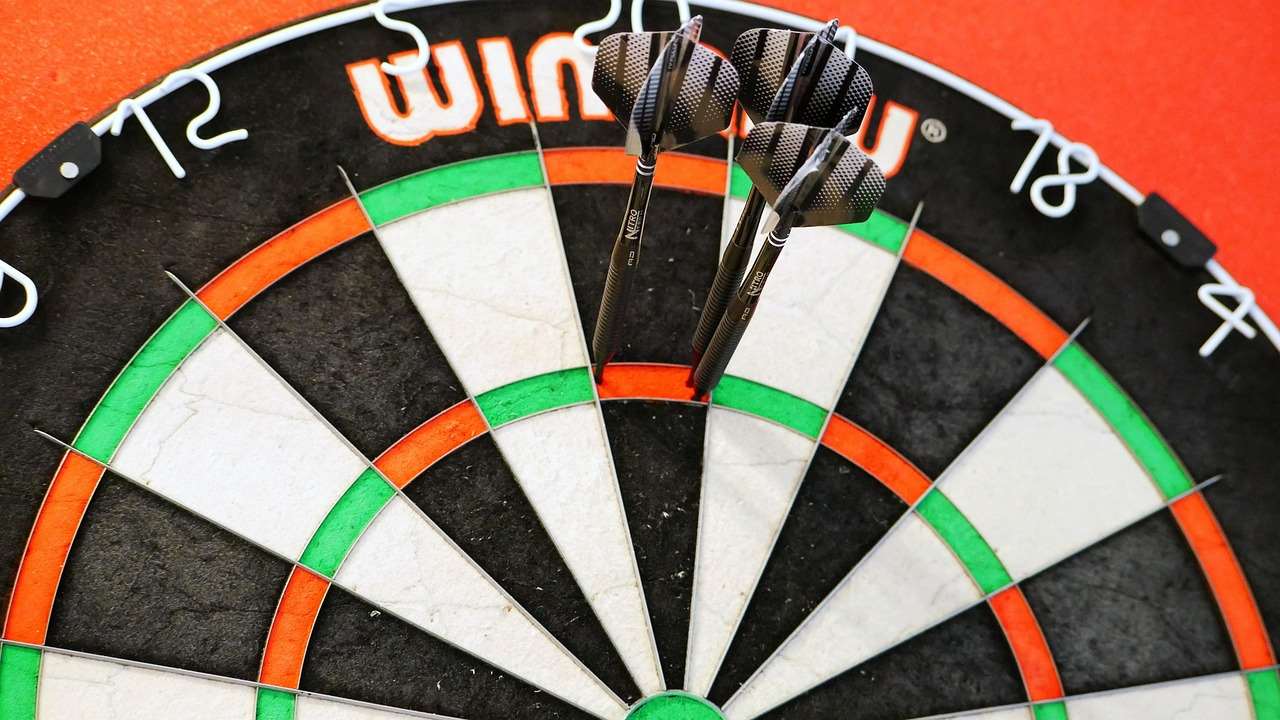
Remember the small details can make a big difference! Personalized elements like engraved names or team logos on the surround itself, or even bespoke artwork integrated into the design, can bring the whole look together. Consider the overall aesthetic you’re trying to achieve. Do you prefer a minimalist look, or something more elaborate and visually striking?
Think about incorporating elements that reflect your personal style or interests. This could involve adding a specific color scheme, utilizing certain materials, or even incorporating elements from your other hobbies or interests. The ultimate goal is to create a space that is both functional and personally fulfilling, a place where you can truly enjoy your game.
Conclusion
Creating a custom built dartboard surround is a rewarding project that combines creativity, craftsmanship, and a love for the game. By following these steps and incorporating your own unique ideas, you can transform your game room into a stylish and functional space you’ll be proud to call your own. Remember to plan carefully, choose your materials wisely, and always prioritize safety. With a little effort, you can enjoy your newly crafted and personalized dart-throwing environment for years to come. Consider exploring related resources such as custom dart accessories, movable dart point model, and dart point length for power for further enhancements to your game setup. Don’t forget to showcase your finished custom built dartboard surround; share pictures and let us know how it turned out!
Hi, I’m Dieter, and I created Dartcounter (Dartcounterapp.com). My motivation wasn’t being a darts expert – quite the opposite! When I first started playing, I loved the game but found keeping accurate scores and tracking stats difficult and distracting.
I figured I couldn’t be the only one struggling with this. So, I decided to build a solution: an easy-to-use application that everyone, no matter their experience level, could use to manage scoring effortlessly.
My goal for Dartcounter was simple: let the app handle the numbers – the scoring, the averages, the stats, even checkout suggestions – so players could focus purely on their throw and enjoying the game. It began as a way to solve my own beginner’s problem, and I’m thrilled it has grown into a helpful tool for the wider darts community.