Transform your game room with a stunning DIY dartboard lighting and surround! This article will guide you through creating the perfect ambiance for your dart practice, from selecting the right lighting to building a custom surround. We’ll cover materials, installation, and even some design ideas to elevate your game.
⚠️ Still Using Pen & Paper (or a Chalkboard)?! ⚠️
Step into the future! The Dart Counter App handles all the scoring, suggests checkouts, and tracks your stats automatically. It's easier than you think!
Try the Smart Dart Counter App FREE!Ready for an upgrade? Click above!
Before we dive into the specifics of creating your DIY dartboard lighting and surround, let’s talk about the importance of good lighting and a functional surround. Proper lighting minimizes shadows, allowing you to accurately judge your throws, a crucial aspect of improving your dart game. A well-designed surround protects your walls from errant darts, providing a safe and aesthetically pleasing environment. It also adds a touch of personal flair to your game room, reflecting your style and passion for darts.
Planning Your DIY Dartboard Lighting and Surround
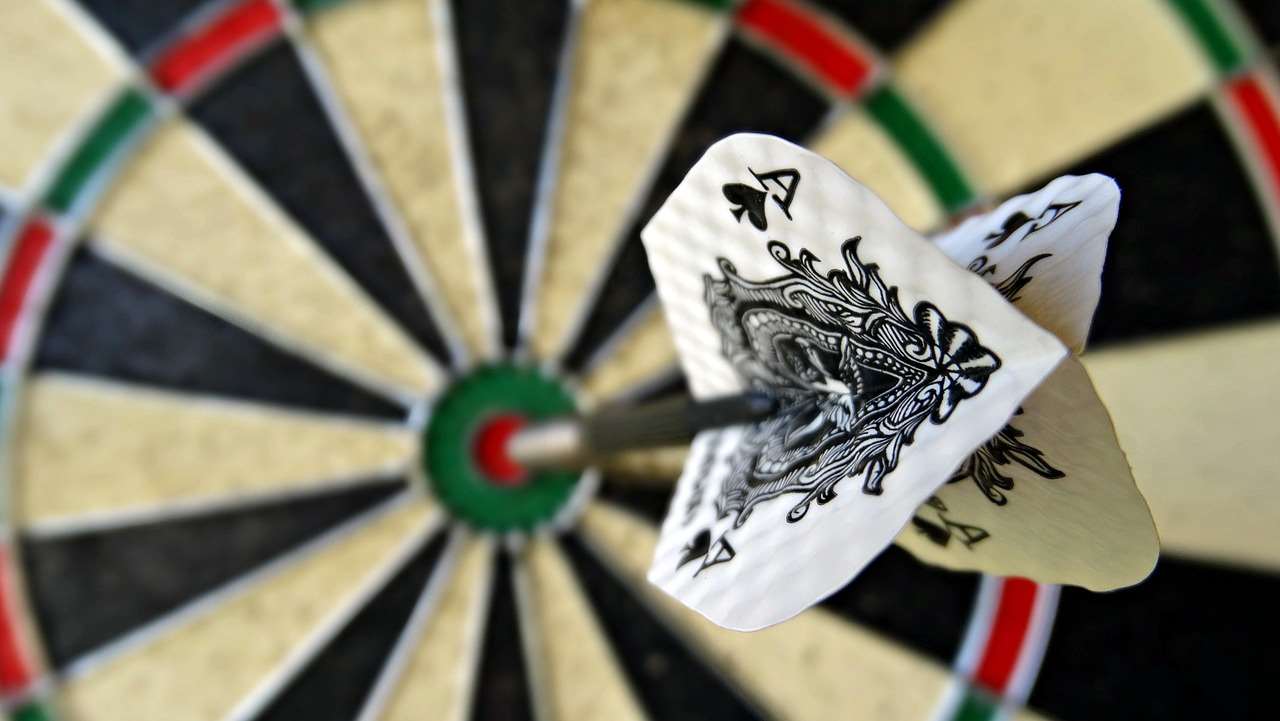
The first step in any successful DIY dartboard lighting and surround project is careful planning. Consider your existing space, the size of your dartboard, and your personal preferences. Measuring your dartboard and the surrounding wall space accurately is crucial for ensuring a perfect fit for your new lighting and surround. Sketching a basic design beforehand can also help you visualize the final product and identify any potential challenges early on. You’ll want to consider the overall aesthetic of your game room. Do you want a sleek, modern look, or something more rustic and traditional? This will influence your material choices and overall design.
Choosing Your Lighting
The type of lighting you choose is vital for optimal dart throwing conditions. Avoid harsh, direct overhead lighting, as this can create distracting shadows. Instead, opt for soft, diffused lighting that illuminates the dartboard evenly. Consider LED strip lights positioned around the surround, offering a subtle glow that doesn’t interfere with your focus. You could also incorporate adjustable spotlights to customize the brightness and angle of the illumination. Remember to check local building codes and safety regulations regarding electrical wiring before undertaking any electrical work.
Selecting Materials for Your Surround
The materials you choose for your DIY dartboard lighting and surround will significantly impact the overall look and durability of your project. Consider using materials that are easy to work with, aesthetically pleasing, and able to withstand the impact of errant darts. Popular choices include plywood, MDF (medium-density fiberboard), and reclaimed wood. Ensure the materials are thick enough to provide adequate dart protection for your walls. For a more polished finish, you can paint or stain the surround to match your existing decor. This is where you can really let your creativity shine! Consider incorporating LED lighting within the surround itself to accent the dartboard even more effectively. Custom dartboard cabinets with storage could be a great choice if you have space available and like to keep your space organized.
Building Your DIY Dartboard Lighting and Surround: A Step-by-Step Guide
With your plans finalized and materials gathered, it’s time to begin construction. This process is relatively straightforward, but attention to detail is key for a professional-looking finish. Begin by carefully measuring and cutting your chosen material to the desired dimensions for the surround. Ensure all cuts are precise to avoid gaps or misalignments. Next, assemble the surround frame, using appropriate woodworking techniques like doweling or screws for added strength. Consider adding a lip or backboard to contain any errant darts and protect your walls. Remember to account for the thickness of your chosen material when calculating the dimensions to prevent the board from being too small or too big.
Installing the Lighting
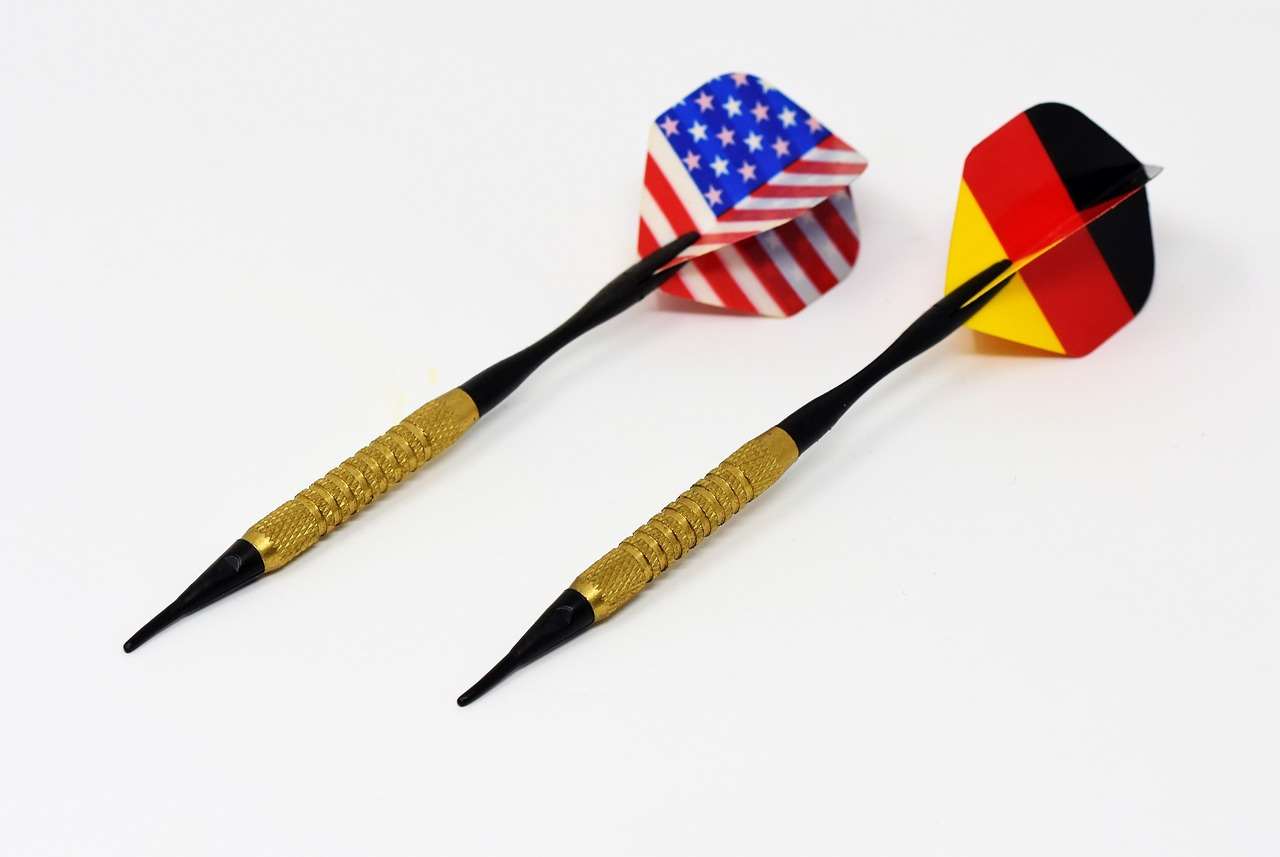
Installing the lighting should be done carefully and safely. If working with electrical components, always ensure power is disconnected before working with the wiring. Follow the manufacturer’s instructions carefully for your chosen LED strips or spotlights. Ensure the wiring is securely fastened and neatly concealed within the surround. If you’re not comfortable working with electricity, it’s best to consult a qualified electrician. Testing your lighting is crucial before sealing the surround. Once you’re satisfied that the wiring is complete and functional, you can complete the surround. This is a great opportunity to personalize it even further, perhaps by adding shelving or other storage solutions.
Finishing Touches
Once the lighting and surround are securely in place, it’s time to add the finishing touches. This might include sanding any rough edges, applying a protective sealant, and painting or staining the surround. Consider adding decorative elements like molding or trim to enhance the overall aesthetic. Remember to leave adequate space around your dartboard for comfortable throwing. A well-designed surround will protect your walls and enhance the overall ambiance of your game room. Remember that a well-maintained dartboard is key to a consistent game, so check out our guide on Darts Equipment Maintenance Customization for expert advice.
Troubleshooting Common Issues with DIY Dartboard Lighting and Surround
Even with careful planning and execution, you might encounter some challenges during your DIY dartboard lighting and surround project. Here are some common issues and solutions: Uneven lighting: This can often be resolved by adjusting the position and angle of your light sources, or by using diffusers to soften the light. Poorly fitting surround: Double-check your measurements and ensure all cuts are accurate. If necessary, make adjustments to the surround to ensure a snug fit around the dartboard. Loose wiring: Always ensure that all wires are securely fastened. Loose wiring can lead to electrical hazards and malfunctioning lights. Remember to follow local electrical codes and to consult a professional when necessary.
Addressing Electrical Issues
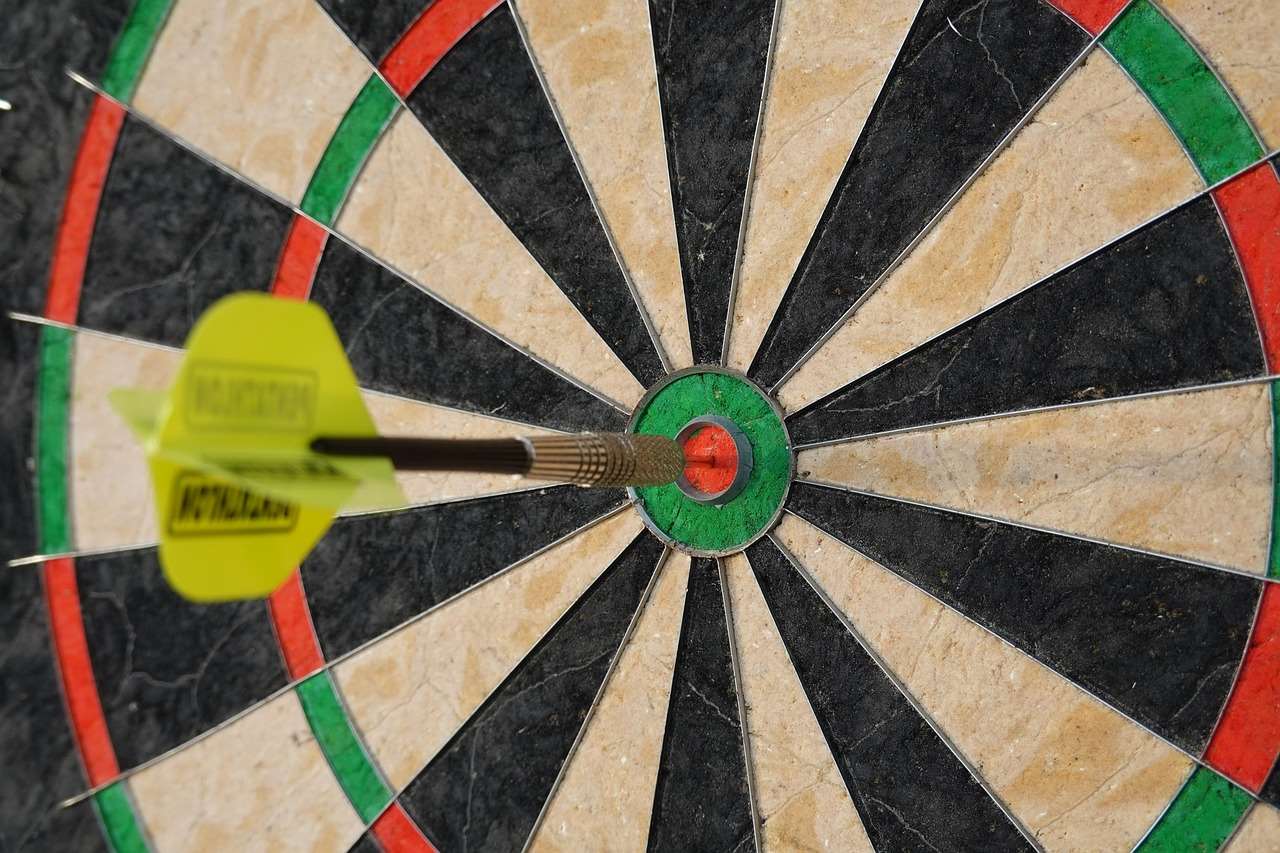
Electrical issues are a significant concern when constructing a DIY project involving lights. Ensure that all wiring is done according to local codes and safety regulations. Using low-voltage LED lighting can minimize some risks, but always prioritize safety. If you’re not confident working with electricity, consult a professional electrician. They can ensure your lighting is installed correctly and safely, preventing potential hazards. Homemade dartboard light rings can be especially easy to assemble but require careful attention to wiring and safety.
Maintaining Your Dartboard Surround
Regular maintenance of your DIY dartboard lighting and surround will help prolong its lifespan and maintain its appearance. Periodically inspect the wiring for any damage or loose connections. Dust and clean the surround regularly to keep it looking its best. Depending on your choice of materials, you might need to apply a fresh coat of paint or sealant occasionally. This is all part of the ongoing enjoyment of your bespoke dart setup. Waxing and grip guide may not relate directly to the surround but will enhance your dart game overall.
Creative Design Ideas for Your DIY Dartboard Lighting and Surround
Let your creativity shine! Your DIY dartboard lighting and surround doesn’t have to be just functional; it can also be a stylish addition to your game room. Consider incorporating unique design elements to reflect your personal style. Use different wood types and finishes, add decorative molding, or even integrate custom artwork. A themed surround, such as a pub-style design or a modern minimalist aesthetic, could truly elevate your game room. The possibilities are endless. Why not add integrated shelving for storing your darts and other accessories? You could also incorporate a chalkboard or whiteboard area for scorekeeping or game notes.
Adding Personal Touches
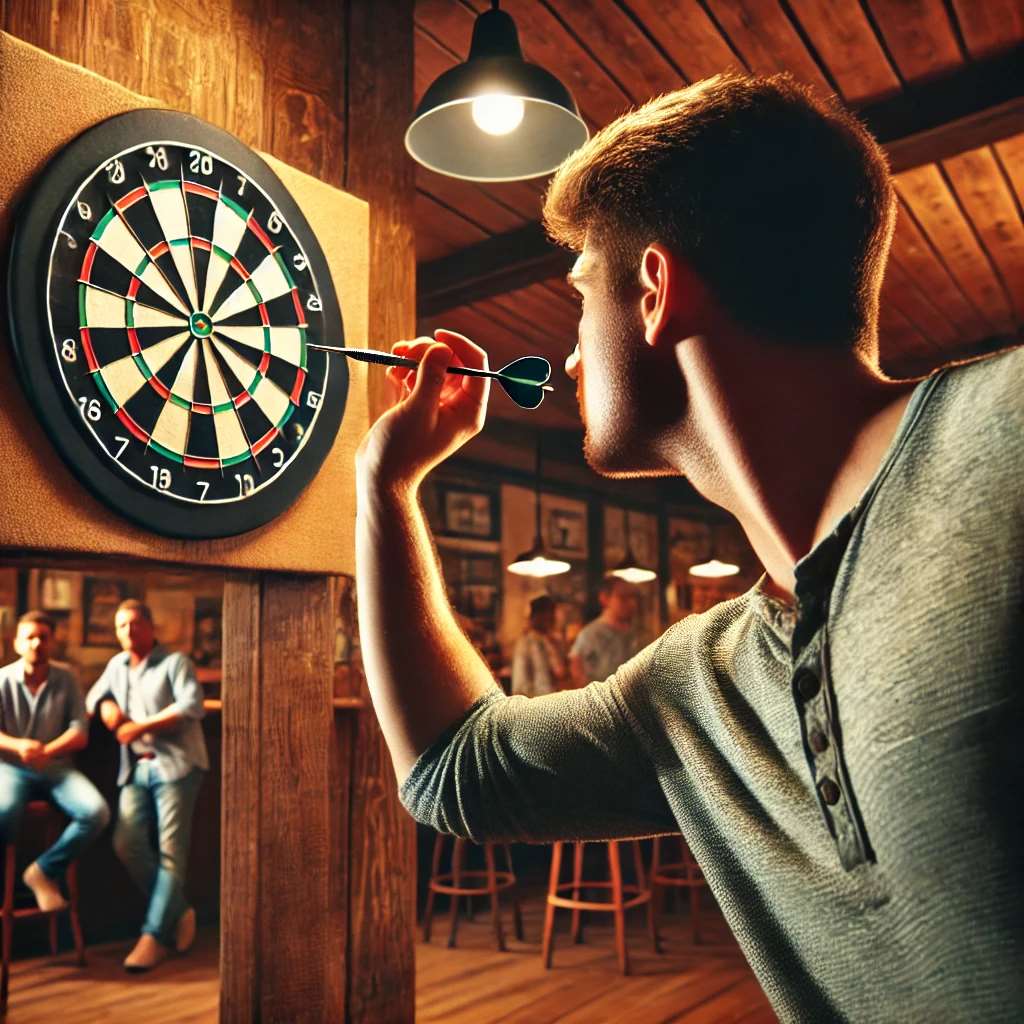
Personalizing your surround can transform it from a mere functional piece to a cherished element of your game room. Incorporate elements reflecting your hobbies or interests, such as team logos, favorite quotes, or even custom artwork. This can dramatically elevate the aesthetics of your setup. Remember that a well-designed surround complements the overall aesthetic of your game room and shows off your attention to detail. It is worth investing time and effort to enhance your dart-playing experience and create a space that perfectly reflects your personality. You could even add some integrated lighting into the design to further add to the space.
Conclusion: Elevate Your Game with a Stunning DIY Dartboard Lighting and Surround
Creating a DIY dartboard lighting and surround is a rewarding project that enhances both the functionality and aesthetic appeal of your game room. By following the steps outlined in this article, you can create a custom setup that perfectly suits your needs and preferences. Remember, careful planning, quality materials, and attention to detail are key to achieving a professional-looking result. Don’t be afraid to experiment with different design ideas and personalize your creation to reflect your unique style. So, grab your tools, gather your materials, and get ready to transform your dart-playing experience! Remember to check out our guide on dart flight design for recognition to add another layer of personalization to your darts and custom image dart flights for an even more personalized touch.
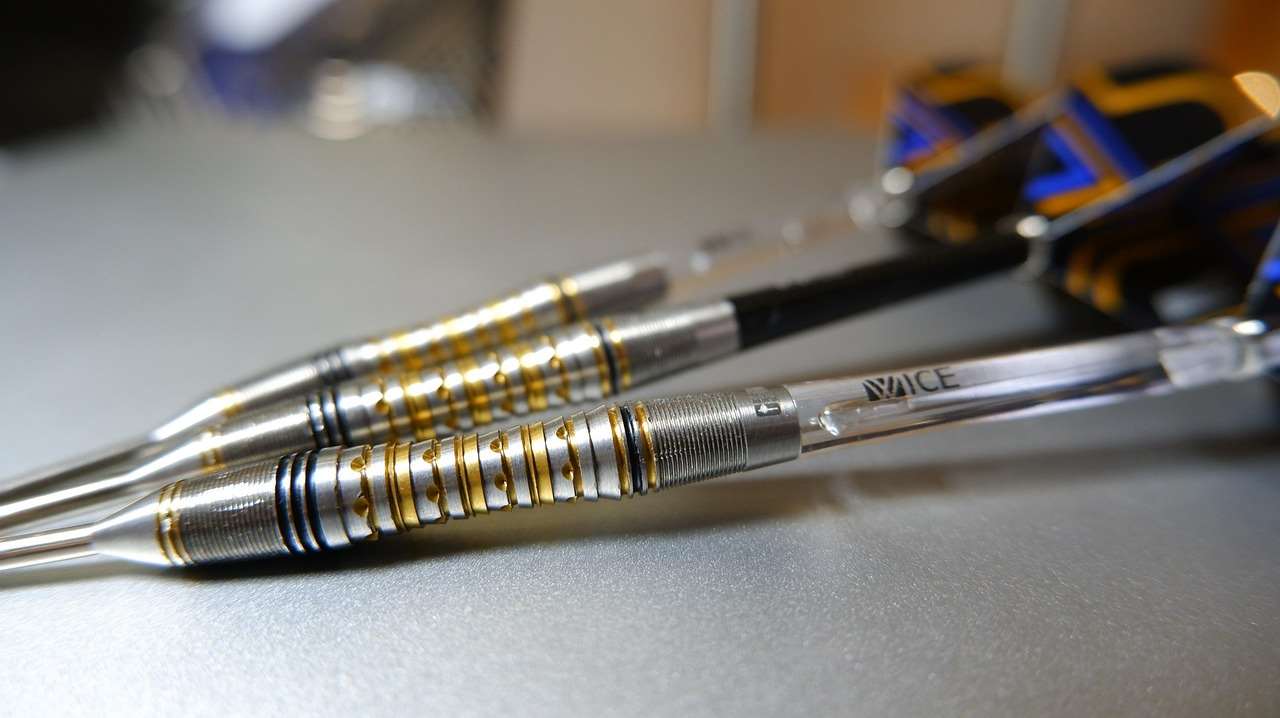
Ready to start your project? Let us know in the comments below what design ideas you’re considering! And don’t forget to share your finished projects with us – we’d love to see your incredible DIY dartboard lighting and surround creations! Perhaps you’ve struggled with dart flight design challenges in the past? Don’t hesitate to share your experiences!
Hi, I’m Dieter, and I created Dartcounter (Dartcounterapp.com). My motivation wasn’t being a darts expert – quite the opposite! When I first started playing, I loved the game but found keeping accurate scores and tracking stats difficult and distracting.
I figured I couldn’t be the only one struggling with this. So, I decided to build a solution: an easy-to-use application that everyone, no matter their experience level, could use to manage scoring effortlessly.
My goal for Dartcounter was simple: let the app handle the numbers – the scoring, the averages, the stats, even checkout suggestions – so players could focus purely on their throw and enjoying the game. It began as a way to solve my own beginner’s problem, and I’m thrilled it has grown into a helpful tool for the wider darts community.