A Homemade dartboard light ring dramatically improves your game by providing focused illumination on the board, reducing eye strain, and enhancing accuracy. This article will guide you through building one, covering various designs, materials, and installation tips, ensuring you have a perfectly lit dartboard for countless hours of enjoyable play. We’ll also explore some related upgrades to your dart setup.
⚠️ Still Using Pen & Paper (or a Chalkboard)?! ⚠️
Step into the future! The Dart Counter App handles all the scoring, suggests checkouts, and tracks your stats automatically. It's easier than you think!
Try the Smart Dart Counter App FREE!Ready for an upgrade? Click above!
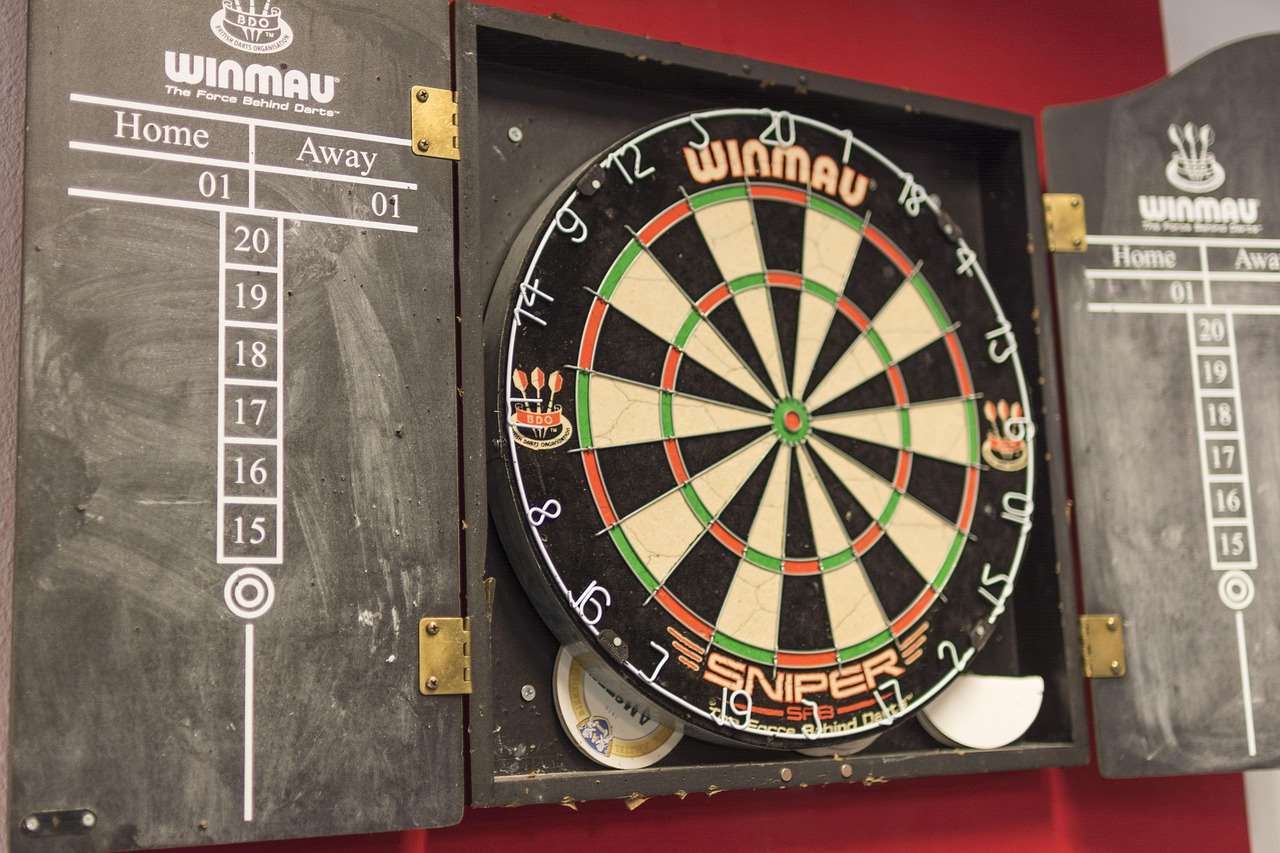
Before we dive into the specifics of crafting your homemade dartboard light ring, let’s consider why this upgrade is so beneficial. A well-lit dartboard is crucial for consistent performance. Poor lighting can lead to misjudgments of distance and angles, impacting your score and overall enjoyment. A custom homemade dartboard light ring allows for perfect, focused illumination, tailored precisely to your dartboard’s needs. This isn’t just about improving your game – it’s about enhancing your entire dart-playing experience.
Choosing the Right Materials for Your Homemade Dartboard Light Ring
The beauty of a homemade dartboard light ring lies in its adaptability. You can use a variety of materials, depending on your budget and aesthetic preferences. For a simple and cost-effective option, consider using LED strip lights. These are readily available, energy-efficient, and come in various colors and brightness levels. For a more robust and aesthetically pleasing ring, you could explore using a custom-bent metal pipe or even repurposed materials like wooden dowels. Remember, the key is to ensure your chosen material is durable enough to withstand daily use and is easily attached to your dartboard setup.
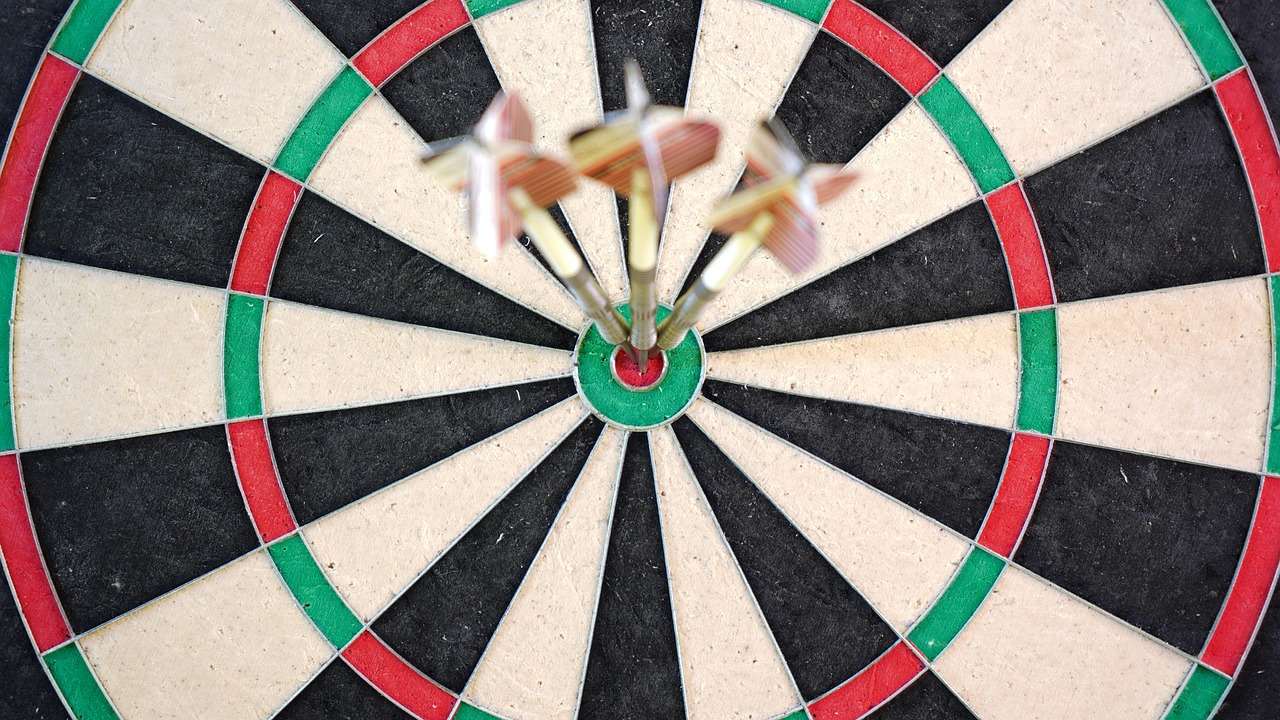
LED Strip Lights: A Budget-Friendly Choice
LED strip lights are an excellent starting point for your homemade dartboard light ring project. They are flexible, easy to install, and readily available online or at most hardware stores. You’ll need to measure the circumference of your dartboard to determine the length of LED strip required. When choosing your lights, consider the brightness (lumens) and color temperature (Kelvin). A bright, cool white light is generally preferred for optimal visibility, minimizing shadows and glare. Remember to consider a power supply appropriate for your chosen LEDs and ensure you have the proper connectors and wiring.
Metal Pipe Rings: A Durable and Stylish Option
For a more permanent and robust solution, consider using a metal pipe bent into a ring. This offers a sturdy and stylish homemade dartboard light ring. You’ll need access to pipe bending equipment, or you can have a metalworking shop custom bend the pipe for you. Choose a durable metal like steel or aluminum to ensure longevity. The pipe should be strong enough to support the weight of the lights and the overall assembly. Once bent, you can attach LED lights directly to the pipe or use clips designed for this purpose. Remember, safety should be your top priority when working with metal.
Building Your Homemade Dartboard Light Ring: A Step-by-Step Guide
Now that you’ve chosen your materials, let’s walk through the construction of your homemade dartboard light ring. This guide will use LED strip lights as an example, but the principles can be adapted to other materials. Remember to prioritize safety at every stage of the process, especially when working with electricity. If you’re uncomfortable with any aspect of the process, consider seeking assistance from someone experienced in electrical work or DIY projects.
Step 1: Measure and Cut
First, carefully measure the circumference of your dartboard. This measurement will determine the length of LED strip lights you need to purchase. Add a few extra inches to account for any errors or adjustments. Cut the LED strip lights to the correct length, following the manufacturer’s instructions carefully.
Step 2: Attach the Lights
Once you have your measured and cut LED strip lights, you can securely fasten them to your chosen ring material (e.g., a metal pipe, a wooden ring, or directly to the dartboard surround). Use adhesive backing or suitable clamps to ensure the lights are firmly attached and evenly distributed around the circumference of the dartboard. Ensure you’re not obstructing the throwing area with the ring or any cabling.
Step 3: Connect the Power Supply
Connect the LED strip lights to the power supply, following the manufacturer’s instructions. Double-check all connections to prevent short circuits or other electrical issues. You might also consider a dimmer switch if you want to adjust the brightness of your lights depending on ambient light conditions.
Step 4: Install and Test
Carefully position the homemade dartboard light ring around your dartboard, ensuring even illumination. Test the lights to ensure they’re working correctly before securing everything in place. You might want to use screws or brackets to secure the ring to a wall or other supporting structure.
Tips and Tricks for the Perfect Homemade Dartboard Light Ring
To maximize the effectiveness of your homemade dartboard light ring, consider these additional tips:
- Even Illumination: Aim for consistent brightness across the entire ring to avoid uneven lighting on the dartboard.
- Avoid Glare: Choose a matte finish or diffused LED lights to minimize glare and reflections.
- Adjustable Brightness: Consider using a dimmer switch to control the brightness, adapting to different ambient lighting conditions.
- Heat Dissipation: Ensure your lights have adequate ventilation to prevent overheating, especially if using high-power LEDs.
- Safety First: Always follow electrical safety guidelines and consider using a qualified electrician if you are unsure about any aspect of the wiring process.
A well-lit dartboard isn’t the only thing that makes for a better game. Consider also exploring options for barrel customization for grip to improve your throw. Proper cleaning of your dart barrels is also crucial for maintaining performance. If you’re having issues with your dart points, learn about replacing movable dart points or consider a movable dart point. And for a complete game upgrade, check out our guide on DIY dartboard cabinets to keep your equipment organized and protected.
Beyond the Basics: Enhancing Your Dart Setup
While a homemade dartboard light ring significantly enhances your game, consider these additional upgrades to create the ultimate dart-playing environment:
- Dartboard Surround: A good surround protects your walls and provides a more professional look. Consider building your own DIY version. For instance, see how you can create a DIY dartboard cabinet using reclaimed wood for a unique, sustainable addition to your game room.
- Proper Dartboard Placement: Ensure your dartboard is mounted at the correct height and distance to minimize strain and maximize accuracy.
- Ambient Lighting: While the homemade dartboard light ring provides focused lighting, overall room lighting should be considered as well. Avoid harsh shadows and bright spots that could interfere with your game.
Remember that maintaining your darts equipment is as important as your setup. Regular maintenance ensures your equipment will last longer and perform better. To learn more about maintaining your equipment, consult our guide on Darts Equipment Maintenance Customization. This guide covers various maintenance practices and customization options to personalize your equipment.
Troubleshooting Your Homemade Dartboard Light Ring
Even with careful construction, issues can arise. Here are some common problems and solutions:
- Flickering Lights: Check the connections, power supply, and ensure the LED strip is properly grounded. Faulty LEDs may need replacement.
- Uneven Illumination: Adjust the placement of the lights or use a diffuser to spread the light more evenly.
- Overheating: Ensure adequate ventilation. High-power LEDs may require additional cooling solutions.
By addressing these potential problems proactively, you can extend the life and performance of your homemade dartboard light ring. Remember, patience and attention to detail are key when it comes to crafting a high-quality homemade dartboard light ring.
Conclusion
Building a homemade dartboard light ring is a rewarding project that dramatically improves your dart-playing experience. By following this step-by-step guide and considering the tips provided, you can create a custom lighting solution that enhances accuracy, reduces eye strain, and adds a touch of personality to your game setup. Remember to prioritize safety and always double-check your work before connecting the power supply. Now, get crafting, and prepare to experience the difference a well-lit dartboard makes in your game! Consider also exploring other options for optimizing your throw such as dart point length experimentation and enhancing your dart grip for a truly superior game.
Start your project today and elevate your game! Let us know in the comments how your homemade dartboard light ring turned out.
Hi, I’m Dieter, and I created Dartcounter (Dartcounterapp.com). My motivation wasn’t being a darts expert – quite the opposite! When I first started playing, I loved the game but found keeping accurate scores and tracking stats difficult and distracting.
I figured I couldn’t be the only one struggling with this. So, I decided to build a solution: an easy-to-use application that everyone, no matter their experience level, could use to manage scoring effortlessly.
My goal for Dartcounter was simple: let the app handle the numbers – the scoring, the averages, the stats, even checkout suggestions – so players could focus purely on their throw and enjoying the game. It began as a way to solve my own beginner’s problem, and I’m thrilled it has grown into a helpful tool for the wider darts community.