Achieving a truly level and properly positioned dartboard is crucial for fair play and accurate scoring; using plumb line dartboard setup ensures the board is perfectly vertical. This article will guide you through the process of accurately mounting your dartboard using a plumb line, covering everything from essential tools to final adjustments, and also delve into common setup mistakes to avoid.
⚠️ Still Using Pen & Paper (or a Chalkboard)?! ⚠️
Step into the future! The Dart Counter App handles all the scoring, suggests checkouts, and tracks your stats automatically. It's easier than you think!
Try the Smart Dart Counter App FREE!Ready for an upgrade? Click above!
Why Use a Plumb Line for Dartboard Setup?
While a spirit level might seem adequate, a plumb line offers superior accuracy for ensuring your dartboard hangs perfectly vertical. Even slight deviations from vertical can subtly alter dart trajectories, leading to inconsistent scores and frustration. Using a plumb line dartboard setup guarantees a fair playing field for all participants. A plumb line provides a true vertical reference, unaffected by minor imperfections in walls or floors.
Many dart players overlook the importance of this step, but precision is key to enjoying the game and improving your skills. A wobbly or tilted board can lead to unintentional biases in your throw, hindering your progress. This meticulous approach lays the groundwork for better performance and overall enjoyment.
Tools You’ll Need for a Plumb Line Dartboard Setup
Before you begin, gather the necessary tools. Having everything readily available will streamline the process and minimize potential disruptions:
- Dartboard and Mounting Bracket: Essential, obviously. Make sure you have the correct bracket for your board.
- Plumb Line: This is the star of the show! A simple weight attached to a string or specialized laser plumb bob.
- Measuring Tape: Accurate measurements are crucial for proper height placement.
- Pencil: For marking the wall accurately.
- Drill with Appropriate Drill Bits: Matching the wall material is key.
- Screws and Anchors: Choose these based on your wall type (drywall, plaster, brick, etc.).
- Stud Finder (Optional): Helpful if you want to mount the board directly into a stud for maximum stability.
- Level (Optional): For double-checking your work alongside the plumb line.
Having the right tools will ensure a smooth and professional installation. Don’t skimp on quality; durable tools will make the job easier and more accurate.
Step-by-Step Guide: Achieving Perfect Verticality
Now, let’s dive into the process of using plumb line dartboard setup. Follow these steps carefully for optimal results:
- Measure and Mark the Height: The official height of the bullseye from the floor is 5 feet 8 inches (1.73 meters). Use your measuring tape and pencil to accurately mark this point on the wall.
- Attach the Mounting Bracket to the Dartboard: Follow the manufacturer’s instructions for attaching the bracket to the back of your dartboard. Ensure it is securely fastened.
- Position the Dartboard: Hold the dartboard against the wall, aligning the center of the bullseye with the mark you made in step one.
- Set Up the Plumb Line: Attach the top of your plumb line to a point directly above the bullseye mark. Allow the weight to hang freely.
- Align the Dartboard with the Plumb Line: Carefully adjust the dartboard until the string of the plumb line runs perfectly parallel to the face of the dartboard. This indicates that the board is perfectly vertical.
- Mark the Screw Holes: While holding the dartboard in position, use a pencil to mark the locations of the screw holes through the mounting bracket onto the wall.
- Drill Pilot Holes: Remove the dartboard and drill pilot holes at the marked locations. Use a drill bit appropriate for your wall type and the size of your screws.
- Install Anchors (If Necessary): If you’re not drilling into a stud, install wall anchors into the pilot holes. This will provide extra support for the dartboard.
- Mount the Dartboard: Carefully align the mounting bracket with the pilot holes (or anchors) and screw the dartboard into place. Tighten the screws until the dartboard is securely mounted but avoid over-tightening, which could damage the wall or the dartboard.
- Double-Check with the Plumb Line: After mounting, re-check the verticality of the dartboard with the plumb line. Make any necessary adjustments.
- Optional: Use a Level for Additional Verification: Place a level across the face of the dartboard, both horizontally and vertically, to further confirm its alignment.
Following these steps meticulously will ensure your dartboard is perfectly vertical and ready for countless games. Remember to double-check each step to avoid costly mistakes.
Addressing Common Setup Mistakes
Even with careful planning, mistakes can happen. Here are some common pitfalls to avoid when using plumb line dartboard setup:
- Inaccurate Measurements: Double-check all measurements before drilling any holes. Even a small error can throw off the entire setup.
- Incorrect Anchor Selection: Using the wrong type of wall anchor can result in a loose or unstable dartboard. Choose anchors specifically designed for your wall material.
- Over-Tightening Screws: Over-tightening can strip the screw holes or damage the wall. Tighten the screws until the dartboard is secure, but avoid applying excessive force.
- Ignoring Wall Obstructions: Be aware of any pipes or wires behind the wall before drilling. Use a stud finder or consult with a professional if you’re unsure.
- Failing to Re-Check Verticality: Always re-check the verticality of the dartboard with the plumb line after mounting. Minor adjustments may be necessary.
By being aware of these common mistakes, you can avoid potential problems and ensure a successful dartboard installation.
If you’re considering alternative game types, you may want to read more about Fun dart game variations with modified rules.
Alternative Methods for Achieving Verticality
While a plumb line is the most accurate method, there are alternative techniques you can use, especially if you don’t have a plumb line readily available:
- Laser Level: A laser level can project a vertical line onto the wall, providing a visual reference for aligning the dartboard.
- Smartphone Apps: Some smartphone apps utilize the phone’s gyroscope to function as a makeshift plumb bob or level. While not as accurate as a dedicated plumb line, they can be useful in a pinch.
- Spirit Level with Careful Adjustment: While less precise than a plumb line, a spirit level can be used if you are very meticulous. Check the level in multiple spots on the dartboard.
These alternative methods can be helpful, but it’s always best to use a plumb line whenever possible for the most accurate results.
Optimizing Your Darts Setup for Accuracy
Once your dartboard is perfectly vertical, consider these additional factors to optimize your setup for accuracy:
- Lighting: Ensure adequate and even lighting on the dartboard to eliminate shadows that could distort your perception.
- Oche (Throwing Line): Measure the correct distance from the face of the dartboard to the throwing line (7 feet 9 1/4 inches or 2.37 meters).
- Surround: Install a dartboard surround to protect your wall from stray darts and reduce bounce-outs.
- Floor Protection: Consider a dart mat to protect your floor from dropped darts and provide a consistent throwing surface.
These additional considerations can enhance your overall darts experience and improve your accuracy.
If you’re new to darts and want to improve, checking out Basic Darts Fundamentals for Beginners is an excellent starting point. Many beginning players also wonder about Adapting darts rules for beginners when starting.
Understanding the Importance of Standard Dartboard Dimensions
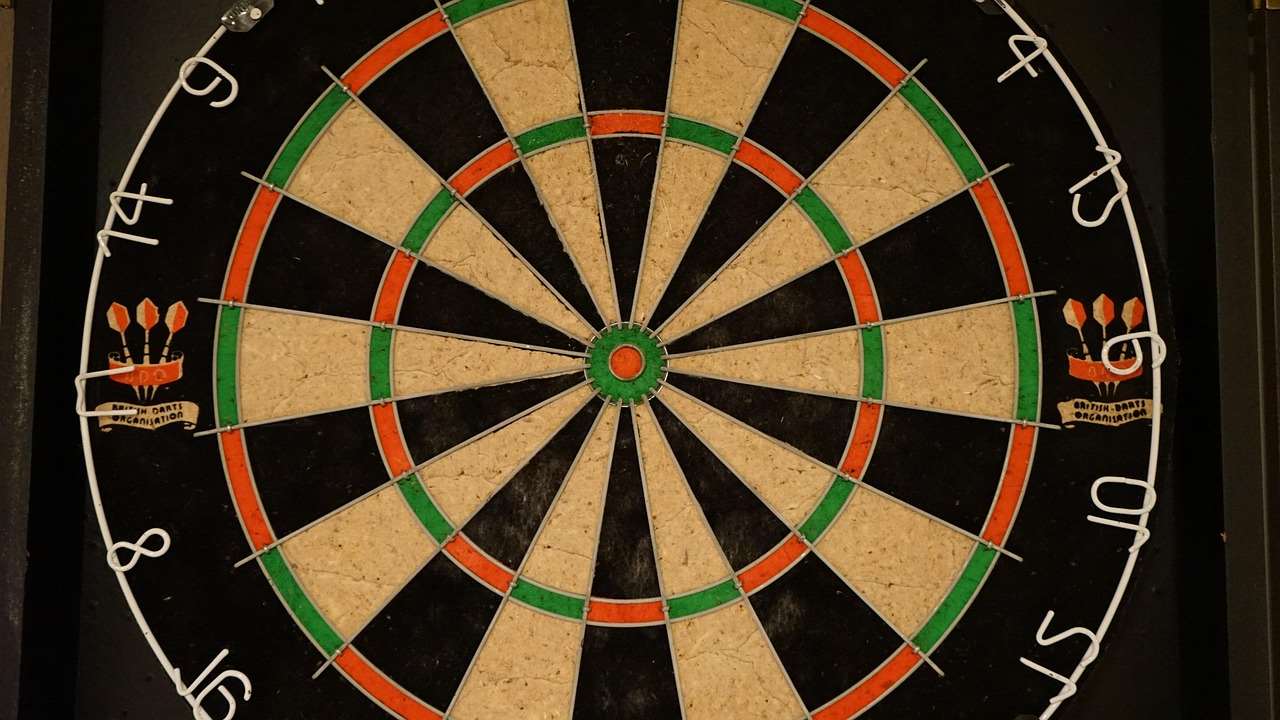
The official dimensions of a dartboard are standardized to ensure fair play in competitions and casual games alike. Understanding these dimensions is crucial for proper setup and gameplay:
- Diameter: The standard dartboard diameter is 17 3/4 inches (451 mm).
- Bullseye Height: As mentioned earlier, the bullseye should be 5 feet 8 inches (1.73 meters) from the floor.
- Throwing Distance: The throwing distance (from the face of the dartboard to the oche) is 7 feet 9 1/4 inches (2.37 meters).
Adhering to these standard dimensions guarantees a consistent and enjoyable darts experience for everyone.
Maintaining Your Dartboard After Setup
Once you’ve completed using plumb line dartboard setup, proper maintenance is essential to prolong the life of your dartboard and maintain its performance:
- Rotate the Dartboard Regularly: Rotating the dartboard helps to distribute wear evenly and prevent certain areas from becoming overly damaged.
- Keep the Dartboard Clean: Dust and debris can accumulate on the dartboard, affecting its performance. Clean the board regularly with a soft brush or cloth.
- Replace Worn Darts: Worn or damaged darts can damage the dartboard. Replace them as needed to prevent further wear and tear.
- Store the Dartboard Properly: If you’re not using the dartboard for an extended period, store it in a dry, cool place to prevent warping or damage.
Regular maintenance will keep your dartboard in top condition and ensure years of enjoyment.
Advanced Tips for Fine-Tuning Your Setup
For serious dart players, these advanced tips can help fine-tune your setup for optimal performance:
- Laser Oche: Use a laser oche to ensure consistent throwing distance.
- Dartboard Lighting Systems: Invest in a high-quality dartboard lighting system for even and shadow-free illumination.
- Calibrate Your Throw: Practice consistently and analyze your throws to identify areas for improvement.
- Experiment with Different Darts: Find darts that suit your grip and throwing style.
These advanced techniques can help you take your darts game to the next level.
Another tip is to make sure things remain fair when playing with mixed-skill level players, this can be done by How to make darts fairer with handicap rules.
Troubleshooting Common Dartboard Problems
Even with a perfect setup, you may encounter occasional problems. Here are some common issues and how to address them:
- Darts Falling Out: If your darts are falling out frequently, the dartboard may be too dry. Try moistening the board with a damp cloth.
- Bounce-Outs: Excessive bounce-outs can be caused by worn darts, a dry dartboard, or an uneven throwing surface.
- Wobbly Dartboard: If your dartboard is wobbly, check the mounting screws and anchors. Tighten them as needed.
Addressing these common problems promptly will keep your dartboard in good working order.
The Last Word on Plumb Line Precision
Using plumb line dartboard setup is an essential step for any serious darts player. By taking the time to ensure your dartboard is perfectly vertical, you’ll create a fair playing field, improve your accuracy, and enhance your overall enjoyment of the game. From selecting the right tools to avoiding common mistakes, this guide has provided you with the knowledge and skills you need to achieve a professional-quality setup.
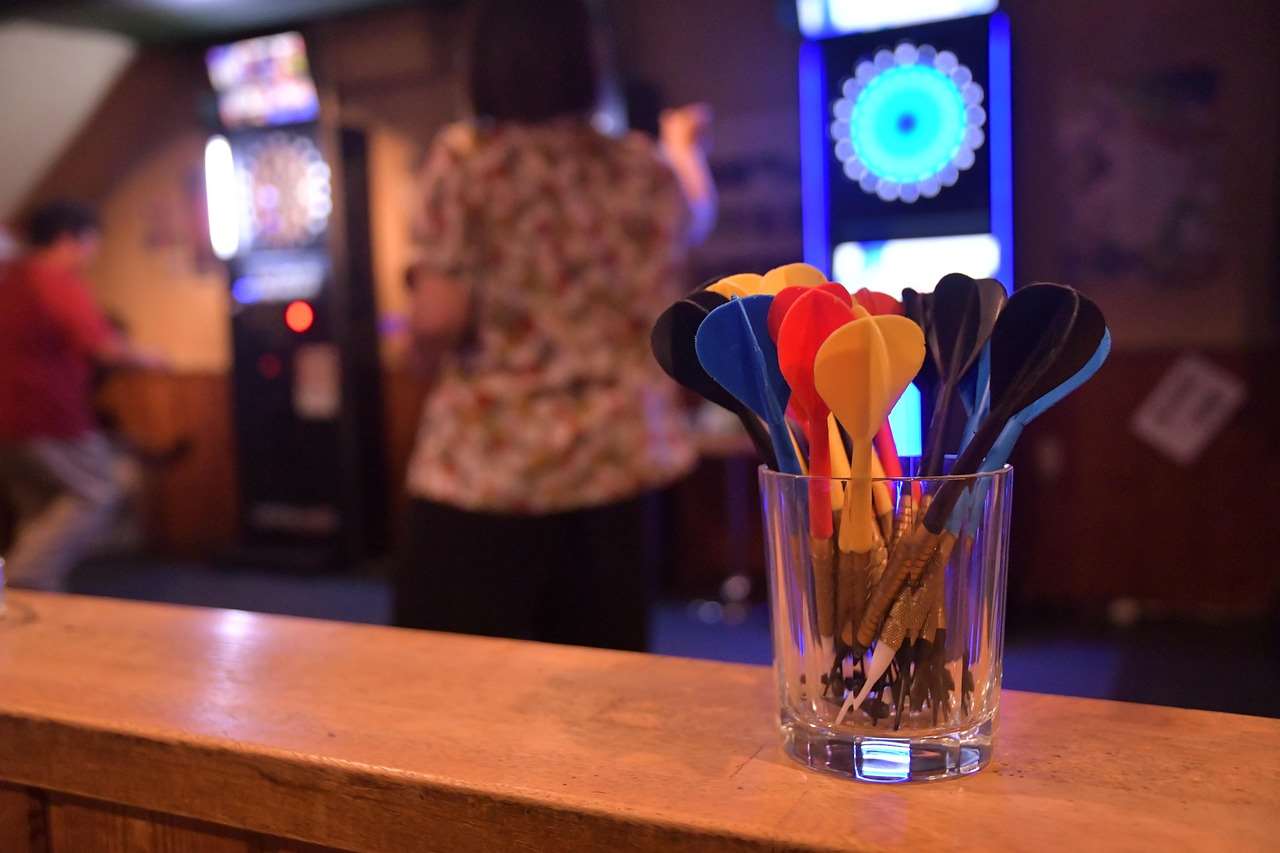
Ready to elevate your darts game? Follow these steps, practice regularly, and you’ll be hitting those bullseyes in no time!
Hi, I’m Dieter, and I created Dartcounter (Dartcounterapp.com). My motivation wasn’t being a darts expert – quite the opposite! When I first started playing, I loved the game but found keeping accurate scores and tracking stats difficult and distracting.
I figured I couldn’t be the only one struggling with this. So, I decided to build a solution: an easy-to-use application that everyone, no matter their experience level, could use to manage scoring effortlessly.
My goal for Dartcounter was simple: let the app handle the numbers – the scoring, the averages, the stats, even checkout suggestions – so players could focus purely on their throw and enjoying the game. It began as a way to solve my own beginner’s problem, and I’m thrilled it has grown into a helpful tool for the wider darts community.