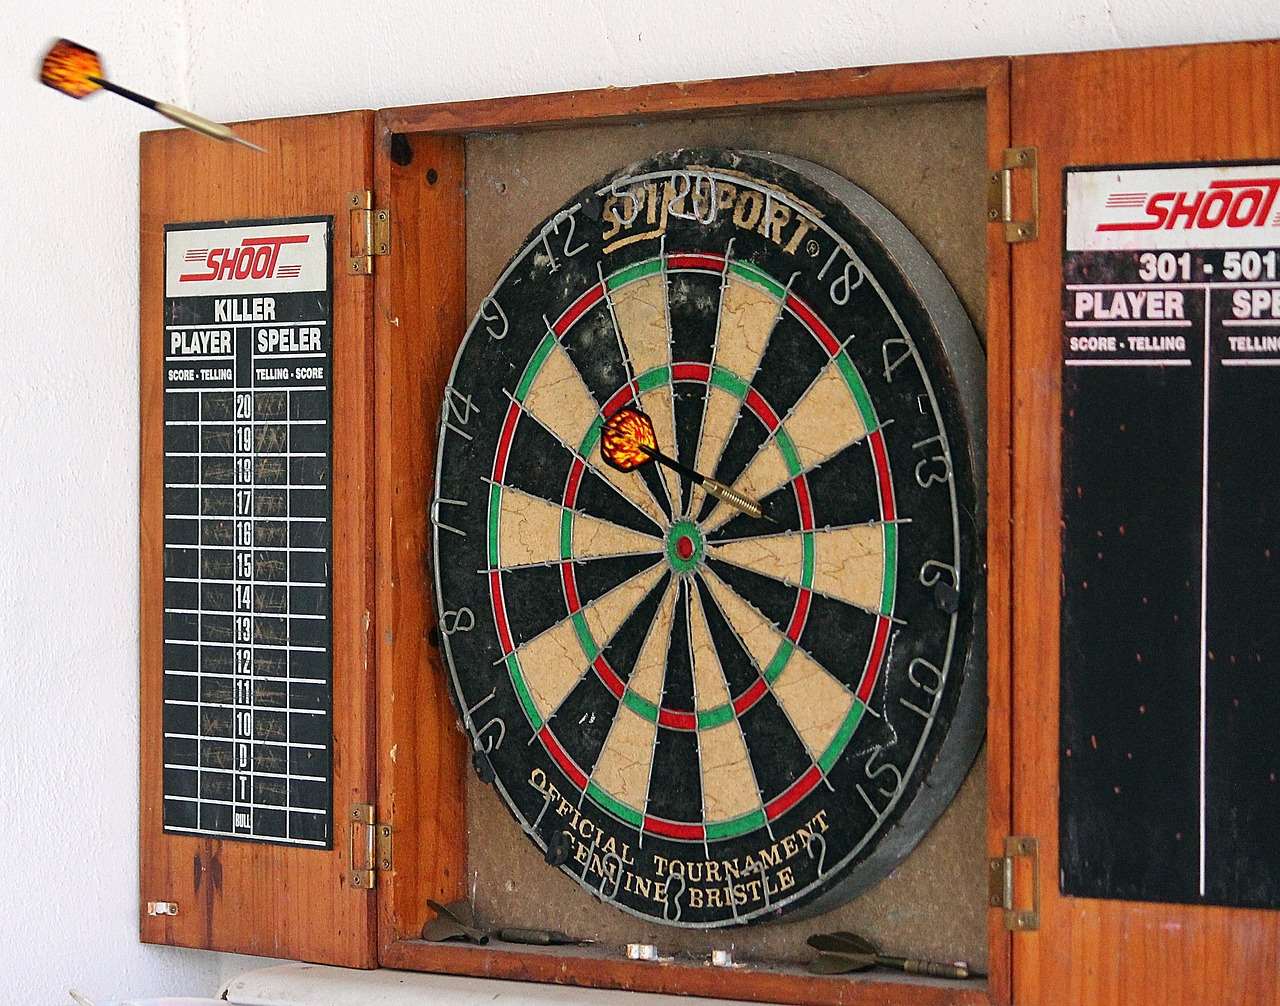
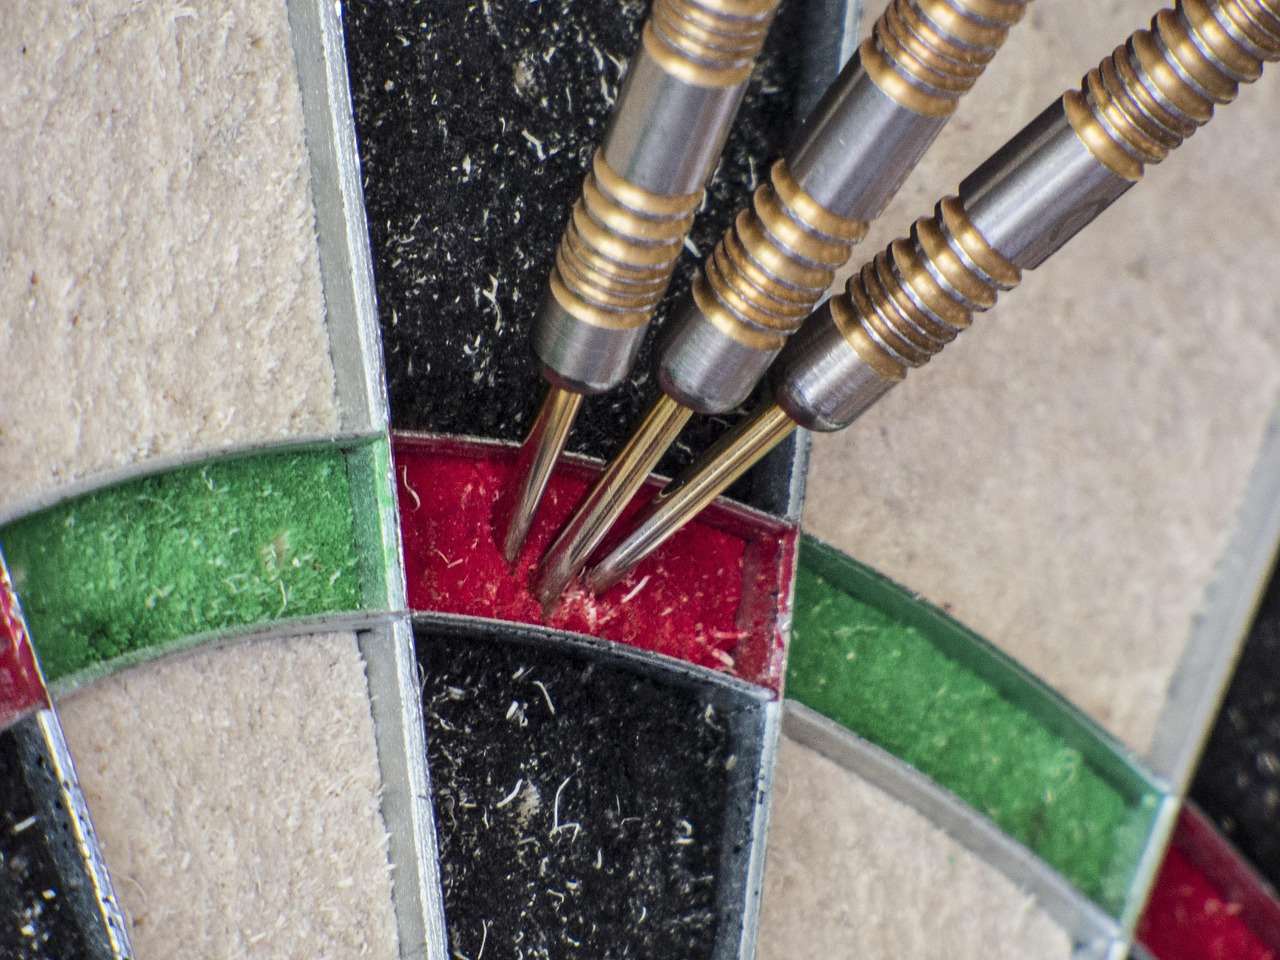
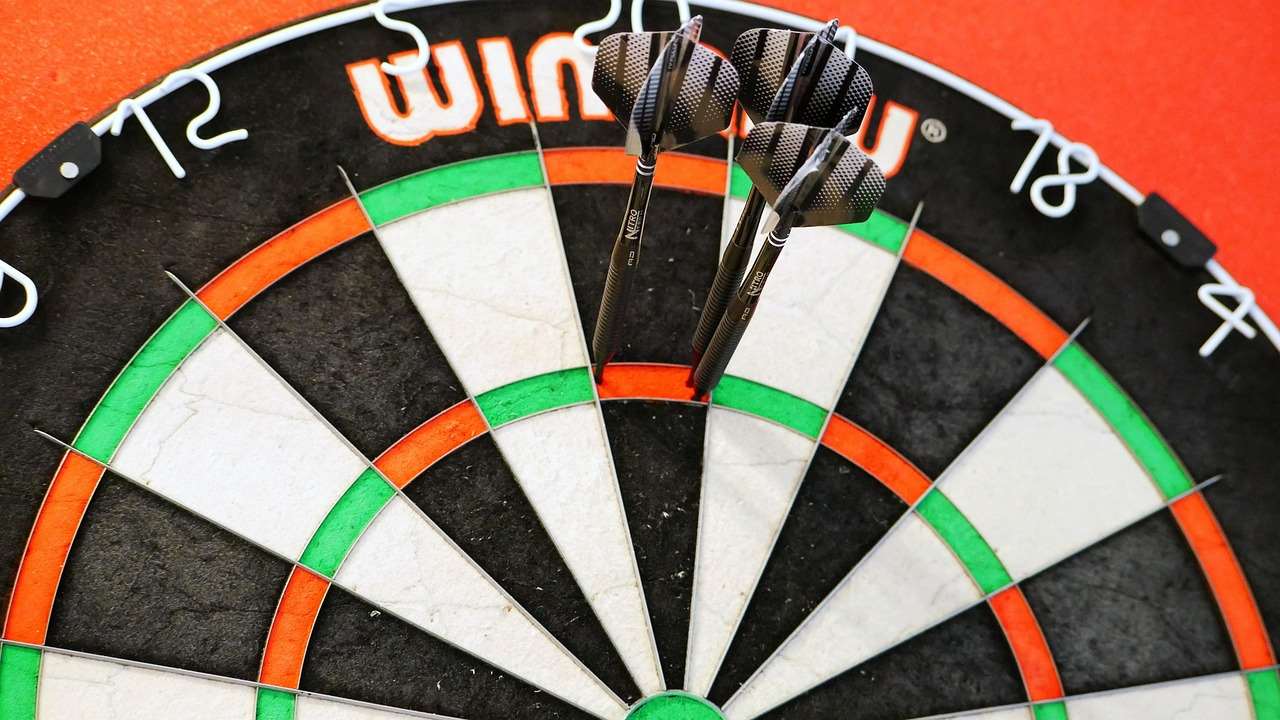
Figuring out the best way of testing darts on a dartboard quickly reveals whether your equipment and technique are working in harmony to achieve your desired accuracy. This article will guide you through a comprehensive approach, from the initial setup and proper throwing techniques to identifying and correcting common problems.
⚠️ Still Using Pen & Paper (or a Chalkboard)?! ⚠️
Step into the future! The Dart Counter App handles all the scoring, suggests checkouts, and tracks your stats automatically. It's easier than you think!
Try the Smart Dart Counter App FREE!Ready for an upgrade? Click above!
Why is Testing Darts On Dartboard Crucial?
Testing your darts on a dartboard isn’t just about throwing a few arrows and hoping for the best. It’s a systematic way to understand how different factors affect your game. These factors include:
- Dart selection: Weight, material, and design all play a role.
- Throwing technique: Stance, grip, release, and follow-through matter.
- Dartboard condition: A worn-out or uneven board will impact accuracy.
By carefully testing and analyzing your throws, you can fine-tune your equipment and technique to improve your consistency and ultimately, your score. Understanding the nuances of your dart setup will help you Choose Best Dart Equipment wisely.

Setting Up for Effective Dartboard Testing
Before you start testing darts on your dartboard, make sure your setup is correct. This will eliminate any external factors that could skew your results.
Dartboard Mounting Height and Distance
The official measurements for a standard dartboard setup are as follows:
- Dartboard height: The center of the bullseye should be 5 feet 8 inches (1.73 meters) from the floor.
- Throwing distance (Oche): The oche (the line you stand behind) should be 7 feet 9 1/4 inches (2.37 meters) from the face of the dartboard.
Ensure these measurements are accurate using a measuring tape and level. An uneven dartboard or incorrect throwing distance will negatively impact your testing process. Proper setup is crucial for consistent results when testing darts.
Dartboard Lighting
Adequate lighting is essential for clear visibility. Shadows can distort your perception and affect your aim. Consider these options for How To Light Your Dartboard:
- Overhead lighting: A bright light directly above the dartboard can help.
- Side lighting: Two lights positioned on either side of the board can reduce shadows.
- Dartboard surround lighting: A dedicated lighting system designed for dartboards provides even illumination. Explore Best Dartboard Lighting Systems to find the perfect solution.
Good lighting will help you accurately assess where your darts are landing and make necessary adjustments. Don’t underestimate the importance of proper illumination when testing darts.
Testing Darts On Dartboard: Throwing Techniques
Your throwing technique is another crucial element in the equation. Consistent form is key to accurate results. Experiment with different techniques to find what works best for you.
Stance
Your stance provides the foundation for your throw. Consider these points:
- Foot placement: Most players use a slightly angled stance, with their dominant foot forward.
- Weight distribution: Distribute your weight evenly between both feet.
- Body posture: Maintain a stable and balanced posture.
Experiment with different stances to find one that feels comfortable and allows you to maintain balance throughout your throw. A stable stance is essential for consistent throws when testing darts.

Grip
The grip is how you connect with the dart. There’s no single “correct” grip; it’s a matter of personal preference. Consider these points:
- Pressure: Use a light, relaxed grip. Avoid squeezing the dart too tightly.
- Finger placement: Experiment with different finger placements to find what feels most natural.
- Consistency: Strive for a consistent grip every time you throw.
A consistent grip will help you release the dart smoothly and accurately. Spend time experimenting with different grips when testing your darts to find the one that gives you the best control.
Release and Follow-Through
The release and follow-through are the final steps in your throw. Smoothness and consistency are key.
- Release point: Release the dart at the same point in your throwing motion every time.
- Follow-through: Extend your arm fully towards the target after releasing the dart.
- Smooth motion: Avoid jerky or abrupt movements.
A smooth release and follow-through will help you impart consistent trajectory to the dart. Pay attention to these elements when testing darts to improve your accuracy.
Analyzing Your Results: Identifying Common Problems
After throwing several darts, analyze where they are landing on the dartboard. Look for patterns to identify any common problems.
Dart Angle in the Board
The angle at which your darts enter the board can provide valuable information about your throw. For example:
- Darts angling upwards: You may be releasing the dart too late or not following through completely.
- Darts angling downwards: You may be releasing the dart too early or using too much wrist action.
- Darts pointing left or right: This could indicate issues with your grip or stance.
Observe the angle of your darts in the board to identify potential issues with your throwing technique when testing your darts.
Grouping Patterns
Pay attention to where your darts are grouping on the dartboard. Are they consistently landing high, low, left, or right of your target? This can indicate specific flaws in your technique.
- Consistent high groupings: Adjust your aim lower or focus on following through completely.
- Consistent low groupings: Adjust your aim higher or release the dart later in your throw.
- Consistent left/right groupings: Adjust your stance or grip to correct your alignment.
Identifying grouping patterns is a crucial part of testing darts and refining your throwing technique. Understanding why your darts are landing where they are allows you to make targeted adjustments.

Dart Bounce-Outs
Frequent bounce-outs can indicate a problem with your dartboard, your darts, or your throwing technique.
- Worn-out dartboard: The sisal fibers may be compressed, making it difficult for the darts to stick.
- Blunt dart points: Sharpen your dart points regularly to improve their grip on the board.
- Incorrect throwing angle: Darts thrown at too shallow or too steep an angle are more likely to bounce out.
If you experience frequent bounce-outs, investigate the potential causes and take corrective action. Bounce-outs can disrupt your rhythm and negatively impact your score when testing darts.
Fine-Tuning Your Equipment and Technique
Based on your analysis, make small, incremental adjustments to your equipment and technique. Avoid making drastic changes, as this can disrupt your consistency. Minor adjustments will get you closer to your desired accuracy while testing darts on the dartboard.
Dart Weight and Length
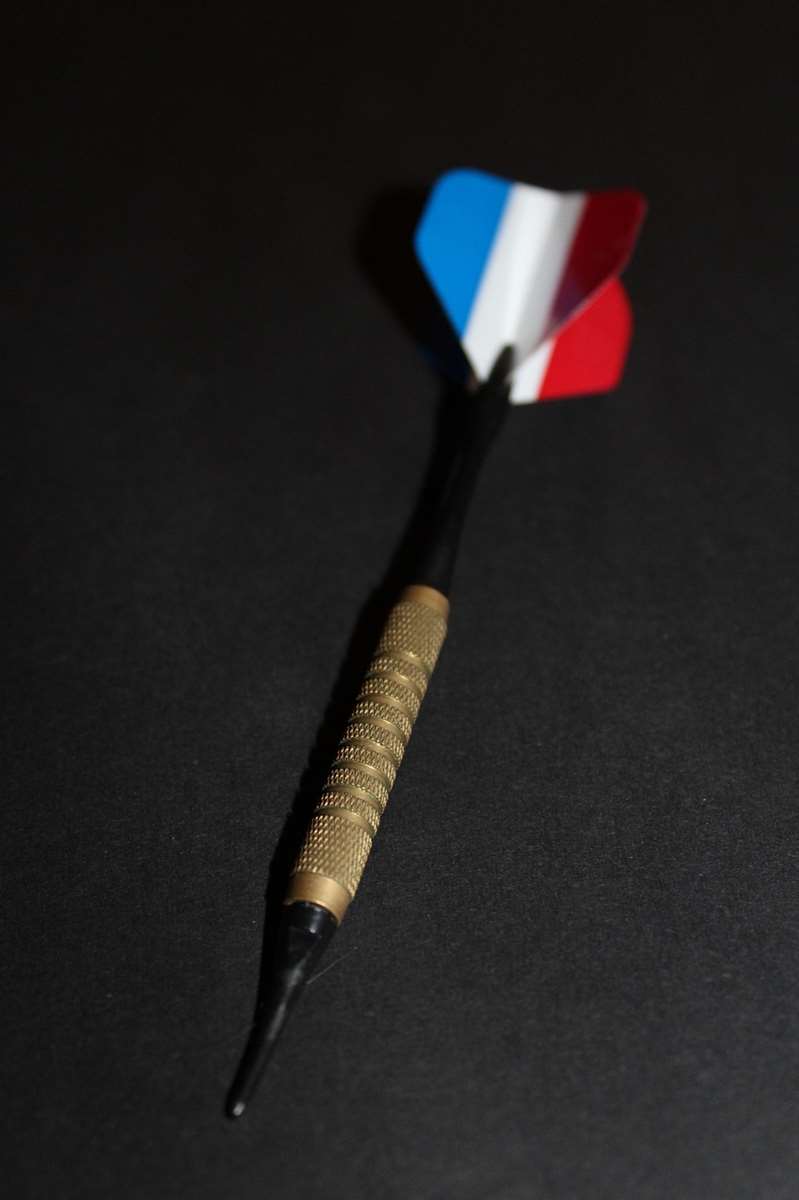
Experiment with different dart weights and lengths to find what feels most comfortable and provides the best control. Heavier darts tend to be more stable in flight, while lighter darts are easier to throw. Consider the impact of dart weight when Choose Best Dart Equipment.
Dart Flights and Shafts
Dart flights and shafts affect the dart’s trajectory and stability. Experiment with different shapes, sizes, and materials to fine-tune your dart’s flight characteristics. The right flights can correct wobbling issues that you observe while testing darts.

Grip Adjustments
Make small adjustments to your grip to improve your control and accuracy. Try different finger placements or adjust the pressure you apply to the dart. A slight grip change can sometimes drastically improve performance when testing darts.
Practice and Patience
Mastering darts takes time and practice. Don’t get discouraged if you don’t see results immediately. Keep practicing, keep experimenting, and keep fine-tuning your equipment and technique. Consistent effort is key to improving your dart game and properly testing darts on your dartboard.
Conclusion
Testing darts on a dartboard involves a systematic approach that encompasses proper setup, consistent throwing technique, careful analysis, and incremental adjustments. By understanding how different factors affect your game, you can fine-tune your equipment and technique to improve your accuracy and consistency. Remember to practice regularly and be patient with yourself. With dedication and perseverance, you can master the art of darts.
Now that you know how to test your darts effectively, put your knowledge into practice! Head to your dartboard, experiment with different techniques, and start improving your game today. And don’t forget to explore options for Optimal Dartboard Lighting Solutions Guide to enhance your practice environment!
Hi, I’m Dieter, and I created Dartcounter (Dartcounterapp.com). My motivation wasn’t being a darts expert – quite the opposite! When I first started playing, I loved the game but found keeping accurate scores and tracking stats difficult and distracting.
I figured I couldn’t be the only one struggling with this. So, I decided to build a solution: an easy-to-use application that everyone, no matter their experience level, could use to manage scoring effortlessly.
My goal for Dartcounter was simple: let the app handle the numbers – the scoring, the averages, the stats, even checkout suggestions – so players could focus purely on their throw and enjoying the game. It began as a way to solve my own beginner’s problem, and I’m thrilled it has grown into a helpful tool for the wider darts community.