Fixing your soft tip board’s lighting can often be simpler than you think, saving you the cost of a replacement. This article provides a comprehensive guide to Soft Tip Board LED Lights Repair, covering common issues, troubleshooting steps, and practical repair techniques to get you back in the game quickly.
⚠️ Still Using Pen & Paper (or a Chalkboard)?! ⚠️
Step into the future! The Dart Counter App handles all the scoring, suggests checkouts, and tracks your stats automatically. It's easier than you think!
Try the Smart Dart Counter App FREE!Ready for an upgrade? Click above!
Understanding Common Soft Tip Board LED Lighting Issues
Before diving into the Soft Tip Board LED Lights Repair process, it’s crucial to understand the common culprits behind lighting failures. Often, the problem isn’t a complete LED failure but rather issues with power connections, wiring, or individual LEDs within the strip.
- Power Supply Problems: The power adapter itself could be faulty, delivering insufficient power or no power at all.
- Loose Connections: Wires connecting the power supply to the LED strip or the strip itself can become loose or disconnected over time, particularly with frequent use.
- Damaged Wiring: The wires could be pinched, frayed, or cut, disrupting the electrical circuit.
- Individual LED Failure: While less common, individual LEDs within the strip can burn out, causing sections of the light to dim or fail completely.
- Controller Issues: If your soft tip board lighting includes a controller for brightness or color adjustment, it could be malfunctioning.
Identifying the specific problem is the first step to successful repair. A systematic approach to troubleshooting will save you time and effort.
Tools You’ll Need for Soft Tip Board LED Lights Repair
Having the right tools makes the repair process significantly easier. Here’s a list of essential tools:
- Screwdrivers: A set of small screwdrivers (Phillips and flathead) for accessing the internal components of the board.
- Multimeter: A multimeter is essential for testing voltage and continuity in the wiring and power supply.
- Wire Strippers: For safely removing insulation from wires.
- Wire Cutters: For cutting wires to the correct length.
- Soldering Iron and Solder: For creating secure and lasting wire connections (optional, but recommended for some repairs).
- Electrical Tape or Heat Shrink Tubing: For insulating wire connections.
- Replacement LEDs (if needed): Make sure to get the correct voltage and type of LED.
- Magnifying Glass: Helpful for inspecting small components and soldering.
Safety is paramount when working with electricity. Always disconnect the power supply before starting any repairs.
Troubleshooting Your Soft Tip Board LED Lights
A systematic approach to troubleshooting is key to efficiently diagnosing the problem with your soft tip board LED lights. Start with the simplest checks and progress to more complex ones.
- Check the Power Supply: Use a multimeter to test the output voltage of the power adapter. It should match the voltage specified for the LED strip. If there’s no output or the voltage is incorrect, the power supply needs replacement. You might even consider improving visibility using Optimal Dartboard Lighting Solutions Guide for a clearer view.
- Inspect the Wiring and Connections: Carefully examine all wires and connections for looseness, damage, or corrosion. Gently tug on the wires to ensure they are securely attached. If you find any loose connections, re-solder them or use wire connectors to secure them.
- Test for Continuity: Use a multimeter to test the continuity of the wires. This will confirm whether the electrical circuit is complete. If there’s no continuity, there’s a break in the wire that needs to be repaired.
- Check the LED Strip: Visually inspect the LED strip for any signs of damage, such as burned-out LEDs or cracked circuit boards. If you find any damaged LEDs, they will need to be replaced. Consider how LED Dartboard Lights Benefits readability.
- Examine the Controller (if applicable): If your lighting system includes a controller, make sure it’s functioning correctly. Try cycling through the different modes or brightness levels to see if there’s any response. If the controller is faulty, it may need to be replaced.
Step-by-Step Soft Tip Board LED Lights Repair Guide
Once you’ve identified the problem, you can proceed with the Soft Tip Board LED Lights Repair. Here’s a step-by-step guide to help you through the process:
- Power Supply Replacement: If the power supply is faulty, purchase a replacement with the same voltage and amperage rating. Connect the new power supply to the LED strip and test the lights.
- Wiring Repair: If you find any damaged wires, cut out the damaged section and replace it with new wire of the same gauge. Solder the connections and insulate them with electrical tape or heat shrink tubing.
- LED Replacement: Replacing individual LEDs requires some soldering skills. First, identify the burned-out LED. Use a soldering iron to carefully remove the old LED and solder in a new one. Make sure to observe the correct polarity (positive and negative).
- Connection Repair: If you find any loose connections, re-solder them to ensure a secure connection. Alternatively, you can use wire connectors to join the wires together.
- Controller Replacement: If the controller is faulty, purchase a replacement with the same functionality. Connect the new controller to the LED strip and test the lights.
Always double-check your work before applying power to the system. Ensure all connections are secure and properly insulated.
Advanced Soft Tip Board LED Lighting Techniques
For those who want to go beyond basic Soft Tip Board LED Lights Repair, there are some advanced techniques you can explore to enhance your dartboard lighting system.
- Adding a Dimmer Switch: Installing a dimmer switch allows you to adjust the brightness of the LED lights to suit your preferences.
- Integrating Color-Changing LEDs: Upgrading to color-changing LEDs gives you the ability to customize the lighting to match your mood or the theme of your game room.
- Using a Smart Home Integration: Integrating your dartboard lighting system with a smart home system allows you to control the lights remotely using your smartphone or voice commands.
Tips for Preventing Future Lighting Problems
Prevention is always better than cure. Here are some tips to help you prevent future lighting problems with your soft tip board:
- Use High-Quality Components: Invest in high-quality LED strips and power supplies to ensure long-lasting performance.
- Protect the Wiring: Protect the wiring from damage by using cable ties or conduit to keep the wires organized and out of harm’s way.
- Avoid Overloading the Power Supply: Make sure the power supply is rated for the total power consumption of the LED strip.
- Regularly Inspect the System: Periodically inspect the wiring and connections for any signs of damage or looseness.
Regular maintenance and careful use will significantly extend the lifespan of your soft tip board LED lighting system. Choosing the Choose Best Dart Equipment can also lead to improved overall play.
Troubleshooting Specific Issues: Flickering, Dim Lights, and Complete Failure
Different symptoms point to different underlying problems. Let’s address some specific scenarios you might encounter during your Soft Tip Board LED Lights Repair efforts.
Flickering Lights
Flickering lights often indicate a loose connection or a failing power supply. Check all connections, especially where the wires connect to the LED strip and the power supply. A multimeter can help you determine if the power supply is providing a stable voltage. Intermittent flickering can also point to a damaged wire with internal breaks. Consider also if a Cabinet Lighting For Dartboards setup may be suitable to prevent flickering issues from the start.
Dim Lights
Dim lights can be caused by a failing power supply that is not providing enough voltage, or by degradation of the LEDs themselves. Test the power supply with a multimeter. If the voltage is within the specified range, the LEDs may be nearing the end of their lifespan. Consider replacing the entire LED strip. Excessive heat can also contribute to dimming, so ensure adequate ventilation around the LED strip.
Complete Lighting Failure
A complete failure usually points to a major problem, such as a completely dead power supply, a severed wire, or a burned-out LED strip. Start by testing the power supply with a multimeter. If the power supply is working, carefully inspect the entire length of the wiring and the LED strip for any signs of damage. Use a multimeter to check for continuity in the wires. If you find a break in the circuit, repair the wire or replace the LED strip. Sometimes the Types Optimal Dartboard Lighting used may also be to blame.
Finding Replacement Parts for Your Soft Tip Board LED Lights
Locating the right replacement parts is essential for a successful Soft Tip Board LED Lights Repair. Here are some reliable sources for finding replacement components:
- Online Retailers: Websites like Amazon, eBay, and specialized electronics retailers offer a wide selection of LED strips, power supplies, controllers, and other components.
- Local Electronics Stores: Check your local electronics stores for replacement parts. They may have a smaller selection, but you can get the parts you need immediately.
- Dartboard Suppliers: Some dartboard suppliers also sell replacement parts for LED lighting systems.
- Manufacturer Websites: If you know the manufacturer of your dartboard lighting system, check their website for replacement parts.
When ordering replacement parts, be sure to match the specifications of the original components. This includes voltage, amperage, wattage, and LED type.
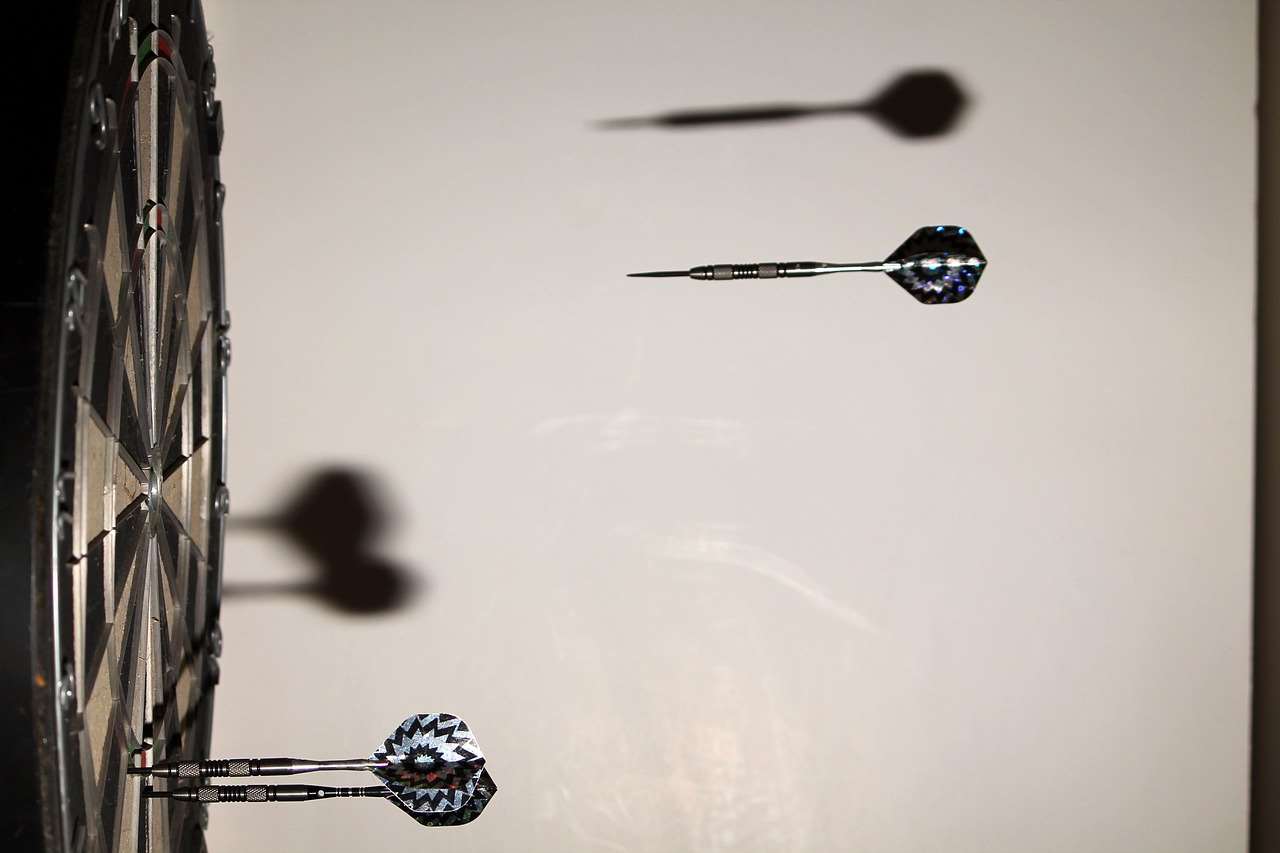
By following these steps and taking your time, you can successfully repair your soft tip board LED lights and get back to enjoying your game.
Conclusion: Getting Your Game Back On with Repaired LED Lights
Soft Tip Board LED Lights Repair doesn’t have to be a daunting task. By understanding the common issues, following a systematic troubleshooting approach, and using the right tools, you can often fix your lighting problems yourself and save money. Remember to prioritize safety, take your time, and double-check your work before applying power. Regularly inspect and maintain your system to prevent future problems. With a little effort, you can keep your dartboard brightly lit and enjoy countless hours of gameplay. Now that you’ve learned how to tackle these repairs, why not consider exploring other ways to enhance your dartboard setup? Check out our guide on How To Light Your Dartboard for even more tips and tricks! Now go forth and illuminate your game!
Hi, I’m Dieter, and I created Dartcounter (Dartcounterapp.com). My motivation wasn’t being a darts expert – quite the opposite! When I first started playing, I loved the game but found keeping accurate scores and tracking stats difficult and distracting.
I figured I couldn’t be the only one struggling with this. So, I decided to build a solution: an easy-to-use application that everyone, no matter their experience level, could use to manage scoring effortlessly.
My goal for Dartcounter was simple: let the app handle the numbers – the scoring, the averages, the stats, even checkout suggestions – so players could focus purely on their throw and enjoying the game. It began as a way to solve my own beginner’s problem, and I’m thrilled it has grown into a helpful tool for the wider darts community.