The solution for a dim or flickering dartboard is usually straightforward: replacing dartboard light bulbs. This article will guide you through identifying the correct bulb type, safely removing the old one, and installing a new one, ensuring you get back to playing darts in optimal lighting. You’ll also learn about troubleshooting common lighting issues and tips for maintaining your dartboard lighting system.
⚠️ Still Using Pen & Paper (or a Chalkboard)?! ⚠️
Step into the future! The Dart Counter App handles all the scoring, suggests checkouts, and tracks your stats automatically. It's easier than you think!
Try the Smart Dart Counter App FREE!Ready for an upgrade? Click above!
Identifying the Correct Replacement Bulb for Your Dartboard Light
Before you even think about replacing dartboard light bulbs, it’s crucial to determine the correct type of bulb. Using the wrong bulb can lead to poor illumination, overheating, or even damage to your lighting fixture. Here’s how to find the right replacement:
- Check the Existing Bulb: The easiest way is to carefully remove the old bulb (after it’s cooled down, of course!) and look for markings printed on it. These markings usually indicate the bulb type (e.g., LED, halogen, incandescent), voltage (e.g., 12V, 24V, 120V), wattage (e.g., 20W, 40W), and base type (e.g., E26, GU10).
- Consult Your Dartboard Lighting System’s Manual: If you still have the manual for your dartboard lighting system, it should specify the recommended bulb type. This is the most reliable source of information.
- Look Up the Model Online: If you don’t have the manual, search online for your dartboard lighting system’s model number. You can often find specifications or user manuals on the manufacturer’s website or on online retailer sites.
- Consider Bulb Shape and Size: Make sure the replacement bulb has a similar shape and size to the old one to ensure it fits properly within the fixture. Common shapes include reflector (R), globe (G), and tubular (T).
Related Keyword: Proper identification of the correct bulb helps in maintaining optimal dartboard lighting setup.
Common Bulb Types Used in Dartboard Lights
Understanding the different types of bulbs commonly used in dartboard lighting systems will help you make an informed decision when replacing dartboard light bulbs:
- LED (Light Emitting Diode): LEDs are energy-efficient, long-lasting, and produce very little heat. They are a popular choice for dartboard lights.
- Halogen: Halogen bulbs provide a bright, white light that is similar to natural daylight. However, they are less energy-efficient than LEDs and produce more heat. You can learn more about this in Halogen Dartboard Lighting Explained.
- Incandescent: Incandescent bulbs are the least energy-efficient option and have a shorter lifespan compared to LEDs and halogens. They are becoming less common in modern dartboard lighting systems.
Once you’ve identified the correct bulb type and wattage, you can proceed with replacing dartboard light bulbs.
Safety Precautions Before Replacing Dartboard Light Bulbs
Safety should always be your top priority when replacing dartboard light bulbs. Here are some essential precautions to take:
- Turn Off the Power: Before touching any electrical components, make sure to turn off the power to the dartboard lighting system at the circuit breaker or power switch. This prevents electric shock.
- Allow the Bulb to Cool: If the bulb has been in use, allow it to cool down completely before attempting to remove it. Halogen and incandescent bulbs can get extremely hot and cause burns.
- Use Gloves: Wear gloves (such as rubber or cotton gloves) to protect your hands from dirt, oil, and potential breakage. This also prevents you from leaving fingerprints on the new bulb, which can shorten its lifespan.
- Work in a Well-Lit Area: Ensure you have adequate lighting in the area where you’re working to avoid accidents or mistakes.
Taking these safety measures will minimize the risk of injury and ensure a smooth replacing dartboard light bulbs process.
Step-by-Step Guide: Replacing Dartboard Light Bulbs
Now that you’ve identified the correct bulb and taken the necessary safety precautions, here’s a step-by-step guide on replacing dartboard light bulbs:
- Access the Bulb: Depending on your dartboard lighting system, you may need to remove a cover, lens, or reflector to access the bulb. Consult your system’s manual for specific instructions.
- Remove the Old Bulb: Gently twist or pull the old bulb out of its socket. The removal method will depend on the base type. For screw-in bulbs (e.g., E26), twist counterclockwise. For push-in bulbs (e.g., GU10), you may need to twist slightly before pulling.
- Install the New Bulb: Align the new bulb with the socket and gently push or twist it into place. Ensure it is securely seated in the socket.
- Replace the Cover/Lens/Reflector: If you removed any components to access the bulb, replace them carefully.
- Turn on the Power: Turn the power back on at the circuit breaker or power switch.
- Test the Light: Verify that the new bulb is working correctly and providing adequate illumination.
That’s it! You’ve successfully completed replacing dartboard light bulbs. If the light doesn’t turn on, double-check that the bulb is properly seated and that the power switch is in the “on” position.
Troubleshooting Common Lighting Issues After Replacing Dartboard Light Bulbs
Sometimes, even after replacing dartboard light bulbs, you may encounter issues. Here’s how to troubleshoot some common problems:
- The New Bulb Doesn’t Light Up:
- Check the Bulb: Make sure the bulb is not defective. Try a different bulb to rule out a faulty bulb.
- Check the Socket: Inspect the socket for any damage or corrosion. Clean the contacts with a cotton swab and rubbing alcohol.
- Check the Wiring: Examine the wiring connected to the socket for any loose connections or damage. If you’re not comfortable working with electrical wiring, consult a qualified electrician.
- Check the Circuit Breaker: Ensure that the circuit breaker hasn’t tripped. If it has, reset it.
- The Light is Flickering:
- Loose Connection: Check for loose connections at the socket or wiring.
- Voltage Fluctuations: Fluctuations in the power supply can cause flickering. Consider using a voltage regulator.
- Compatibility Issues: Ensure the bulb is compatible with your dartboard lighting system.
- The Light is Too Dim or Too Bright:
- Incorrect Wattage: Make sure you’re using the correct wattage bulb for your lighting fixture.
- Dimmer Switch Issues: If you have a dimmer switch, ensure it’s set to the appropriate level.
By systematically troubleshooting these issues, you can often resolve lighting problems after replacing dartboard light bulbs.
Related Keyword: Proper troubleshooting and maintenance are vital for effective dartboard lighting solutions.
Tips for Maintaining Your Dartboard Lighting System
Proper maintenance can extend the lifespan of your dartboard lighting system and ensure optimal performance. Here are some tips:
- Clean the Bulbs Regularly: Dust and dirt can reduce the brightness of the bulbs. Clean them regularly with a soft, dry cloth.
- Check for Loose Connections: Periodically check the wiring and sockets for loose connections and tighten them as needed.
- Replace Bulbs Before They Burn Out: If you notice a bulb is dimming or flickering, replace it before it burns out completely. This can prevent damage to the lighting fixture.
- Consider Upgrading to LED: If you’re still using halogen or incandescent bulbs, consider upgrading to LED bulbs. LEDs are more energy-efficient, longer-lasting, and produce less heat. See LED Dartboard Lights Benefits.
By following these maintenance tips, you can keep your dartboard lighting system in top condition and enjoy well-lit games for years to come. Remember to Choose Best Dart Equipment for an enhanced gaming experience.
Choosing the Right Type of Dartboard Light
While replacing dartboard light bulbs is crucial, the overall quality of your lighting system is also important. There are different types of dartboard lights available, each with its own pros and cons. Some popular options include:
- Ring Lights: Ring lights encircle the dartboard, providing even illumination and minimizing shadows. They are a popular choice for serious dart players. You can check out the Ring Light Dartboard Pros Cons before buying.
- Cabinet Lights: Cabinet lights are integrated into the dartboard cabinet, providing a neat and organized look. See Cabinet Lighting For Dartboards for more information.
- Overhead Lights: Overhead lights are mounted above the dartboard, providing a focused beam of light. These require careful positioning to avoid shadows.
Consider your budget, space constraints, and desired level of illumination when choosing the right type of dartboard light. Optimizing your dartboard lighting can drastically improve your gaming experience.
When to Consider Professional Help
While replacing dartboard light bulbs is usually a straightforward task, there are situations where you should consider seeking professional help:
- You’re Not Comfortable Working with Electrical Components: If you’re not confident in your ability to safely handle electrical wiring, it’s best to leave the job to a qualified electrician.
- The Problem is More Complex Than a Simple Bulb Replacement: If you’ve tried replacing the bulb and troubleshooting common issues, but the light still doesn’t work, there may be a more complex electrical problem that requires professional diagnosis and repair.
- Your Dartboard Lighting System is Under Warranty: If your system is still under warranty, attempting to repair it yourself may void the warranty. Contact the manufacturer or retailer for assistance.
Ensuring Optimal Illumination and Shadow Reduction
Beyond simply replacing dartboard light bulbs, the angle and intensity of the light play a crucial role in your game. Shadows can significantly impact your accuracy and visual clarity. Proper positioning and diffusion are key to eliminating unwanted shadows and creating a well-lit dartboard. Refer to Reduce Dartboard Shadows Effectively for more in-depth strategies.
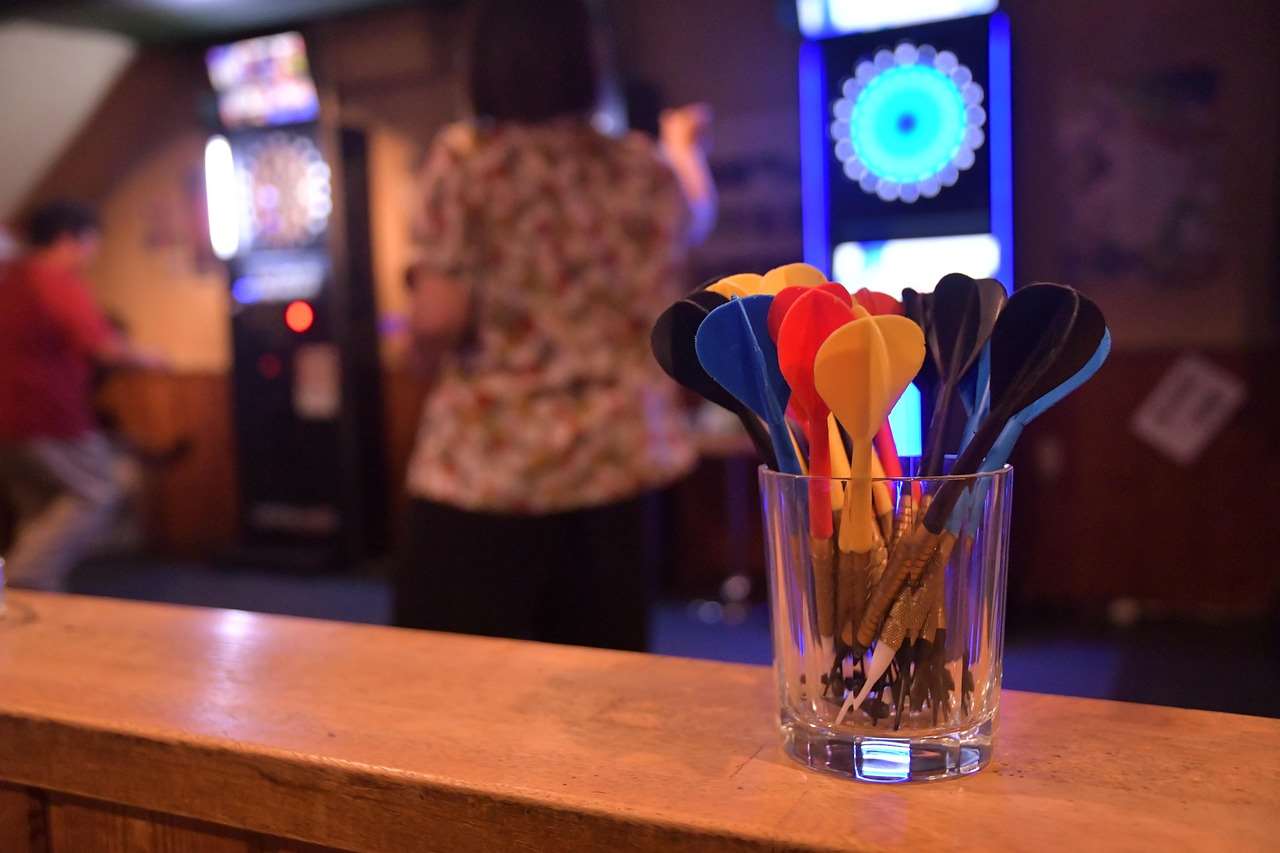
Experiment with different lighting arrangements to find what works best for you and your playing environment.
Conclusion
Replacing dartboard light bulbs is a necessary maintenance task to ensure optimal playing conditions. By following the steps outlined in this article, you can safely and effectively replace your old bulbs and troubleshoot common lighting issues. Remember to prioritize safety, choose the correct bulb type, and maintain your lighting system regularly. Proper illumination is essential for enjoying a fair and competitive game of darts. Consider upgrading to a new lighting system for improved performance. To learn more about improving your lighting setup, explore our guide on Optimal Dartboard Lighting Solutions Guide. Now, grab your darts and enjoy the game!
Hi, I’m Dieter, and I created Dartcounter (Dartcounterapp.com). My motivation wasn’t being a darts expert – quite the opposite! When I first started playing, I loved the game but found keeping accurate scores and tracking stats difficult and distracting.
I figured I couldn’t be the only one struggling with this. So, I decided to build a solution: an easy-to-use application that everyone, no matter their experience level, could use to manage scoring effortlessly.
My goal for Dartcounter was simple: let the app handle the numbers – the scoring, the averages, the stats, even checkout suggestions – so players could focus purely on their throw and enjoying the game. It began as a way to solve my own beginner’s problem, and I’m thrilled it has grown into a helpful tool for the wider darts community.