Mounting a sisal dartboard correctly is crucial for fair play, preventing damage to your darts and walls, and ultimately, maximizing your enjoyment of the game. This article will guide you through the process of properly hanging your dartboard, from measuring the correct height and distance to using the right mounting hardware, ensuring a level and secure installation.
⚠️ Still Using Pen & Paper (or a Chalkboard)?! ⚠️
Step into the future! The Dart Counter App handles all the scoring, suggests checkouts, and tracks your stats automatically. It's easier than you think!
Try the Smart Dart Counter App FREE!Ready for an upgrade? Click above!
Why Properly Mounting Sisal Dartboard Correctly Matters
Before we dive into the “how-to,” let’s understand why proper dartboard installation is so important. A poorly mounted dartboard can lead to several issues:
- Inaccurate Games: If the dartboard isn’t at the correct height and distance, throws won’t be consistent, leading to frustrating games.
- Damage to Walls: A wobbly or improperly secured dartboard can fall off the wall, causing damage to the wall and potentially injuring someone.
- Damaged Darts: If the dartboard isn’t flush against the wall, darts may bounce out more frequently, damaging the dart tips.
- Safety Concerns: A loose dartboard is a safety hazard, especially if children are playing.
Taking the time to mount your sisal dartboard correctly ensures fair play, protects your investment, and provides a safe and enjoyable experience for everyone.
Essential Tools and Materials
To successfully mount your dartboard, gather the following tools and materials:
- Measuring Tape: Essential for accurate height and distance measurements.
- Pencil: For marking the wall for drilling.
- Level: Ensures the dartboard hangs perfectly straight.
- Drill: Required for drilling pilot holes, especially into drywall or stud walls.
- Drill Bits: Select appropriate drill bits for your wall type.
- Screwdriver: For tightening screws securely.
- Mounting Hardware: Most dartboards come with mounting hardware. If not, purchase a dartboard mounting bracket suitable for your wall.
- Wall Anchors: If you’re not drilling into a stud, use wall anchors to provide extra support.
- Stud Finder (Optional): Helps locate wall studs for secure mounting.
- Dartboard Surround (Optional): Protects your wall from stray darts.
Having these tools on hand will make the dartboard mounting process much smoother and more efficient. Remember to always prioritize safety when using power tools.
Step-by-Step Guide: Mounting Your Sisal Dartboard Correctly
Here’s a detailed, step-by-step guide to help you mount your sisal dartboard correctly:
Step 1: Measure and Mark the Correct Height
The official height for a dartboard is 5 feet 8 inches (1.73 meters) from the floor to the center of the bullseye. Use your measuring tape to accurately measure and mark this height on your wall with a pencil. Double-check your measurement to ensure accuracy.
Step 2: Find a Stud (Recommended) or Use Wall Anchors
Ideally, you should mount your dartboard directly into a wall stud. Use a stud finder to locate a stud near your marked height. If you can’t find a stud, you’ll need to use wall anchors. Choose wall anchors that are appropriate for the weight of your dartboard and your wall type. For further information about choosing the best equipment for your game, see Choose Best Dart Equipment.
Step 3: Install the Mounting Bracket
Most dartboards come with a mounting bracket consisting of two parts: one that attaches to the dartboard and another that attaches to the wall. Follow the manufacturer’s instructions to attach the bracket to the back of your dartboard. Then, position the wall bracket on the wall at your marked height, aligning it with the stud (if possible) or using the appropriate spacing for your wall anchors.
Step 4: Drill Pilot Holes and Secure the Wall Bracket
If you’re drilling into a stud, pre-drill pilot holes to prevent the wood from splitting. If you’re using wall anchors, drill holes according to the anchor instructions. Secure the wall bracket to the wall using screws. Make sure the bracket is firmly attached and doesn’t wobble.
Step 5: Hang the Dartboard
Carefully hang the dartboard onto the wall bracket. Ensure that it’s securely attached and doesn’t feel loose. Give it a gentle shake to test its stability.
Step 6: Level the Dartboard
Use your level to check if the dartboard is perfectly level. If it’s not, make slight adjustments to the mounting bracket until it is. A level dartboard is essential for fair play.
Understanding the Throwing Distance (Oche)
In addition to proper dartboard height, the throwing distance, also known as the oche, is crucial. The official throwing distance for steel-tip darts is 7 feet 9 1/4 inches (2.37 meters) from the face of the dartboard to the throwing line. For soft-tip darts, the distance is 8 feet (2.44 meters). Accurately measure this distance and mark it on the floor with tape or a permanent marker. Consistency with the **official throwing distance** will vastly improve your playing experience and allow you to accurately measure your skill and improvement.
Choosing the Right Wall Protection
Protecting your walls from stray darts is essential, especially if you’re a beginner or have limited throwing space. There are several options available:
- Dartboard Surround: This is the most common and effective way to protect your walls. Dartboard surrounds are typically made of foam or rubber and fit snugly around the dartboard, catching any darts that miss the target.
- Backboards: A large backboard made of cork, wood, or foam can be mounted behind the dartboard to provide a wider area of protection.
- DIY Solutions: You can also create your own wall protection using materials like plywood, carpet, or foam panels.
Investing in wall protection will save you from costly repairs and keep your playing area looking its best. Consider also exploring Optimal Dartboard Lighting Solutions Guide to enhance your dartboard setup.
Troubleshooting Common Mounting Issues
Even with careful planning, you might encounter some common issues when mounting your dartboard. Here’s how to troubleshoot them:
- Dartboard Wobbles: If the dartboard wobbles, double-check that the mounting bracket is securely attached to the wall and that the dartboard is properly seated on the bracket. Tighten any loose screws.
- Darts Bounce Out Frequently: This could be due to several factors, including dull dart tips, an uneven dartboard surface, or a poorly mounted dartboard. Ensure your dartboard is flush against the wall and that your dart tips are sharp.
- Difficulty Finding a Stud: If you’re having trouble finding a stud, try using a different stud finder or tapping on the wall to listen for a solid sound. If all else fails, use heavy-duty wall anchors.
- Dartboard Isn’t Level: Use a level to make precise adjustments to the mounting bracket until the dartboard is perfectly level.
By addressing these common issues, you can ensure a safe and enjoyable dartboard setup.
Maintaining Your Sisal Dartboard for Longevity
Once you’ve mounted your sisal dartboard correctly, proper maintenance is key to extending its lifespan:
- Rotate the Dartboard Regularly: Sisal dartboards are made of tightly packed fibers. Rotating the dartboard evenly distributes wear and tear, preventing specific areas from becoming overly worn.
- Keep it Dry: Avoid exposing your dartboard to moisture, as this can damage the sisal fibers.
- Remove Loose Fibers: Periodically remove any loose fibers with your fingers to prevent them from accumulating and affecting dart performance.
- Avoid Using Excessive Force: Throw your darts with a smooth, controlled motion, avoiding excessive force that can damage the dartboard.
Following these simple maintenance tips will help keep your sisal dartboard in top condition for years to come. Remember, How To Light Your Dartboard plays a role, too.
Advanced Tips for the Perfect Dartboard Setup
Beyond the basics, here are some advanced tips to consider for creating the perfect dartboard setup:
- Invest in Good Lighting: Proper lighting is crucial for a good dartboard experience. Consider using a dedicated dartboard lighting system that provides even illumination without shadows. Good dartboard lighting can help Reduce Dartboard Shadows Effectively.
- Use a Dartboard Cabinet: A dartboard cabinet protects your dartboard from dust and damage and provides a professional-looking backdrop.
- Consider Soundproofing: If you’re playing in a shared space, consider adding soundproofing materials to reduce noise.
- Personalize Your Setup: Add personal touches like a custom dartboard mat or a scoreboard to create a unique and enjoyable playing environment.
Taking these extra steps can elevate your dartboard experience to the next level.
Mounting Sisal Dartboard Correctly: A Summary
Mounting a sisal dartboard correctly involves precise measurements, secure mounting hardware, and a level installation. By following the steps outlined in this guide, you can ensure a safe, fair, and enjoyable dartboard experience. Remember to prioritize safety, use the right tools, and take your time to do the job right. Investing in a properly mounted and well-maintained dartboard will provide years of fun and entertainment.
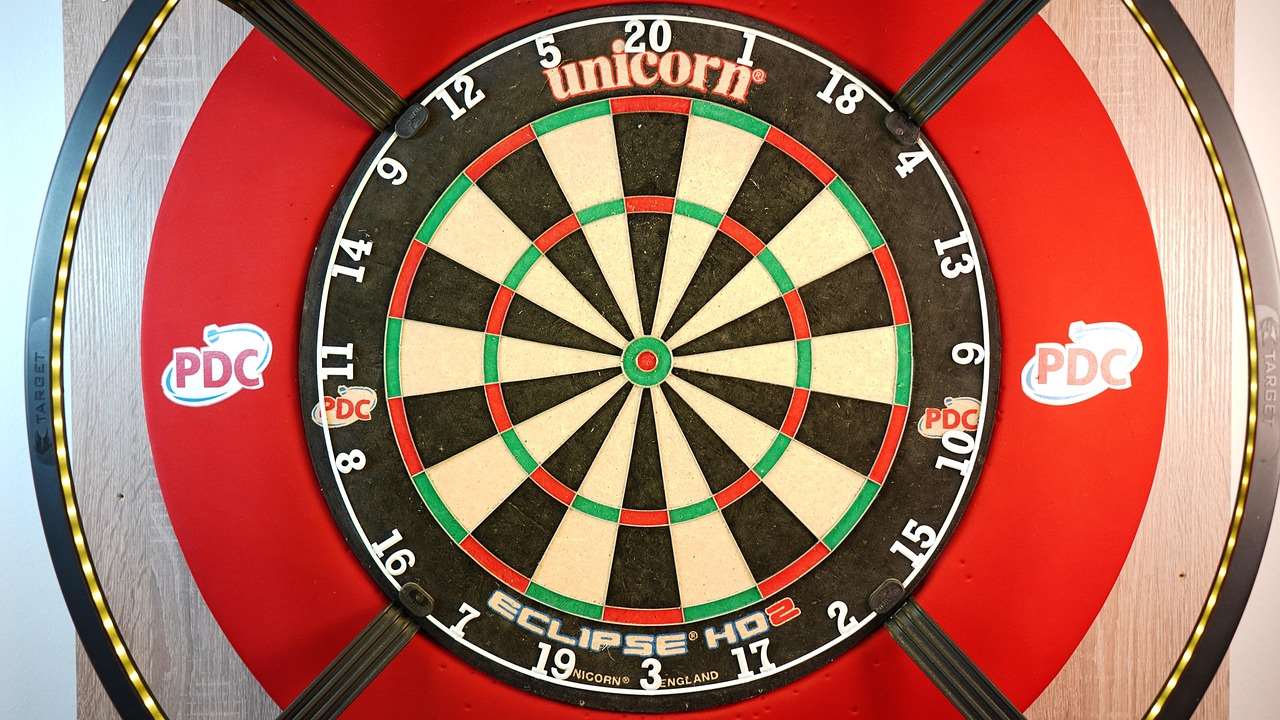
Ready to Play?
Now that you’ve learned how to mount your sisal dartboard correctly, it’s time to grab your darts and start playing! Remember to practice regularly and have fun. Enjoy your newly installed dartboard and the countless hours of entertainment it will provide. If you are interested in improving your dart game further, consider researching **dart throwing techniques** and consistent practice routines.
Hi, I’m Dieter, and I created Dartcounter (Dartcounterapp.com). My motivation wasn’t being a darts expert – quite the opposite! When I first started playing, I loved the game but found keeping accurate scores and tracking stats difficult and distracting.
I figured I couldn’t be the only one struggling with this. So, I decided to build a solution: an easy-to-use application that everyone, no matter their experience level, could use to manage scoring effortlessly.
My goal for Dartcounter was simple: let the app handle the numbers – the scoring, the averages, the stats, even checkout suggestions – so players could focus purely on their throw and enjoying the game. It began as a way to solve my own beginner’s problem, and I’m thrilled it has grown into a helpful tool for the wider darts community.