Mounting a dartboard surround is the simplest way to protect your walls from stray darts and enhance your dart playing experience. This article will provide a step-by-step guide to successfully installing your dartboard surround, ensuring it’s level, secure, and complements your game room. We’ll also cover essential tools, safety considerations, and maintenance tips to keep your setup looking its best.
⚠️ Still Using Pen & Paper (or a Chalkboard)?! ⚠️
Step into the future! The Dart Counter App handles all the scoring, suggests checkouts, and tracks your stats automatically. It's easier than you think!
Try the Smart Dart Counter App FREE!Ready for an upgrade? Click above!
Why You Need a Dartboard Surround
Before diving into the “how,” let’s address the “why.” A dartboard surround is an invaluable accessory for any dart player, regardless of skill level. Here’s why:
- Wall Protection: The primary function is to shield your walls from errant throws. Darts can easily damage drywall, leaving unsightly holes.
- Dart Protection: Surrounds can also protect your darts. A dart hitting the surround is less likely to break or have its flights damaged compared to hitting a hard wall.
- Aesthetic Appeal: A surround adds a professional and polished look to your dart setup.
- Reduced Noise: Some surrounds, especially those made from thicker materials like high-density foam, can help dampen the sound of darts hitting the board.
Investing in a good surround is a small price to pay for the peace of mind and improved aesthetics it provides. When you Choose Best Dart Equipment, don’t forget to consider protective accessories!
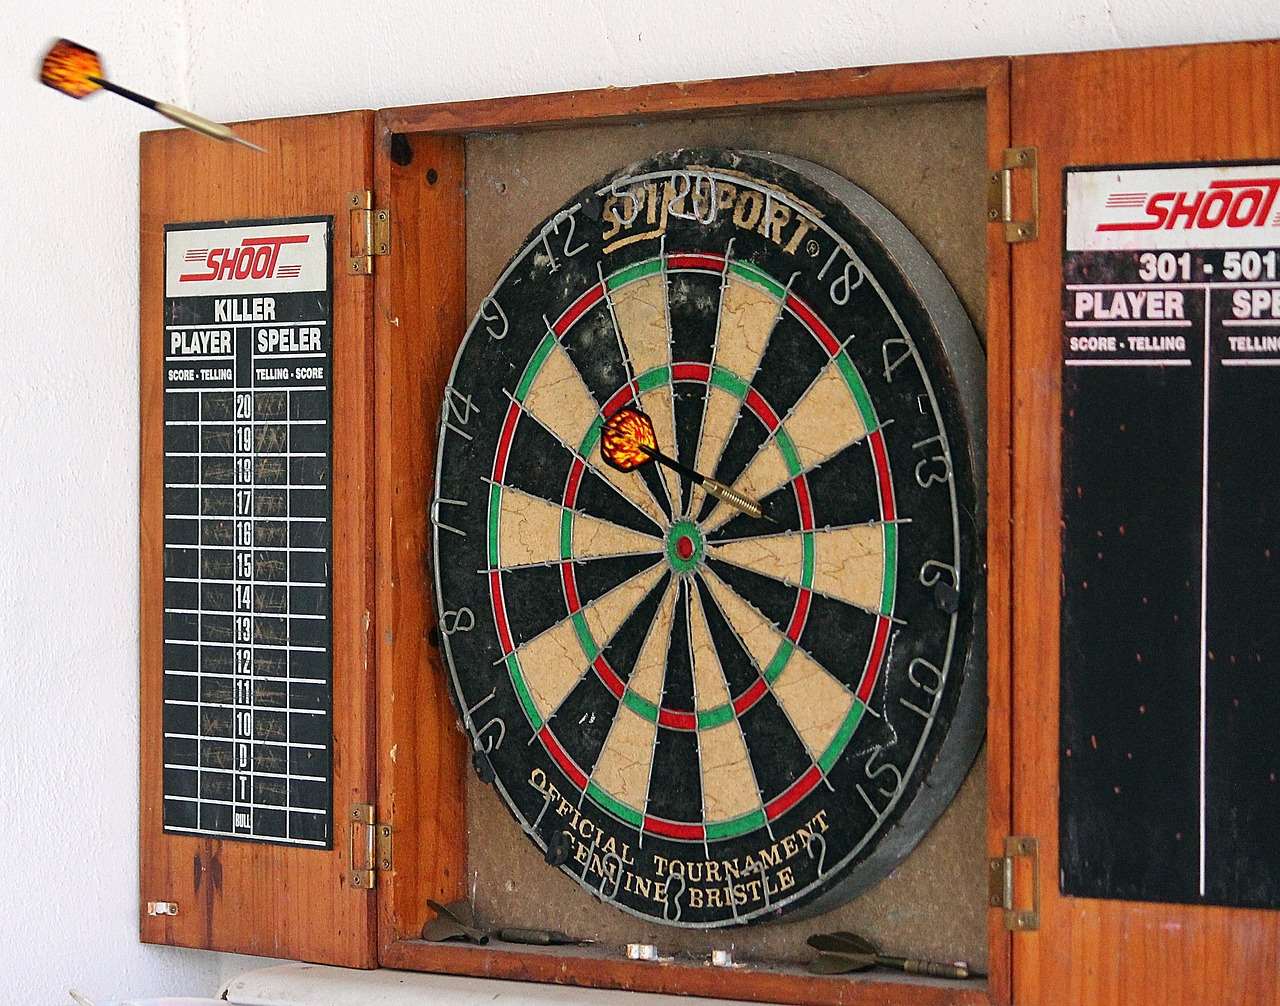
Tools and Materials for Mounting Dartboard Surround
Before you begin the process of mounting dartboard surround, gather the necessary tools and materials. This will ensure a smooth and efficient installation:
- Dartboard Surround: Obviously! Choose one that fits your dartboard and matches your aesthetic.
- Dartboard: If you don’t have one yet, you’ll need it for proper surround placement.
- Measuring Tape: Essential for accurate measurements.
- Level: A spirit level or laser level is crucial to ensure the dartboard and surround are perfectly aligned.
- Pencil: For marking drilling locations.
- Drill: With appropriate drill bits for your wall type (drywall, wood, brick, etc.).
- Screws or Wall Anchors: Depending on your wall type, you’ll need appropriate fasteners to secure the dartboard mounting bracket.
- Stud Finder (Optional): If you’re mounting on drywall, a stud finder can help you locate studs for a more secure installation.
- Safety Glasses: Protect your eyes from dust and debris during drilling.
- Ladder or Step Stool: If needed to reach the proper height.
Choosing the Right Surround Material
Dartboard surrounds come in various materials, each with its own advantages and disadvantages:
- Foam: Affordable, lightweight, and provides good protection. However, it may show dart marks over time.
- Cork: A more durable option than foam, offering a natural look and better self-healing properties.
- Wood: Offers a premium look and feel, but can be more expensive and heavier.
- Rubber: Highly durable and provides excellent protection, but can be pricier and less aesthetically pleasing than other options.
Step-by-Step Guide to Mounting Dartboard Surround
Now, let’s get to the actual mounting dartboard surround process. Follow these steps for a successful installation:
- Determine the Correct Height: The official height for a dartboard is 5 feet 8 inches (1.73 meters) from the floor to the center of the bullseye. Mark this height on your wall.
- Mount the Dartboard: Install the dartboard mounting bracket according to the manufacturer’s instructions. Ensure it’s securely attached to the wall, preferably into a stud if possible.
- Position the Dartboard: Hang the dartboard on the mounted bracket, ensuring the bullseye is at the marked height. Use a level to ensure the dartboard is perfectly vertical.
- Assemble the Dartboard Surround: Most surrounds come in multiple pieces that need to be assembled. Follow the manufacturer’s instructions to connect the pieces.
- Attach the Surround: Carefully slide the assembled surround over the dartboard, ensuring it fits snugly. Some surrounds simply clip onto the dartboard, while others may require additional fasteners (usually included).
- Secure the Surround (If Necessary): If your surround requires screws or other fasteners, use them to secure it to the wall. Be careful not to overtighten the screws, as this could damage the surround or the wall.
- Double-Check Alignment: Once the surround is mounted, double-check that it’s level and properly aligned with the dartboard. Make any necessary adjustments.
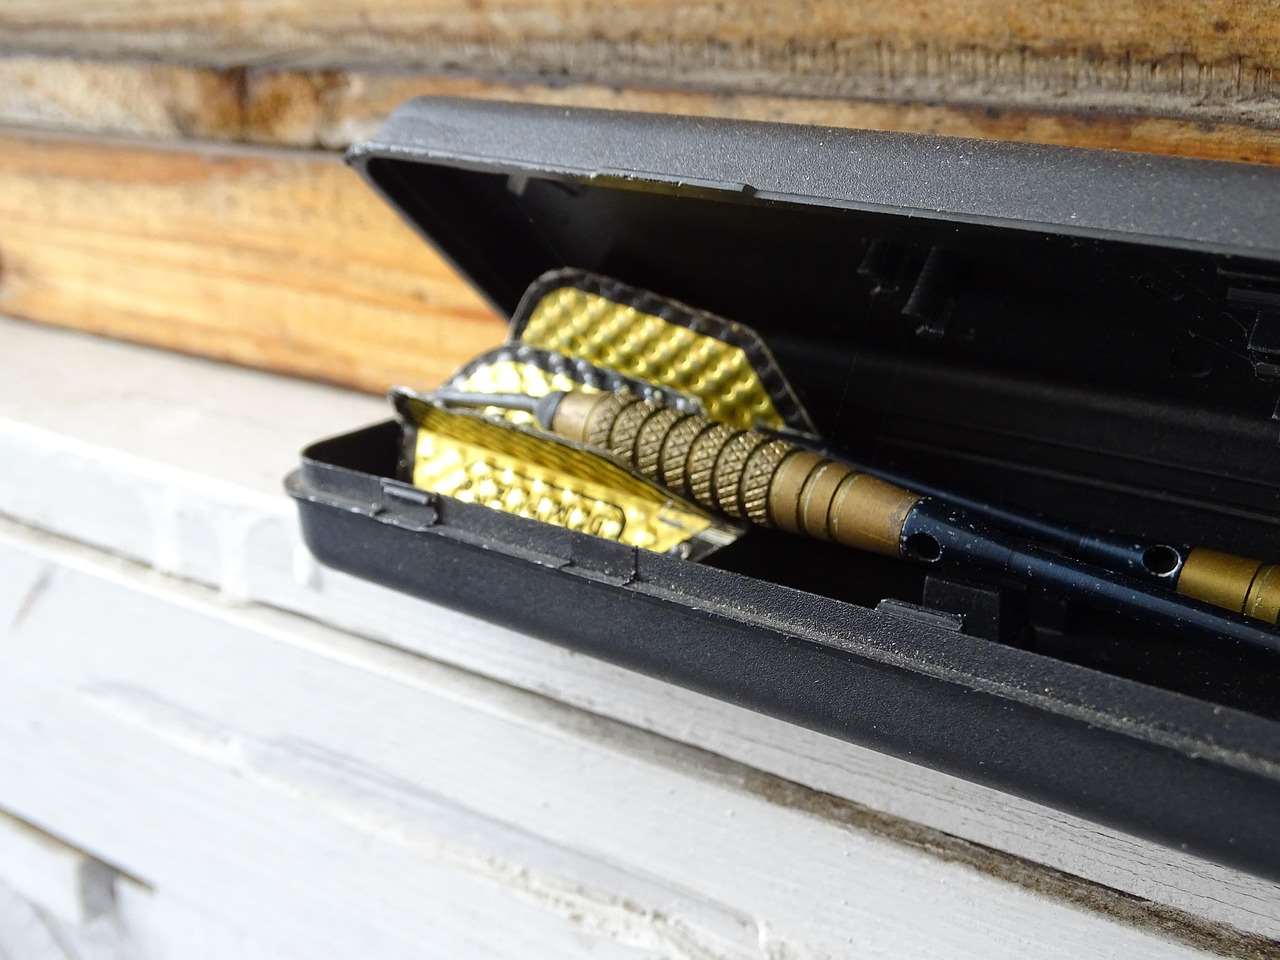
Ensuring a Level Dartboard
A level dartboard is crucial for fair and accurate gameplay. Use a spirit level or laser level to check the horizontal and vertical alignment. If necessary, use shims behind the mounting bracket to adjust the angle.
Dealing with Different Wall Types
The type of wall you’re mounting dartboard surround on will affect the installation process. Here’s how to handle common wall types:
- Drywall: Use wall anchors to provide a secure hold. Stud finders can help you locate studs for even stronger support.
- Wood: Screws can be directly driven into wood studs. If you’re not hitting a stud, pre-drill pilot holes to prevent splitting the wood.
- Brick or Concrete: Use masonry drill bits and appropriate wall plugs designed for brick or concrete.
Always choose fasteners that are appropriate for the wall type to ensure a secure and long-lasting installation.
Maintaining Your Dartboard Surround
Proper maintenance will extend the life of your dartboard surround and keep it looking its best:
- Regular Cleaning: Wipe down the surround regularly with a damp cloth to remove dust and dirt.
- Repairing Dart Marks: Foam and cork surrounds may show dart marks over time. You can often minimize these marks by gently rubbing the area with a soft cloth. For deeper marks, consider using a foam filler or wood putty (depending on the material).
- Replacing Damaged Sections: If a section of the surround is severely damaged, it may be necessary to replace it.
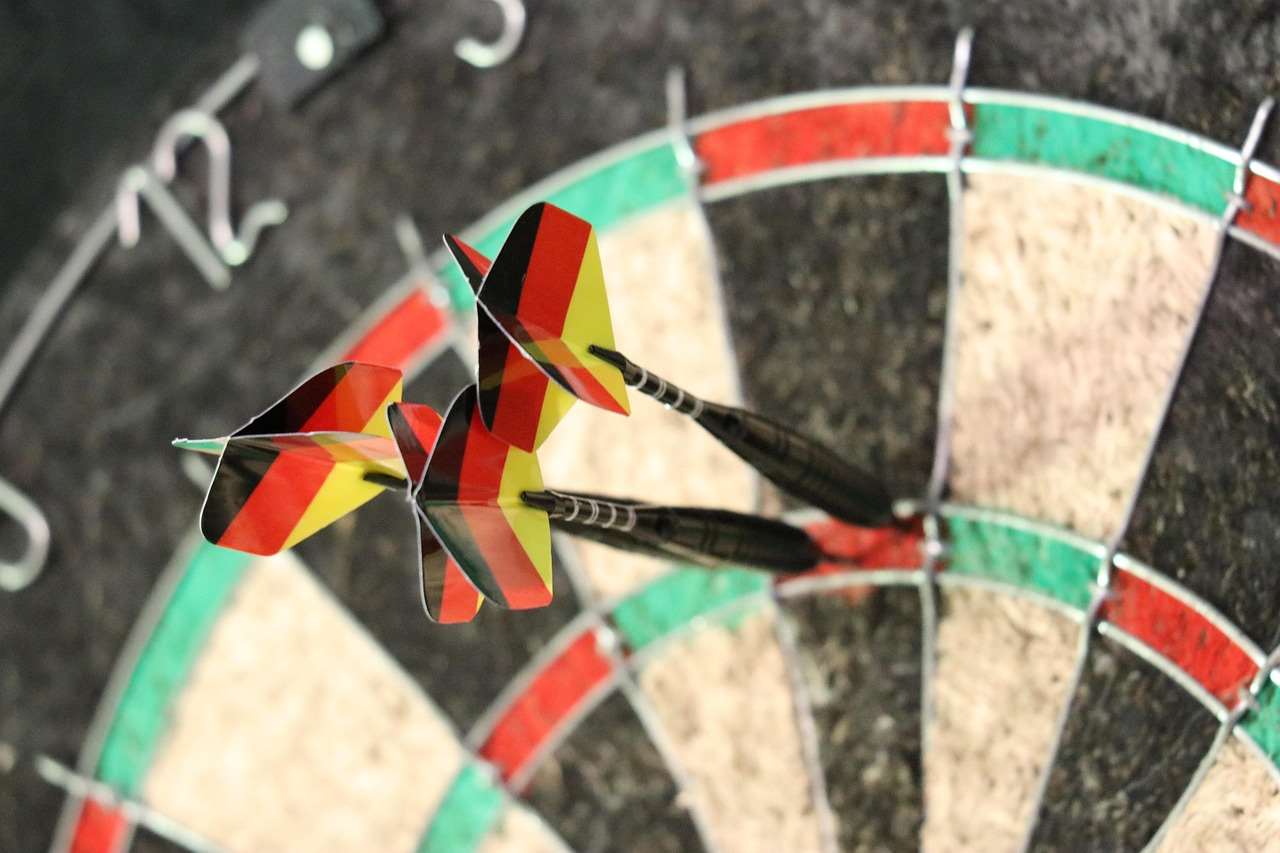
Troubleshooting Common Issues When Mounting Dartboard Surround
Even with careful planning, you might encounter some issues while mounting dartboard surround. Here’s how to troubleshoot common problems:
- Surround Doesn’t Fit Snugly: If the surround is too loose, you can try adding shims or padding behind it to create a tighter fit.
- Surround Moves or Wobbles: Ensure the surround is properly secured to the wall. If necessary, use additional fasteners or stronger wall anchors.
- Dartboard Isn’t Level: Double-check the alignment and make any necessary adjustments using shims or by re-mounting the dartboard bracket.
Taking the time to address these issues will ensure a safe and enjoyable dart playing experience.
Advanced Tips for a Pro Dart Setup
Want to take your dart setup to the next level? Here are some advanced tips:
- Lighting: Install dedicated dartboard lighting to improve visibility and reduce shadows.
- Oche (Throw Line): Use a clearly marked oche at the correct distance from the dartboard (7 feet 9 1/4 inches).
- Scoreboard: Keep track of scores easily with a dedicated scoreboard.
- Dart Mat: Protect your floor and provide a comfortable throwing surface with a dart mat.
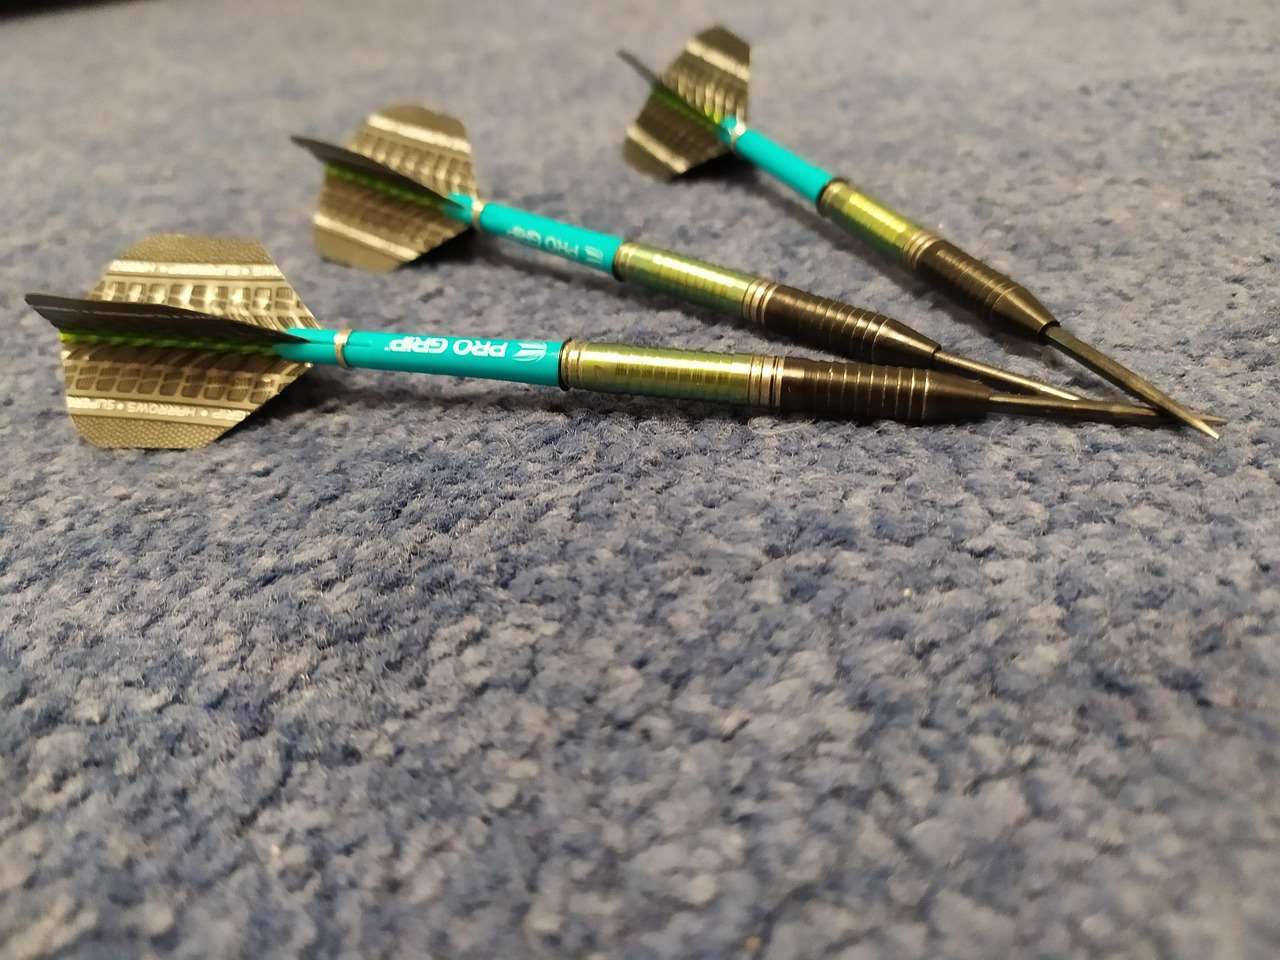
Safety Considerations When Mounting Dartboard Surround
Safety should always be a top priority when mounting dartboard surround. Here are some important considerations:
- Wear Safety Glasses: Protect your eyes from dust and debris during drilling.
- Use Caution with Power Tools: Follow the manufacturer’s instructions and use appropriate safety precautions.
- Ensure Secure Mounting: A loose dartboard or surround can be dangerous. Make sure everything is securely attached to the wall.
- Keep Children Away: Keep children away from the work area during installation.
By following these safety guidelines, you can minimize the risk of accidents and injuries.
When thinking about Quality Comparison Budget Premium Darts, also consider the safety aspects of your surrounding setup.
Choosing the Right Dartboard
The dartboard itself is, of course, crucial to your game. When Investing In Premium Dart Equipment, consider these points:
- Bristle Material: Sisal is the most common and durable material.
- Wire Type: Thin wires reduce bounce-outs.
- Construction: Look for a board with a consistent and even surface.
Conclusion
Mounting a dartboard surround is a straightforward process that can significantly enhance your dart playing experience. By following the steps outlined in this guide, you can ensure a safe, secure, and aesthetically pleasing setup. Remember to choose the right tools and materials, consider your wall type, and prioritize safety. A little effort in installation will reward you with countless hours of fun and protection for your walls. Now that you know how to mount your dartboard surround, get started and elevate your game today!
Ready to upgrade your dartboard setup? Browse our selection of dartboards, surrounds, and accessories now!
Hi, I’m Dieter, and I created Dartcounter (Dartcounterapp.com). My motivation wasn’t being a darts expert – quite the opposite! When I first started playing, I loved the game but found keeping accurate scores and tracking stats difficult and distracting.
I figured I couldn’t be the only one struggling with this. So, I decided to build a solution: an easy-to-use application that everyone, no matter their experience level, could use to manage scoring effortlessly.
My goal for Dartcounter was simple: let the app handle the numbers – the scoring, the averages, the stats, even checkout suggestions – so players could focus purely on their throw and enjoying the game. It began as a way to solve my own beginner’s problem, and I’m thrilled it has grown into a helpful tool for the wider darts community.