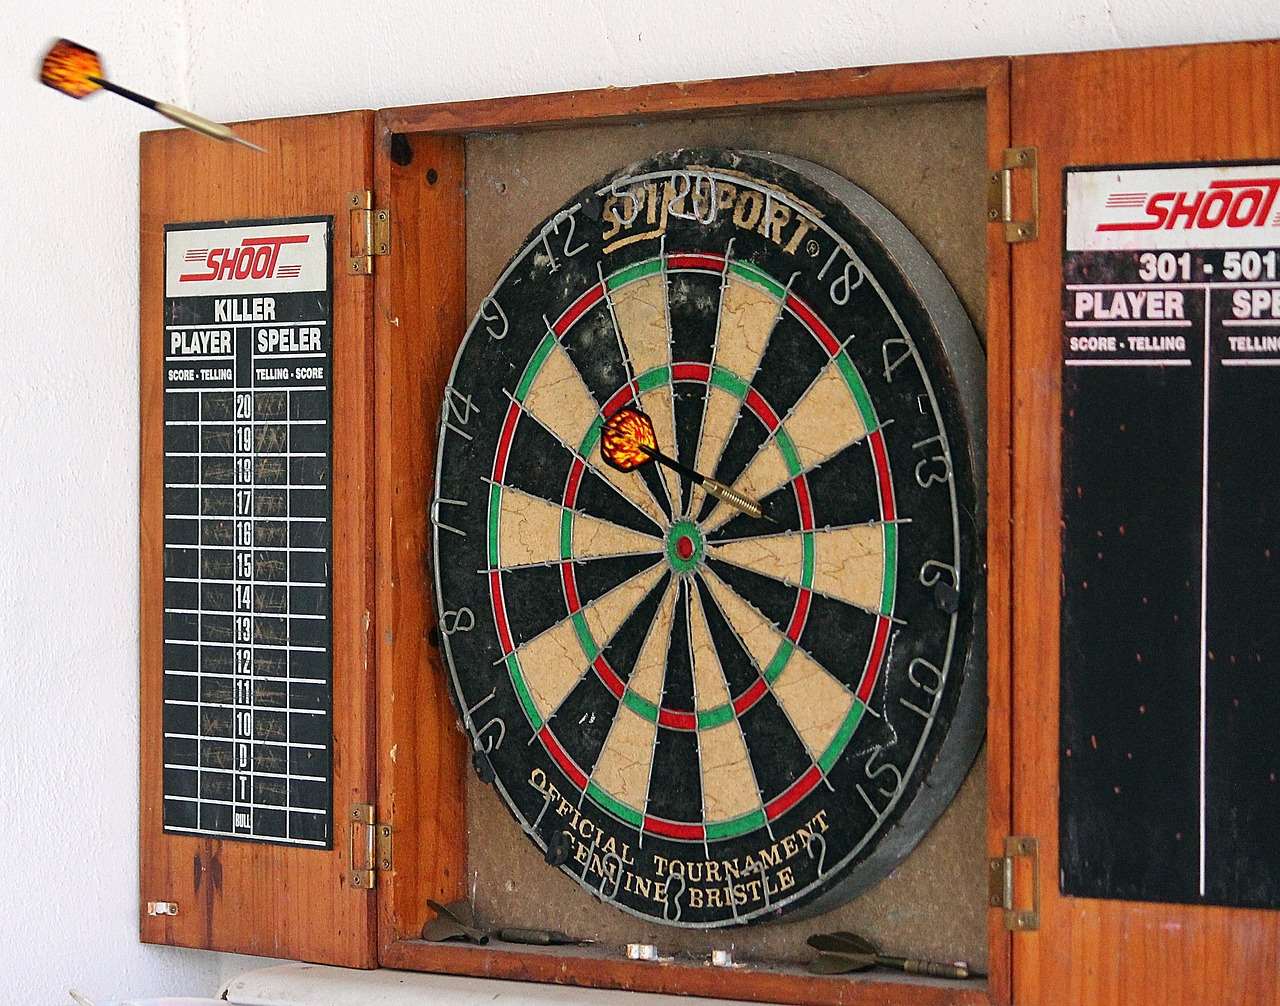
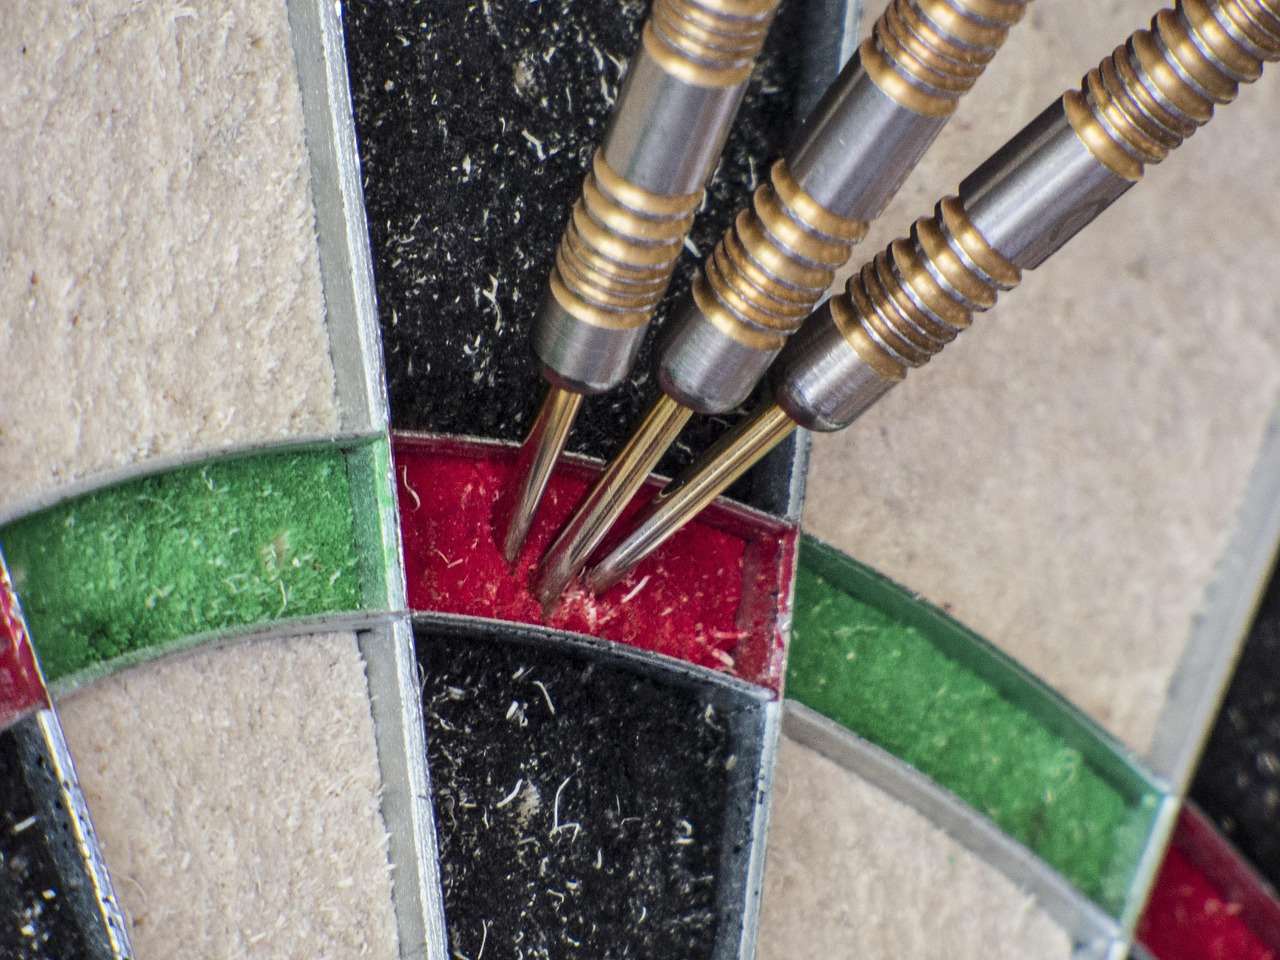
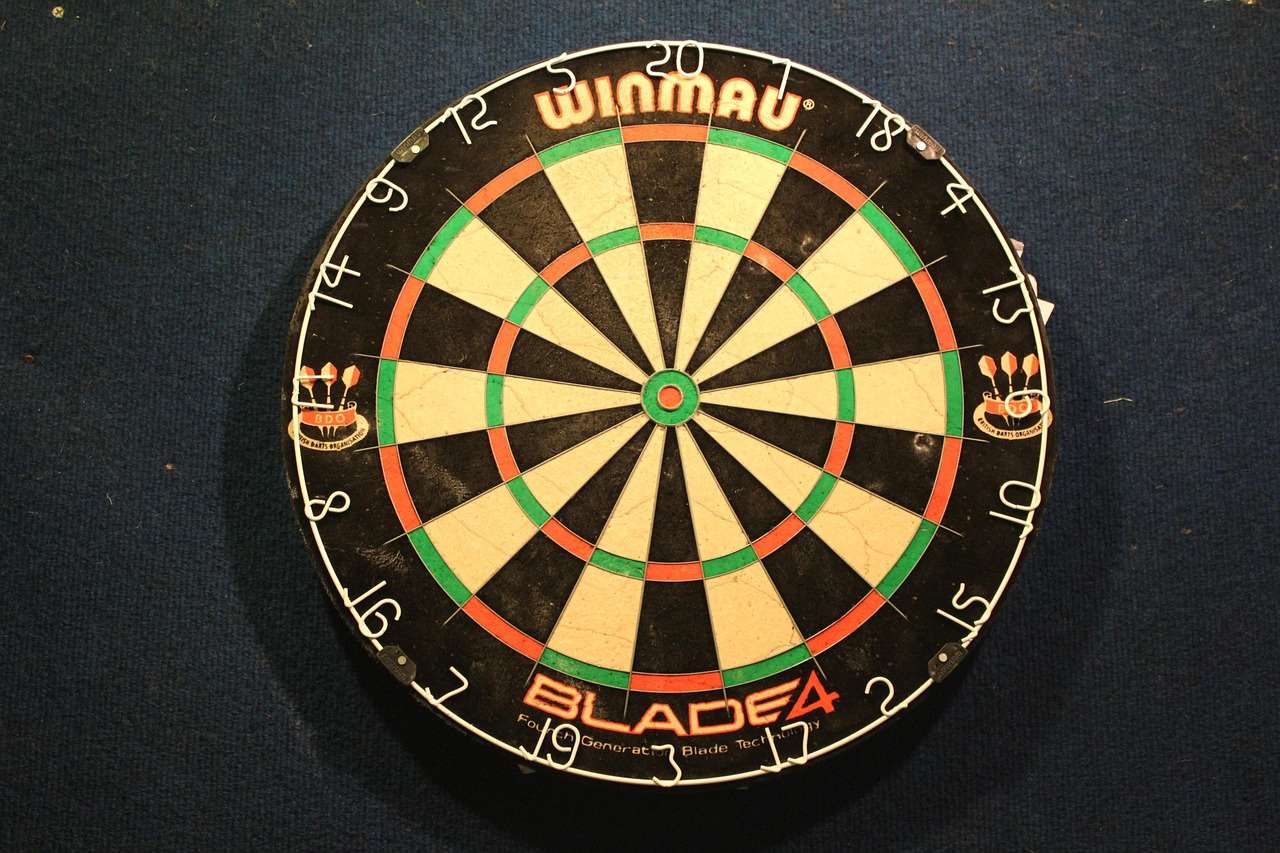
The heart of any dart game is, of course, the dart board. You might be surprised to learn that making a dart board yourself is achievable and can be a rewarding project! This article will guide you through the process, from selecting materials to the final setup, and will also cover essential aspects such as board maintenance and different types of dart boards.
⚠️ Still Using Pen & Paper (or a Chalkboard)?! ⚠️
Step into the future! The Dart Counter App handles all the scoring, suggests checkouts, and tracks your stats automatically. It's easier than you think!
Try the Smart Dart Counter App FREE!Ready for an upgrade? Click above!
Why Consider Making a Dart Board?
While readily available for purchase, crafting your own dart board offers several advantages. Firstly, it can be a significant cost-saving measure. Secondly, it provides a unique opportunity to customize the board to your specific preferences. You can choose the materials, size, and even the wiring configuration, resulting in a board that perfectly suits your playing style. Finally, it’s a fun and engaging DIY project that allows you to showcase your craftsmanship.
Cost-Effectiveness
Commercial dart boards, especially high-quality ones, can be expensive. Making a dart board from scratch using readily available materials can substantially reduce the overall cost. You can source materials locally or even repurpose existing items, significantly lowering the financial investment.
Customization Options
A pre-made dart board offers limited customization. By making your own dart board, you gain complete control over the design and specifications. This includes the diameter of the board, the thickness of the sisal fibers, and the type of wiring used. You can even experiment with different color schemes and layouts to create a truly unique playing surface.
The Satisfaction of DIY
Beyond the practical benefits, making a dart board offers the personal satisfaction of creating something with your own hands. It’s a rewarding project that combines craftsmanship with the enjoyment of the game. The process is an opportunity to learn new skills and develop a deeper appreciation for the intricacies of dart board construction.

Essential Materials for Making a Dart Board
The key to a durable and playable dart board lies in selecting the right materials. Here’s a breakdown of the essential components:
- Sisal Fibers: These are the primary material for the playing surface. High-quality sisal is crucial for longevity and self-healing properties.
- Backing Material: A sturdy backing, typically made of wood or compressed board, provides support for the sisal and prevents it from warping.
- Wiring: The wiring defines the scoring segments and bullseye. Opt for thin, round wires to minimize bounce-outs.
- Metal Ring: A metal ring around the outer edge of the board protects the sisal and adds structural integrity.
- Mounting Hardware: Secure mounting hardware is essential for safely attaching the board to the wall.
Consider exploring online marketplaces or local craft stores to source these materials. Remember that the quality of the materials directly impacts the performance and durability of your finished dart board.
Step-by-Step Guide: Making a Dart Board
Here’s a detailed guide to making a dart board, covering each stage of the process:
- Prepare the Backing: Cut a circular piece of wood or compressed board to the desired diameter (typically 18 inches). Ensure the surface is smooth and free of imperfections.
- Prepare the Sisal: Gather the sisal fibers and compress them tightly into a cylindrical shape. You can use a mold or form to maintain the shape during the compression process.
- Attach the Sisal to the Backing: Securely attach the compressed sisal cylinder to the prepared backing. Use strong adhesive and clamps to ensure a firm bond. Allow the adhesive to dry completely.
- Install the Wiring: Carefully install the wiring according to the standard dart board layout. Use thin, round wires to minimize bounce-outs. Secure the wires with staples or small nails.
- Attach the Metal Ring: Position the metal ring around the outer edge of the board and secure it with screws or rivets. The ring should fit snugly to protect the sisal.
- Install Mounting Hardware: Attach the appropriate mounting hardware to the back of the board. Ensure the hardware is strong enough to support the weight of the board.
- Finishing Touches: Inspect the board for any imperfections and make any necessary adjustments. Apply a protective coating to the sisal to enhance its durability.
This detailed guide provides a clear roadmap for making your own dart board. Remember to take your time, be precise, and prioritize safety throughout the process. Proper planning and attention to detail will result in a high-quality dart board that you can enjoy for years to come. It’s important to ensure correct target darts oche distances and correct board setup.

Choosing the Right Sisal for Your Dart Board
The type of sisal used in making a dart board is crucial for its performance and longevity. Here’s what you need to know:
- Grade of Sisal: Opt for high-grade sisal fibers, as they offer superior density and self-healing properties. Lower-grade sisal may be more prone to damage and wear.
- Fiber Length: Longer sisal fibers generally result in a more durable and consistent playing surface. Shorter fibers may be more likely to come loose or break.
- Moisture Content: Ensure the sisal is properly dried before compression. Excess moisture can lead to mold growth and warping.
- Origin of Sisal: Different regions produce sisal with varying characteristics. Research the origin of the sisal to ensure it meets your quality standards.
Consider these factors when selecting sisal for your dart board. Investing in high-quality sisal will significantly extend the lifespan of your board and enhance your playing experience.
Wiring Configurations and Bounce-Out Reduction
The wiring configuration on a dart board plays a crucial role in minimizing bounce-outs and ensuring accurate scoring. Here’s what you need to consider:
- Wire Thickness: Thinner wires reduce the surface area that darts can hit, minimizing the likelihood of bounce-outs.
- Wire Shape: Round wires deflect darts more effectively than flat wires. Opt for round wires whenever possible.
- Staple-Free Construction: Staple-free wiring systems eliminate the need for staples, which can be a major cause of bounce-outs.
- Spider Design: The “spider” is the metal grid that separates the scoring segments. A well-designed spider minimizes the distance between the wires and the sisal, reducing bounce-outs.
When making a dart board, pay close attention to the wiring configuration. A well-designed wiring system can significantly improve your playing experience by reducing frustrating bounce-outs and promoting accurate scoring. You could also look to purchase a granboard s3, a premium electronic dartboard option.

Maintaining Your Homemade Dart Board
Proper maintenance is essential for extending the lifespan of your handmade dart board. Here are some tips:
- Rotate the Board: Regularly rotate the board to distribute wear evenly across the playing surface. This prevents specific sections from becoming overly worn.
- Moisture Control: Keep the board dry and avoid exposing it to excessive humidity. Moisture can damage the sisal fibers and promote mold growth.
- Cleaning: Periodically clean the board with a soft brush to remove dust and debris. Avoid using harsh chemicals or abrasive cleaners.
- Dart Sharpness: Ensure your dart points are sharp to minimize damage to the sisal fibers. Dull points can tear the fibers and shorten the board’s lifespan.
By following these simple maintenance tips, you can keep your DIY dart board in top condition and enjoy years of trouble-free gameplay. If you are feeling confident with your throws, why not attempt a 9 dart finish smith?
Different Types of Dart Boards
While this article focuses on making a traditional sisal dart board, it’s important to be aware of other types available:
- Electronic Dart Boards: These boards feature electronic scoring and often include built-in games and features. They typically use plastic segments with small holes for the darts to stick into.
- Magnetic Dart Boards: These boards use magnetic darts and are a safer option for children or casual players. They lack the authentic feel of a sisal board but are convenient and portable.
- Paper Dart Boards: These are the most inexpensive boards, made of rolled paper. They are not very durable and are suitable for very casual play only.
Each type of dart board offers a unique playing experience. Consider your needs and preferences when choosing the right type of board for you. You can even use a Digital dart score app to help track your progress.

Troubleshooting Common Issues When Making a Dart Board
Even with careful planning, you may encounter issues when making a dart board. Here are some common problems and their solutions:
- Sisal Not Compressing Properly: Ensure the sisal fibers are dry and tightly packed. Use a mold or form to maintain the shape during compression.
- Wiring Coming Loose: Secure the wires with staples or small nails. Use a strong adhesive to prevent them from shifting.
- Board Warping: Ensure the backing material is sturdy and resistant to warping. Apply a sealant to protect the wood from moisture.
- Bounce-Outs: Use thin, round wires and ensure your dart points are sharp. Consider adding a dartboard surround to protect the surrounding wall.
By understanding these common issues and their solutions, you can troubleshoot problems effectively and ensure a successful outcome when making your own dart board. Remember to stay patient and persistent, and don’t be afraid to experiment.
The Joy of Playing on a Dart Board You Made Yourself
There’s a unique sense of pride and accomplishment that comes with playing darts on a board you crafted with your own hands. Making a dart board is not just a DIY project; it’s an investment in your enjoyment of the game. You’ll appreciate every throw, knowing the time and effort you put into creating the perfect playing surface. A consistent throw is also essential, so concentrate on darts accuracy and precision.

Conclusion: Level Up your Darting Game!
Making a dart board is a rewarding project that allows you to customize your playing experience and save money. By following the steps outlined in this article, you can create a high-quality dart board that will provide years of enjoyment. Remember to choose the right materials, pay attention to detail, and prioritize safety throughout the process. So, gather your tools, unleash your creativity, and start making your own dart board today! You will be able to enjoy darts on tonight even more now. Plus you can always look into what what does legs mean in darts in case you didn’t know.
Hi, I’m Dieter, and I created Dartcounter (Dartcounterapp.com). My motivation wasn’t being a darts expert – quite the opposite! When I first started playing, I loved the game but found keeping accurate scores and tracking stats difficult and distracting.
I figured I couldn’t be the only one struggling with this. So, I decided to build a solution: an easy-to-use application that everyone, no matter their experience level, could use to manage scoring effortlessly.
My goal for Dartcounter was simple: let the app handle the numbers – the scoring, the averages, the stats, even checkout suggestions – so players could focus purely on their throw and enjoying the game. It began as a way to solve my own beginner’s problem, and I’m thrilled it has grown into a helpful tool for the wider darts community.