Want to know how to make a dart board? It’s easier than you think! This article will guide you through the process, from choosing the right materials to perfecting the finish, and even offer tips for improving your game. We’ll cover everything you need to know to create your own custom dartboard.
⚠️ Still Using Pen & Paper (or a Chalkboard)?! ⚠️
Step into the future! The Dart Counter App handles all the scoring, suggests checkouts, and tracks your stats automatically. It's easier than you think!
Try the Smart Dart Counter App FREE!Ready for an upgrade? Click above!
Before we delve into the specifics of how to make a dart board, let’s talk about the key components. You’ll need a sturdy backing, a sisal fiber board (the traditional choice for its durability and grip), wire, and of course, darts! Having the right tools on hand makes the task much easier, so make sure you have some good quality scissors or wire cutters and a staple gun for securing the wire. Getting all of these materials organized beforehand is important for an efficient building process.
The size of your dartboard will depend on the space you have available and your personal preferences. The standard size is generally 18 inches in diameter, but you can find variations. This is a crucial consideration when you’re trying to make a dart board that works for your space.
Choosing the Right Materials for Your DIY Dartboard: Make a Dart Board the Right Way
Selecting the appropriate materials is crucial for a durable and functional dartboard. For the backing, choose a strong, flat surface like a piece of plywood or MDF (medium-density fiberboard). This will provide the necessary support for your sisal fibers. The sisal fibers themselves are the key to the dart’s grip and longevity. Opt for a high-quality sisal fiber that’s tightly packed to ensure that your darts will stick properly and the board withstands numerous throws.
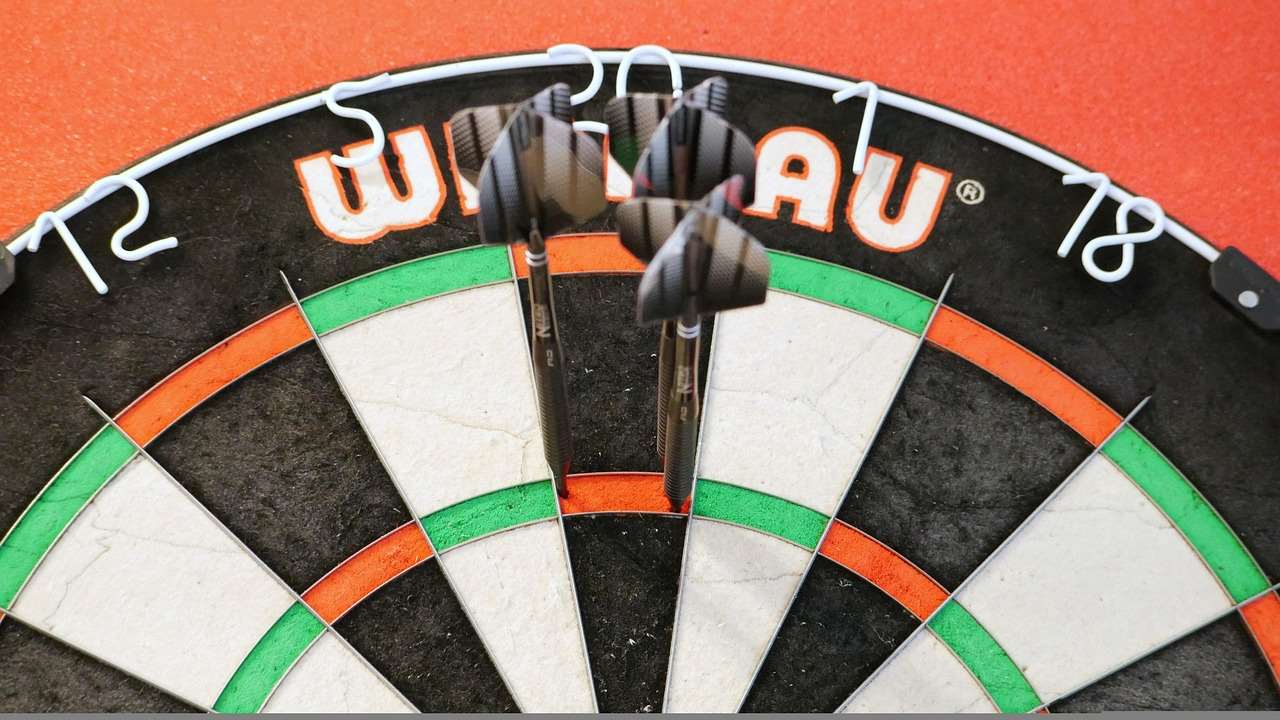
Sisal Fiber: The Heart of Your Dartboard
The sisal fiber is the heart of your dartboard. Its tightly woven structure provides the necessary grip for your darts, allowing for a satisfying and accurate throw. When selecting your sisal, ensure it’s densely packed; this will directly impact the longevity and performance of your finished dartboard. Loosely packed sisal will quickly become worn and won’t provide a good target for your darts.
The Importance of a Sturdy Backing
The backing material is just as important as the sisal itself. A weak backing can lead to warping and damage, especially over time with repeated use. Consider the thickness of the plywood or MDF; thicker materials provide greater stability and will last longer. Remember that you’re building something that will endure plenty of impact, so choosing a solid backing is essential when you make a dart board.
Step-by-Step Guide: How to Make a Dart Board
Now, let’s dive into the construction process. This guide assumes you’ve already gathered your materials. If you haven’t already, please refer to the previous section on choosing your materials.
- Prepare the Sisal Fiber: Carefully measure and cut your sisal fiber to the appropriate size, ensuring you have a slight overhang for later trimming. You want it to be slightly larger than your backing board.
- Attach the Sisal to the Backing: Using a staple gun, begin securing the sisal to the backing board. Start in the center and work your way outwards, ensuring the sisal is taut but not stretched excessively. This prevents uneven wear and tear. For even tension, work in sections, using the center as your anchor point. Consider using a helper to hold the sisal taut while stapling.
- Trim the Excess Sisal: Once the sisal is fully attached, use a sharp knife or scissors to trim away any excess. Aim for a neat and even finish. This step ensures a professional and consistent look and minimizes the risk of the fibers getting caught or torn.
- Add the Wire Surround: Now, carefully attach the wire surround to the edge of the sisal, providing a professional finish. You can either staple it to the back or use small nails to secure it. You can use a galvanized metal wire; it’s durable and resistant to wear and tear.
- Finishing Touches (Optional): Consider adding a decorative element or painting the board surround for a more personalized touch. You can even add your own unique branding or family crest.
Troubleshooting Common Issues When You Make a Dart Board
Even with careful planning, you might encounter some challenges. Here are a few common issues and how to address them:
- Uneven Sisal: If the sisal is not evenly attached, it can lead to inconsistent bounce and inaccurate throws. Carefully check your work and re-staple any loose areas.
- Wrinkles in the Sisal: This can happen if the sisal isn’t taut enough during installation. Try re-working the section to ensure the sisal is completely flat and smooth.
- Loose Wire: The wire should be secure, so check for any loose sections and re-secure them. A loose wire could damage the board or pose a safety hazard.
Remember, practice makes perfect. Don’t be discouraged if your first attempt isn’t perfect. The more you practice building dartboards, the better you’ll get at it. This is a great opportunity to refine your technique and work towards a flawless finish.
Setting Up Your New Dartboard: Maximize Your Game
Once you’ve successfully completed the process of how to make a dart board, setting it up correctly is key. The correct height and distance from the wall are essential. You need to adhere to official regulations for a fair and standardized game.
Consider the placement of your dartboard carefully. Ensure there’s enough space around it for a comfortable throwing distance and a safe area to avoid accidental damage to your surroundings. A well-lit area will also improve visibility and precision. Consider installing additional lighting if necessary for optimal game play. When you make a dart board, you’re not just crafting a game but a space for it.
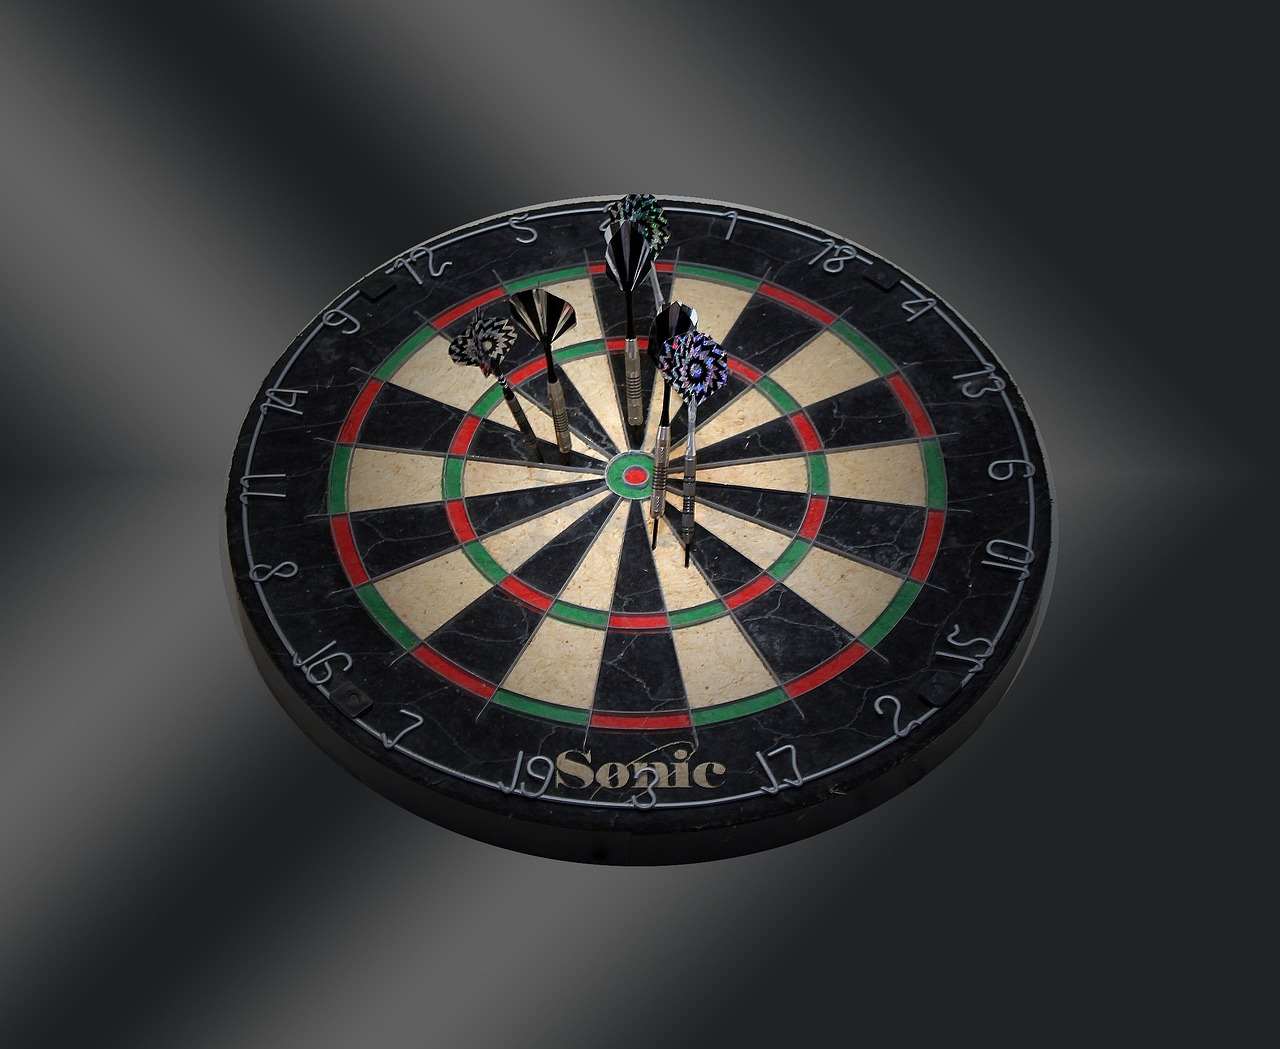
Beyond the Basics: Customizing Your Dartboard
Once you’ve mastered the basics of how to make a dart board, you can explore different customization options to personalize your creation. Consider different colors for the wire surround or even adding a personalized logo. You could also experiment with different types of sisal or investigate alternative materials. The possibilities are endless!
Think about adding decorative elements like personalized engravings or custom-painted designs. You can even incorporate LED lighting into the board’s surround for a truly unique and eye-catching look. This adds a creative outlet and further enhances your creation.
Adding personalized details to your handcrafted dartboard elevates it beyond a simple game accessory. It transforms into a unique piece that reflects your personality and enhances your game space. This level of customization is impossible with store-bought dartboards, making your DIY project truly special.
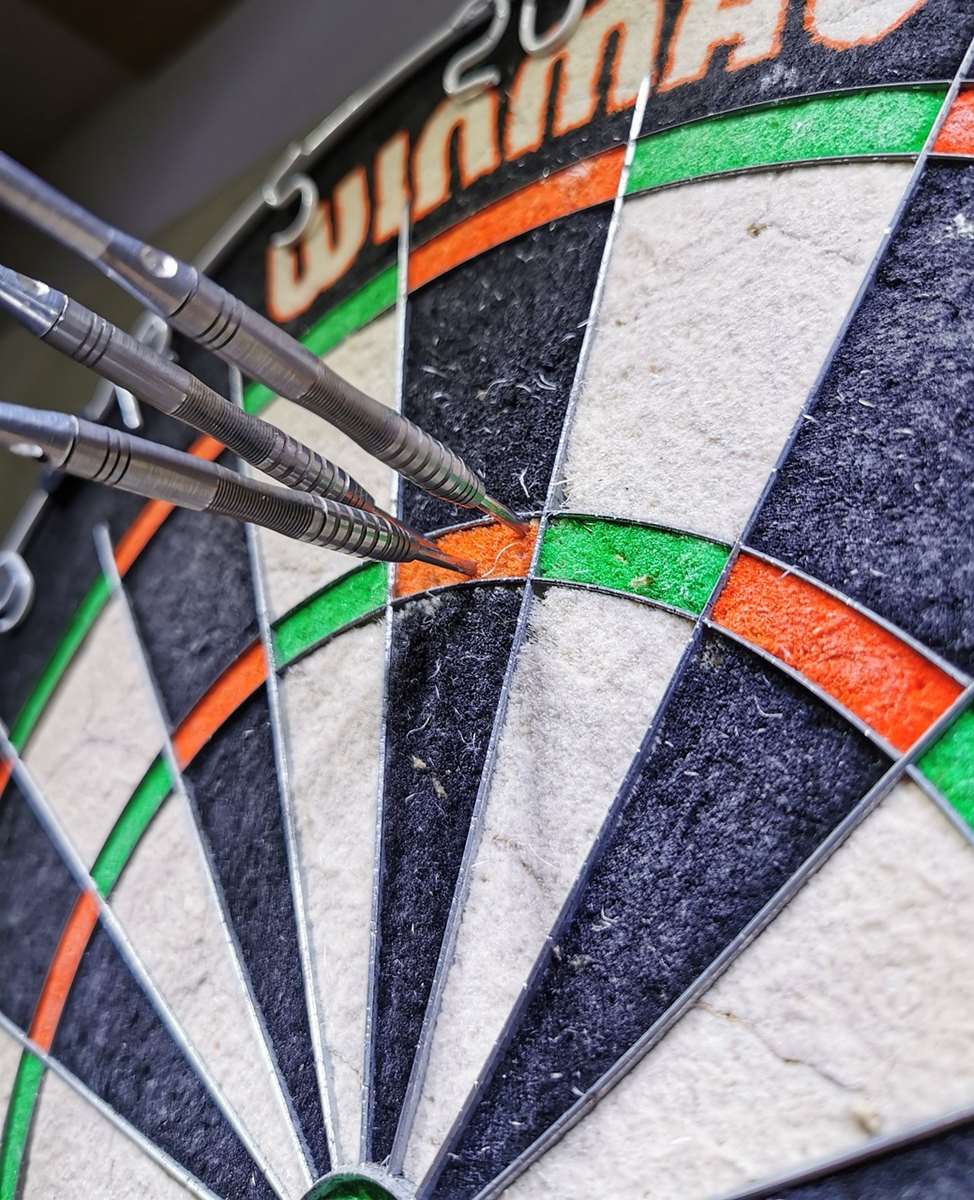
Maintaining Your Handmade Dartboard
With proper care, your handmade dartboard will last for years. Regular cleaning will remove dust and debris, preventing damage and maintaining its performance. A simple dusting with a soft cloth will suffice for most cases.
Avoid storing your dartboard in damp or humid environments as moisture can degrade the sisal fibers. Ensure the area is well-ventilated to prevent the growth of mold or mildew. Keeping your dartboard in optimal conditions will extend its life significantly. A regularly maintained board is crucial for a consistently enjoyable game. Download a free dart score app to keep track of your games and progress.
The Joy of Making Your Own Dart Board
Making a dartboard is a rewarding experience that combines craftsmanship with the fun of a classic game. It allows for personalization and creativity, going beyond the limitations of commercially available options. You gain a deeper appreciation for the game, and the satisfaction of creating something functional and visually appealing is unmatched.
Remember, the process is just as important as the end result. It’s a chance to challenge your skills, learn new techniques, and spend time on a project that brings both personal satisfaction and a fun new addition to your home. Plus, you can boast about having created your own dartboard—a conversation starter in itself!
While there’s something to be said for the professional polish of a store-bought dartboard, there’s a unique sense of accomplishment and pride that comes with having made one yourself. This personal connection enhances the overall experience, transforming each dart throw into a more meaningful moment. To truly elevate your game, learn more about some of the darts biggest tournaments.
Conclusion: Ready to Make a Dart Board?
Creating your own dartboard is a fulfilling project that allows for creativity and skill development. By following these steps and choosing the right materials, you can make a high-quality, durable dartboard that will provide hours of enjoyment. Remember to check your work throughout the process, and don’t hesitate to customize the project to suit your style. Now get started – your personalized dartboard awaits!
Ready to start your journey of how to make a dart board? Gather your supplies, follow the steps, and unleash your inner craftsman. This project is a fantastic way to combine practical skills with creative expression while creating a fun and engaging game for yourself and others. For more fun facts about darts, check out darts meaning in chemistry.
Whether you’re a seasoned darts player or a curious beginner, making your own dartboard is an engaging and rewarding endeavor. So grab your tools and materials, and embark on this creative journey! We’re confident that you’ll be thrilled with the results. And who knows, maybe you’ll even achieve a 9 dart finish paddy power on your very own creation!
Hi, I’m Dieter, and I created Dartcounter (Dartcounterapp.com). My motivation wasn’t being a darts expert – quite the opposite! When I first started playing, I loved the game but found keeping accurate scores and tracking stats difficult and distracting.
I figured I couldn’t be the only one struggling with this. So, I decided to build a solution: an easy-to-use application that everyone, no matter their experience level, could use to manage scoring effortlessly.
My goal for Dartcounter was simple: let the app handle the numbers – the scoring, the averages, the stats, even checkout suggestions – so players could focus purely on their throw and enjoying the game. It began as a way to solve my own beginner’s problem, and I’m thrilled it has grown into a helpful tool for the wider darts community.