Ensuring a perfectly level dartboard mounting check is crucial for fair play and consistent scoring, guaranteeing that every throw counts. This article will guide you through the entire process, from initial measurements to final adjustments, covering essential tools, techniques, and troubleshooting tips for achieving a truly level and secure dartboard installation.
⚠️ Still Using Pen & Paper (or a Chalkboard)?! ⚠️
Step into the future! The Dart Counter App handles all the scoring, suggests checkouts, and tracks your stats automatically. It's easier than you think!
Try the Smart Dart Counter App FREE!Ready for an upgrade? Click above!
Why a Level Dartboard Mounting Check Matters
Imagine consistently throwing slightly off because your dartboard isn’t perfectly level. It’s not just about aesthetics; it’s about fairness and improving your game. A tilted board can subtly influence your throw, leading to frustration and inaccurate scores. Conducting a regular level dartboard mounting check ensures that you’re playing on a consistent and fair surface.
Furthermore, an unlevel board can put undue stress on certain sections, potentially shortening its lifespan. By taking the time to ensure your board is properly mounted and level, you’re investing in its longevity and your enjoyment of the game. Many players underestimate the importance of this simple step, but it can make a world of difference in their overall experience.
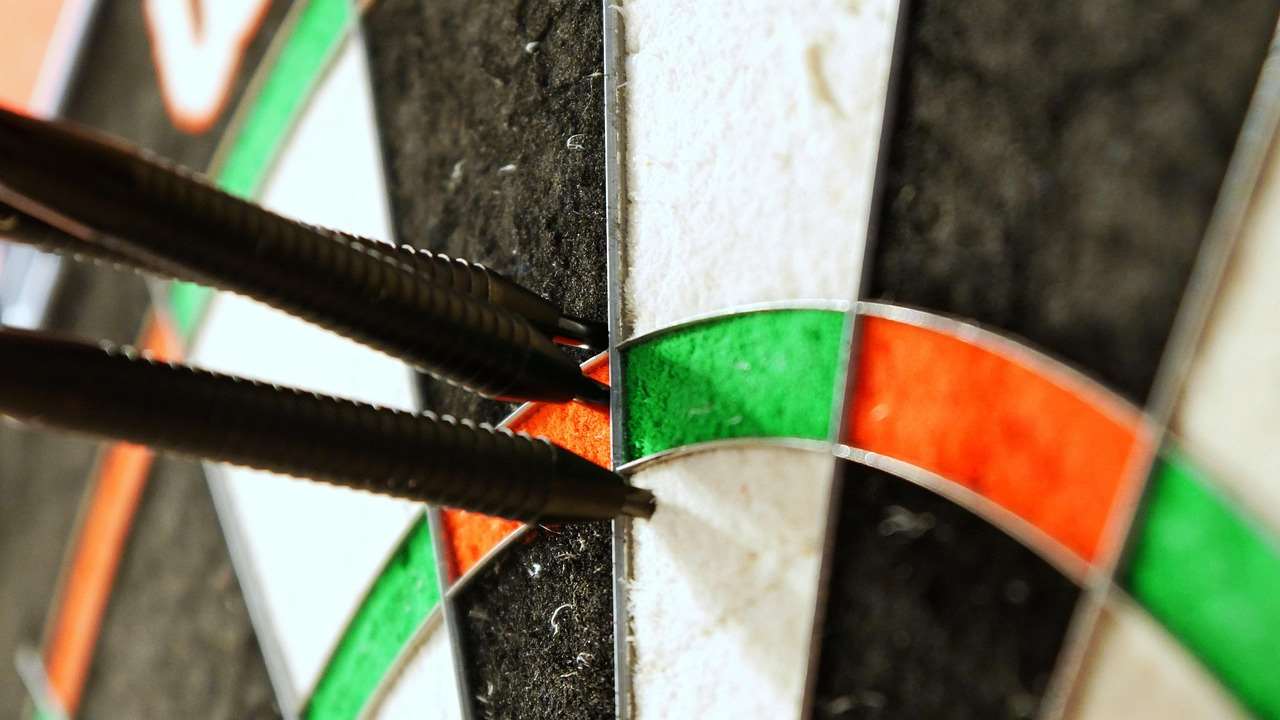
Essential Tools for a Level Dartboard Mounting
Before you even think about hanging your dartboard, you’ll need to gather the right tools. Here’s a checklist of essentials for a proper dartboard setup:
- Level: A spirit level (bubble level) is crucial. A laser level can also be used for increased accuracy.
- Measuring Tape: For precise height measurements.
- Pencil: For marking the wall.
- Drill (with appropriate drill bits): For creating pilot holes.
- Screwdriver: To secure the dartboard bracket to the wall.
- Dartboard Mounting Bracket (and screws): Typically included with the dartboard.
- Wall Protection: Consider a surround or cabinet to protect your wall from stray darts.
- Stud Finder (Optional): If you want to mount the board directly into a wall stud for maximum stability.
Investing in quality tools will make the installation process much smoother and more accurate. Don’t skimp on the level; a cheap or inaccurate one will defeat the purpose of the level dartboard mounting check.
Step-by-Step Guide to Mounting Your Dartboard Perfectly Level
Follow these steps carefully to ensure your dartboard is mounted securely and, most importantly, perfectly level:
- Measure the Height: The official height for the center of the bullseye is 5 feet 8 inches (1.73 meters) from the floor. Mark this height on the wall with your pencil.
- Attach the Mounting Bracket to the Board: Secure the mounting bracket to the back of your dartboard, following the manufacturer’s instructions.
- Position the Dartboard: Hold the dartboard against the wall, aligning the center of the bullseye with the mark you made earlier.
- Mark the Screw Holes: Use your pencil to mark the locations of the screw holes on the wall through the mounting bracket.
- Drill Pilot Holes: Drill pilot holes at the marked locations. The size of the drill bit will depend on the type of wall and the screws you’re using. If you’re unsure, start with a smaller bit and gradually increase the size until the screws fit snugly.
- Secure the Dartboard: Carefully screw the dartboard bracket into the wall, ensuring it’s securely attached.
- Perform the Level Dartboard Mounting Check: Place your level across the face of the dartboard, both horizontally and vertically. Make adjustments as needed until the bubble is centered in the level.
- Final Check: Step back and visually inspect the dartboard to ensure it looks level. Throw a few darts to test its stability.
Remember to take your time and double-check your measurements at each step. Accuracy is key to a successful dartboard installation.
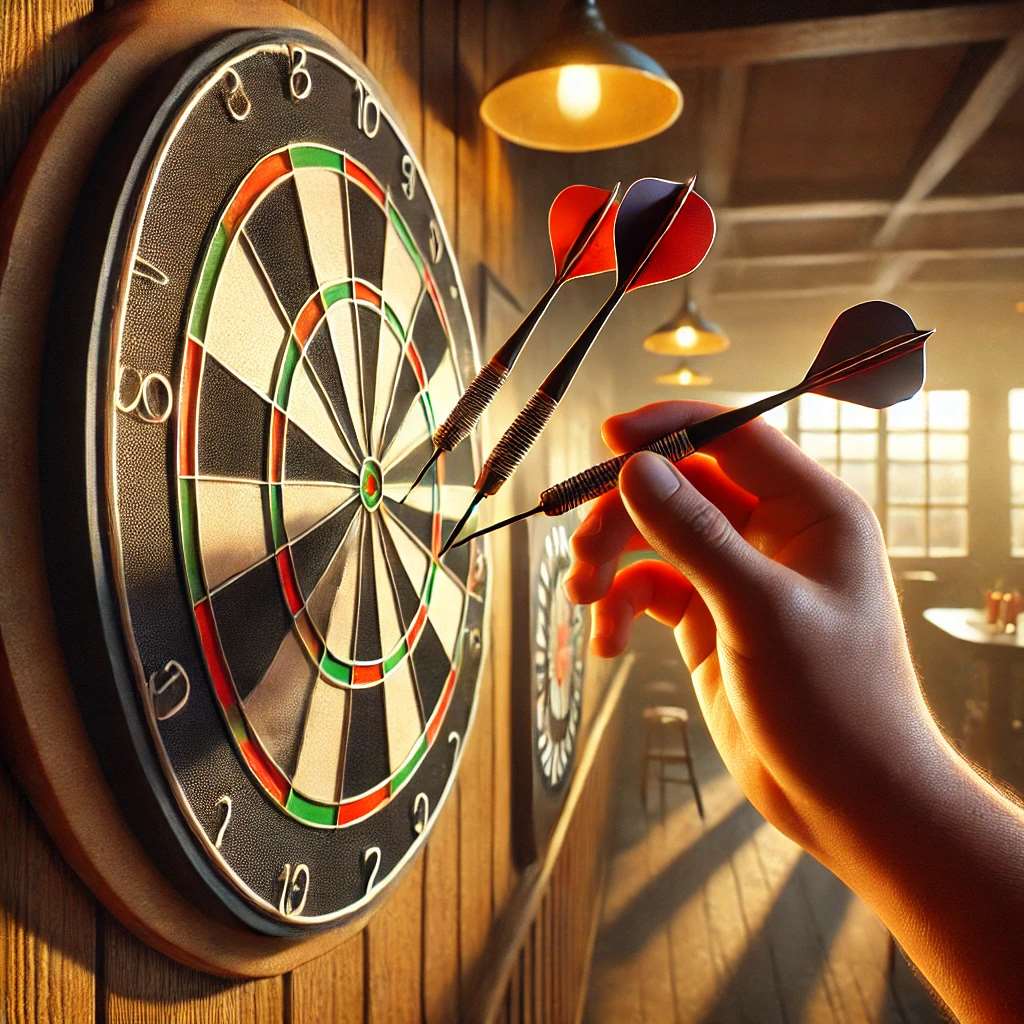
Addressing Common Mounting Challenges
Even with the best preparation, you might encounter some challenges during the mounting process. Here are a few common issues and how to address them:
- Wall Studs: If possible, mount the dartboard directly into a wall stud for maximum stability. Use a stud finder to locate the studs before drilling. If you can’t hit a stud, use wall anchors to provide extra support.
- Uneven Walls: If your wall is slightly uneven, you may need to use shims behind the mounting bracket to create a level surface.
- Loose Screws: If the screws are not holding securely, try using longer screws or wall anchors.
- Dartboard Wobbles: If the dartboard wobbles, tighten the screws on the mounting bracket and check the level again. You might also need to add shims behind the bracket.
Don’t be afraid to experiment and make adjustments as needed to achieve a perfectly level and stable dartboard. If you encounter serious challenges, consult a professional handyman for assistance. Ensuring a proper dartboard setup is paramount.
Also, don’t forget to consider Basic Darts Fundamentals for Beginners. Knowing how to throw correctly will help you identify any mounting issues sooner.
Maintaining a Level Dartboard
Once your dartboard is mounted, it’s important to perform regular maintenance to ensure it stays level and secure. Here are a few tips:
- Regularly Check the Level: Use your level to check the dartboard periodically, especially after heavy use or if you notice any wobbling.
- Tighten Screws: Check and tighten the screws on the mounting bracket regularly to prevent loosening.
- Rotate the Dartboard: Rotating your dartboard regularly will help to distribute wear and tear evenly, extending its lifespan.
- Clean the Dartboard: Keep your dartboard clean by wiping it down with a soft cloth. Avoid using harsh chemicals or cleaners.
By following these simple maintenance tips, you can keep your dartboard in top condition and enjoy years of accurate and enjoyable gameplay. Remember, a little maintenance goes a long way in preserving the level playing field.
The Importance of Proper Lighting
While a level dartboard mounting check is essential, good lighting is equally important for an optimal dart-playing experience. Shadows can distort your perception and affect your aim. Consider investing in a dedicated dartboard lighting system that provides consistent and even illumination across the entire board.
Proper lighting not only improves your accuracy but also reduces eye strain, allowing you to play for longer periods without fatigue. There are various lighting options available, from simple clip-on lights to more sophisticated halo systems that surround the dartboard. Choose a system that suits your needs and budget. Sometimes alternative darts rules for home play can include lighting adjustments.
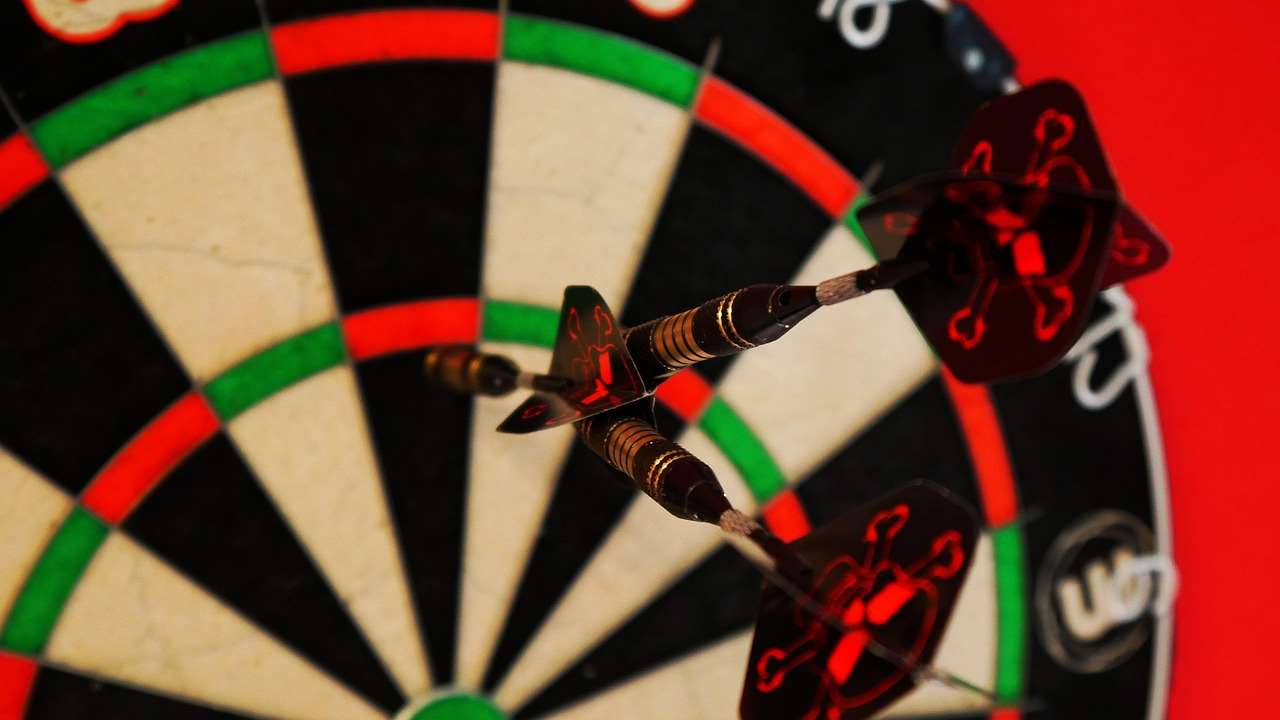
Choosing the Right Dartboard Surround
A dartboard surround is a valuable addition to any dart setup, offering protection for your wall and stray darts. Surrounds come in various materials, including rubber, cork, and wood. Choose a surround that complements your dartboard and décor. It’s essential to also factor the surround into your level dartboard mounting check; if the surround is not level, it can give the illusion that the dartboard isn’t either.
Not only does a surround protect your wall from accidental punctures, but it also provides a visual boundary for the playing area, enhancing the overall aesthetic. Many surrounds are also designed to catch stray darts, preventing them from bouncing onto the floor and potentially causing damage or injury. Remember adapting darts rules for beginners might sometimes need adjustment based on wall space or lack of a surround.
Level Dartboard Mounting Check and Throw Line Placement
While ensuring the dartboard is perfectly level is crucial, equally important is the correct placement of the throw line, also known as the oche. The official distance from the face of the dartboard to the throw line is 7 feet 9 1/4 inches (2.37 meters). Use a measuring tape to accurately mark and position the throw line. Be sure to measure from the *face* of the board, not the wall. Even the slightest error can influence your throw.
Consider using a non-slip mat or a clearly marked line on the floor to define the throw line. Consistency is key in darts, and a well-defined throw line helps to maintain that consistency. Remember, proper throw line placement, combined with a level dartboard, creates a fair and enjoyable playing experience. You might even consider some fun dart game variations with modified rules.
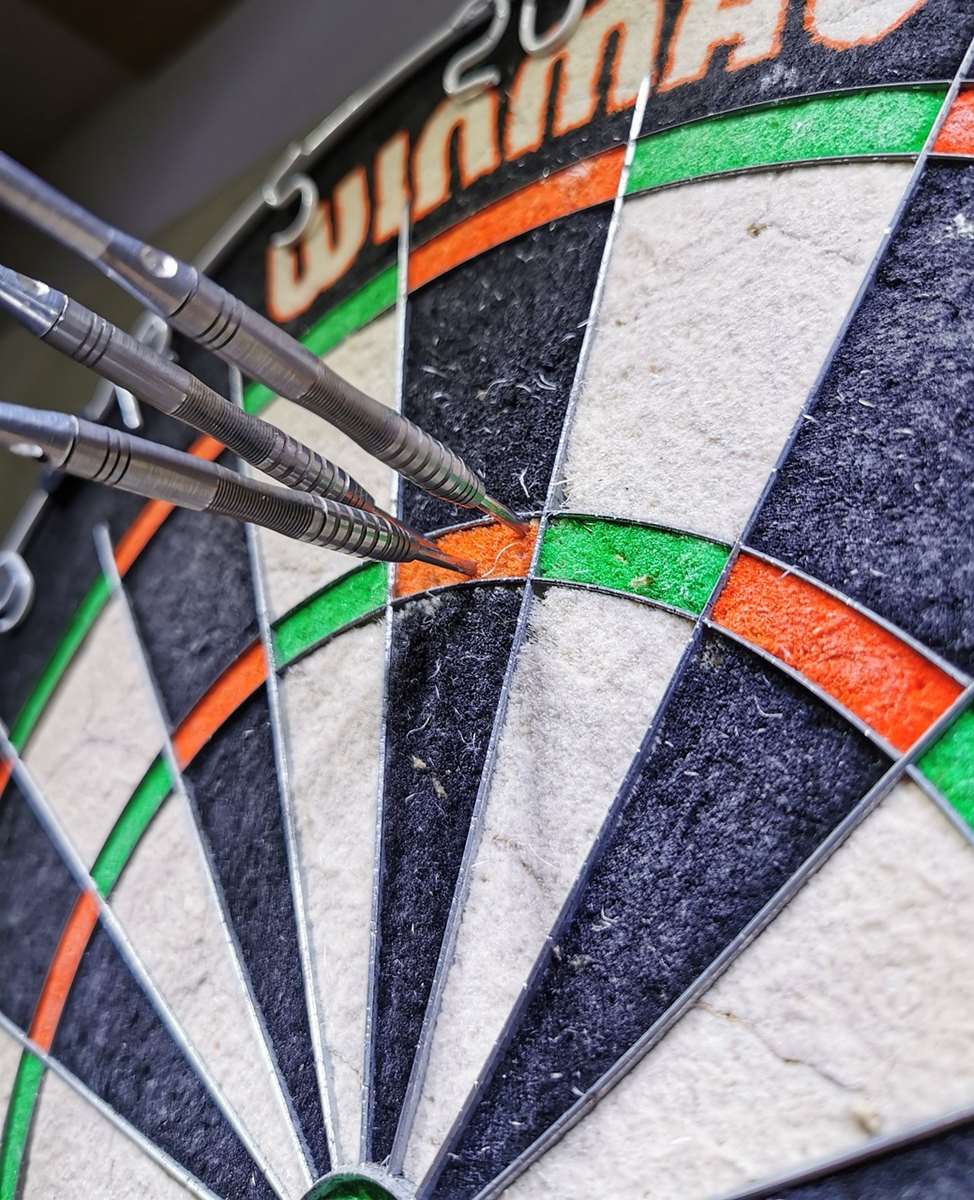
Troubleshooting Dartboard Bounce-Outs
Even with a perfectly level dartboard and correct throw line placement, you might still experience occasional bounce-outs. Here are a few potential causes and solutions:
- Dull Darts: Ensure your dart points are sharp and well-maintained. Dull points are more likely to glance off the board.
- Worn Bristles: A worn or compressed dartboard can also contribute to bounce-outs. Consider rotating the board or replacing it if necessary.
- Incorrect Throw Technique: Review your throwing technique to ensure you’re releasing the dart smoothly and consistently.
- Dartboard Mounting Issues: Double-check that the dartboard is securely mounted and perfectly level.
By addressing these potential issues, you can minimize bounce-outs and enjoy a more satisfying dart-playing experience. Don’t underestimate the impact of dart maintenance and proper throwing technique.
The Final Level Dartboard Mounting Check
Before you declare your dartboard installation complete, perform one final level dartboard mounting check. Use your spirit level to verify that the board is perfectly level in both the horizontal and vertical planes. If necessary, make any final adjustments to ensure accuracy. This final check is crucial to confirm that all your efforts have resulted in a truly level playing surface.
Step back, admire your handiwork, and throw a few darts to celebrate a job well done. With a perfectly level dartboard, you’re ready to enjoy countless hours of fun and competitive gameplay. Remember that knowing how to make darts fairer with handicap rules is also essential if you play with varied skill levels.
Conclusion
A successful level dartboard mounting check is an essential step in creating an enjoyable and fair dart-playing experience. By following the steps outlined in this article, you can ensure that your dartboard is mounted securely, accurately, and perfectly level. Remember to gather the necessary tools, double-check your measurements, and perform regular maintenance to keep your dartboard in top condition. With a level playing field, you’re ready to hone your skills, challenge your friends, and enjoy the timeless game of darts. Now grab your darts, aim true, and start playing!
Hi, I’m Dieter, and I created Dartcounter (Dartcounterapp.com). My motivation wasn’t being a darts expert – quite the opposite! When I first started playing, I loved the game but found keeping accurate scores and tracking stats difficult and distracting.
I figured I couldn’t be the only one struggling with this. So, I decided to build a solution: an easy-to-use application that everyone, no matter their experience level, could use to manage scoring effortlessly.
My goal for Dartcounter was simple: let the app handle the numbers – the scoring, the averages, the stats, even checkout suggestions – so players could focus purely on their throw and enjoying the game. It began as a way to solve my own beginner’s problem, and I’m thrilled it has grown into a helpful tool for the wider darts community.