The key to an enjoyable darts experience starts with correctly **hanging dartboard**. This guide will walk you through every step, from choosing the right location to ensuring your board is securely mounted and at the regulation height, so you can start playing accurately and safely. We’ll also cover essential dartboard setup, safety precautions, and how to maintain your setup for long-lasting enjoyment.
⚠️ Still Using Pen & Paper (or a Chalkboard)?! ⚠️
Step into the future! The Dart Counter App handles all the scoring, suggests checkouts, and tracks your stats automatically. It's easier than you think!
Try the Smart Dart Counter App FREE!Ready for an upgrade? Click above!
Choosing the Perfect Spot for Hanging Dartboard
Before you even think about hammers and nails, consider the ideal location for your **hanging dartboard**. You’ll need a space that’s not only large enough to accommodate the throw line (oche) and player movement, but also safe for both the players and the surrounding environment. The ideal space should be free from obstructions, such as furniture or doorways, and should have enough room to allow players to stand comfortably at the dimensions of darts oche.
Space Considerations:
- Clear Throwing Area: Ensure there’s at least 8 feet of unobstructed space from the front of the dartboard to the throw line.
- Wall Protection: Consider wall protection around the dartboard. Stray darts happen, especially for beginners.
- Lighting: Good lighting is crucial. Aim for a well-lit area to minimize shadows on the board.
Safety First:
- Avoid High-Traffic Areas: Don’t hang your dartboard where people frequently walk, especially children or pets.
- Use a Dartboard Surround: A dartboard surround is a worthwhile investment to protect your wall from stray darts.
- Warn Others: Make sure everyone in the household knows when a game is in progress.
Step-by-Step Guide to Hanging Your Dartboard
Now that you’ve selected the perfect location, it’s time to get your **hanging dartboard** up on the wall. The process is straightforward, but precision is key to ensuring an accurate and enjoyable game. It’s always better to double-check your measurements than to have to relocate your dartboard later on.
Gather Your Tools and Materials:
- Dartboard: Obviously!
- Measuring Tape: For accurate measurements.
- Pencil: For marking the wall.
- Level: Essential for ensuring a straight hang.
- Drill: For pilot holes (especially for plaster walls).
- Screws or Nails: Appropriate for your wall type.
- Dartboard Mounting Hardware: Usually included with the dartboard.
- Wall Protection (Optional): Dartboard surround or backboard.
Step 1: Finding the Center Bullseye Height:
The official regulation height for the center of the bullseye is 5 feet 8 inches (1.73 meters) from the floor. Use your measuring tape and pencil to mark this spot on the wall.
Step 2: Attaching the Mounting Bracket:
Most dartboards come with a mounting bracket. Follow the manufacturer’s instructions to attach the bracket to the back of the dartboard. This usually involves screwing it into pre-drilled holes or a central mounting point.

Step 3: Hanging the Dartboard:
Position the dartboard on the wall, aligning the mounting bracket with the pencil mark you made for the bullseye height. Use a level to ensure the dartboard is perfectly vertical before securing it to the wall. For plaster walls, drill pilot holes before inserting screws to prevent cracking.
Step 4: Securing the Dartboard:
Use appropriate screws or nails to securely attach the dartboard to the wall. Make sure the dartboard is firmly mounted and doesn’t wobble. If necessary, use wall anchors for added stability, especially if mounting to drywall.
Ensuring Proper Distance: Setting Up Your Oche
Once your **hanging dartboard** is securely in place, the next crucial step is to establish the correct throwing distance, known as the oche. Accurate distance is as important as the height, so don’t neglect it. Properly positioning the oche is essential for fair gameplay.
Measuring the Throw Line:
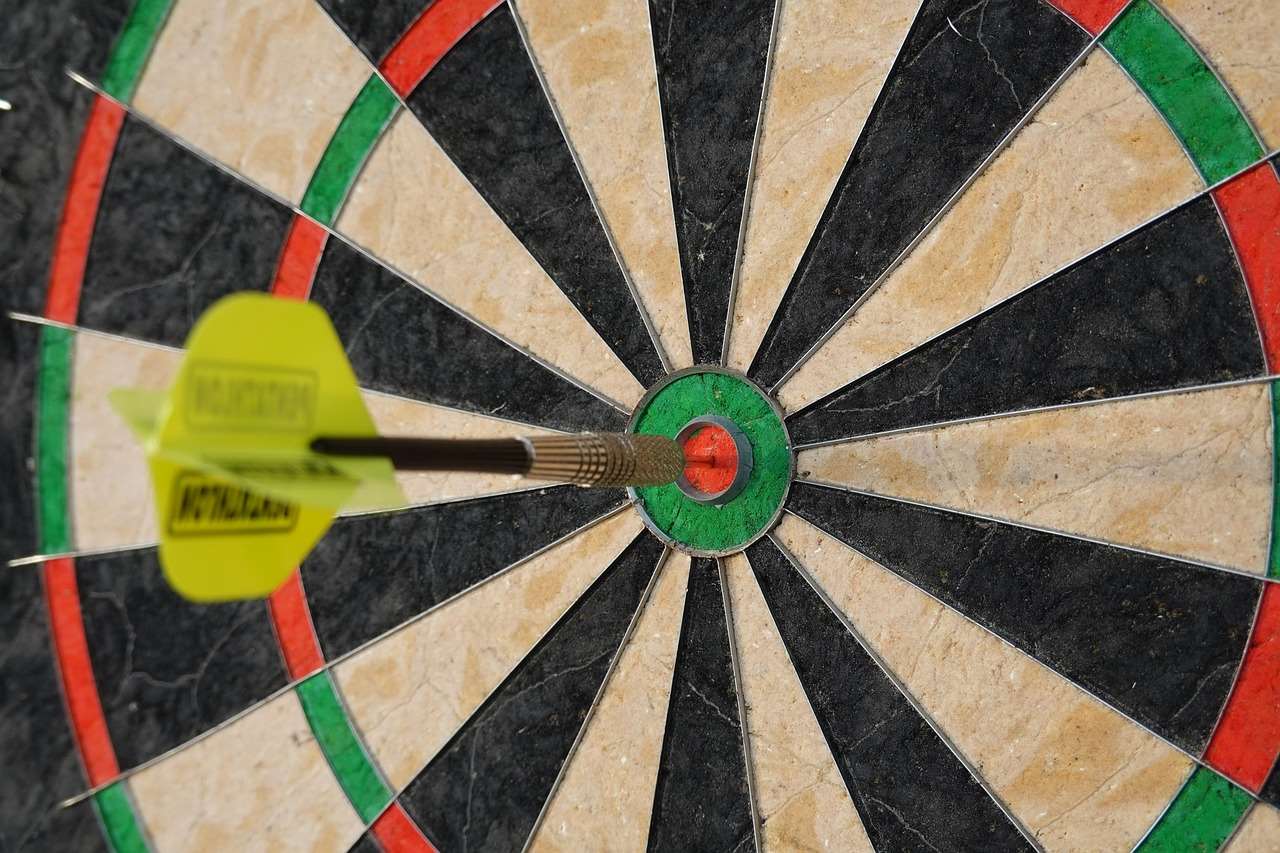
The official distance from the face of the dartboard to the oche is 7 feet 9 1/4 inches (2.37 meters). Measure from the wall (directly below the center of the dartboard) to the point where the throw line will be. This measurement compensates for the depth of the dartboard itself. You can use a dartboard measuring tape to confirm this.
Marking the Oche:
Clearly mark the oche with tape, a wooden strip, or a raised line. This line indicates where players must stand when throwing their darts. Make sure the line is straight and easily visible. You could even consider a dart oche led for better visibility.
Tips for Oche Placement:
- Test Throws: Before permanently fixing the oche, do a few test throws to ensure the distance feels comfortable and accurate.
- Consider Player Height: While the official distance is standard, you might need slight adjustments if players have significantly different heights.
- Non-Slip Surface: Ensure the area around the oche has a non-slip surface to prevent accidents.
Dartboard Maintenance and Care
To keep your **hanging dartboard** in top condition and extend its lifespan, regular maintenance is essential. This doesn’t require much effort, but the impact it has on the longevity of your setup is significant. Rotating the dartboard, using a **dartboard surround**, and occasionally cleaning the board are all good practices.
Rotating Your Dartboard:
Regularly rotating your dartboard helps to evenly distribute wear and tear. Focus on the areas that receive the most darts (like the 20 and the bullseye). Rotating it clockwise or counter-clockwise will help the sisal fibers recover and prevent excessive wear in specific sections. Remember to use a **Darts scoreboard app** (https://dartcounterapp.com/) to track the frequency of throws at different sections.
Cleaning Your Dartboard:
Occasionally, clean your dartboard with a soft brush to remove dust and debris. Avoid using water or cleaning solutions, as these can damage the sisal fibers.
Dart Care:
Keep your darts in good condition by sharpening the points regularly. This will help them penetrate the board more easily and reduce bounce-outs. Store your darts in a case to protect them from damage when not in use. You can also check out various nuke darts set if you are thinking of upgrading your current set.
Choosing the Right Dartboard: Sisal vs. Electronic
When deciding on which dartboard to purchase, you’ll encounter two main types: sisal (bristle) dartboards and electronic dartboards. Each type offers unique advantages and disadvantages, depending on your priorities and preferences.
Sisal Dartboards:
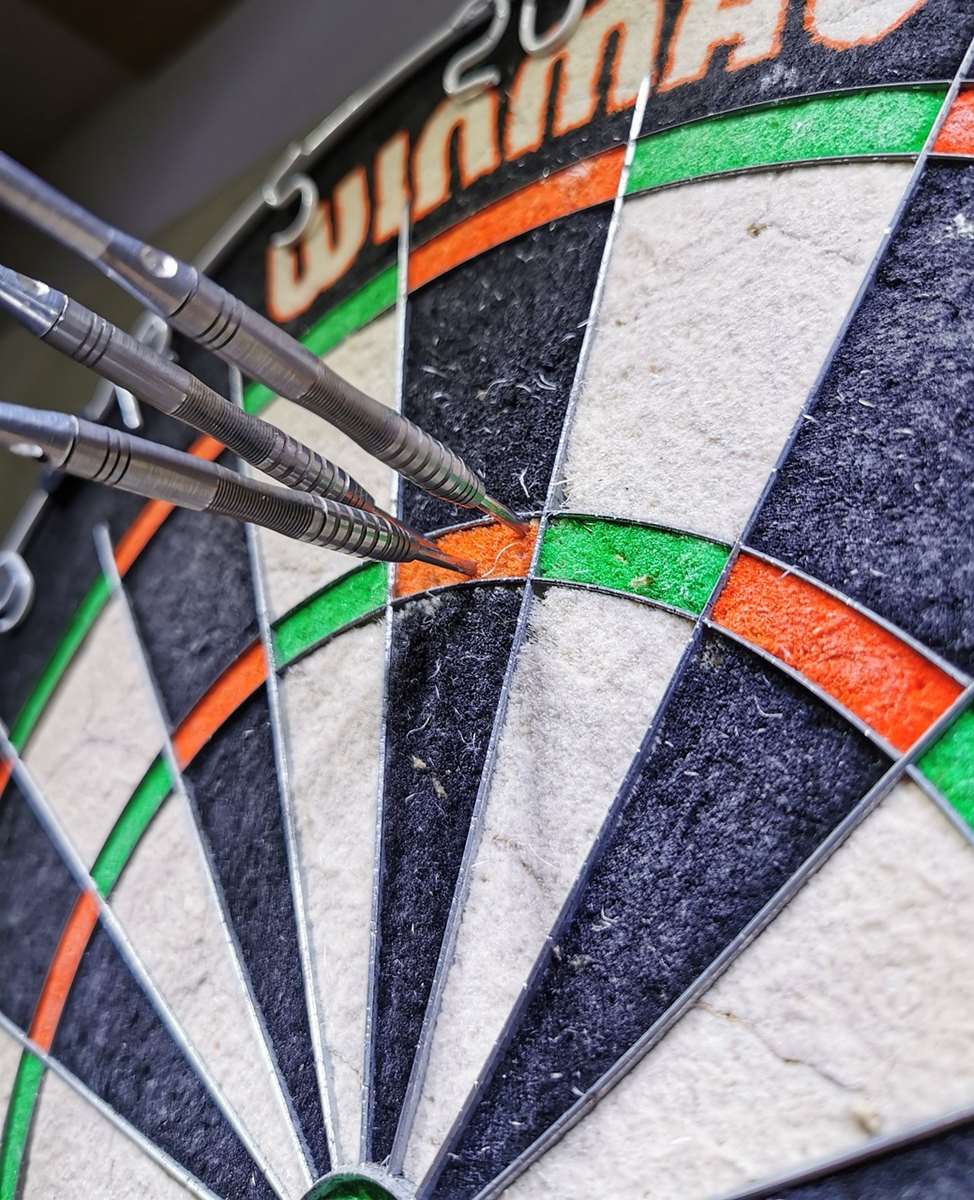
Sisal dartboards are the traditional choice and are favored by serious players. They’re made from compressed sisal fibers, which allow the darts to penetrate easily and self-heal when the darts are removed. These boards require more maintenance but provide a more authentic playing experience. They also often have thinner **hart barrels** improving the throwing ability.
Electronic Dartboards:
Electronic dartboards are a modern alternative that features built-in scoring and a variety of game options. They’re generally more durable and require less maintenance than sisal boards, but they can be more expensive. However, some users find that the plastic surface of electronic boards doesn’t offer the same feel as sisal. These boards can be ideal for casual players or those who want a more convenient and interactive experience.
Safety Tips for Playing Darts
Playing darts should be a fun and safe activity. By following a few simple safety guidelines, you can minimize the risk of accidents and ensure that everyone enjoys the game. Here are some essential safety tips to keep in mind:
- Always check the throwing area is clear before throwing.
- Never throw darts when someone is walking in front of the board.
- Ensure proper lighting so players can see the dartboard and throwing area clearly.
- Keep a first-aid kit nearby for minor injuries.
- Teach children the rules of dart safety.
- Use a dartboard surround to protect the wall from stray darts.
Conclusion
Properly **hanging dartboard** is the foundation for a safe and enjoyable darts experience. By following the steps outlined in this guide, you can ensure that your dartboard is securely mounted, at the correct height and distance, and well-maintained for years of fun. Remember to prioritize safety, choose the right dartboard for your needs, and maintain your equipment regularly. Now that you’ve mastered the art of **hanging dartboard**, it’s time to grab your darts and aim for that bullseye! Consider visiting players championship darts 8 to follow professional matches.
Hi, I’m Dieter, and I created Dartcounter (Dartcounterapp.com). My motivation wasn’t being a darts expert – quite the opposite! When I first started playing, I loved the game but found keeping accurate scores and tracking stats difficult and distracting.
I figured I couldn’t be the only one struggling with this. So, I decided to build a solution: an easy-to-use application that everyone, no matter their experience level, could use to manage scoring effortlessly.
My goal for Dartcounter was simple: let the app handle the numbers – the scoring, the averages, the stats, even checkout suggestions – so players could focus purely on their throw and enjoying the game. It began as a way to solve my own beginner’s problem, and I’m thrilled it has grown into a helpful tool for the wider darts community.