Proper floor markings darts oche setup is crucial for fair play and consistent dart throwing. This article provides a complete guide to accurately setting up your dartboard and oche (throw line), covering official measurements, marking techniques, and helpful tips to ensure your game is up to par. You’ll learn everything from precise distance measurements to oche construction and placement to standard dartboard setup.
⚠️ Still Using Pen & Paper (or a Chalkboard)?! ⚠️
Step into the future! The Dart Counter App handles all the scoring, suggests checkouts, and tracks your stats automatically. It's easier than you think!
Try the Smart Dart Counter App FREE!Ready for an upgrade? Click above!
Understanding the Importance of Accurate Floor Markings Darts Oche Setup
Getting your floor markings darts oche setup right is more than just following rules; it’s about creating a level playing field. Accurate setup ensures that all players throw from the same distance and angle, eliminating any unfair advantages. Even slight deviations from the official measurements can impact your throwing technique and overall game. When everyone adheres to the official standards, the focus remains on skill, strategy, and the sheer enjoyment of the game.
Beyond fairness, a properly set up oche and dartboard minimizes safety risks. By adhering to the specified distances, you reduce the chances of accidental collisions or injuries. So, before you start throwing darts, invest the time and effort to ensure your floor markings darts oche setup is accurate and safe.
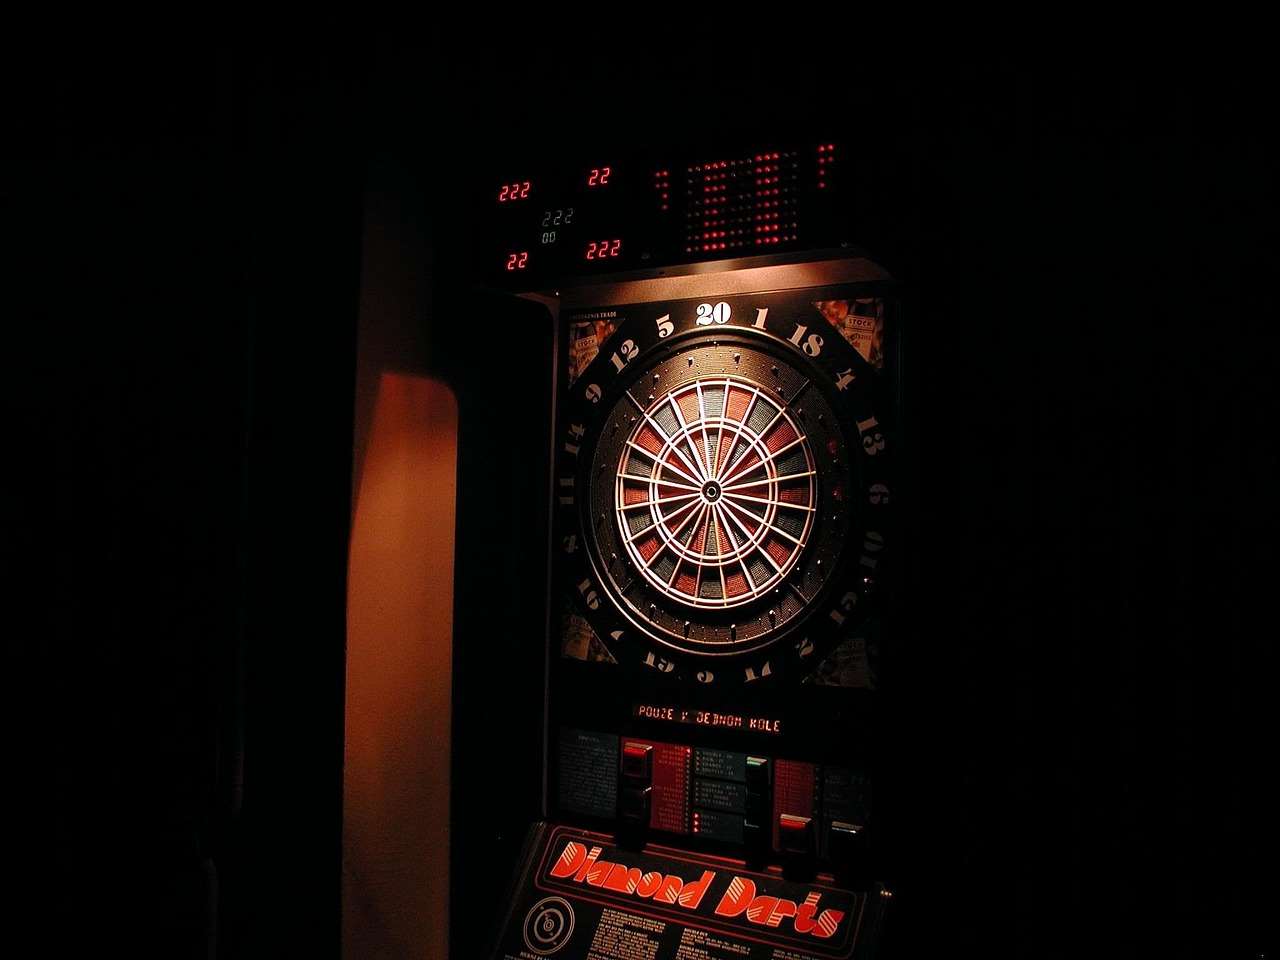
Official Dartboard and Oche Measurements: A Comprehensive Guide
This section breaks down the official measurements for dartboard setup and oche placement, providing you with a clear and concise guide to follow.
Dartboard Height
The height of the dartboard is measured from the floor to the center of the bullseye. The official height is 5 feet 8 inches (1.73 meters). This is a crucial measurement for consistent aiming and throwing.
Oche Distance (Throw Line)
The oche, or throw line, is the line behind which players must stand when throwing darts. The official distance from the face of the dartboard (the flat surface) to the front of the oche is 7 feet 9 1/4 inches (2.37 meters). This is a standardized distance designed to challenge players’ accuracy and skill.
Diagonal Distance
For those who want to double-check their measurements, the diagonal distance from the bullseye to the oche is 9 feet 7 3/8 inches (2.93 meters). This measurement serves as a helpful confirmation when setting up your dartboard and oche.
Oche Height and Width
While not as critical as the distance, the oche should be a raised line, usually made of wood or metal, at least 1.5 inches (3.8 cm) high and no less than 24 inches (61 cm) wide. This provides a clear boundary for players.
Properly measuring these dimensions is vital. Using a reliable tape measure and taking your time ensures an accurate floor markings darts oche setup.
Step-by-Step Guide to Marking the Floor and Setting Up the Oche
Now that you understand the official measurements, let’s dive into a step-by-step guide on how to mark the floor and set up the oche for optimal play.
- Locate the Dartboard Center: Use a plumb bob or level to mark the exact center point on the wall where you will hang the dartboard. This ensures the bullseye will be at the correct height.
- Measure and Mark the Dartboard Height: From the floor, measure up 5 feet 8 inches (1.73 meters) and mark this point on the wall. This is where the center of your dartboard will be placed.
- Hang the Dartboard: Securely mount your dartboard, ensuring the bullseye aligns with the mark you made. Use a sturdy mounting system to prevent the dartboard from falling.
- Measure the Oche Distance: From the face of the dartboard (not the wall), measure out 7 feet 9 1/4 inches (2.37 meters) along the floor. Mark this point on the floor.
- Create the Oche Line: Use tape, paint, or a physical barrier (like a piece of wood) to create a clearly visible oche line. The line should be at least 24 inches (61 cm) wide.
- Double-Check Measurements: Use the diagonal distance measurement (9 feet 7 3/8 inches or 2.93 meters) to confirm the accuracy of your setup.
- Secure the Oche: If using a physical barrier, ensure it is securely attached to the floor to prevent movement during play.
Taking the time to follow these steps precisely will ensure a correct and enjoyable dart-playing experience. This precise method is critical for maintaining an accurate floor markings darts oche setup.
Materials and Tools for Perfect Floor Markings Darts Oche Setup
Having the right tools and materials will make the floor markings darts oche setup process much smoother and more accurate. Here’s a list of essentials:
- Tape Measure: A reliable tape measure, preferably one that can measure in both inches and meters.
- Level or Plumb Bob: Essential for ensuring the dartboard is hung straight and the center point is accurately marked.
- Pencil or Marker: For marking the floor and wall.
- Painter’s Tape: To create a clean and visible oche line (alternative to paint).
- Oche Material: Choose from wood, metal, or durable tape to create the physical oche line.
- Mounting Hardware: Appropriate screws, anchors, and brackets for securely mounting the dartboard to the wall.
- Safety Glasses: To protect your eyes while drilling or hammering.
Investing in quality tools ensures accurate measurements and a professional-looking setup. Don’t skimp on the tape measure; accuracy is key.
Choosing the Right Oche Material: Tape vs. Raised Oche
When setting up your floor markings darts oche setup, you’ll need to decide what material to use for the actual oche line. Here’s a comparison:
Tape Oche
- Pros: Affordable, easy to install, readily available, easily repositioned, ideal for adapting darts rules for small spaces: tips and tricks.
- Cons: Can wear down quickly, not as aesthetically pleasing as a raised oche, less durable.
Raised Oche (Wood or Metal)
- Pros: More durable, provides a clear physical boundary, professional look, enhances gameplay.
- Cons: More expensive, requires more effort to install, less easily repositioned.
The best choice depends on your budget, skill level, and desired aesthetic. For casual players, tape is often sufficient. More serious players may prefer the durability and feel of a raised oche.
Troubleshooting Common Floor Markings Darts Oche Setup Issues
Even with careful planning, you might encounter some challenges during your floor markings darts oche setup. Here’s how to troubleshoot common issues:
- Inaccurate Measurements: Double-check all measurements with a reliable tape measure. Ensure the tape measure is held taut and straight.
- Dartboard Wobbling: Ensure the dartboard is securely mounted to the wall. Use shims if necessary to level the dartboard.
- Oche Moving: Secure the oche to the floor with adhesive or screws to prevent movement.
- Uneven Floor: Use a level to identify uneven areas. Place shims under the oche to compensate for the unevenness.
Addressing these issues promptly ensures a safe and enjoyable dart-playing experience. It’s worthwhile to check the Basic Darts Fundamentals for Beginners before you start.
Maintaining Your Floor Markings Darts Oche Setup
Once you’ve perfected your floor markings darts oche setup, it’s important to maintain it to ensure continued accuracy and safety.
- Regularly Check Measurements: Periodically verify the dartboard height and oche distance to ensure they haven’t shifted.
- Clean the Oche: Keep the oche free from dust and debris to prevent slipping.
- Replace Worn Tape: If using tape for the oche, replace it when it becomes worn or faded.
- Inspect Mounting Hardware: Check the dartboard’s mounting hardware regularly to ensure it remains secure.
By following these simple maintenance tips, you can keep your dart setup in top condition for years to come. You can always spice things up by using creative dart rules for parties and social gatherings.
Advanced Oche Setup Techniques: Beyond the Basics
For serious players looking to optimize their floor markings darts oche setup, consider these advanced techniques:
Adjustable Oches
These allow you to fine-tune the oche position to match your individual throwing style. Some players find minute adjustments make a significant difference in accuracy.
Laser Oche Markers
These project a laser line onto the floor, providing a highly visible and precise oche line. Useful for low-light conditions.
Oche Mats
These provide a comfortable and stable throwing surface, while also protecting your floor. They often include pre-printed oche markings.
Safety Considerations for Your Darts Setup
Safety should always be a top priority when setting up your darts area. Here are some important considerations related to your floor markings darts oche setup and surrounding space:
- Adequate Lighting: Ensure the dartboard and oche area are well-lit to prevent misthrows and accidents.
- Clear Throwing Space: Remove any obstacles from the throwing area to prevent tripping or bumping into things.
- Protective Backboard: Install a backboard behind the dartboard to protect the wall from errant darts.
- Inform Spectators: Establish clear rules for spectators, ensuring they remain a safe distance from the throwing area.
By prioritizing safety, you can create a fun and enjoyable darts environment for everyone. Consider setting the adapting darts rules for beginners for your home game room to keep things consistent.
Conclusion
Mastering the floor markings darts oche setup is essential for fair play, consistent performance, and safety in your dart game. By following the official measurements, using the right tools, and adhering to safety guidelines, you can create a professional-quality dart setup in your home or game room. Remember to regularly check your measurements and maintain your equipment for optimal performance. Now that you have a solid understanding of the setup process, go forth and enjoy the game! Consider investing in quality darts and accessories to enhance your dart-playing experience. Ready to take your dart game to the next level? Start perfecting your setup today!
Hi, I’m Dieter, and I created Dartcounter (Dartcounterapp.com). My motivation wasn’t being a darts expert – quite the opposite! When I first started playing, I loved the game but found keeping accurate scores and tracking stats difficult and distracting.
I figured I couldn’t be the only one struggling with this. So, I decided to build a solution: an easy-to-use application that everyone, no matter their experience level, could use to manage scoring effortlessly.
My goal for Dartcounter was simple: let the app handle the numbers – the scoring, the averages, the stats, even checkout suggestions – so players could focus purely on their throw and enjoying the game. It began as a way to solve my own beginner’s problem, and I’m thrilled it has grown into a helpful tool for the wider darts community.