The most common issue when **fixing electronic dartboards** is a malfunctioning segment or button; usually, a thorough cleaning and careful inspection for loose wires or damaged components will solve the problem. This article will guide you through troubleshooting common electronic dartboard problems, from unresponsive buttons to scoring errors, and provide practical solutions to get your game back on track.
⚠️ Still Using Pen & Paper (or a Chalkboard)?! ⚠️
Step into the future! The Dart Counter App handles all the scoring, suggests checkouts, and tracks your stats automatically. It's easier than you think!
Try the Smart Dart Counter App FREE!Ready for an upgrade? Click above!
Troubleshooting Common Electronic Dartboard Issues
Electronic dartboards offer a convenient and engaging way to play darts, but like any electronic device, they can sometimes malfunction. Understanding the common issues and how to address them is crucial for extending the life of your dartboard and ensuring a smooth playing experience. One critical element is ensuring that you Choose Best Dart Equipment so you don’t end up breaking your board with darts that are too heavy.
Unresponsive Segments
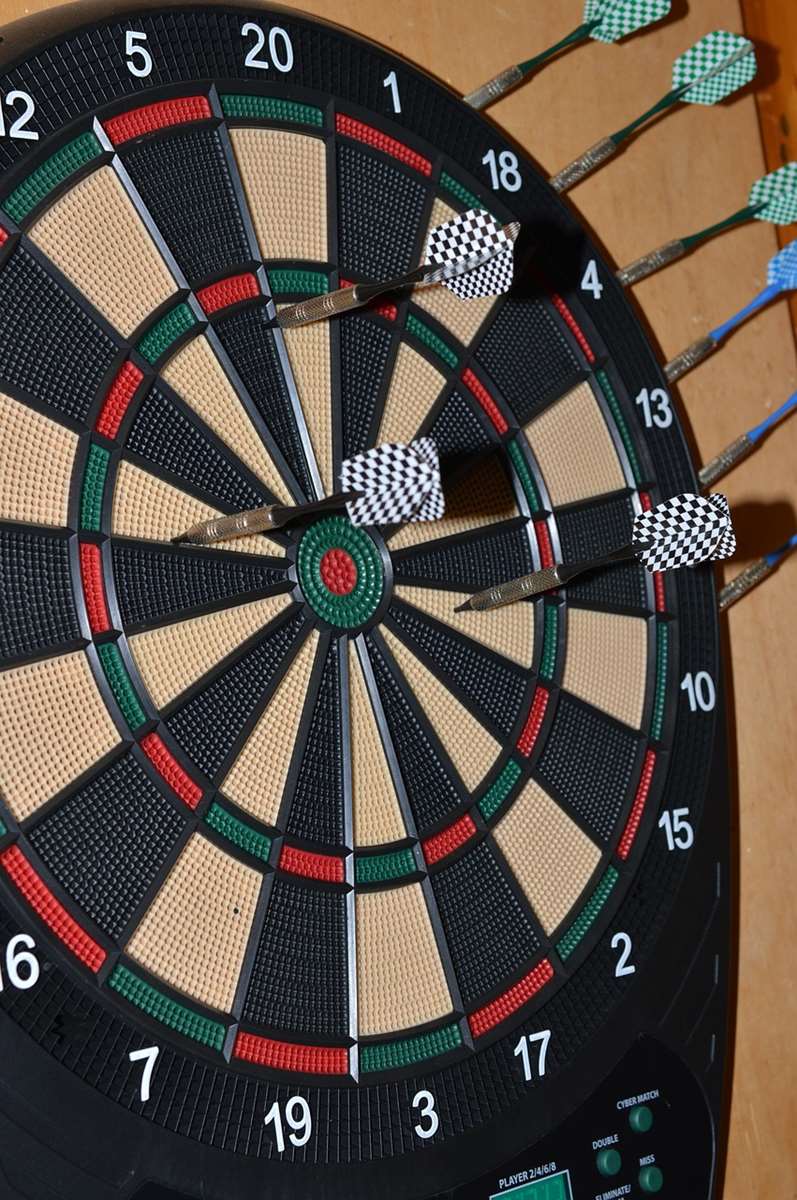
One of the most frustrating problems is when a segment on your dartboard becomes unresponsive. This means the board isn’t registering darts that land in that area. Here’s how to troubleshoot:
- Cleaning the Segments: Dust and debris can interfere with the sensors. Use a soft brush or a slightly damp cloth to gently clean the affected segment and the surrounding area. Avoid using harsh chemicals or excessive moisture.
- Checking for Loose Wires: Open the dartboard (usually by removing screws on the back) and carefully inspect the wiring connected to the unresponsive segment. Look for any loose connections or broken wires. If you find any, reattach them securely or replace the damaged wire.
- Testing the Sensor: If the wiring seems fine, the sensor itself might be faulty. You can test the sensor with a multimeter to check for continuity. If there’s no continuity, the sensor needs to be replaced.
Scoring Errors
Sometimes, the dartboard might register scores incorrectly, either awarding points when no dart has landed or assigning the wrong value to a dart. This can be caused by several factors:
- Dartboard Calibration: Some electronic dartboards have a calibration feature that allows you to adjust the sensitivity of the sensors. Consult your dartboard’s manual to learn how to calibrate it.
- External Interference: Electronic interference from other devices can sometimes affect the dartboard’s scoring. Try moving the dartboard away from other electronic equipment or turning off nearby devices.
- Damaged Segments: Impact from darts can sometimes damage the segments, leading to scoring errors. Inspect the segments for any cracks or dents and replace them if necessary.
Power Issues
If your dartboard isn’t turning on or is experiencing intermittent power loss, the problem likely lies with the power supply. Here’s what to check:
- Power Cord and Adapter: Ensure the power cord is securely plugged into both the dartboard and the power outlet. Check the adapter for any signs of damage, such as frayed wires or a cracked casing. If the cord or adapter is damaged, replace it.
- Batteries (if applicable): If your dartboard uses batteries, make sure they are fresh and properly installed. Low batteries can cause various problems, including power loss and scoring errors.
- Internal Power Connections: Open the dartboard and inspect the internal power connections. Look for any loose wires or corroded contacts. Clean the contacts with a contact cleaner and reattach any loose wires.
Advanced Troubleshooting and Repair
If the basic troubleshooting steps don’t resolve the issue, you might need to delve into more advanced repair techniques. This often involves a deeper understanding of the dartboard’s internal components and how they function.
Replacing a Damaged Segment
If a segment is physically damaged (cracked, broken, or heavily dented), it will likely need to be replaced. Here’s the general procedure:
- Identify the Correct Replacement Segment: Ensure you purchase the correct replacement segment for your specific dartboard model.
- Disassemble the Dartboard: Carefully disassemble the dartboard to access the damaged segment. This usually involves removing screws and separating the different layers of the board.
- Remove the Damaged Segment: Gently pry out the damaged segment, taking care not to damage the surrounding segments or wiring.
- Install the New Segment: Insert the new segment into the space left by the old one. Make sure it’s properly aligned and securely in place.
- Reassemble the Dartboard: Reassemble the dartboard, ensuring all the components are properly aligned and securely fastened.
Repairing or Replacing Buttons
Electronic dartboards often have buttons for various functions, such as starting a game, selecting game types, and adjusting settings. If these buttons become unresponsive or stuck, they might need to be repaired or replaced. Here’s how to approach the issue:
- Cleaning the Buttons: Dirt and debris can accumulate around the buttons, preventing them from making proper contact. Use a cotton swab dipped in isopropyl alcohol to clean the buttons and the surrounding area.
- Checking the Button Contacts: Open the dartboard and inspect the button contacts. Look for any corrosion or damage. Clean the contacts with a contact cleaner and ensure they are properly aligned.
- Replacing the Button: If the button is physically damaged or the contacts are corroded beyond repair, you might need to replace the entire button assembly. You can usually find replacement buttons online or at electronics stores.
Addressing Electronic Component Failures
Sometimes, the problem might lie with the electronic components on the dartboard’s circuit board. This requires more advanced troubleshooting skills and may necessitate professional repair. Here are some potential issues:
- Capacitor Failure: Capacitors are electronic components that store energy. If a capacitor fails, it can cause various problems, including power loss and scoring errors. Look for capacitors that are bulging, leaking, or discolored.
- Resistor Failure: Resistors control the flow of electricity in the circuit. If a resistor fails, it can disrupt the circuit’s operation. You can test resistors with a multimeter to check their resistance values.
- Integrated Circuit (IC) Failure: Integrated circuits are complex electronic components that perform various functions. If an IC fails, it can cause a wide range of problems. Diagnosing IC failures often requires specialized equipment and expertise.
Preventive Maintenance for Your Electronic Dartboard
Preventive maintenance is key to extending the life of your electronic dartboard and minimizing the need for repairs. Here are some tips:
- Regular Cleaning: Clean your dartboard regularly to remove dust and debris that can interfere with the sensors and buttons.
- Proper Dart Maintenance: Use darts with sharp tips and avoid throwing darts that are damaged or bent. Damaged darts can damage the dartboard segments.
- Avoid Excessive Force: Don’t throw darts with excessive force. Throwing darts too hard can damage the dartboard and its internal components.
- Store the Dartboard Properly: When not in use, store your dartboard in a dry and protected environment. Avoid exposing it to extreme temperatures or humidity.
- Consider installing Optimal Dartboard Lighting Solutions Guide for better visibility.
Knowing When to Seek Professional Help
While many electronic dartboard problems can be resolved with DIY troubleshooting and repair, there are times when it’s best to seek professional help. Here are some situations where professional repair is recommended:
- Extensive Damage: If your dartboard has suffered extensive damage, such as from a power surge or water damage, it’s best to have it professionally inspected and repaired.
- Complex Electronic Issues: If you’re not comfortable working with electronic components or don’t have the necessary tools and expertise, it’s best to leave the repair to a professional.
- Warranty Coverage: If your dartboard is still under warranty, attempting to repair it yourself might void the warranty. Check the warranty terms and conditions before attempting any repairs.
Essential Tools for **Fixing Electronic Dartboard**
Having the right tools on hand can make **fixing electronic dartboard** issues much easier. Here are some essential tools to keep in your repair kit:
- Screwdrivers: A set of screwdrivers with various sizes and types of heads (Phillips, flathead) is essential for disassembling and reassembling the dartboard.
- Multimeter: A multimeter is a versatile tool that can be used to test voltage, current, and resistance, which is helpful for diagnosing electronic component failures.
- Pliers: Pliers are useful for gripping, bending, and cutting wires.
- Wire Strippers: Wire strippers are used to remove the insulation from wires without damaging the conductors.
- Soldering Iron and Solder: A soldering iron and solder are necessary for repairing or replacing wires and electronic components.
- Contact Cleaner: Contact cleaner is used to clean electrical contacts and remove corrosion.
It’s worth investing in the Best Dartboard Lighting Systems so you can see clearly and not cause further damage to your board.
**Fixing Electronic Dartboard**: A Step-by-Step Example
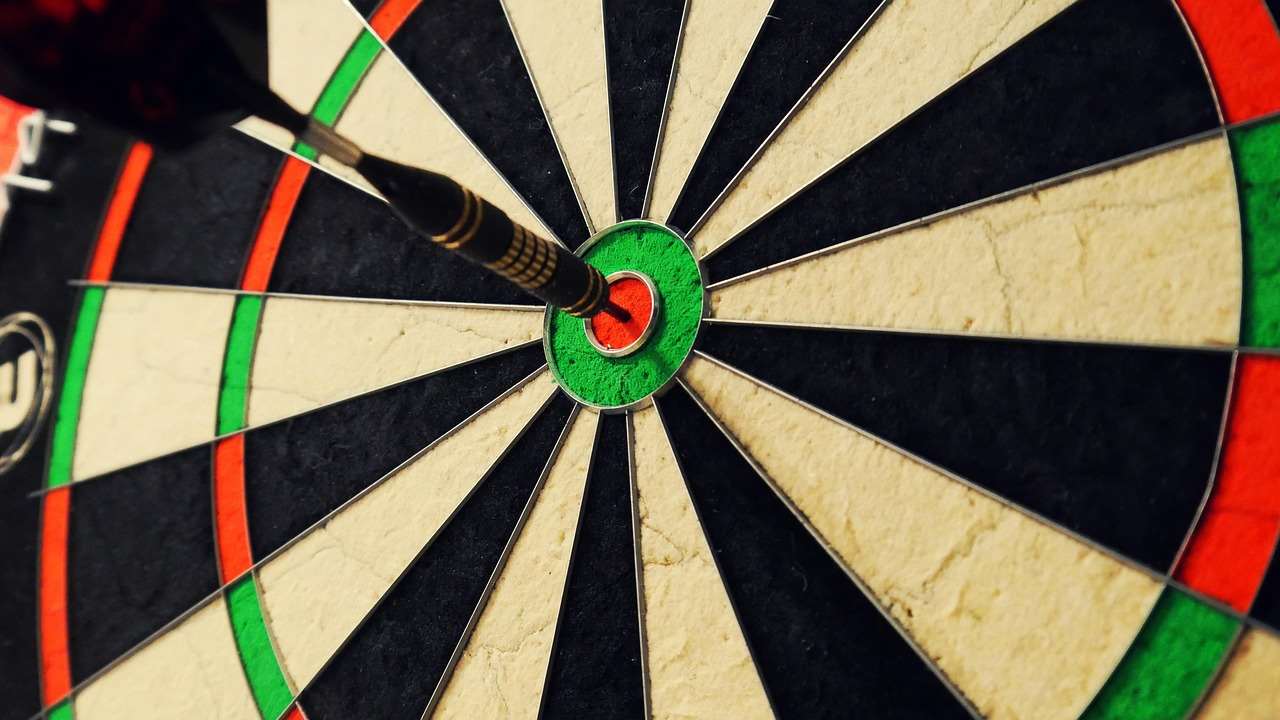
Let’s walk through a practical example: **fixing an electronic dartboard** with an unresponsive “20” segment. We’ll cover the key steps involved in diagnosing and resolving this common issue.
- Initial Inspection: First, visually inspect the “20” segment for any obvious damage or debris. Clean the segment thoroughly with a soft cloth.
- Disassembly: Carefully disassemble the dartboard, removing the screws on the back panel. Take photos as you disassemble to help with reassembly later.
- Wiring Check: Locate the wiring connected to the “20” segment. Inspect for loose connections, broken wires, or corrosion. Use a multimeter to check the continuity of the wires.
- Sensor Test: If the wiring is intact, test the sensor for the “20” segment using a multimeter. If the sensor shows no continuity, it needs to be replaced.
- Segment Replacement (If Necessary): If the segment itself is damaged, carefully remove it and replace it with a new one.
- Reassembly and Testing: Reassemble the dartboard, ensuring all components are properly aligned. Test the “20” segment to verify that it is now functioning correctly.
For the best experience make sure you know How To Light Your Dartboard.
Conclusion: Keeping Your Game Sharp
**Fixing electronic dartboard** problems can seem daunting, but with a systematic approach and the right tools, you can often resolve common issues yourself. From cleaning unresponsive segments to replacing damaged components, this guide has provided you with the knowledge and steps to keep your dartboard in top playing condition. Remember to prioritize preventive maintenance to avoid future problems, and don’t hesitate to seek professional help when needed. By following these tips, you can ensure that your electronic dartboard provides years of enjoyment.
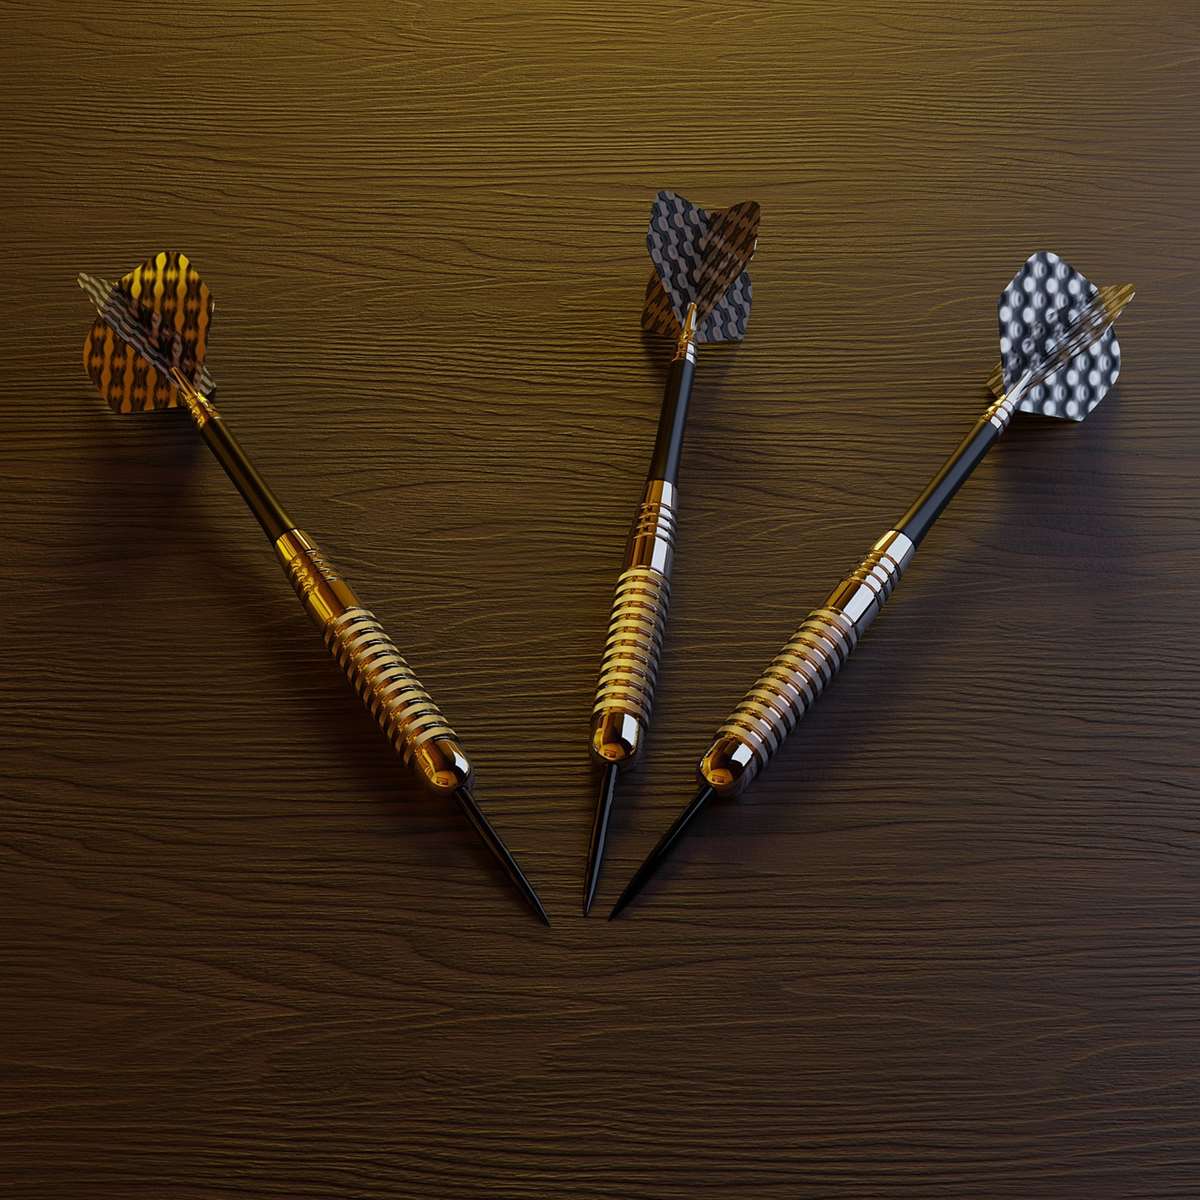
Ready to test your newfound knowledge? Grab your darts and get back in the game! Don’t forget to regularly maintain your board and consult this guide whenever issues arise. Happy darting!
Hi, I’m Dieter, and I created Dartcounter (Dartcounterapp.com). My motivation wasn’t being a darts expert – quite the opposite! When I first started playing, I loved the game but found keeping accurate scores and tracking stats difficult and distracting.
I figured I couldn’t be the only one struggling with this. So, I decided to build a solution: an easy-to-use application that everyone, no matter their experience level, could use to manage scoring effortlessly.
My goal for Dartcounter was simple: let the app handle the numbers – the scoring, the averages, the stats, even checkout suggestions – so players could focus purely on their throw and enjoying the game. It began as a way to solve my own beginner’s problem, and I’m thrilled it has grown into a helpful tool for the wider darts community.