Effectively fixing a dart board to wall involves precise measurements and secure mounting techniques to ensure safe and enjoyable gameplay. This article provides a comprehensive guide covering everything from choosing the right location and gathering necessary tools to properly mounting your dartboard and understanding official dartboard height regulations. We’ll also explore dartboard maintenance tips and safety precautions.
⚠️ Still Using Pen & Paper (or a Chalkboard)?! ⚠️
Step into the future! The Dart Counter App handles all the scoring, suggests checkouts, and tracks your stats automatically. It's easier than you think!
Try the Smart Dart Counter App FREE!Ready for an upgrade? Click above!
Why Proper Installation Matters When Fixing Dart Board to Wall
A poorly installed dartboard isn’t just frustrating; it’s also a safety hazard. A dartboard that wobbles or isn’t securely mounted can lead to missed throws, damaged darts, and even injuries. Taking the time to properly install your dartboard ensures a stable playing surface, prolongs the life of your equipment, and, most importantly, keeps you and your surroundings safe. Proper installation also means adhering to specific regulations, like the official height and distance requirements, to replicate a professional playing experience. The official height is important, and you might be interested in learning more about darts mm.
Tools and Materials Needed for Fixing a Dart Board to Wall
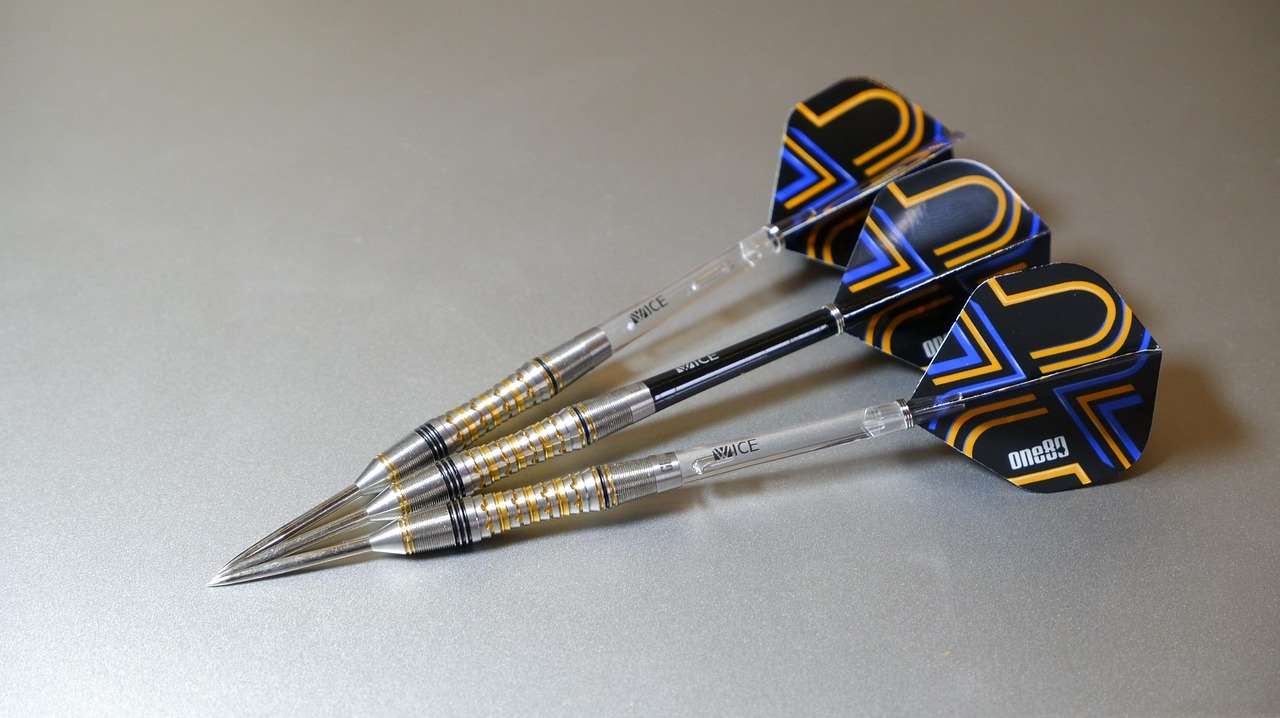
Before you start the process of fixing your dart board to the wall, gather the following tools and materials:
- Dartboard Mounting Bracket: Usually included with your dartboard purchase.
- Measuring Tape: Essential for accurate measurements.
- Pencil: For marking drill points and target center.
- Level: To ensure your dartboard is perfectly vertical.
- Drill: With appropriate drill bits for your wall type (wood, drywall, plaster, or concrete).
- Screws and Anchors: Choose screws and anchors suitable for your wall type. For drywall, use drywall anchors. For concrete, use concrete screws and possibly a hammer drill.
- Stud Finder (Optional): Helpful for locating studs in drywall for extra secure mounting.
- Safety Glasses: Protect your eyes from dust and debris.
- Wall Protector (Optional): A surround or cabinet to protect your wall from stray darts.
Choosing the right tools ensures a smooth and safe installation process. If you’re unsure about your ability to handle power tools, consider enlisting the help of a friend or professional.
Choosing the Right Location for Your Dartboard
Selecting the ideal spot for your dartboard is crucial for both gameplay and safety. Consider the following factors:
- Clear Space: Ensure there’s ample space for players to stand and throw without obstructions. This includes accounting for the throw line (oche) distance.
- Wall Type: Ideally, mount your dartboard on a solid wall, preferably one with studs for added support.
- Lighting: Good lighting is essential for clear visibility. Consider installing a dedicated dartboard light above or around the board.
- Protection: Protect your surrounding walls from stray darts. Consider using a dartboard surround or cabinet.
- Minimize Distractions: Choose a location away from high-traffic areas to avoid interruptions during gameplay.
A well-chosen location contributes significantly to an enjoyable and safe dart-playing experience. Many people might be interested in using a Darts scoreboard app, especially if they are installing a new board!
Step-by-Step Guide: Fixing a Dart Board to Wall
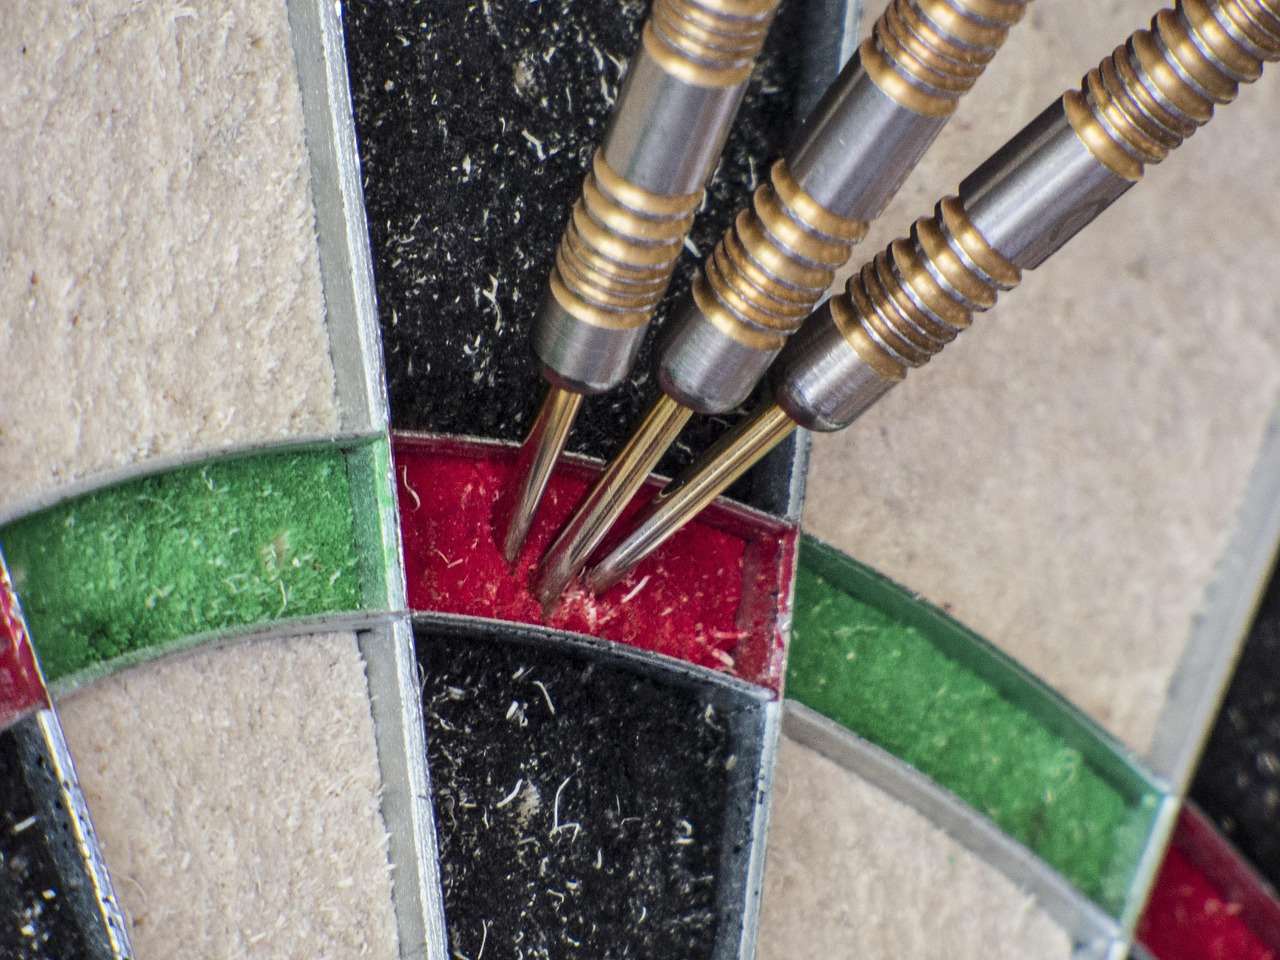
Follow these steps for securely fixing a dart board to the wall:
- Measure and Mark the Center: According to official regulations, the center of the bullseye should be 5 feet 8 inches (1.73 meters) from the floor. Use your measuring tape and pencil to mark this spot on the wall.
- Attach the Mounting Bracket: Most dartboards come with a mounting bracket that attaches to the back of the board. Follow the manufacturer’s instructions to securely attach the bracket.
- Position the Dartboard: Hold the dartboard against the wall, aligning the center of the bracket with the mark you made in step 1. Use a level to ensure the board is perfectly vertical.
- Mark Drill Points: Using the mounting bracket as a template, mark the drill points on the wall.
- Drill Pilot Holes: Using the appropriate drill bit for your wall type, drill pilot holes at the marked locations. If you’re using drywall anchors, insert them into the pilot holes.
- Mount the Dartboard: Align the mounting bracket with the pilot holes and screw the dartboard securely to the wall. Ensure the screws are tightened sufficiently, but avoid overtightening, which could damage the wall or the dartboard.
- Test Stability: Gently push on the dartboard to ensure it’s securely mounted and doesn’t wobble. If it does, tighten the screws or consider using longer screws or stronger anchors.
- Install Wall Protection (Optional): Install a dartboard surround or cabinet to protect your walls from stray darts.
Precision and attention to detail are key to a successful installation. Taking your time and following these steps carefully will ensure a secure and stable dartboard.
Dealing with Different Wall Types When Fixing Your Dart Board to Wall
The method for fixing your dart board to the wall can vary depending on the wall type:
- Drywall: Use drywall anchors to provide a secure hold. Locate a stud if possible and use wood screws to attach the board directly to the stud.
- Plaster: Similar to drywall, use plaster anchors or toggle bolts for a secure hold.
- Wood: Wood screws should be sufficient for mounting directly to a wood wall.
- Concrete: Use concrete screws and a hammer drill to create pilot holes. Concrete anchors may also be necessary for extra support.
Understanding your wall type and using the appropriate hardware is essential for a safe and secure installation.
Understanding Official Dartboard Height and Distance Regulations
To replicate a professional dart-playing experience, it’s important to adhere to official regulations:
- Dartboard Height: The center of the bullseye should be 5 feet 8 inches (1.73 meters) from the floor.
- Throw Line (Oche) Distance: The throw line should be 7 feet 9 1/4 inches (2.37 meters) from the face of the dartboard. This is measured horizontally from the face of the board to the oche.
Accurate measurements ensure fair gameplay and a consistent throwing experience. You can find many different darts every last checkout options to practice after fixing dart board to wall.
Maintaining Your Dartboard for Longevity
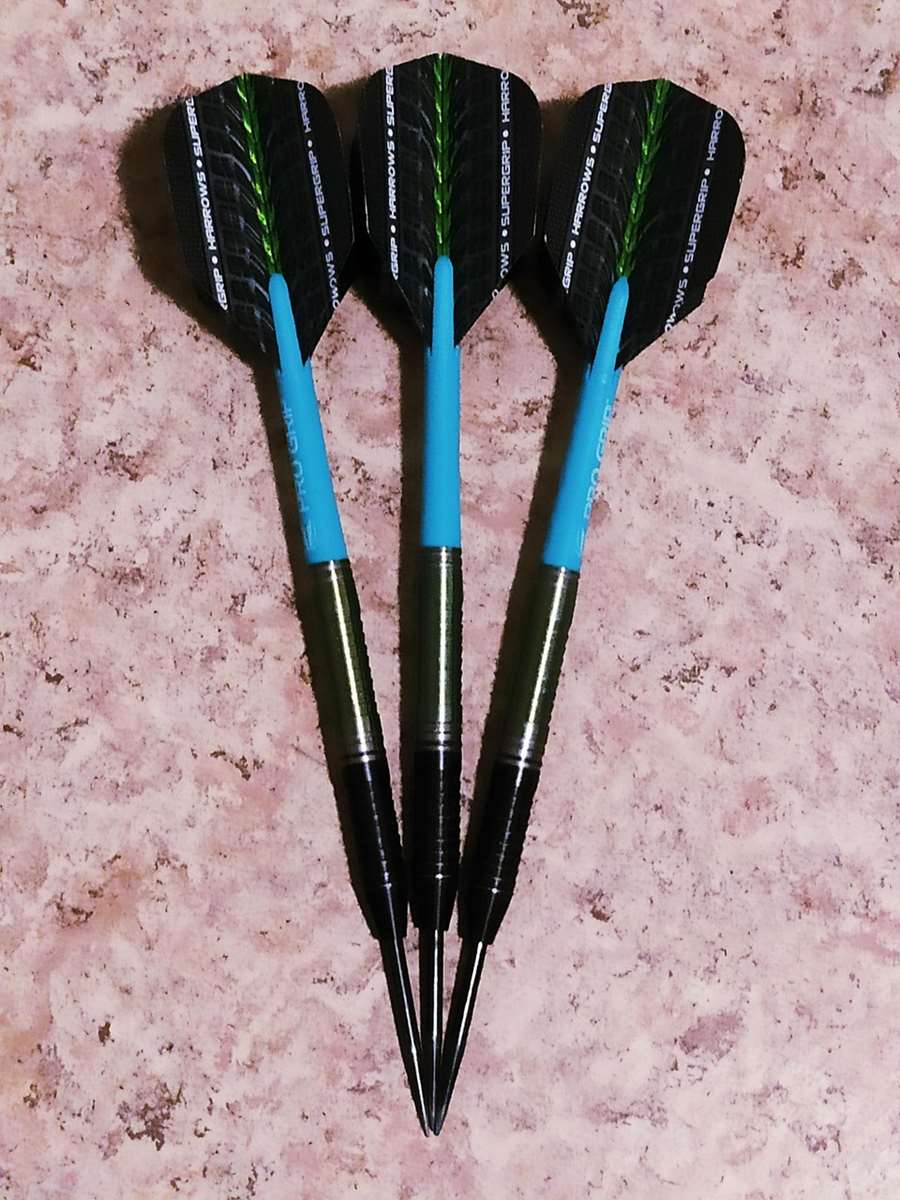
Proper maintenance extends the life of your dartboard and ensures optimal performance:
- Rotate the Dartboard: Regularly rotate the dartboard to distribute wear evenly. This prevents certain areas from becoming overly worn and prolongs the life of the sisal fibers.
- Remove Darts Properly: Avoid twisting or pulling darts out of the board. Instead, use a gentle twisting and pulling motion to minimize damage to the fibers.
- Humidify the Room: Maintaining a consistent humidity level in the room can help prevent the sisal fibers from drying out and cracking.
- Clean the Board: Occasionally clean the dartboard with a soft brush to remove dust and debris. Avoid using water or harsh chemicals.
Simple maintenance practices can significantly extend the life of your dartboard and maintain its playing quality. Regular maintenance is key after fixing dart board to wall. You can get a scoreboard darts for keeping track of your score.
Safety Precautions to Consider After Fixing Dart Board to Wall
Dart playing can be dangerous without proper safety precautions:
- Ensure Ample Space: Provide enough space for players to throw safely without obstruction.
- Protect Surroundings: Use a dartboard surround or cabinet to protect walls and furniture from stray darts.
- Supervise Children: Always supervise children when they are playing darts.
- Warn Others: Alert others when you are about to throw darts to avoid accidental injuries.
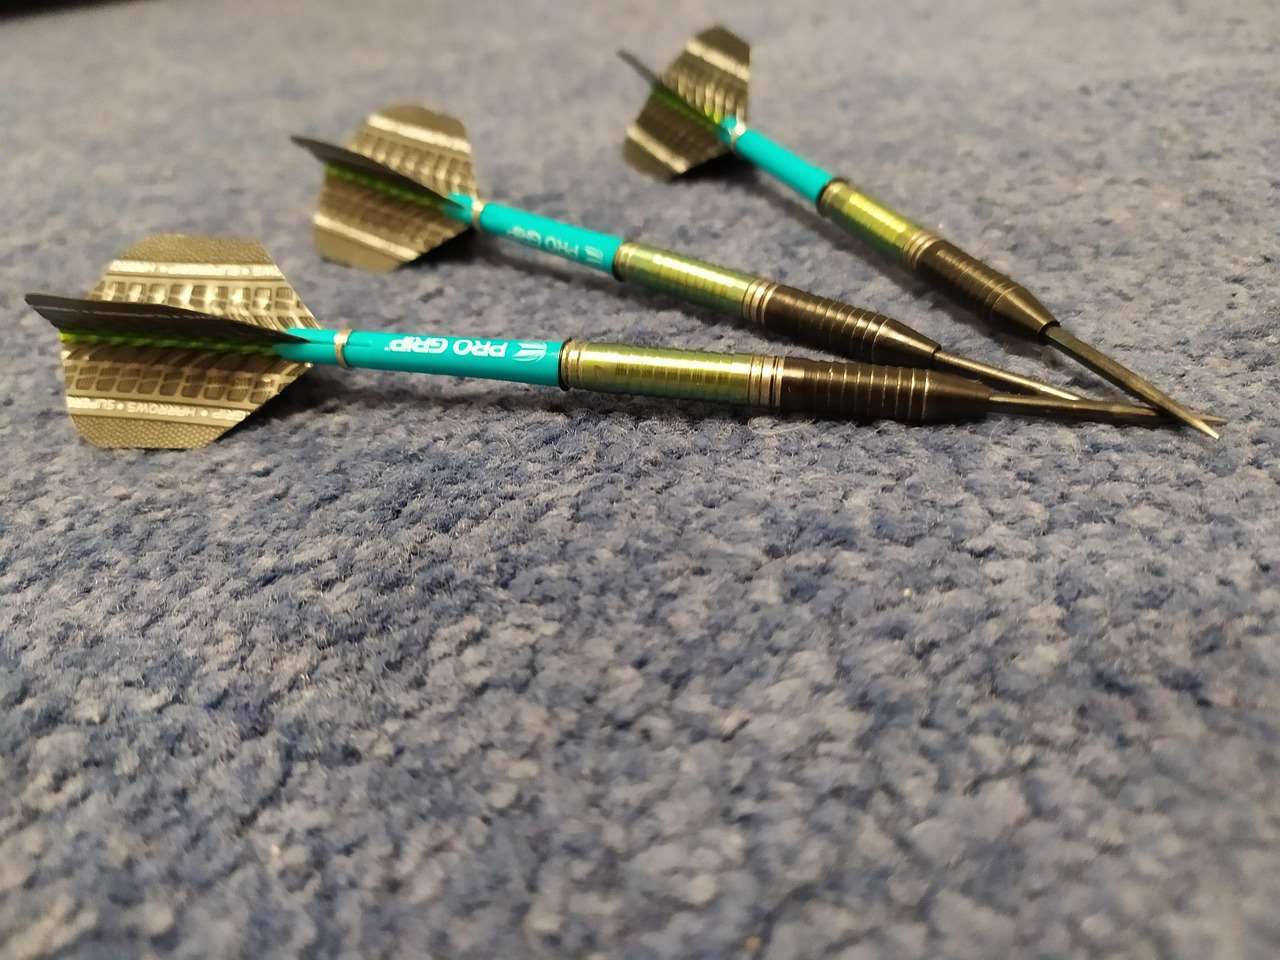
- Inspect Darts Regularly: Check your darts for broken flights or damaged points, which can increase the risk of ricochets. Replace damaged darts immediately.
Troubleshooting Common Dartboard Installation Issues
Even with careful planning, you might encounter some common installation issues:
- Wobbly Dartboard: If your dartboard wobbles, tighten the screws or consider using longer screws or stronger anchors. Ensure the wall is even and the mounting bracket is properly attached.
- Dartboard Not Level: Use a level to ensure the dartboard is perfectly vertical. Adjust the mounting bracket as needed.
- Difficult to Insert Darts: If darts are difficult to insert, the sisal fibers may be too dry. Try humidifying the room or using a dartboard conditioning treatment.
- Darts Falling Out: If darts are falling out, the sisal fibers may be worn. Rotate the dartboard or consider replacing it.
Addressing these issues promptly ensures a safe and enjoyable dart-playing experience. Remember to consult online resources or seek professional help if needed. This is important after fixing dart board to wall. You might also be interested in looking at darts checkout online.
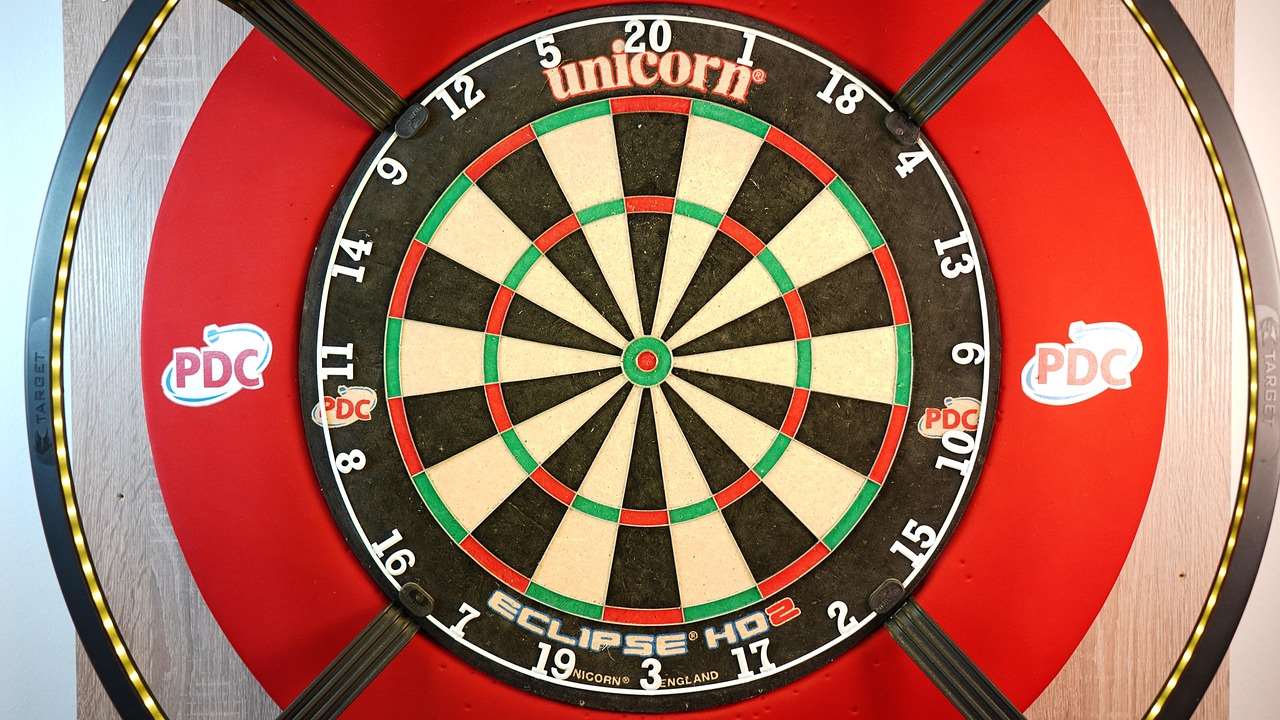
Adding a Professional Touch: Dartboard Cabinets and Surrounds
Enhance your dart-playing experience with professional accessories:
- Dartboard Cabinets: A dartboard cabinet provides a stylish and protective enclosure for your dartboard. It also often includes scoreboards and dart storage compartments.
- Dartboard Surrounds: A dartboard surround protects your walls from stray darts and provides a larger target area.
- Dartboard Lighting: Dedicated dartboard lighting ensures optimal visibility and reduces shadows.
Investing in these accessories elevates your dart-playing experience and adds a touch of professionalism to your game room or man cave. These can be useful after fixing dart board to wall.
Conclusion
Fixing a dart board to the wall correctly is an investment in safety, enjoyment, and the longevity of your equipment. By following the steps outlined in this guide, you can ensure a secure and professional installation. Remember to choose the right location, gather the necessary tools, adhere to official regulations, and prioritize safety. With a properly installed dartboard, you’re ready to enjoy countless hours of fun and competition. Now that you know how to properly install your dartboard, go ahead and get started! Enjoy the game!
Hi, I’m Dieter, and I created Dartcounter (Dartcounterapp.com). My motivation wasn’t being a darts expert – quite the opposite! When I first started playing, I loved the game but found keeping accurate scores and tracking stats difficult and distracting.
I figured I couldn’t be the only one struggling with this. So, I decided to build a solution: an easy-to-use application that everyone, no matter their experience level, could use to manage scoring effortlessly.
My goal for Dartcounter was simple: let the app handle the numbers – the scoring, the averages, the stats, even checkout suggestions – so players could focus purely on their throw and enjoying the game. It began as a way to solve my own beginner’s problem, and I’m thrilled it has grown into a helpful tool for the wider darts community.