Want to learn how to draw a dart board accurately and easily? This guide simplifies the process, providing a step-by-step approach to creating your own dart board diagram. We’ll cover everything from the basic layout and measurements to adding details like the numbers and colors, plus some tips for improving your dart game along the way!
⚠️ Still Using Pen & Paper (or a Chalkboard)?! ⚠️
Step into the future! The Dart Counter App handles all the scoring, suggests checkouts, and tracks your stats automatically. It's easier than you think!
Try the Smart Dart Counter App FREE!Ready for an upgrade? Click above!
Why Learn to Draw a Dart Board?
You might be wondering, “Why would I need to draw a dart board?” There are several reasons! It’s a fun artistic challenge, a great way to understand the dart board layout better, and a practical tool for strategy planning. If you are getting into the game, visualizing dart patterns can help. Whether you’re a seasoned pro or just starting out, understanding the board intimately improves your focus. Plus, knowing exactly what a dartboard looks like helps in understanding a dartboard stand.
Beyond the fun and strategy, sketching your own dartboard is useful for:
- Practice Visualization: Mental rehearsal is a powerful technique in sports. Drawing a dart board helps you visualize your throws and strategize point accumulation.
- Teaching Others: If you’re introducing someone to the game, a hand-drawn diagram can be a clearer explanation than a photograph.
- Designing Custom Boards: Get creative! Explore alternative scoring layouts or design themed dart boards for special occasions.
- Educational Purposes: Useful in educational settings (e.g., math class, where students can practice calculating scores and angles).
Step-by-Step Guide: How to Draw a Dart Board
Follow these simple steps to draw a dart board that’s both accurate and visually appealing:
1. The Basic Circle
Start by drawing a large circle. This will represent the outer edge of the dart board. You can use a compass for precision or freehand it – the key is to make it as round as possible. If freehanding, light pencil strokes are essential, allowing you to erase imperfections easily.
2. Inner Circles
Inside the large circle, draw several smaller concentric circles. These will define the different scoring zones: the double ring, the treble ring, the bullseye ring, and the inner bullseye (double bull or 50). Accuracy here will make your dart board drawing look much more professional. Consider using different sized lids or circular objects if you lack a compass.
3. Dividing the Board
Now, draw lines that divide the circle into 20 equal segments. To achieve this, draw a vertical line through the center, then a horizontal line. Next, add lines at roughly 45-degree angles from these, and then bisect each of those angles. The goal is to create pie-shaped wedges that are as uniform as possible. These sections represent the different numerical values on a standard dart board.
4. Adding the Numbers
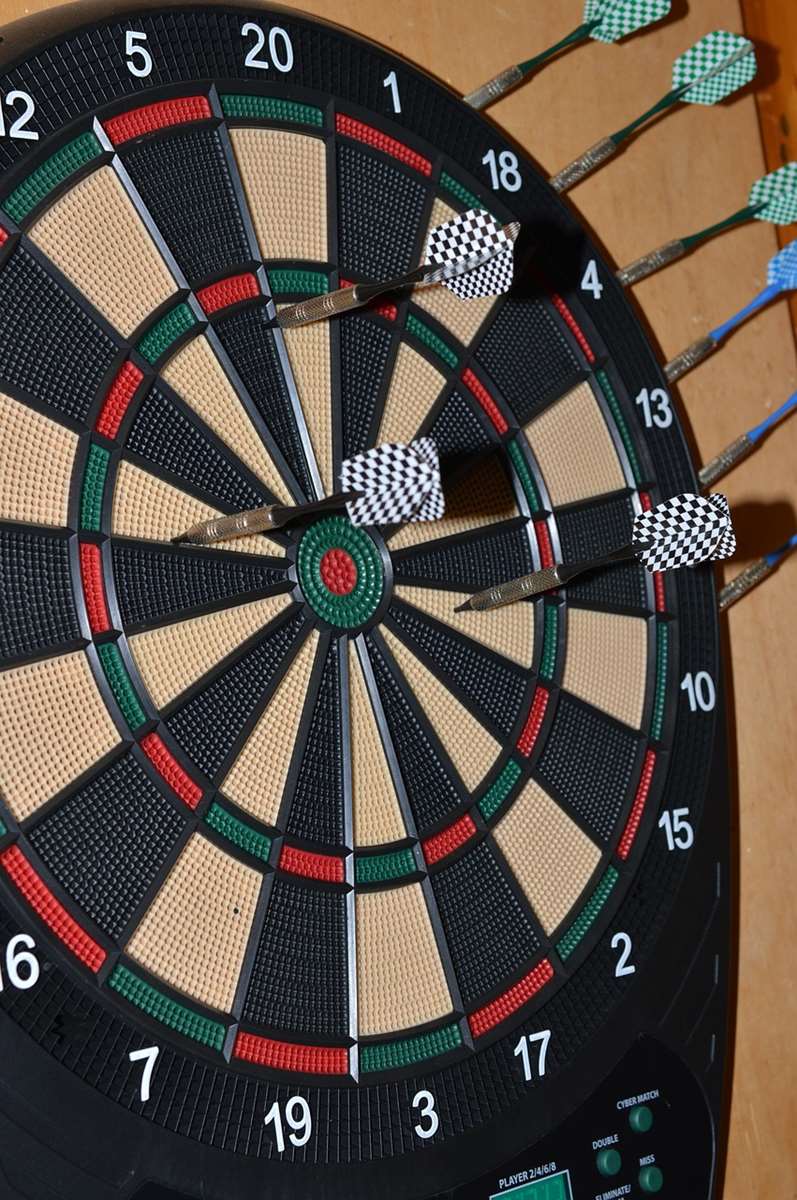
This is where attention to detail is crucial. Add the numbers 1 to 20 in the correct sequence around the board. The sequence, moving clockwise, is: 20, 1, 18, 4, 13, 6, 10, 15, 2, 17, 3, 19, 7, 16, 8, 11, 14, 9, 12, 5. Positioning and neatness matter; keep the numbers inside the outer edge of each segment, and aim for consistent font size and style. If you’re unsure of the sequence, a quick online search for “dart board layout” will provide a visual guide.
5. The Double and Treble Rings
Locate the double and treble rings, which are smaller circles in their designated areas. These rings increase the point value of the segment when a dart lands within them. Use care to ensure that the treble ring is positioned closer to the center of the dartboard than the double ring.
6. The Bullseye
The bullseye consists of two circles: the outer bullseye (single bull, worth 25 points) and the inner bullseye (double bull, worth 50 points). Center these precisely to maintain board accuracy.
Adding Detail and Dimension
Once you have the basic structure, it’s time to enhance your draw a dart board creation with details that bring it to life. Consider the following:
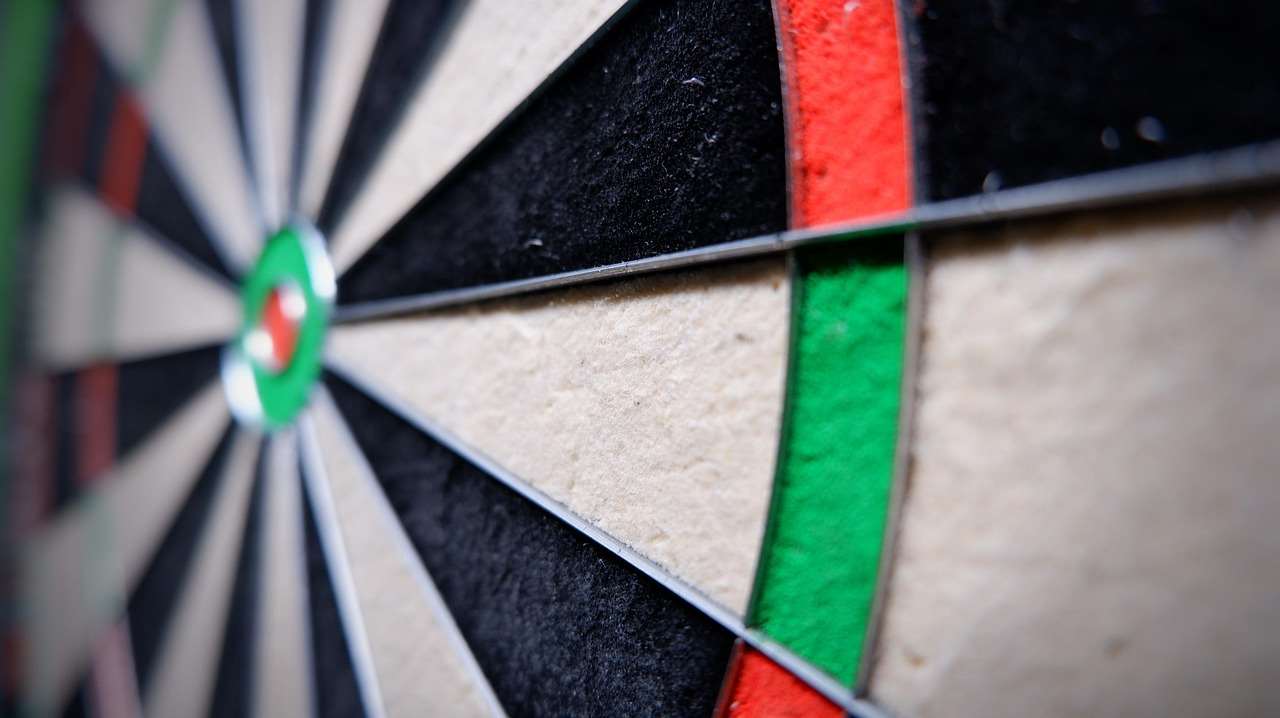
- Coloring: Use different colors to represent the scoring zones accurately. Typically, the bullseye is red and green, the double and treble rings are red and green, and the alternating sections are black and white (or buff and black, in some cases).
- Shading: Add subtle shading to give the dart board a three-dimensional appearance. This can be achieved by lightly shading the edges of the board and the inside of the scoring zones.
- Texture: Mimic the texture of the dart board by adding small dots or lines to the surface. This will make your drawing look more realistic.
- Highlighting: Use a white pencil or eraser to create highlights on the edges of the board and the scoring zones. This will give the drawing a more polished look.
Remember, practice makes perfect! The more you draw a dart board, the better you’ll become at capturing its intricacies.
Tips for Accuracy and Precision
While artistic expression is encouraged, accuracy is key when draw a dart board for practical purposes. Consider these tips to improve precision:
- Use a Compass and Ruler: For perfectly round circles and straight lines, a compass and ruler are invaluable tools.
- Start with Light Pencil Strokes: This allows you to easily erase mistakes and make adjustments as you go.
- Refer to a Real Dart Board: Use a real dart board or a clear photograph as a reference to ensure accuracy in the placement of numbers and scoring zones.
- Check Your Proportions: Double-check the proportions of your drawing to ensure that the circles and segments are correctly sized and spaced.
- Practice Regularly: Like any skill, drawing accurately takes practice. The more you draw, the better you’ll become at judging proportions and creating precise lines.
Understanding Dart Board Layout and Scoring
Being able to draw a dart board goes hand-in-hand with understanding its layout and scoring system. Here’s a quick recap:
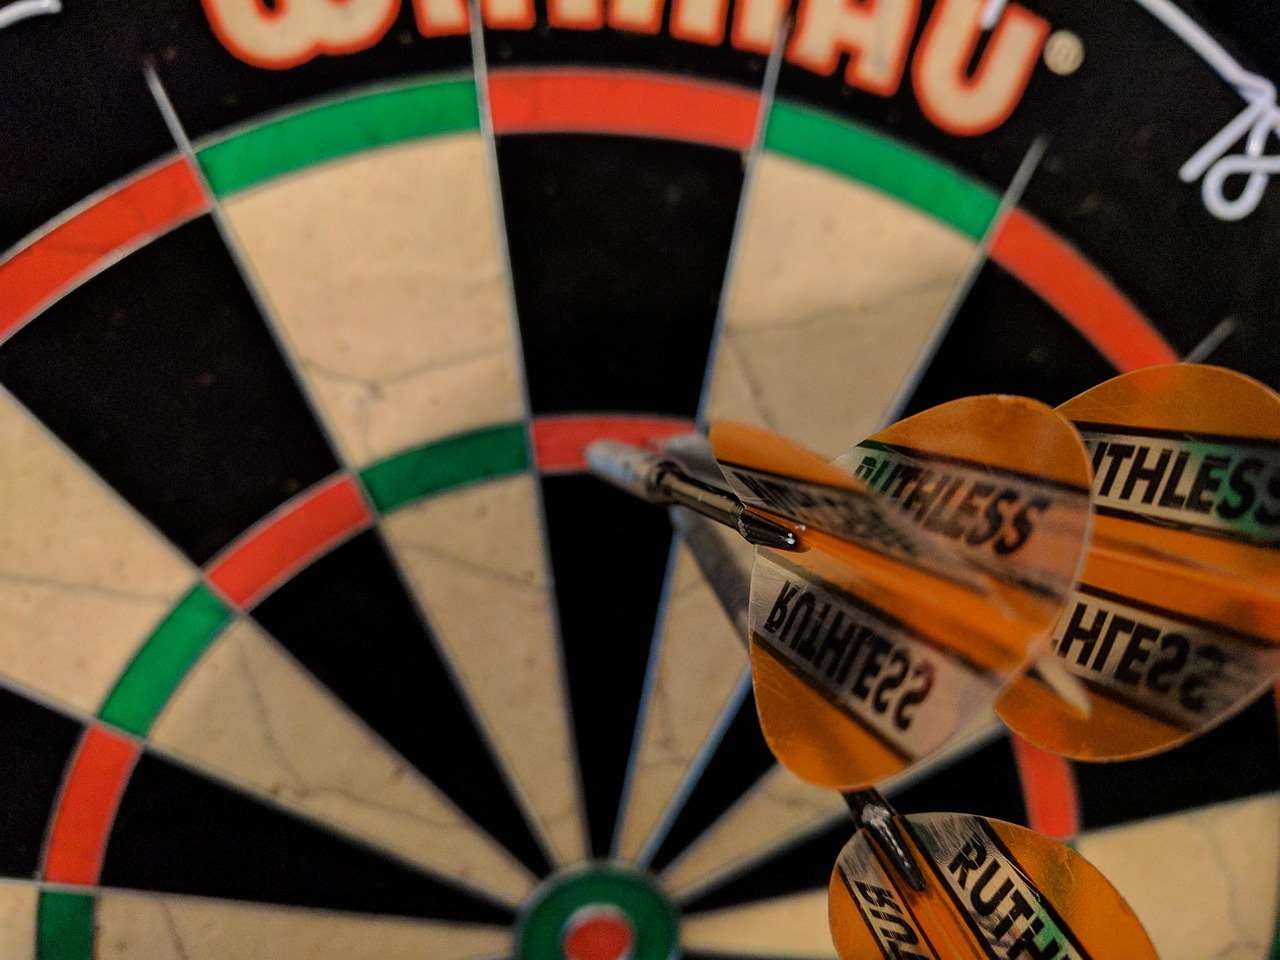
- Single Numbers: The large sections between the rings represent single numbers, ranging from 1 to 20.
- Double Ring: The outer ring doubles the value of the corresponding number.
- Treble Ring: The inner ring (between the double ring and the bullseye) triples the value of the corresponding number.
- Outer Bullseye (Single Bull): Worth 25 points.
- Inner Bullseye (Double Bull): Worth 50 points.
Knowing the layout enables better strategy. For example, aiming for the treble 20 is a high-scoring strategy, but also risky due to the smaller target area. Understanding the dartboard also assists with using a Automatic dart scoring app. Understanding this layout helps improve your dart flight path and is crucial when selecting new player darts.
Beyond the Basics: Advanced Dart Board Design
Once you’ve mastered the basics of how to draw a dart board, you can explore more advanced design concepts:
- Custom Scoring Systems: Design dart boards with alternative scoring systems for unique games or challenges.
- Themed Dart Boards: Create dart boards with themes based on movies, sports, or other interests.
- Abstract Dart Boards: Experiment with abstract designs and patterns to create visually stunning dart boards that are more art than game.
- Interactive Dart Boards: Incorporate lights, sounds, or other interactive elements to create a more engaging dart board experience.
The possibilities are endless! Let your creativity guide you and see what unique dart board designs you can come up with. Consider the importance of darts werptechniek when thinking about design and spacing.
Using Your Drawing to Improve Your Game
Draw a dart board not just for fun, but also as a tool to improve your dart skills. Here’s how:
- Target Practice Visualization: Before you throw, visualize your dart hitting the target on your drawn dart board.
- Score Planning: Use your drawing to plan your strategy for checkouts and high scores. Map out different combinations of throws to reach your desired score.
- Analyzing Your Throws: After a game, use your drawing to analyze your throws and identify areas for improvement. Mark where your darts landed and look for patterns in your misses.
By actively engaging with your drawing, you can turn it into a valuable training aid. You can even use it when you dartcounter login to a darts app and track scores.
Common Mistakes to Avoid
When you draw a dart board, avoid these common mistakes:
- Incorrect Number Sequence: Ensure the numbers are in the correct order. This is a fundamental error that will render the board useless for practice.
- Uneven Segments: Strive for equal-sized segments for fair scoring.
- Misplaced Double and Treble Rings: Positioning these rings accurately is vital for realistic practice.
- Disproportionate Bullseye: The bullseye should be centered and appropriately sized relative to the rest of the board.
Conclusion
Learning how to draw a dart board is more than just a fun artistic project; it’s a pathway to a deeper understanding of the game and a valuable tool for improving your skills. From mastering the basic layout to experimenting with advanced designs, the possibilities are endless. Remember to focus on accuracy, pay attention to detail, and use your drawing to visualize your throws, plan your strategy, and analyze your performance. Whether you’re a beginner or a seasoned pro, embracing the art of drawing a dart board can unlock a new level of appreciation and expertise. So grab your pencil, follow these steps, and start creating your own dart board masterpiece! Now that you’ve learned how to draw one, why not take your skills to the next level and look into dart set compare and find one that fits your needs.
Hi, I’m Dieter, and I created Dartcounter (Dartcounterapp.com). My motivation wasn’t being a darts expert – quite the opposite! When I first started playing, I loved the game but found keeping accurate scores and tracking stats difficult and distracting.
I figured I couldn’t be the only one struggling with this. So, I decided to build a solution: an easy-to-use application that everyone, no matter their experience level, could use to manage scoring effortlessly.
My goal for Dartcounter was simple: let the app handle the numbers – the scoring, the averages, the stats, even checkout suggestions – so players could focus purely on their throw and enjoying the game. It began as a way to solve my own beginner’s problem, and I’m thrilled it has grown into a helpful tool for the wider darts community.