This DIY dartboard surround tutorial will guide you through creating a stunning and protective surround for your dartboard. We’ll cover everything from choosing the right materials to finishing touches, ensuring a professional-looking result. This article also includes tips on maximizing your dartboard’s lifespan and enhancing your game setup.
⚠️ Still Using Pen & Paper (or a Chalkboard)?! ⚠️
Step into the future! The Dart Counter App handles all the scoring, suggests checkouts, and tracks your stats automatically. It's easier than you think!
Try the Smart Dart Counter App FREE!Ready for an upgrade? Click above!
Before we dive into the specifics of this DIY dartboard surround tutorial, let’s talk about the importance of a well-constructed surround. A proper surround protects your walls from damage, provides a professional look to your game room, and can even improve the overall playing experience. Imagine the satisfaction of throwing darts at a beautifully crafted, personalized dartboard!
Creating a DIY dartboard surround can be a rewarding project, and you’ll be surprised by how much character it can add to your game area. With this detailed guide, even beginners can achieve a fantastic result, bringing a touch of elegance and functionality to their dart-throwing space. Think about the pride of creating something with your own hands, something that stands as a testament to your dedication and skill. This DIY dartboard surround tutorial is designed to make the process easy and fun.
Choosing the Right Materials for Your DIY Dartboard Surround
Selecting the right materials is crucial for the success of your DIY dartboard surround tutorial project. The materials you choose will impact both the aesthetics and the durability of your finished product. Consider these options:
- Wood: This is a popular choice, offering a wide variety of styles, finishes, and levels of durability. Pine, oak, and mahogany are all excellent options. For a rustic look, consider reclaimed wood.
- MDF (Medium-Density Fiberboard): MDF is a cost-effective alternative to wood, offering a smooth surface that’s easy to work with. However, it’s less durable than hardwood.
- Plywood: Plywood provides a strong and stable base for your surround, especially if you’re incorporating shelves or other features. It’s also relatively affordable.
Beyond the primary material, you’ll also need things like screws, wood glue, sandpaper, stain or paint, and any decorative elements you choose to add. Remember to check the measurements of your dartboard before purchasing any materials. Planning is key to a successful project! This DIY dartboard surround tutorial is designed to help you plan efficiently.

Step-by-Step Guide: Building Your Dartboard Surround
Step 1: Measuring and Cutting
Precise measurements are critical for a perfectly fitting surround. Measure the diameter of your dartboard, adding extra inches on each side for the surround’s depth. This will determine the size of your wood or MDF pieces. Using a miter saw will ensure accurate and clean cuts. Double-check your measurements before cutting to prevent costly mistakes.
Step 2: Assembling the Frame
Once you have your pieces cut, you can start assembling the frame. Use wood glue and screws to join the pieces, ensuring all corners are square and aligned. Clamps can help hold everything in place while the glue dries. A well-constructed frame is the foundation of a sturdy surround. This part of the DIY dartboard surround tutorial is vital for a successful outcome.
Step 3: Adding Finishing Touches
After the frame is assembled, you can sand it down to a smooth finish, and then apply your chosen stain or paint. This step will greatly enhance the overall look and feel of your dartboard surround. Allow sufficient drying time between coats. Consider adding decorative elements such as molding, trim, or even personalized engravings to make your surround truly unique. Referencing online resources and other DIY dartboard surround tutorials can offer inspiration for finishing touches.
Step 4: Mounting the Dartboard
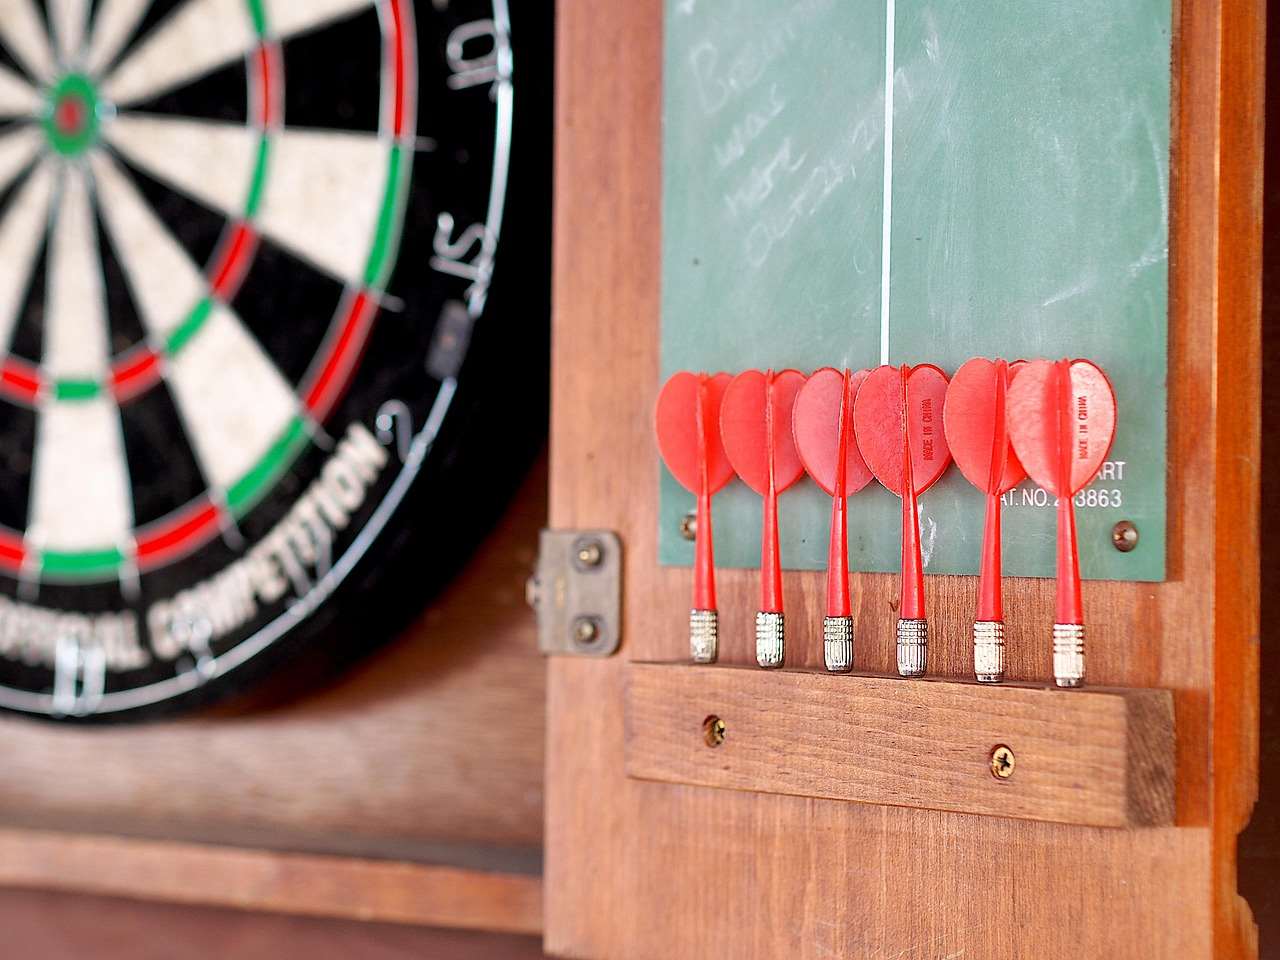
The final step involves carefully mounting the dartboard to the surround. Ensure that the dartboard is securely fastened to prevent any wobbling. This is crucial for a safe and enjoyable dart-throwing experience. Remember to center your dartboard perfectly within the frame you created. This is where you’ll see the results of careful planning and precise measurements from earlier stages of this DIY dartboard surround tutorial. To ensure your equipment remains in excellent shape, you may also want to read our article on Maintain darts for longevity and Darts gear inspection for longevity.

Adding Extra Features to Your DIY Dartboard Surround
To elevate your DIY dartboard surround tutorial project, consider incorporating these extra features:
- Shelves: Built-in shelves can provide convenient storage for darts, flights, and other accessories.
- Cup Holders: Add cup holders for drinks, keeping them safely away from the playing area.
- Lighting: Installing lighting can enhance the ambiance and improve visibility. Check out our article on Custom dartboard cabinet lighting for ideas.
- Scoreboard: Integrating a scoreboard directly into the surround can streamline the gameplay.
Remember, the possibilities are endless! Let your creativity guide you in designing a personalized dartboard surround that reflects your unique style. Think about incorporating elements that match your existing game room decor. A truly customized dartboard surround can be a source of immense pride. Looking after your darts is important, so check out our guides on Maintaining dart shafts lifespan and Maximize darts equipment life.
Safety Considerations for Your DIY Dartboard Surround
Safety should always be a top priority when working with tools and building a dartboard surround. Always wear appropriate safety glasses and hearing protection, especially when using power tools. Follow the manufacturer’s instructions for all tools and materials. Take your time and ensure that all components are securely fastened.
When designing your surround, ensure there’s enough clearance around the dartboard to prevent accidental injury. Consider the dimensions of the space and the potential trajectory of the darts. A well-constructed surround helps contain errant darts, ensuring a safe playing environment for everyone. This part of the DIY dartboard surround tutorial focuses on preventing potential accidents.
Regularly inspect your dartboard and surround for any signs of damage or wear. Addressing any issues promptly can help prevent accidents and maintain the longevity of your setup. Remember, regular maintenance extends to your darts and related equipment. For more information on this, consider our guide on Darts Equipment Maintenance Customization.

Finishing Touches and Personalization
Once the structural components of your DIY dartboard surround are complete, it’s time to add those personal touches that truly make it your own. Consider these options to enhance the aesthetic appeal and functionality:
- Stain or Paint: Choose a color and finish that complements your game room’s décor. A dark, rich stain can add a sophisticated touch, while bright colors can create a more playful atmosphere.
- Hardware: Opt for high-quality hardware, such as hinges and drawer pulls, that enhance both functionality and aesthetics. Consider matching the hardware’s finish to the overall style of the surround.
- Decorative Elements: Personalize your dartboard surround with decorative elements that reflect your style and preferences. This could include adding engraved plaques, custom-made decals, or even incorporating unique lighting features.
Adding these finishing touches elevates your DIY dartboard surround tutorial from a simple project to a personalized piece of furniture that enhances your game room. Remember to take your time with this stage and focus on creating a polished, professional look.
Proper maintenance of your dartboard and its surround is crucial for longevity and safety. Regular cleaning and occasional repairs can significantly extend its lifespan. For additional guidance, refer to our Dart case repair guide and Maintaining different dart cases to better understand long-term dartboard care.

Conclusion: Your Personalized DIY Dartboard Surround
This DIY dartboard surround tutorial provides a comprehensive guide to creating a stunning and functional dartboard surround. By following these steps and incorporating your own creative flair, you can build a personalized space that enhances your game room and elevates your dart-throwing experience. Remember, the key is careful planning, precise measurements, and a commitment to safety.
Now that you’ve completed this DIY dartboard surround tutorial, you’re ready to transform your game room! Start planning your design today, gather your materials, and enjoy the process of building something unique and personalized. Remember to consult additional resources and DIY dartboard surround tutorials online for more inspiration. Happy crafting, and happy throwing!
Hi, I’m Dieter, and I created Dartcounter (Dartcounterapp.com). My motivation wasn’t being a darts expert – quite the opposite! When I first started playing, I loved the game but found keeping accurate scores and tracking stats difficult and distracting.
I figured I couldn’t be the only one struggling with this. So, I decided to build a solution: an easy-to-use application that everyone, no matter their experience level, could use to manage scoring effortlessly.
My goal for Dartcounter was simple: let the app handle the numbers – the scoring, the averages, the stats, even checkout suggestions – so players could focus purely on their throw and enjoying the game. It began as a way to solve my own beginner’s problem, and I’m thrilled it has grown into a helpful tool for the wider darts community.