Building a diy dartboard stand is an excellent way to enjoy darts anywhere you like, without permanently mounting a board to your wall. This article will guide you through various stand designs, materials, and construction tips, so you can create a portable and sturdy setup for your darting enjoyment. We’ll cover everything from simple wooden stands to more complex and adjustable designs.
⚠️ Still Using Pen & Paper (or a Chalkboard)?! ⚠️
Step into the future! The Dart Counter App handles all the scoring, suggests checkouts, and tracks your stats automatically. It's easier than you think!
Try the Smart Dart Counter App FREE!Ready for an upgrade? Click above!
Why Build Your Own DIY Dartboard Stand?
Investing in a pre-made dartboard stand is an option, but crafting your own diy dartboard stand offers several advantages. Firstly, it’s often more cost-effective, especially if you have some scrap wood and tools already available. Secondly, you gain the freedom to customize the stand to perfectly fit your space and aesthetic preferences. Finally, it’s a rewarding and engaging project that lets you show off your DIY skills.
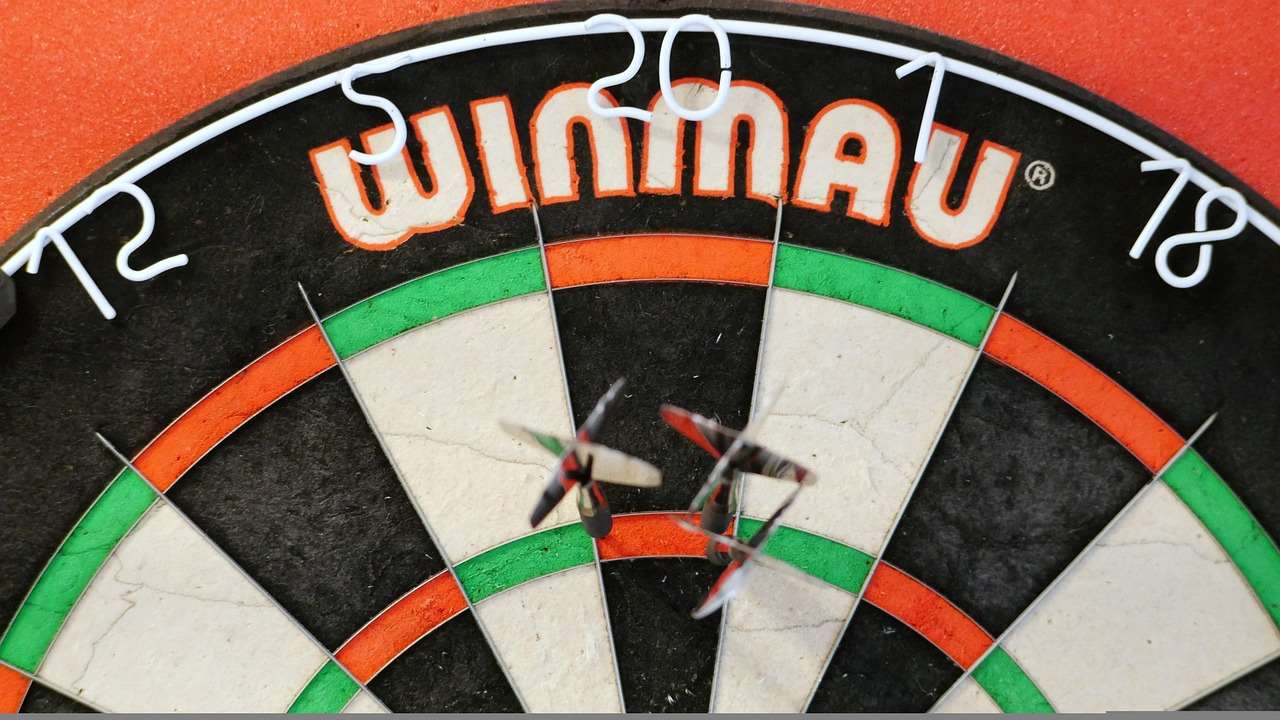
Creating a stable and safe playing environment is paramount. A wobbly or unstable stand can lead to inaccurate throws and potential damage to your darts or the surrounding area. A well-built diy dartboard stand, on the other hand, ensures that your dartboard remains securely in place, allowing you to focus on your game.
Planning Your DIY Dartboard Stand Project
Before you start cutting wood, it’s crucial to have a solid plan. This involves deciding on the type of stand you want to build, gathering the necessary materials and tools, and considering the dimensions of your playing area.
Choosing a Stand Design
Several diy dartboard stand designs are popular among enthusiasts. Here are a few ideas to consider:
- Tripod Stand: A lightweight and portable option that’s easy to assemble and disassemble.
- Wall-Mounted Stand: Offers exceptional stability and a permanent playing location. Note: This technically wouldn’t be a stand in the traditional sense of being freestanding.
- Cabinet Stand: A more elaborate option that provides storage for your darts and accessories, while also protecting your walls. You may need to understand darts game maths to build this!
- A-Frame Stand: A simple and sturdy design that’s easy to build with basic woodworking skills.
- Free Standing with Base: Using a sturdy base to keep the board stable.
Think about how much space you have, how often you plan to move the stand, and your desired aesthetic when making your decision.
Gathering Materials and Tools
The materials you’ll need depend on the chosen design, but some common items include:
- Wood: Plywood, lumber, or reclaimed wood are all viable options.
- Hardware: Screws, nails, bolts, and washers.
- Dartboard Mounting Bracket: To securely attach the dartboard to the stand.
- Measuring Tape: Essential for accurate measurements.
- Saw: For cutting the wood to size.
- Drill: For creating pilot holes and driving screws.
- Screwdriver: For tightening screws.
- Sandpaper: For smoothing rough edges.
- Level: To ensure the dartboard is mounted straight.
- Paint or Stain (Optional): To finish the stand and protect the wood.
Consider renting or borrowing tools if you don’t own them.
Considering Dimensions and Placement
The official dartboard height is 5 feet 8 inches (1.73 meters) from the floor to the center of the bullseye. The throwing distance, also known as the oche, is 7 feet 9 1/4 inches (2.37 meters) from the face of the dartboard to the throwing line. Keep these dimensions in mind when designing your diy dartboard stand.

Also, think about the placement of your stand in the room. Ensure there’s enough space behind the oche for players to stand comfortably and that the surrounding area is clear of obstacles. Perhaps it would be a good idea to install a which dartboard light to illuminate your board!
Building a Simple A-Frame DIY Dartboard Stand
Let’s walk through the steps of building a basic A-Frame diy dartboard stand. This design is relatively easy to construct and provides good stability.
Step 1: Cut the Wood
Cut the following pieces of wood:
- Two legs (approximately 6 feet long)
- A crossbar (approximately 3 feet long)
- A base support (approximately 2 feet long)
- Dartboard Mounting Board (approx 2ft long x 1ft wide)
Adjust the lengths as needed to suit your desired height and width. These dimensions should also allow for an official dartboard height.
Step 2: Assemble the A-Frame
Join the two legs at the top to form an “A” shape. Use screws and wood glue to secure the joint. Ensure the angle is wide enough to provide good stability. Then, use a reliable
Step 3: Attach the Crossbar
Attach the crossbar horizontally between the legs, a few feet from the bottom. This will add strength and stability to the frame. Use screws and wood glue to secure it in place. It is important to check the functions of darts for best results.
Step 4: Add the Base Support
Attach the base support horizontally to the bottom of the legs. This will prevent the stand from tipping over. Use screws and wood glue to secure it in place.
Step 5: Mount the Dartboard Mounting Board
Attach the dartboard mounting board to the A-Frame structure, ensuring the center of the board will be 5 feet 8 inches from the ground. Use screws and wood glue.
Step 6: Mount the Dartboard
Attach the dartboard to the mounting board using a dartboard mounting bracket. Follow the manufacturer’s instructions for proper installation. Make sure the board is level before tightening the screws.
Step 7: Sand and Finish
Sand any rough edges and splinters. Then, paint or stain the stand to your desired color. This will protect the wood and give it a polished look.
Tips for a Sturdy and Safe DIY Dartboard Stand
Here are some tips to ensure your diy dartboard stand is both sturdy and safe:
- Use quality materials: Don’t skimp on the wood or hardware. Investing in quality materials will result in a more durable and long-lasting stand.
- Reinforce joints: Use wood glue in addition to screws or nails to strengthen the joints.
- Check for stability: Before using the stand, make sure it’s stable and doesn’t wobble. If it does, add extra support or adjust the legs.
- Protect the surrounding area: Consider using a dartboard surround to protect your walls from stray darts.
- Ensure proper lighting: Good lighting is essential for accurate throwing and safety. Consider adding a dartboard light or ensuring the playing area is well-lit.
Remember to always practice dart safety and be mindful of your surroundings while playing. You can even learn about darts release training on your new board.
Alternative DIY Dartboard Stand Ideas
The A-frame stand is just one option. Here are a few other diy dartboard stand ideas to inspire you:
Using a Tripod
A tripod offers excellent portability. You can adapt a camera tripod or build one from scratch using wood or metal. Ensure the tripod is sturdy enough to support the weight of the dartboard.
Repurposing Furniture
Get creative and repurpose old furniture to create a unique diy dartboard stand. An old bookshelf, cabinet, or even a tree trunk can be transformed into a functional and stylish stand.
Creating a Portable Screen
Combine a dartboard stand with a portable screen. This design not only provides a stable playing surface but also protects your walls from errant throws.
Adding Features to Your DIY Dartboard Stand
Once you have the basic stand built, you can add features to enhance your darting experience. Let’s say you want to know more about darts yesterday, you can even mount a screen to watch old tournaments.
Dart Storage
Incorporate storage for your darts and accessories. You can add shelves, drawers, or even magnetic strips to keep your darts organized and within easy reach.
Scoreboard
Attach a scoreboard to the stand. You can use a traditional chalkboard or whiteboard, or even mount a digital display. This will make it easier to keep track of scores during games.
Lighting
Integrate lighting into the stand. This will improve visibility and create a more professional playing environment. Consider using LED strip lights or a dedicated dartboard light.
Troubleshooting Common DIY Dartboard Stand Issues
Even with careful planning, you may encounter some issues during the construction of your diy dartboard stand. Here are some common problems and how to fix them:
Wobbly Stand
If the stand wobbles, check the joints and connections. Tighten any loose screws or bolts and add extra support if needed. You can also try placing the stand on a level surface. Consider building a darts setup in garage to help with stability.
Dartboard Not Level
If the dartboard is not level, use a level to adjust it. Loosen the mounting bracket and reposition the board until it’s perfectly level. Then, tighten the screws securely.
Stand Tipping Over
If the stand is prone to tipping over, widen the base or add weight to the bottom. You can also try securing the stand to the floor or wall. This is very dangerous if you are following the darts doubles rules!
Maintaining Your DIY Dartboard Stand
To keep your diy dartboard stand in good condition, follow these maintenance tips:
- Regularly inspect the stand: Check for loose screws, cracks, or other damage. Repair any issues promptly to prevent further deterioration.
- Clean the stand: Wipe down the stand with a damp cloth to remove dust and dirt.
- Protect the stand from the elements: If you’re using the stand outdoors, protect it from rain, sun, and other harsh weather conditions.
- Store the stand properly: When not in use, store the stand in a dry and safe place.
Beyond the Basics: Advanced DIY Dartboard Stand Projects
Ready to take your diy dartboard stand project to the next level? Here are a few ideas for advanced builds:
Electronic Dartboard Integration
Design your stand to seamlessly integrate with an electronic dartboard. This may involve creating a custom mounting system and incorporating power and data cables into the stand’s design. You may even consider adding a dart counter like a dart counter argos to automate the scoring process!
Automated Scoring Systems
For the truly ambitious, consider building an automated scoring system into your stand. This could involve using sensors to detect where the darts land and automatically updating the score on a display. This would require significant programming and electronics knowledge.
Rotating Dartboard System
Build a stand that allows you to easily rotate the dartboard to different positions. This can be useful for practicing different angles and improving your overall dart throwing technique.
Conclusion
Creating a diy dartboard stand is a rewarding project that allows you to customize your darting setup to your exact needs and preferences. Whether you choose a simple A-Frame design or a more complex cabinet stand, the tips and instructions outlined in this article will guide you through the process. Remember to prioritize safety, stability, and durability when building your stand, and don’t be afraid to get creative and add your personal touch. With a well-built diy dartboard stand, you’ll be able to enjoy countless hours of darting fun. Now, gather your materials, grab your tools, and start building!
Hi, I’m Dieter, and I created Dartcounter (Dartcounterapp.com). My motivation wasn’t being a darts expert – quite the opposite! When I first started playing, I loved the game but found keeping accurate scores and tracking stats difficult and distracting.
I figured I couldn’t be the only one struggling with this. So, I decided to build a solution: an easy-to-use application that everyone, no matter their experience level, could use to manage scoring effortlessly.
My goal for Dartcounter was simple: let the app handle the numbers – the scoring, the averages, the stats, even checkout suggestions – so players could focus purely on their throw and enjoying the game. It began as a way to solve my own beginner’s problem, and I’m thrilled it has grown into a helpful tool for the wider darts community.