Achieving optimal dartboard lighting is crucial for an enjoyable and accurate game, and you can easily achieve this with DIY dartboard lighting without drilling. This guide will show you how to illuminate your dartboard brilliantly without damaging your walls, along with valuable tips for enhancing your game setup.
⚠️ Still Using Pen & Paper (or a Chalkboard)?! ⚠️
Step into the future! The Dart Counter App handles all the scoring, suggests checkouts, and tracks your stats automatically. It's easier than you think!
Try the Smart Dart Counter App FREE!Ready for an upgrade? Click above!
Many people believe that proper dartboard lighting requires extensive renovations, but that’s simply not true! This article will explore various creative and practical methods to illuminate your dartboard, focusing on solutions that require no drilling or permanent modifications. We’ll cover different lighting options, installation techniques, and even delve into some helpful maintenance tips to keep your setup in top shape. By the end, you’ll be ready to transform your game room with amazing dartboard lighting, all without the hassle of drilling.
DIY Dartboard Lighting Without Drilling: Creative Solutions
Let’s dive into the exciting world of DIY dartboard lighting without drilling. Several methods offer fantastic illumination without the need for tools and permanent wall alterations. These solutions are ideal for renters or those who prefer a more flexible setup.
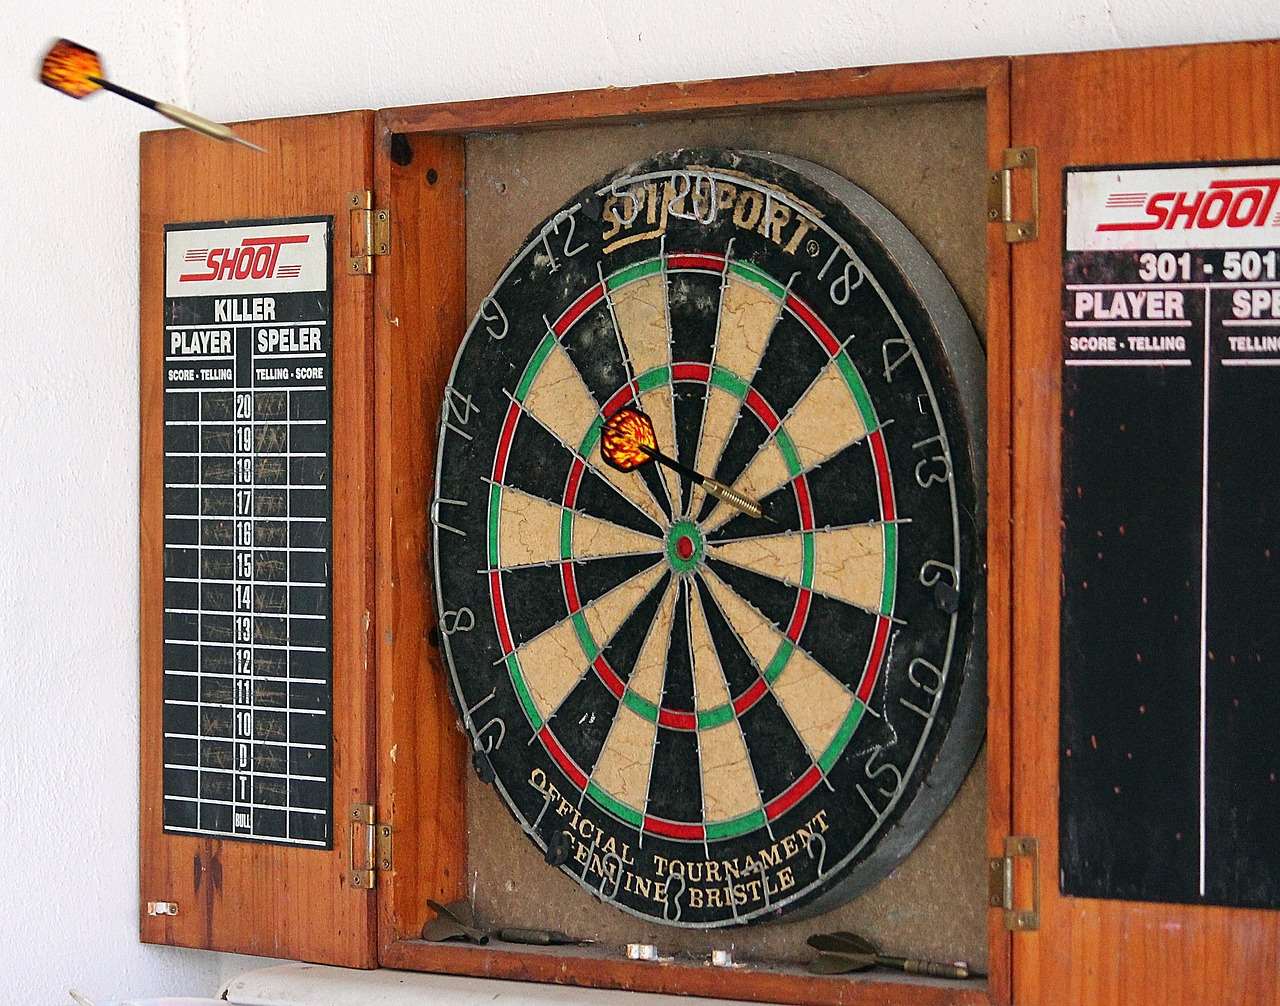
Clamp-On Lights: A Versatile Option
Clamp-on lights are a remarkably versatile and effective option for DIY dartboard lighting without drilling. These lights easily attach to shelves, cabinets, or even the top of your dartboard cabinet (if you have one). Look for clamp lights with adjustable arms and brightness settings to customize the illumination to your needs. Ensure the clamp is strong enough to securely hold the light in place, and choose a bulb with a color temperature that provides clear visibility without harsh glare. A warmer color temperature (around 2700K-3000K) often provides a more comfortable and visually appealing light for playing darts. Remember to consider the light’s reach to ensure it effectively illuminates the entire dartboard surface.
Freestanding Lamps: Flexible Placement
Another excellent approach to DIY dartboard lighting without drilling is using freestanding lamps. Floor lamps, table lamps, or even strategically positioned desk lamps can work wonders. Experiment with different lamp types and placements to find the optimal illumination for your setup. Remember to check for glare to prevent eye strain or hinder visibility. A well-placed lamp can dramatically enhance the visual appeal of your dartboard area, and it’s an incredibly easy way to upgrade your game space. When choosing a freestanding lamp, consider its height, base stability, and shade design to ensure both optimal lighting and safety. For instance, a tall floor lamp with a wide base will provide more stability and potentially reduce glare by directing the light downward.
Wall-Mounted Lighting (No Drilling): Adhesive Options
While the focus is on DIY dartboard lighting without drilling, we can still consider wall-mounted options. Many adhesive-backed lighting solutions are available. Before applying any adhesive lights to your wall, ensure the surface is clean, dry, and free from dust. Carefully read the manufacturer’s instructions to ensure the adhesive is suitable for your wall type (e.g., paint, wallpaper, etc.). Test the adhesive on an inconspicuous area first to avoid any potential damage or discoloration. This approach provides a clean, integrated solution without making holes, but always ensure the adhesive is strong enough to safely support the weight of the light fixture.
Using Existing Lighting: Strategic Placement
Before investing in new lights, consider utilizing existing lighting in your game room. A strategically positioned overhead light or even a creatively adjusted existing lamp might already provide sufficient illumination for your dartboard. Sometimes, the simplest solutions are the best. Optimizing your existing lighting can save money and effort. If you need to improve your existing lighting, experiment with different lightbulb types (LED, incandescent, etc.) to achieve the desired brightness and color temperature.
Optimizing Your Dartboard Lighting Setup
Brightness and Color Temperature
The brightness and color temperature of your lighting significantly impact your game. Too dim, and you’ll struggle to see the board clearly. Too bright, and you’ll experience glare, eye strain, and even shadows that obscure your aim. Experiment to find the balance. A color temperature between 2700K and 3000K (warm white) often provides ideal visibility without harshness, offering a more comfortable and natural light for playing darts. To get the optimal lighting, test different settings and observe how they impact your dart throws.
Minimizing Glare and Shadows
Glare and shadows are the enemy of accuracy. Position your lights to avoid direct reflection on the dartboard’s surface. Try angling your lights slightly to reduce glare while still providing good illumination. For instance, a light positioned slightly behind you (or the opposite side) can significantly reduce glare. Avoid placing lights directly above the dartboard, as this often creates harsh shadows that make it difficult to aim precisely. If possible, try to distribute your light sources to reduce the occurrence of dark patches. Remember to also consider any reflective surfaces that might contribute to glare, like windows or mirrors, and position your light to minimize their effect.
Considering Ambient Lighting
Don’t neglect your ambient lighting. While your dartboard needs focused illumination, the overall lighting in your game room should be comfortable and supportive. You don’t want a harsh contrast between the brightly lit dartboard and the rest of the room. A balanced lighting scheme ensures a relaxed, enjoyable playing environment. Ensure that the overall lighting scheme harmonizes and doesn’t create an excessive difference in brightness, which could cause discomfort and reduce concentration during your dart throws.
Maintaining Your Dartboard Lighting
Proper maintenance ensures your lighting setup remains effective and safe over time. Regularly clean your light fixtures, especially if they are exposed to dust or debris, for instance, this prevents lamp build-up reducing light output. Replace bulbs promptly when they burn out or begin dimming, to ensure consistent lighting throughout your sessions. This maintains optimal visibility and extends the lifespan of your lighting system. For adhesive-mounted lights, check the adhesive periodically and reapply if necessary. This will prevent accidents or sudden detachments that might damage the dartboard.
Bulb Types and Lifespan
Different bulb types (LED, incandescent, halogen, etc.) offer different lifespans and energy efficiency. LED bulbs generally provide the best combination of longevity, energy efficiency, and color accuracy. Consider the lifespan of your chosen bulbs when planning your lighting setup. Replacing bulbs frequently can be inconvenient and costly, therefore, opting for longer-lasting LED bulbs is a financially smart choice for the long-term. Make sure to check the brightness of each bulb before purchasing, as even LED bulbs can significantly vary in their output.
Troubleshooting Common Issues
Even with the best planning, you might encounter a few issues with your dartboard lighting. If your lights are too dim, try increasing the bulb wattage or adding more light sources. If you’re experiencing excessive glare, try adjusting the angle of your lights or adding diffusers to soften the light output. Remember that consistent, balanced illumination is crucial. If shadows are interfering with your game, try adjusting the position of your lights or adding more light sources to even out the brightness. Remember, you can always test your adjustments to find the optimal brightness and reduce annoying shadows. If you experience any problems with adhesive lights, replace them with more durable options.
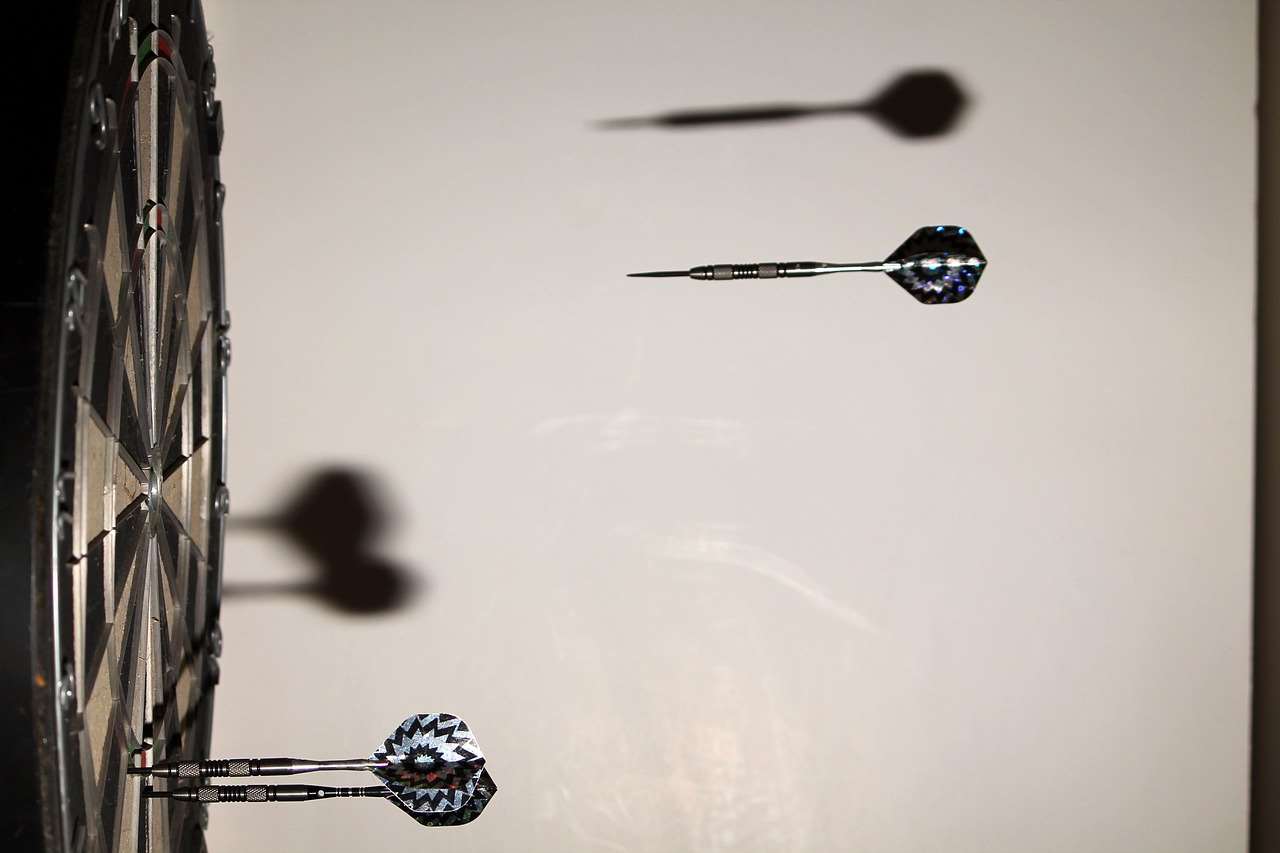
Remember, a well-lit dartboard is essential for an enjoyable and accurate game. Using our tips on DIY dartboard lighting without drilling will help you create the perfect atmosphere. Remember to check out our article on Darts Equipment Maintenance Customization for more tips and tricks on improving your game. And if you’re struggling with calibrating your electronic dartboard, our article on electronic dartboard calibration steps might be helpful! Happy darting!
For more information on extending the lifespan of your darts equipment, visit our guide on Darts Gear Lifespan Protocol. For information on cleaning your dart barrels, please refer to our article Cleaning Dart Barrels Ring Grip. Also check out Extend Movable Dart Point Life for tips on optimizing your dart’s performance and Adding Dart Grips for advice on improving your grip.
Finally, if you’re interested in customizing your darts, you can explore our Custom Dart Flights Shop. We hope this comprehensive guide on DIY dartboard lighting without drilling helped you create a better dart-throwing experience. Let us know your experience in the comments below!
Hi, I’m Dieter, and I created Dartcounter (Dartcounterapp.com). My motivation wasn’t being a darts expert – quite the opposite! When I first started playing, I loved the game but found keeping accurate scores and tracking stats difficult and distracting.
I figured I couldn’t be the only one struggling with this. So, I decided to build a solution: an easy-to-use application that everyone, no matter their experience level, could use to manage scoring effortlessly.
My goal for Dartcounter was simple: let the app handle the numbers – the scoring, the averages, the stats, even checkout suggestions – so players could focus purely on their throw and enjoying the game. It began as a way to solve my own beginner’s problem, and I’m thrilled it has grown into a helpful tool for the wider darts community.