Transform your game room with a stunning and functional DIY dartboard lighting with wood. This article will guide you through the process, showcasing how to build unique lighting that enhances your dartboard experience and adds a personal touch. We’ll cover everything from material selection to installation, ensuring you have all the tools and knowledge necessary for a successful project.
⚠️ Still Using Pen & Paper (or a Chalkboard)?! ⚠️
Step into the future! The Dart Counter App handles all the scoring, suggests checkouts, and tracks your stats automatically. It's easier than you think!
Try the Smart Dart Counter App FREE!Ready for an upgrade? Click above!
Before you dive into constructing your DIY dartboard lighting with wood, it’s crucial to plan carefully. Consider the size of your dartboard and the space available around it. This will determine the dimensions and style of your lighting fixture. You’ll want to choose wood that complements your existing game room décor. Some popular choices include reclaimed wood for a rustic look, or sleek, modern hardwoods. Remember to check local building codes regarding electrical installations before you begin. This step is vital to ensuring the safety and functionality of your project.
Next, gather your materials. Besides the wood, you’ll need lighting fixtures (LEDs are energy-efficient and long-lasting), wiring, screws, sandpaper, and wood stain or paint. Precise measurements are key – double-check everything before cutting. For a truly professional finish, consider using a router to create smooth edges and intricate designs on your wooden frame. This step is not mandatory, but it can elevate the overall look of your DIY dartboard lighting with wood considerably. Pre-drilling pilot holes is also highly recommended to prevent the wood from splitting when you screw things together.
DIY Dartboard Lighting with Wood: A Step-by-Step Guide
Now, let’s get into the actual construction. Start by carefully measuring and cutting your wooden pieces to create the frame around your dartboard. Remember that your design should allow for ample space for throwing darts without obstruction from the lighting fixture. A common style involves a rectangular frame that extends just enough to add a subtle visual interest and effective lighting. Many find building a square or rectangular frame easiest for their DIY dartboard lighting with wood projects.
Once your frame is assembled, it’s time to install the lighting. If you’re using LEDs, ensure they are correctly wired and connected to a power source. You’ll want to strategically position your lights to avoid harsh shadows and ensure optimal visibility of the dartboard. For a softer glow, consider using a diffuser to soften the light emitted from the LEDs. This is particularly useful if you opt for brighter bulbs, preventing eye strain during gameplay. You could even integrate some ambient lighting into your DIY dartboard lighting with wood to create a more immersive gaming environment.
Choosing the Right Wood for Your Project
The type of wood you select significantly impacts the final aesthetic of your project. For a rustic charm, reclaimed wood offers a unique character. However, its durability can vary depending on its past life, so inspect it carefully before using it. Hardwood options like oak or maple provide a more polished and modern look, offering superior durability and longevity compared to softwoods. Your choice will depend entirely on your personal preference and the overall design theme of your game room. Before staining or painting your DIY dartboard lighting with wood, be sure to thoroughly sand the wood to achieve a smooth surface.
Remember to always prioritize safety when working with electrical components. If you are uncomfortable working with electricity, consult a qualified electrician to ensure your lighting is safely installed. This may seem like a small precaution, but it’s crucial for protecting your safety and avoiding potential risks associated with incorrectly wired lighting. If your dartboard is close to a wall, you might consider building a wall-mounted DIY dartboard lighting with wood fixture. This adds an extra layer of sophistication.
Adding Finishing Touches to Your DIY Dartboard Lighting
Once your lighting is installed and functioning correctly, it’s time to add those final touches that will truly make your project shine. Consider staining or painting the wood to match your game room’s aesthetic. Multiple coats will offer better protection and a richer, more even finish. Many find that a dark wood stain complements a dartboard nicely, especially if you’ve chosen a lighter colored dartboard.
Another excellent option to enhance the appearance of your DIY dartboard lighting with wood is to incorporate some decorative elements. You could use metal accents, etched glass, or even unique wood carvings. These small details will add a personal touch and distinguish your project from others. For instance, consider adding a small engraved plaque with your name or a personalized message. This small enhancement significantly adds to the overall quality and personalization.
Before mounting your lighting fixture onto the wall, consider using a level to ensure that it is perfectly aligned and straight. This small step prevents issues with crooked hanging and ensures a sleek and professional look. For added security and stability, use high-quality screws that are appropriate for your wall type and the weight of your lighting fixture. Also, make sure that the wiring is neatly concealed and doesn’t pose a tripping hazard.
Maintaining Your Dartboard and Lighting
Regular maintenance is essential to ensure your dartboard and lighting remain in top condition. Dust and debris can accumulate on both, affecting performance and aesthetics. Consider using a soft cloth to gently wipe down your wood fixture regularly. For the dartboard, refer to our guide on cleaning darts for optimal care. The same applies to your cleaning soft tip dart accessories, keeping them clean and well-maintained will enhance your game.
Cleaning your dartboard is equally important; it affects both the game and the durability of the board itself. Regular cleaning helps maintain its accuracy and extend its lifespan. Cleaning is especially important if you have tungsten darts as these require more careful handling. While we have a dedicated guide on the best way to clean darts, knowing how to maintain your DIY dartboard lighting with wood is equally important.
Beyond cleaning, consider investing in proper storage for your darts. Storing your darts correctly prevents damage and extends their lifespan. This includes not only the darts themselves but also any accessories. Take a look at our guide on how to store dart cases for more tips.
Incorporating a DIY dartboard lighting with wood offers significant benefits: improved visibility, a personalized touch, and enhanced enjoyment of your game room. The benefits extend beyond just aesthetics; well-designed lighting minimizes eye strain during extended play, and a well-maintained dartboard ensures optimal game play. Regular upkeep of both the dartboard and the surrounding area maximizes enjoyment and ensures longevity.
Remember, safety is paramount throughout the entire project. Ensure the lighting is correctly installed and follows all relevant building codes. If you’re uncertain about any aspect of the electrical work, consult a professional. Always prioritize safety over speed when completing any home improvement project that involves electricity.
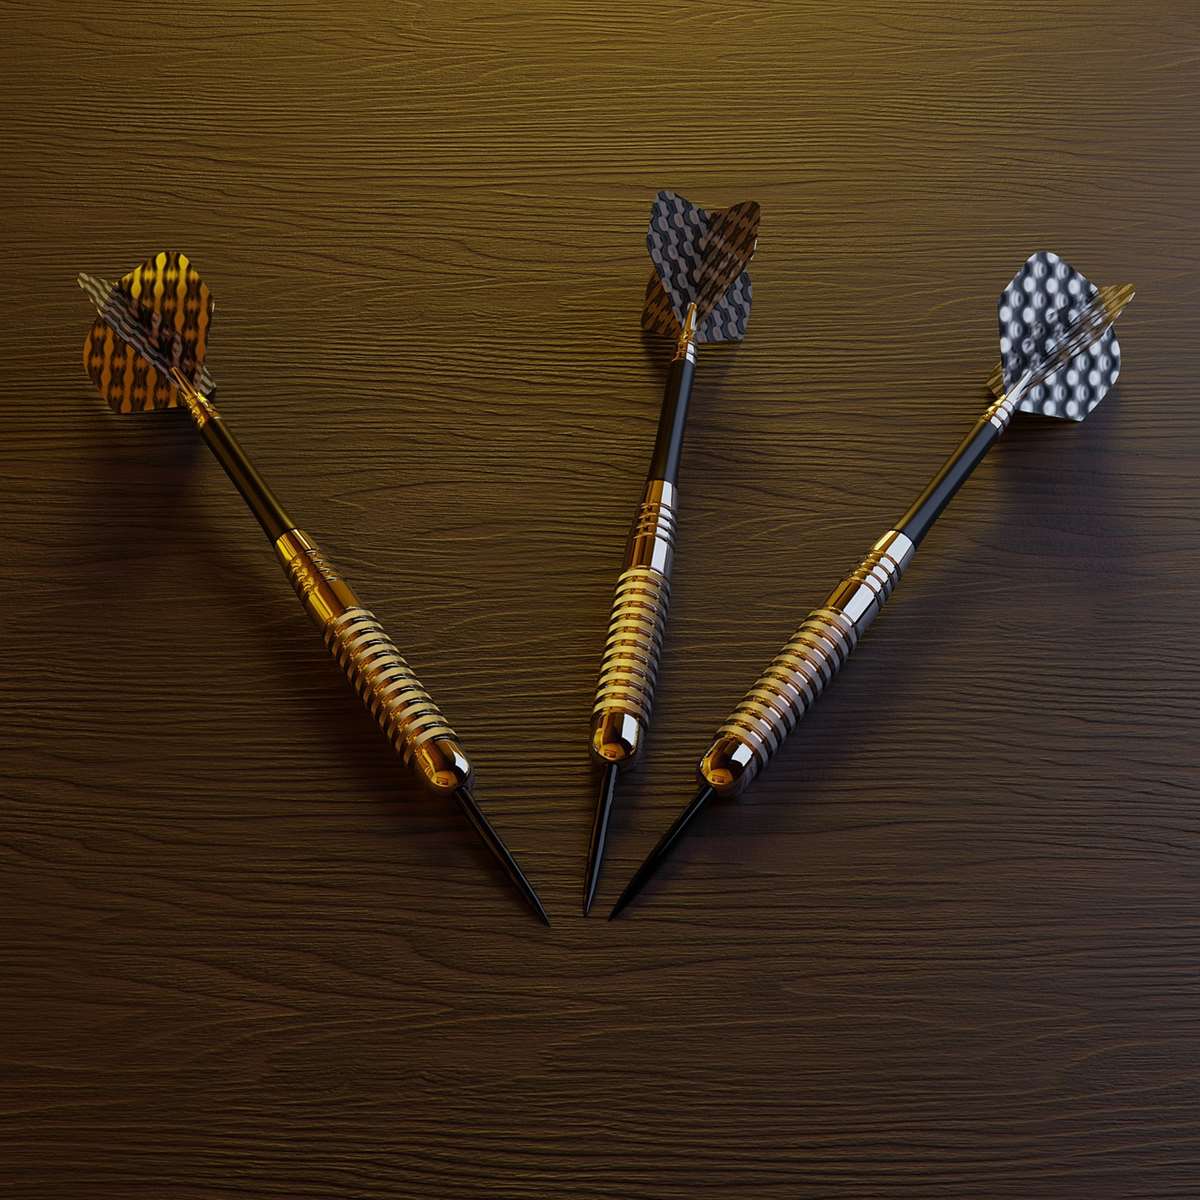
By following these steps and incorporating your personal style, you’ll create a unique and functional piece that enhances your dart-throwing experience. Consider the overall design of your game room when choosing materials and finishes. Remember to check out our guides on Darts Equipment Maintenance Customization, custom dartboard enclosure and dartboard cabinet styles for more ideas on personalizing your game room.
Conclusion: Elevate Your Game with DIY Dartboard Lighting
Creating a DIY dartboard lighting with wood is a rewarding project that elevates both the functionality and aesthetics of your game room. From selecting the right wood to installing the lighting safely, this comprehensive guide provides you with all the necessary information for a successful build. Remember to plan your project carefully, ensuring you have all the necessary materials and tools before starting. Prioritize safety throughout the process, particularly when working with electrical components.
By following these steps, you’ll not only create a stunning lighting fixture but also enhance your dart-throwing experience. With personalized touches and meticulous attention to detail, your DIY dartboard lighting with wood will be a source of pride and enjoyment for years to come. Don’t hesitate to explore other options like custom dart flights online printing and dart point length adjustment for further game personalization and explore the many customization options available for enhancing your dart experience.
Hi, I’m Dieter, and I created Dartcounter (Dartcounterapp.com). My motivation wasn’t being a darts expert – quite the opposite! When I first started playing, I loved the game but found keeping accurate scores and tracking stats difficult and distracting.
I figured I couldn’t be the only one struggling with this. So, I decided to build a solution: an easy-to-use application that everyone, no matter their experience level, could use to manage scoring effortlessly.
My goal for Dartcounter was simple: let the app handle the numbers – the scoring, the averages, the stats, even checkout suggestions – so players could focus purely on their throw and enjoying the game. It began as a way to solve my own beginner’s problem, and I’m thrilled it has grown into a helpful tool for the wider darts community.