Creating the perfect atmosphere for your home game room starts with proper lighting. This article will guide you through a comprehensive approach to DIY dartboard lighting from scratch, ensuring you have optimal visibility for accurate throws. We’ll cover everything from choosing the right materials to installing your custom-built lighting solution.
⚠️ Still Using Pen & Paper (or a Chalkboard)?! ⚠️
Step into the future! The Dart Counter App handles all the scoring, suggests checkouts, and tracks your stats automatically. It's easier than you think!
Try the Smart Dart Counter App FREE!Ready for an upgrade? Click above!
Before diving into the specifics of building your own DIY dartboard lighting from scratch, it’s crucial to consider the type of dartboard you have and the available space around it. A standard bristle dartboard requires different lighting considerations than an electronic dartboard. The size of your room and the surrounding wall color also play a significant role in determining the best lighting setup. Understanding these factors will help you design a lighting system that’s both functional and aesthetically pleasing.
Proper lighting isn’t just about seeing the board clearly; it’s about enhancing your game. Poor lighting can lead to inaccurate throws and frustration. With a custom-designed system, you can optimize the lighting to minimize shadows and glare, allowing you to focus on your game and improve your dart throwing accuracy. In this detailed guide, we’ll explore different approaches to DIY dartboard lighting from scratch, helping you create the ideal lighting solution for your personal setup.
Choosing the Right Materials for Your DIY Dartboard Lighting From Scratch
The success of your DIY dartboard lighting from scratch project hinges on selecting the right materials. We’ll be focusing on LED lighting for its energy efficiency, long lifespan, and customizable brightness. Here’s what you’ll need:
- LED Strip Lights: Choose high-quality, flexible LED strip lights in a warm white or neutral white color temperature (2700K-3000K) for optimal visibility. Avoid overly bright or cool-toned lights, as these can strain your eyes and create glare.
- Aluminum Channel: This protects the LED strip lights and provides a clean, professional look. Make sure the channel is long enough to cover the perimeter of your dartboard.
- Power Supply: Select a power supply that matches the voltage and amperage requirements of your LED strip lights. Always check the manufacturer’s specifications before purchasing.
- Connectors and Wire: You’ll need connectors to splice the LED strips and wire to connect the power supply to the lights. Consider using waterproof connectors for added durability.
- Mounting Hardware: This could include screws, double-sided tape, or clips, depending on your chosen mounting method. Make sure to use hardware suitable for your wall type.
- Optional: Diffuser: A diffuser helps to soften the light and reduce glare. You can use frosted acrylic or polycarbonate sheets for this purpose.
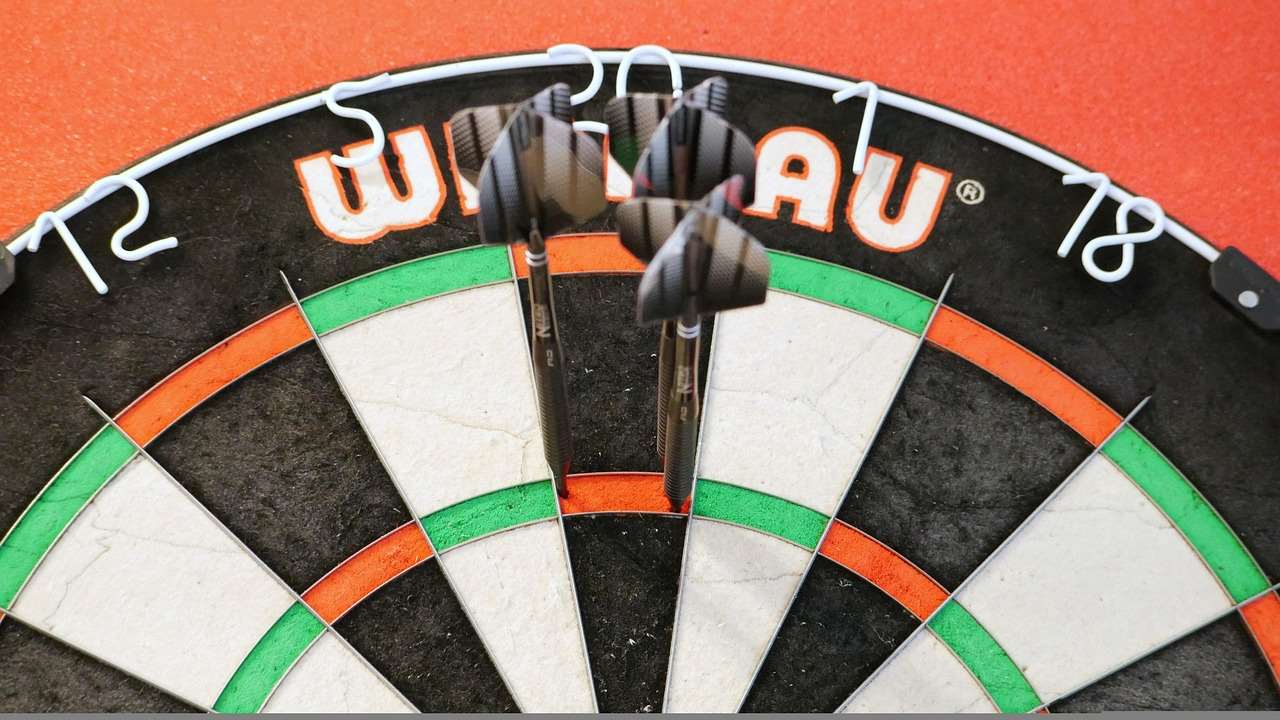
Remember to always check your local building codes and regulations before beginning any electrical work. If you are uncomfortable working with electricity, it’s best to consult a qualified electrician. For additional maintenance tips, check out our guide on Darts gear lifespan overview.
Designing Your DIY Dartboard Lighting From Scratch Setup
The placement of your lights is crucial. You want to illuminate the dartboard evenly, minimizing shadows and glare. Consider these design aspects:
Lighting Placement
Avoid placing lights directly above the dartboard, as this can create harsh shadows. Instead, consider mounting the LED strips along the perimeter of the dartboard, creating a halo effect. This approach offers even illumination without interfering with your throw.
Light Intensity
You can adjust the light intensity by using a dimmer switch or selecting LED strips with adjustable brightness. Experiment to find the optimal brightness level for your environment and personal preference. For a more personalized touch, explore the guide on Dart flight personalization and customize your darts.
Powering Your Lights
Carefully plan the placement of your power supply, ensuring it’s safely concealed and easily accessible. Keep the wires organized and out of the way to avoid tripping hazards. Ensuring the safety of your dartboard setup also includes knowing how to Protect dart cases.
Remember to test your DIY dartboard lighting from scratch setup before permanently mounting it to ensure everything is working correctly. If you encounter any issues, consult the manufacturer’s instructions for your LED strip lights and power supply.
Step-by-Step Guide to Building Your DIY Dartboard Lighting From Scratch
Now, let’s go through the steps involved in creating your custom lighting system:
- Measure and Cut: Measure the perimeter of your dartboard and cut the aluminum channel to the appropriate length. Ensure accurate measurements to avoid gaps or overlaps.
- Mount the Channels: Securely mount the aluminum channels around the dartboard using screws or adhesive. Ensure the channels are level and evenly spaced.
- Install LED Strips: Carefully insert the LED strip lights into the aluminum channels. Make sure the strips are securely seated to ensure proper contact.
- Connect the Power Supply: Connect the power supply to the LED strips using the appropriate connectors and wires. Ensure all connections are secure and properly insulated.
- Test the Lights: Test the lights to verify that they are functioning correctly and provide even illumination.
- Optional: Add a Diffuser: If desired, install a diffuser over the LED strips to soften the light and reduce glare.
This detailed process allows for a highly customizable DIY dartboard lighting from scratch setup. Remember to prioritize safety throughout this project. For additional advice on maintaining your darts equipment, consult our guide on Darts Equipment Maintenance Customization.
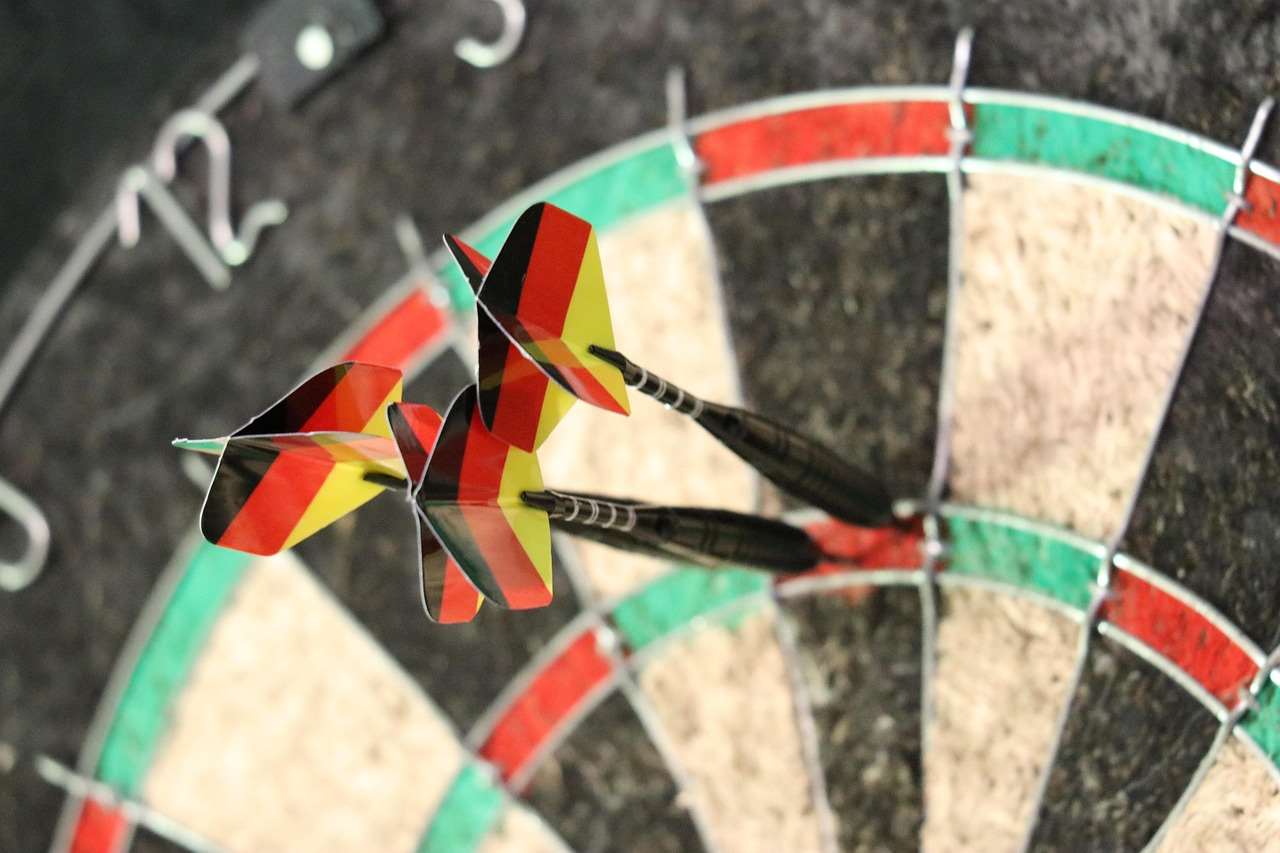
Consider consulting online tutorials and videos for visual guidance during the installation process. Many DIY enthusiasts share their experiences and tips, which can provide valuable insights. Also, make sure to clean your darts after each session. Refer to our guide on Cleaning dart barrels for best results for detailed instructions.
Troubleshooting Common Issues with Your DIY Dartboard Lighting From Scratch
Even with careful planning, you might encounter some issues. Here’s how to troubleshoot common problems:
- Flickering Lights: This could be due to loose connections or a faulty power supply. Check all connections and replace any damaged components.
- Uneven Lighting: Ensure the LED strips are correctly installed and make sure that the power supply is adequate for the length of the LED strip.
- Glare: Add a diffuser to soften the light and reduce glare.
- Overheating: Ensure adequate ventilation around the LED strips and power supply to prevent overheating.
Remember that safety should always be a priority. If you encounter electrical problems you can’t solve, consult a qualified electrician to ensure proper functionality and avoid potential hazards. While building your lighting, you might want to think about improving your overall game, check our advice on Dart point style and game strategy .
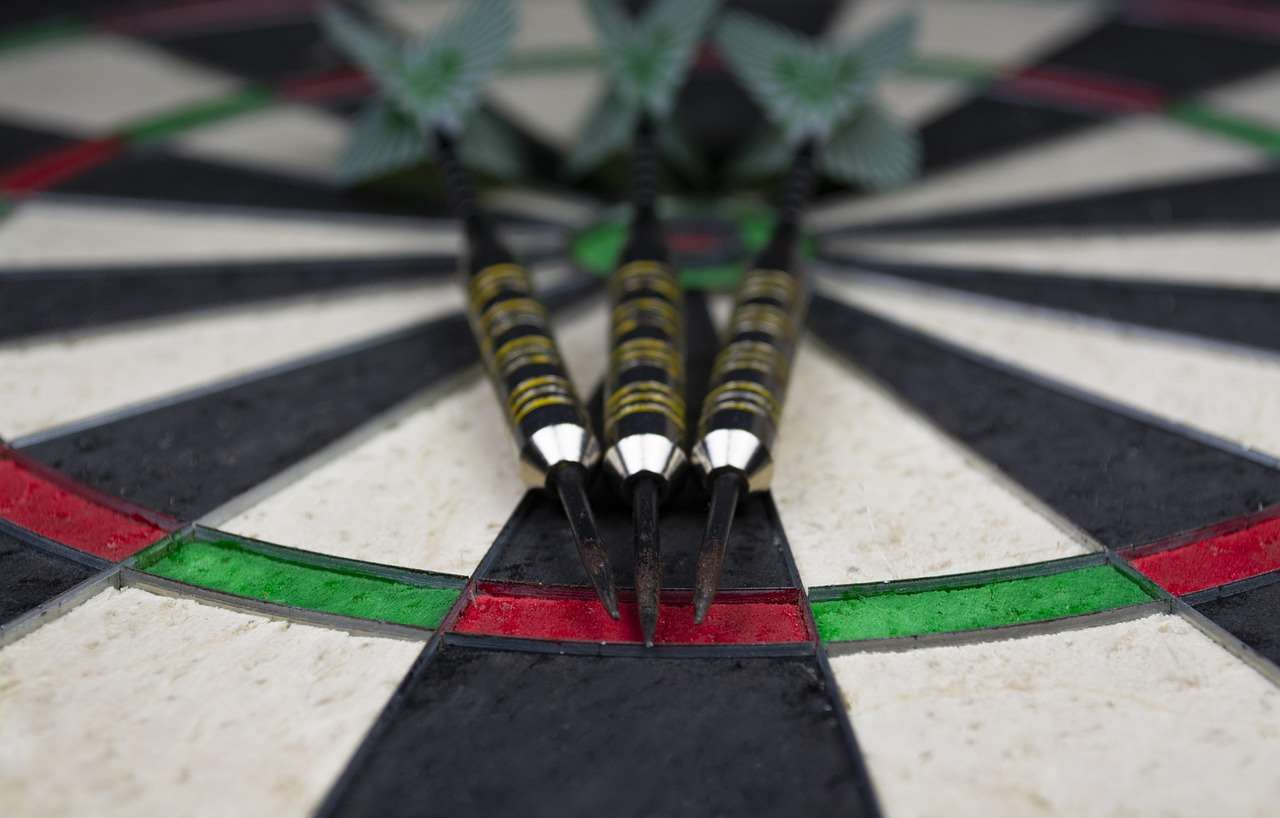
By following these steps and troubleshooting tips, you can create a functional and aesthetically pleasing DIY dartboard lighting from scratch setup. This personalized approach allows you to tailor the lighting to your specific needs and preferences, optimizing your dart-throwing experience.
Advanced Techniques for Your DIY Dartboard Lighting From Scratch Project
For those seeking more advanced customization options, consider these improvements:
- Smart Lighting Integration: Integrate smart lighting features for remote control and automated lighting schedules using compatible LED strips and a smart home hub.
- Customizable Color Temperature: Use RGB LED strips to adjust the color temperature and create different atmospheres.
- Motion Sensors: Incorporate motion sensors to automatically turn the lights on and off as you approach and leave the dartboard area.
These advanced features can significantly enhance your dart-playing experience and add a touch of sophistication to your game room. Remember that choosing the right lighting directly impacts your accuracy; and for additional setup advice, check Dartboard lighting for home use.
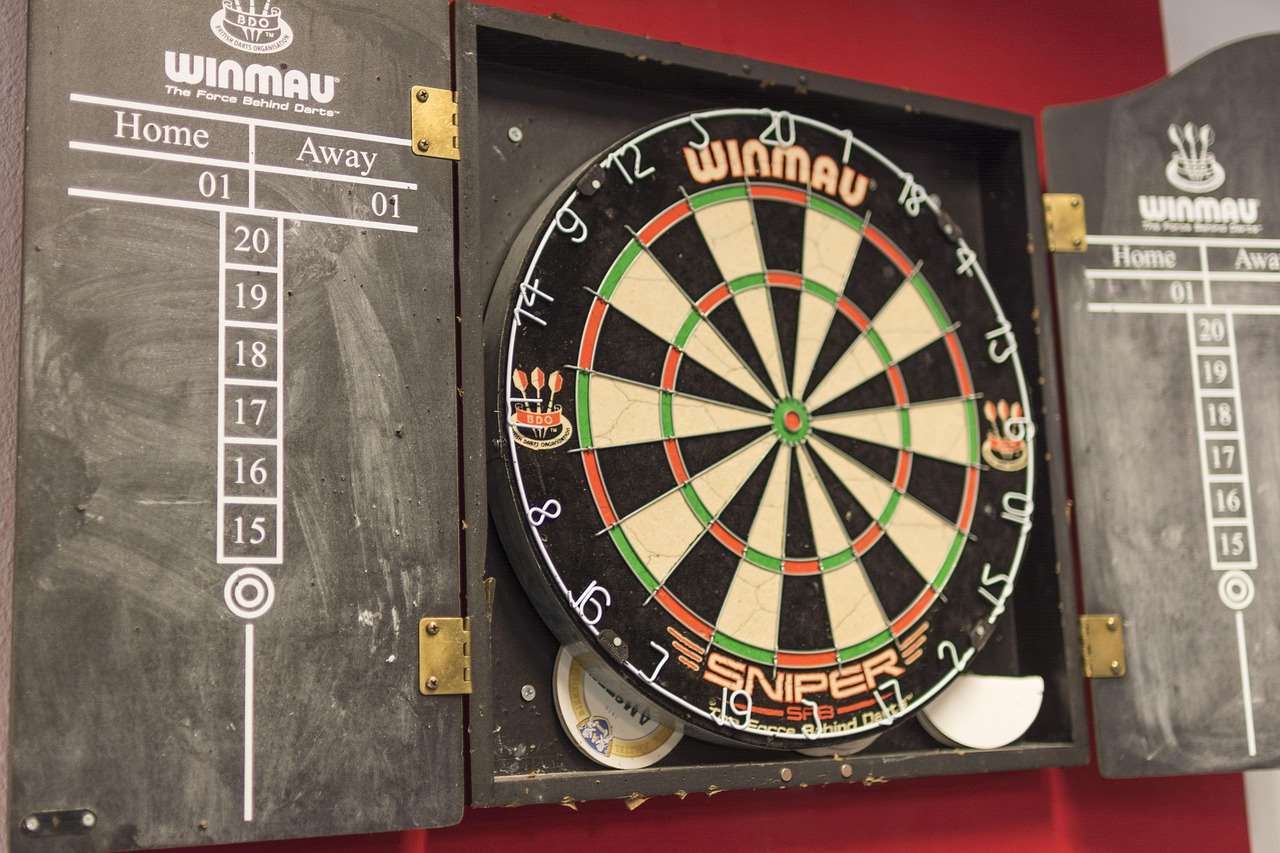
For another interesting DIY project, you could also check out our guide on DIY dartboard surround from old tire.
Conclusion
Creating your own DIY dartboard lighting from scratch is a rewarding project that significantly improves your gaming experience. By following the steps outlined in this guide, you can build a custom lighting system that enhances visibility, minimizes shadows, and creates the perfect atmosphere for your home game room. Remember to prioritize safety, plan carefully, and enjoy the process of bringing your vision to life! Now get started and elevate your game with perfectly tailored lighting!
Hi, I’m Dieter, and I created Dartcounter (Dartcounterapp.com). My motivation wasn’t being a darts expert – quite the opposite! When I first started playing, I loved the game but found keeping accurate scores and tracking stats difficult and distracting.
I figured I couldn’t be the only one struggling with this. So, I decided to build a solution: an easy-to-use application that everyone, no matter their experience level, could use to manage scoring effortlessly.
My goal for Dartcounter was simple: let the app handle the numbers – the scoring, the averages, the stats, even checkout suggestions – so players could focus purely on their throw and enjoying the game. It began as a way to solve my own beginner’s problem, and I’m thrilled it has grown into a helpful tool for the wider darts community.