Building your own DIY dartboard cabinet is a rewarding project that saves money and adds a personalized touch to your game room. This article provides a comprehensive guide, covering everything from design and materials to step-by-step instructions and finishing touches, empowering you to create a stylish and functional cabinet.
⚠️ Still Using Pen & Paper (or a Chalkboard)?! ⚠️
Step into the future! The Dart Counter App handles all the scoring, suggests checkouts, and tracks your stats automatically. It's easier than you think!
Try the Smart Dart Counter App FREE!Ready for an upgrade? Click above!
Why Build a DIY Dartboard Cabinet?
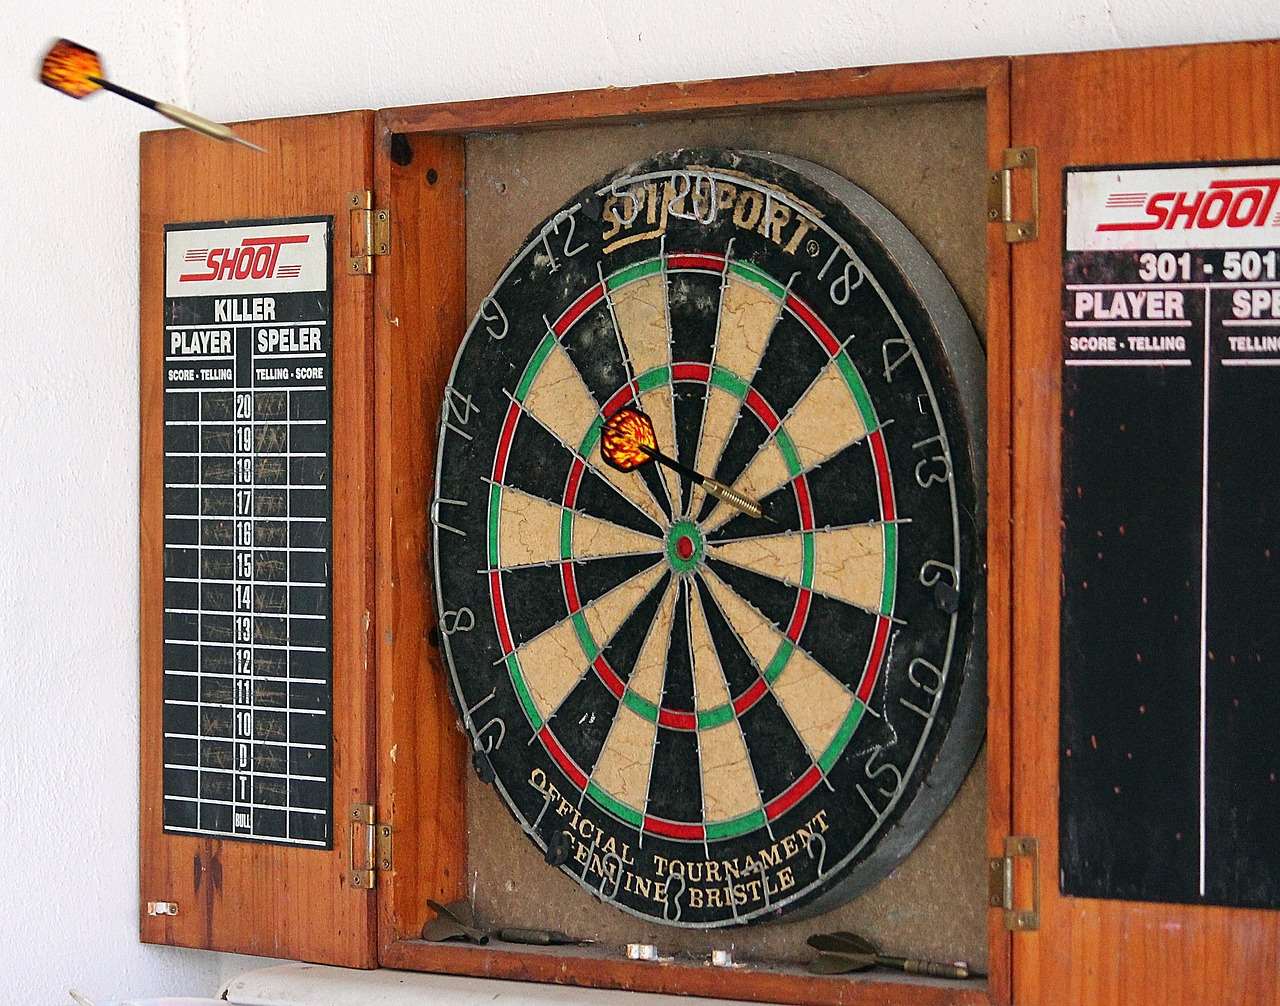
Instead of settling for a generic, mass-produced cabinet, a DIY dartboard cabinet allows you to tailor the design to your specific needs and preferences. You can choose the wood, finish, and features to perfectly complement your existing décor and create a focal point in your gaming area. Beyond aesthetics, building your own cabinet is often significantly more affordable than purchasing a pre-made one, especially if you have some basic tools and woodworking skills.
Here’s a breakdown of the key advantages:
- Cost Savings: Reduce expenses by sourcing materials and doing the labor yourself.
- Customization: Design a cabinet that perfectly matches your style and space requirements.
- Skill Development: Improve your woodworking skills and gain a sense of accomplishment.
- Unique Design: Create a one-of-a-kind piece that stands out.
- Durability: Select high-quality materials to ensure a long-lasting cabinet.
Planning Your DIY Dartboard Cabinet: Design and Dimensions
Before you start cutting wood, it’s crucial to plan your DIY dartboard cabinet meticulously. This involves determining the dimensions, choosing a design style, and selecting the appropriate materials. Consider the size of your dartboard, the available space in your room, and your personal aesthetic preferences.
Dartboard Dimensions and Clearance
A standard dartboard has a diameter of 17.75 inches. Your cabinet should be large enough to fully enclose the dartboard when closed and provide ample space around the board for mounting and catching stray darts. Remember to account for the official dartboard height, which is 5 feet 8 inches from the floor to the center of the bullseye. Also consider the oche (throwing line) distance, typically 7 feet 9 1/4 inches from the dartboard face.
Design Styles
There are many design styles to choose from, ranging from simple and functional to elaborate and decorative. Some popular options include:
- Classic: A traditional cabinet with raised panels and a stained finish.
- Modern: A sleek, minimalist cabinet with clean lines and a painted finish.
- Rustic: A cabinet made from reclaimed wood with a distressed finish.
- Contemporary: A blend of modern and classic elements, often featuring a combination of wood and metal.
Material Selection
The choice of materials will significantly impact the appearance and durability of your dartboard cabinet. Commonly used materials include:
- Plywood: An affordable and versatile option for the cabinet’s frame and backing.
- Solid Wood (Pine, Oak, Maple): A more expensive but visually appealing option for the doors and trim.
- MDF (Medium-Density Fiberboard): A smooth, paintable surface ideal for doors and panels.
Don’t forget to consider the hardware, such as hinges, latches, and screws. Choose high-quality hardware that will withstand frequent use. You may also wish to incorporate features like a chalkboard for scoring, or storage for darts and accessories.
Tools and Materials You’ll Need
Having the right tools and materials will make the DIY dartboard cabinet project much smoother and more enjoyable. Here’s a comprehensive list:
Essential Tools:
- Measuring Tape: For accurate measurements.
- Pencil: For marking cuts and drilling locations.
- Saw (Circular Saw or Hand Saw): For cutting wood to size.
- Drill: For drilling pilot holes and attaching hardware.
- Screwdriver: For installing screws.
- Sander: For smoothing rough edges and preparing surfaces for finishing.
- Clamps: For holding pieces together while gluing and screwing.
- Square: Ensuring right angles during construction is critical.
Materials List:
- Wood (Plywood, Solid Wood, or MDF): As determined by your design.
- Hinges: For attaching the doors to the cabinet frame.
- Latches or Magnetic Catches: To keep the doors closed.
- Screws: For assembling the cabinet.
- Wood Glue: For strengthening joints.
- Sandpaper: For smoothing surfaces.
- Primer: For preparing the wood for painting or staining.
- Paint or Stain: For finishing the cabinet.
- Polyurethane or Varnish (Optional): For protecting the finish.
- Dartboard Mounting Hardware: To safely secure your board.
Step-by-Step Instructions for Building Your Dartboard Cabinet
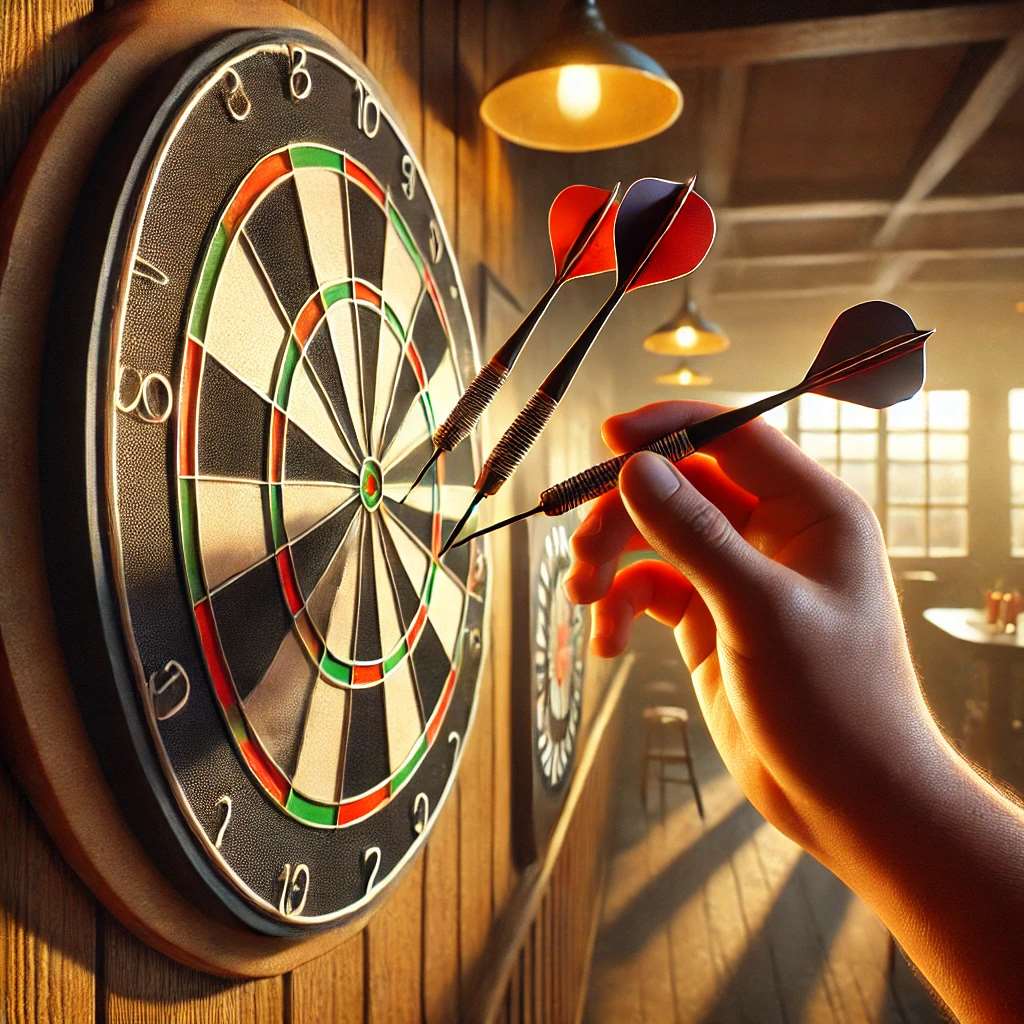
Now, let’s dive into the actual construction of your DIY dartboard cabinet. Follow these steps carefully for a successful outcome:
1. Cutting the Wood:
Using your measurements and design plans, cut the wood pieces to the required sizes. Be precise with your cuts to ensure a snug fit. Label each piece as you cut it to avoid confusion later.
2. Assembling the Cabinet Frame:
Join the sides, top, and bottom pieces to form the cabinet frame. Use wood glue and screws to create strong, durable joints. Ensure the frame is square before the glue dries.
3. Attaching the Backing:
Cut a piece of plywood or MDF to fit the back of the cabinet and attach it using screws or nails. This will add stability to the cabinet.
4. Building the Doors:
Construct the doors according to your chosen design. This may involve creating raised panels or simply cutting rectangular pieces of wood. You can choose best dart equipment and store them inside. Ensure the doors are the correct size to fit snugly within the cabinet frame.
5. Installing the Hinges and Latches:
Attach the hinges to the doors and the cabinet frame. Make sure the doors swing smoothly and align properly. Install the latches or magnetic catches to keep the doors closed securely.
6. Sanding and Finishing:
Sand all surfaces of the cabinet to create a smooth finish. Apply primer and then paint or stain the cabinet to your desired color. Apply several coats of finish, allowing each coat to dry completely before applying the next.
7. Mounting the Dartboard:
Follow the dartboard manufacturer’s instructions to mount the dartboard inside the cabinet. Ensure the dartboard is securely attached and properly aligned.
Adding Personal Touches and Custom Features
This is where you can really make your DIY dartboard cabinet your own. Consider adding some custom features to enhance its functionality and appearance. Here are a few ideas:
Chalkboard Scoring:
Install a chalkboard on the inside of one or both doors for keeping score. This is a classic and practical addition to any dartboard cabinet. You can easily find chalkboard paint at most hardware stores.
Dart Storage:
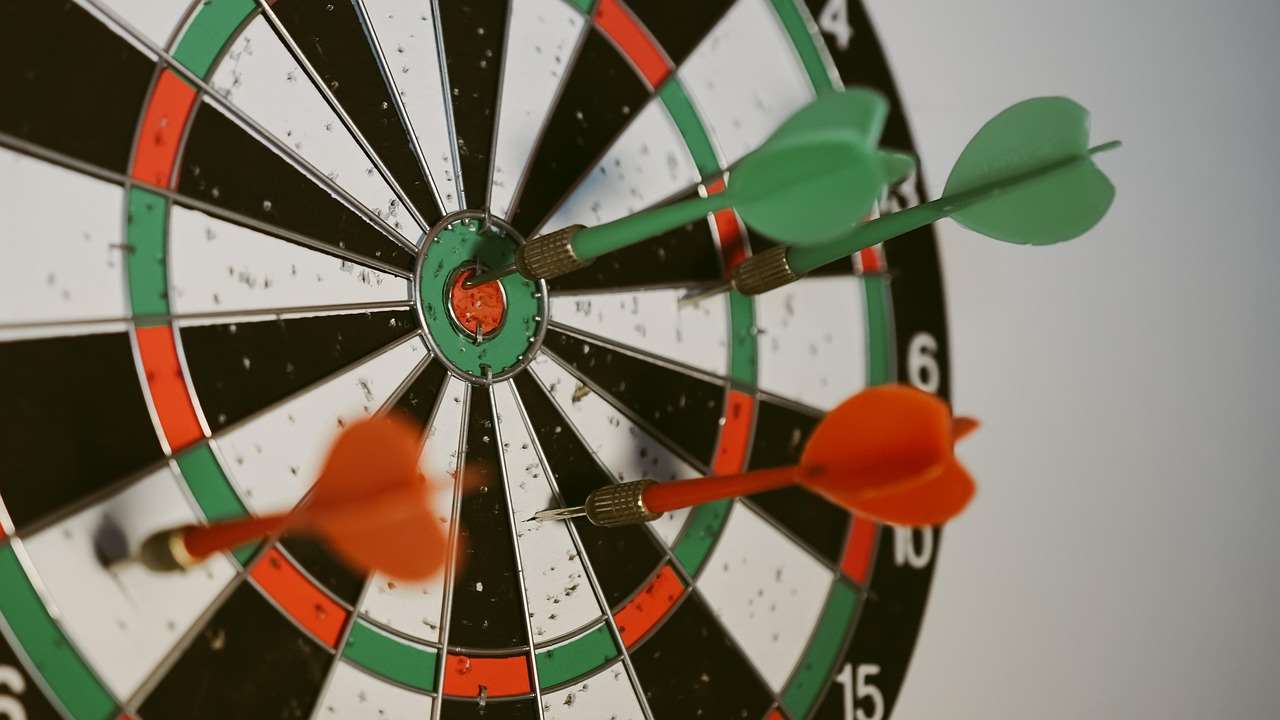
Create a designated space for storing your darts and accessories. This could be a simple shelf or a more elaborate dart holder. This ensures your dart storage solutions are integrated with your game.
Lighting:
Install a light above the dartboard to improve visibility. This will make it easier to see the target and enhance your playing experience. LED strip lights are a popular and energy-efficient option. When considering a dartboard surround, factor in the shadow the lights might cause.
Personalized Artwork or Logos:
Add a personal touch by painting or stenciling artwork or logos onto the cabinet doors. This is a great way to express your personality and interests. Consider sports teams, favorite bands, or custom designs.
Tips for a Professional Finish
To achieve a professional-looking finish on your DIY dartboard cabinet, consider these tips:
- Use High-Quality Materials: Investing in good quality wood, hardware, and finishing products will result in a more durable and visually appealing cabinet.
- Take Your Time: Don’t rush the process. Allow ample time for each step, especially drying times for glue and finishes.
- Sand Carefully: Proper sanding is essential for a smooth and even finish. Use progressively finer grits of sandpaper.
- Apply Thin Coats of Finish: Multiple thin coats of finish are better than one thick coat, which can lead to drips and runs.
- Use Proper Ventilation: When working with paints, stains, and finishes, ensure adequate ventilation to avoid inhaling harmful fumes.
Maintaining Your DIY Dartboard Cabinet
To keep your DIY dartboard cabinet looking its best, follow these maintenance tips:
- Dust Regularly: Dust the cabinet regularly to prevent the buildup of dirt and grime.
- Clean Spills Immediately: Wipe up any spills immediately to prevent staining.
- Tighten Screws Periodically: Check the screws and hinges periodically and tighten them as needed.
- Apply a Fresh Coat of Finish (Optional): If the finish becomes worn or damaged, apply a fresh coat of polyurethane or varnish.
Troubleshooting Common Issues
Even with careful planning and execution, you may encounter some issues during the construction of your DIY dartboard cabinet. Here are some common problems and their solutions:
- Doors Don’t Align Properly: Adjust the hinges until the doors align correctly. You may need to shim the hinges to achieve a perfect fit.
- Latches Don’t Catch: Adjust the position of the latches or magnetic catches until they catch securely.
- Finish is Uneven: Sand the surface lightly and apply another coat of finish. Make sure to apply thin, even coats.
- Wood Splitting When Screwing: Use pilot holes before driving screws. This will prevent the wood from splitting.
Inspiration and Ideas for Your DIY Dartboard Cabinet
Need some creative inspiration for your DIY dartboard cabinet project? Explore online resources like Pinterest and home improvement blogs for ideas. Browse images of different cabinet designs, finishes, and custom features. Consider incorporating elements that reflect your personal style and interests.
Beyond the Basics: Advanced DIY Dartboard Cabinet Projects
Once you’ve mastered the basics of building a DIY dartboard cabinet, you can explore more advanced projects. Consider adding features like:
- Built-in Scoreboards: Integrate electronic scoreboards or custom-designed manual scoreboards into the cabinet.
- Automated Dartboard Rotation: Design a system that automatically rotates the dartboard to even out wear.
- Soundproofing: Add soundproofing materials to the cabinet to reduce noise.
Selling Your DIY Dartboard Cabinets
If you enjoy woodworking and are looking for a side hustle, consider selling your DIY dartboard cabinet creations. You can sell them online through platforms like Etsy or Facebook Marketplace, or at local craft fairs and markets. Highlight the unique features and craftsmanship of your cabinets to attract buyers. Remember that difference budget premium darts make a difference.
Conclusion
Building a DIY dartboard cabinet is a satisfying and rewarding project that allows you to create a personalized and functional addition to your game room. By following the steps outlined in this article, you can design and build a cabinet that perfectly meets your needs and reflects your unique style. Embrace the challenge, unleash your creativity, and enjoy the fruits of your labor for years to come. So gather your tools, choose your design, and start building your very own DIY Dartboard Cabinet today! Consider exploring Budget vs Premium Darts Compared for your dartboard setup. Happy darting!
Hi, I’m Dieter, and I created Dartcounter (Dartcounterapp.com). My motivation wasn’t being a darts expert – quite the opposite! When I first started playing, I loved the game but found keeping accurate scores and tracking stats difficult and distracting.
I figured I couldn’t be the only one struggling with this. So, I decided to build a solution: an easy-to-use application that everyone, no matter their experience level, could use to manage scoring effortlessly.
My goal for Dartcounter was simple: let the app handle the numbers – the scoring, the averages, the stats, even checkout suggestions – so players could focus purely on their throw and enjoying the game. It began as a way to solve my own beginner’s problem, and I’m thrilled it has grown into a helpful tool for the wider darts community.