A DIY dart grip can significantly improve your game, offering personalized comfort and control. This article will guide you through creating your own custom grip, covering various materials, techniques, and considerations. We’ll also explore how to optimize your grip for different throwing styles and discuss common pitfalls to avoid.
⚠️ Still Using Pen & Paper (or a Chalkboard)?! ⚠️
Step into the future! The Dart Counter App handles all the scoring, suggests checkouts, and tracks your stats automatically. It's easier than you think!
Try the Smart Dart Counter App FREE!Ready for an upgrade? Click above!
Before we dive into the specifics of creating your own DIY dart grip, it’s important to understand the fundamental aspects of dart grip. The way you hold your darts significantly impacts your accuracy and consistency. A proper grip allows for a smooth, controlled release, leading to better scores. A poorly chosen grip, on the other hand, can lead to inconsistent throws and frustration. Therefore, experimenting with different grips until you find one that suits you is crucial.
Many professional dart players spend countless hours perfecting their grip, often tweaking it over time to find that sweet spot of control and comfort. A well-executed DIY dart grip can help you replicate this level of personalization without significant cost. And it’s not just about performance; crafting your own grip adds a personal touch to your darts game, turning a standard set into a unique expression of your style. Let’s explore how to make that happen.
Choosing the Right Materials for Your DIY Dart Grip
The success of your DIY dart grip hinges on selecting the right materials. The key is to find something that offers a balance of grip, comfort, and durability. Here are a few popular options:
- Grip Tape: This is a widely accessible and cost-effective option. Look for non-slip grip tape that’s thin and relatively flexible. The thickness is crucial; too thick, and it can interfere with your throw. Too thin, and it won’t provide enough grip. There are different types, some with different textures. Experiment to see what feels best in your hands.
- Shrink Wrap: Heat-shrink tubing can provide a smooth, customized grip. The process involves heating the tubing to shrink it tightly around the dart barrel. The advantage is that you get a very even grip, but this does require some practice to achieve a neat finish. Make sure you select heat-shrink tubing appropriate for the temperature of your heat gun to avoid damaging the dart barrel. Learn more about the lifespan of your darts equipment
- Fabric: Many dart players use materials like leather or suede to create a unique grip. These fabrics are often more absorbent, which can be helpful if you have sweaty hands. Be aware that such materials require more care and can be less durable than tape or shrink wrap, and may need replacement more frequently than a taped grip.
- Rubber Grips: Pre-made rubber grips can be a convenient option. These are often already shaped and sized to fit standard dart barrels, but they might require some trimming to fit perfectly. Make sure to check reviews to determine which rubber is best suited for your needs.
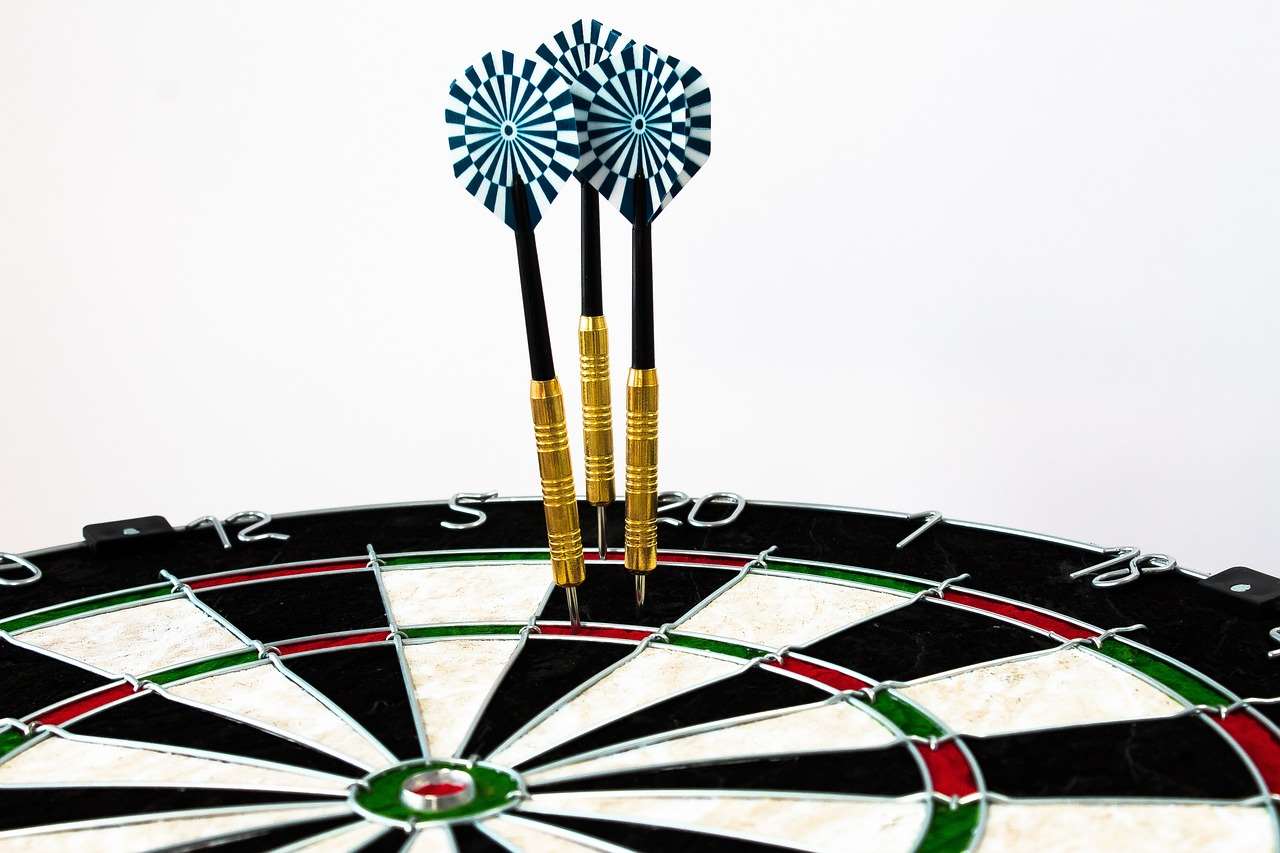
Remember to consider the texture and thickness of your chosen material, as this greatly affects your grip and control.
Step-by-Step Guide to Creating Your DIY Dart Grip
Preparing Your Darts
Before you start applying your chosen grip material, make sure your darts are clean and dry. This ensures the grip material adheres correctly. Any dirt or grease can affect the adhesion and reduce the effectiveness of your DIY dart grip. A simple wipe with a damp cloth should suffice.
Applying the Grip Material
The application process depends on your chosen material. With grip tape, start slowly and carefully, applying it evenly while ensuring there are no air bubbles. With heat-shrink tubing, make sure to follow the manufacturer’s instructions regarding heat application and shrinkage. Remember, there is no one-size-fits-all method. Experimentation is key to finding the best fit for your hand and throwing style. Check out our advice on dart point length
Finishing Touches
Once the grip material is applied, carefully trim any excess material. Using scissors, make clean cuts to ensure no loose edges interfere with your throw. With heat-shrink tubing, ensure the ends are securely sealed to prevent fraying. For added grip, you can consider a thin layer of specialized grip enhancer or adhesive. However, always test your grip before committing to this additional step, as too much can negatively impact your throw. A successful DIY dart grip feels seamless and doesn’t impede the flight of the dart.
Different Grip Styles and DIY Adaptations
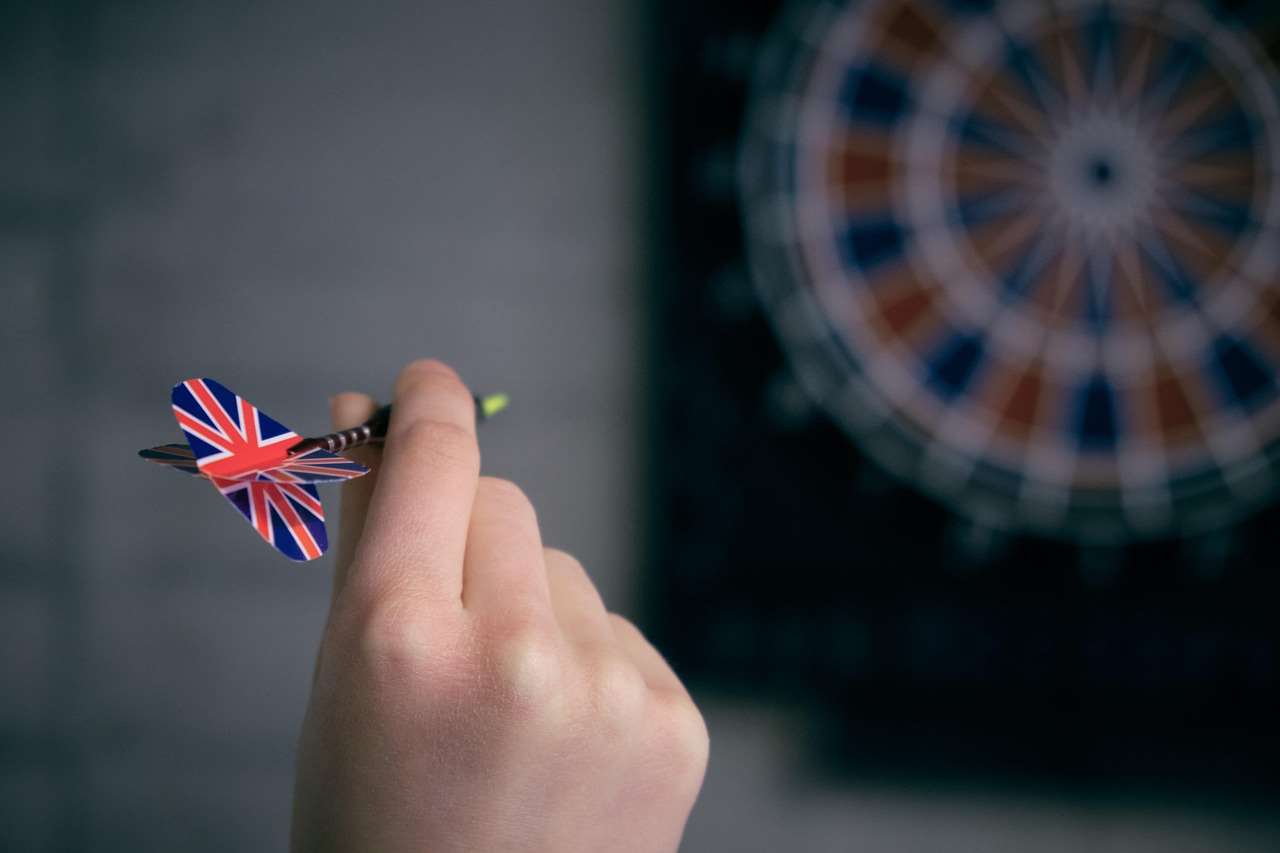
The grip you choose is as much about personal preference as it is about your throwing style. Common styles include the front grip (holding the dart near the front of the barrel), the middle grip (holding it closer to the center), and the rear grip (closer to the flight). Your DIY dart grip should reflect your preferred method.
For example, a front grip might benefit from a more textured, grippy material, to ensure stability during the release phase of the throw. A rear grip, on the other hand, might necessitate a smoother material to improve finger control and prevent unnecessary drag. Always consider how your chosen grip material influences the feel and control of your dart. Experiment with different materials to see which provides the best performance for your chosen style.
Troubleshooting Common DIY Dart Grip Issues
Even with careful application, some issues can arise. Here are some common problems and how to address them:
- Uneven Grip: If your grip feels uneven, it’s likely due to improper application. Carefully peel back the grip and reapply, ensuring even pressure and avoiding bubbles.
- Too Much Grip: If the grip is too strong, it can restrict your throwing motion. Try using a thinner material or trimming the grip slightly.
- Not Enough Grip: If your grip isn’t providing sufficient hold, consider using a higher-friction material or applying a thin layer of grip enhancer.
- Poor Adhesion: If the grip material isn’t adhering properly, make sure the dart is completely clean and dry. You may also need a stronger adhesive depending on the surface of the dart.
Remember, creating a perfect DIY dart grip might take some practice. Don’t get discouraged if your first attempt isn’t perfect. Each attempt is an opportunity to learn and refine your process. Consider joining a darts community for tips and advice.
Maintaining Your DIY Dart Grip
Once you’ve created your perfect DIY dart grip, maintaining it is essential for continued optimal performance. Regular cleaning will help to preserve its grip and prolong its lifespan. How often you need to clean your grip depends on your hand sweat, usage frequency, and environmental factors. But general cleaning will prevent build-up of dirt and sweat.
For grip tape, you can use a damp cloth and mild soap. For heat-shrink tubing, a gentle wipe is usually sufficient. Avoid harsh chemicals that could damage the grip material or the dart barrel itself. Regular maintenance, along with proper storage, helps protect your investment and ensures your darts maintain peak performance for longer. Learn how to choose dart points that minimize board damage
Advanced Techniques and Customization
Once you’ve mastered the basics of a DIY dart grip, you can explore more advanced customization options. Consider using different materials for different parts of the grip to fine-tune your comfort and control. You could, for instance, use a rougher material near the rear for better grip and smoother material towards the front for better release.
Alternatively, you can experiment with different thicknesses to create a personalized feel that suits your hand size and preferences. You can also add personalized touches to your grip, such as adding a small emblem or logo. This adds a unique element of style while further enhancing the personalized feel of your darts. Remember that even small modifications can drastically improve or negatively impact your throw. This emphasizes the importance of testing and continuous refinement.
Beyond the Grip: Enhancing Your Dart Game
While a well-crafted DIY dart grip is essential, it’s only one piece of the puzzle. Your overall performance also depends on other factors, such as your throwing technique, the quality of your darts, and your dartboard setup. For example, proper lighting can significantly improve your accuracy. Explore dartboard lighting options for clubs or consider custom dartboard lighting options for a personalized setup at home. Regular maintenance is crucial for keeping all your equipment in top condition.
Consider factors like weight distribution and point style as well. Learn more about the impact of dart point length and weight distribution. Experiment to find what works best for you. And don’t forget to practice consistently to hone your skills and achieve your darting goals. Explore our guide on creating custom dart flights for even more personalization.
Conclusion: Embrace the DIY Dart Grip Advantage
Creating your own DIY dart grip is a rewarding process that can significantly elevate your dart game. By carefully selecting materials and following the steps outlined above, you can create a personalized grip that enhances comfort, control, and consistency. Remember to experiment with different materials, techniques, and grip styles to find what works best for you. Don’t hesitate to iterate, refine your methods, and improve your grip over time.
This process not only provides a superior level of control and comfort but also instills a unique sense of ownership and pride in your equipment. It’s a testament to your dedication to the game and a significant step towards refining your skills. So grab your materials, follow these guidelines, and start creating your own perfect DIY dart grip today! Check out custom dart flight options if you’re based in Africa. Happy throwing!
Hi, I’m Dieter, and I created Dartcounter (Dartcounterapp.com). My motivation wasn’t being a darts expert – quite the opposite! When I first started playing, I loved the game but found keeping accurate scores and tracking stats difficult and distracting.
I figured I couldn’t be the only one struggling with this. So, I decided to build a solution: an easy-to-use application that everyone, no matter their experience level, could use to manage scoring effortlessly.
My goal for Dartcounter was simple: let the app handle the numbers – the scoring, the averages, the stats, even checkout suggestions – so players could focus purely on their throw and enjoying the game. It began as a way to solve my own beginner’s problem, and I’m thrilled it has grown into a helpful tool for the wider darts community.