To properly enjoy a game of darts, getting the dartboard setup distance correct is crucial; the official distance from the oche (throwing line) to the face of the dartboard is 7 feet 9 1/4 inches (2.37 meters). This article covers everything you need to know about achieving the perfect setup, including the correct height, measuring techniques, and tips for ensuring consistency.
⚠️ Still Using Pen & Paper (or a Chalkboard)?! ⚠️
Step into the future! The Dart Counter App handles all the scoring, suggests checkouts, and tracks your stats automatically. It's easier than you think!
Try the Smart Dart Counter App FREE!Ready for an upgrade? Click above!
Understanding the Official Dartboard Setup Distance
The official regulations set by organizations like the World Darts Federation (WDF) and the Professional Darts Corporation (PDC) stipulate precise measurements for a reason: fairness and standardization. Adhering to the correct dartboard setup distance ensures that all players, whether amateur or professional, are competing under the same conditions. Deviating from these measurements, even slightly, can affect your throw and impact your accuracy.
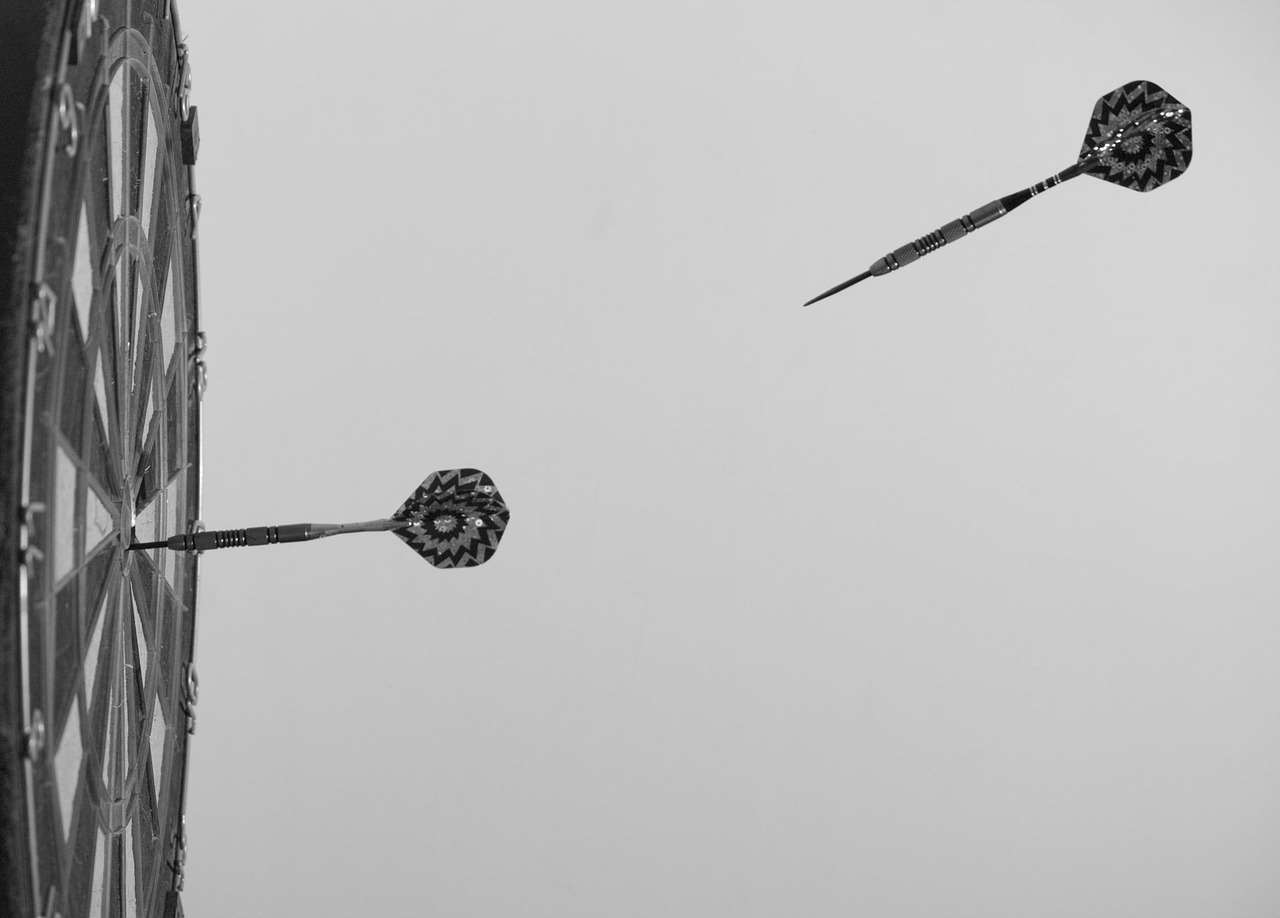
Why is the Correct Distance Important?
- Consistency: A standardized distance allows you to develop a consistent throwing motion.
- Fairness: Ensures a level playing field for all players.
- Skill Development: Proper technique and accuracy can be developed only with a consistent setup.
- Avoiding Injury: Using an incorrect distance can strain your arm and lead to injuries over time.
Ignoring the official dartboard setup distance means you are not playing the game as it’s intended and might be developing habits that won’t translate well to playing in standard conditions. It’s about respecting the game and striving for improvement within its established rules.
Measuring the Dartboard Setup Distance Accurately
Accurate measurement is paramount. It’s not enough to simply guess; you need to employ the correct tools and methods. Here’s a step-by-step guide to help you get it right:
Tools You’ll Need
- Tape Measure: A metal tape measure is preferable for accuracy.
- Level: Essential for ensuring the dartboard is perfectly vertical.
- Pencil or Marker: For marking the height and distance.
- Plumb Bob (Optional): Can help with precise vertical alignment, especially if you’re working with uneven surfaces.
Step-by-Step Measurement Guide
- Mount the Dartboard: Before measuring the distance, ensure the dartboard is properly mounted. The center of the bullseye should be 5 feet 8 inches (1.73 meters) from the floor.
- Establish the Oche (Throwing Line): Decide where you want your throwing line to be. This is where you’ll stand when throwing your darts.
- Measure Horizontally: Place one end of the tape measure against the face of the dartboard, directly in the center. Extend the tape measure horizontally to the throwing line.
- Mark the Distance: Ensure the distance from the face of the board to the throwing line is 7 feet 9 1/4 inches (2.37 meters). Mark this spot clearly.
- Double-Check: Always double-check your measurements to avoid errors.
Remember to measure from the face of the dartboard, not the wall behind it. This is a common mistake that can throw off your entire game. Investing in a laser measure can also improve accuracy and speed up the process. If you are playing 301 darts bullseye points, then consistency is key.
Dartboard Height: An Equally Important Factor
While the dartboard setup distance is crucial, the height of the dartboard is equally vital. The official height, as mentioned above, is 5 feet 8 inches (1.73 meters) from the floor to the center of the bullseye. Ignoring this measurement can lead to inconsistent throws and affect your overall performance.
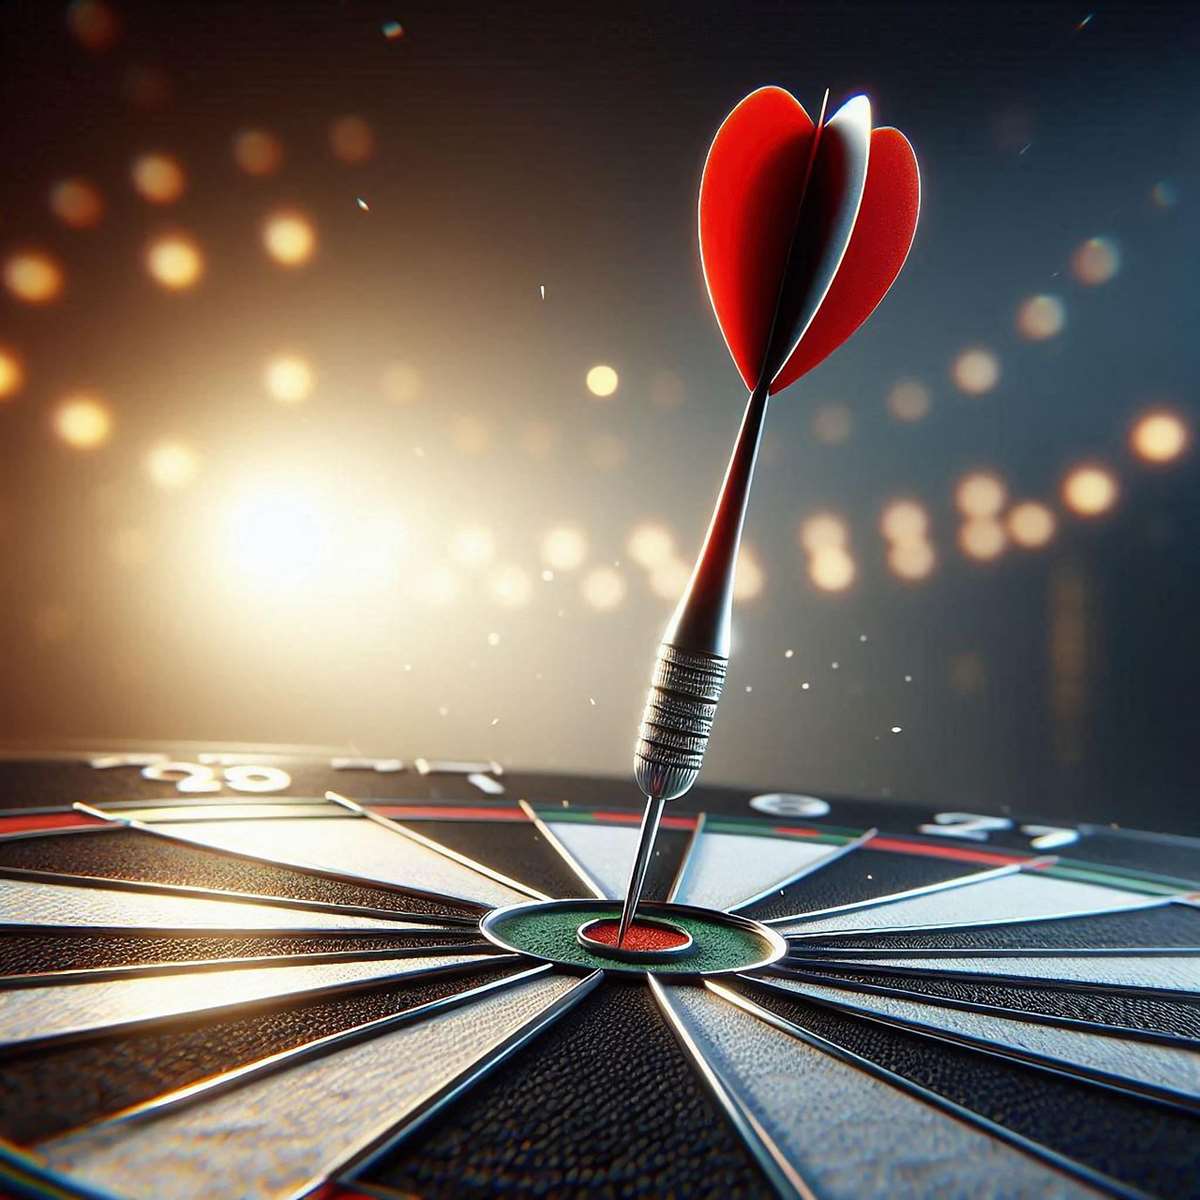
Ensuring Correct Dartboard Height
Use a level to make sure the dartboard is perfectly vertical after mounting it at the correct height. A tilted dartboard can significantly impact the trajectory of your darts.
- Use a Level: Check both the horizontal and vertical alignment of the dartboard.
- Secure Mounting: Ensure the dartboard is securely mounted to prevent movement during play.
- Regular Checks: Periodically check the height and alignment, especially if the board is frequently used.
Correct dartboard height and distance are interrelated. If one is off, it will affect your perception and throw, so dedicating the time to measure correctly is a great habit.
Dealing with Uneven Surfaces
Not all playing environments are perfect. You may encounter uneven floors or walls, which can complicate the dartboard setup distance and height measurements. Here’s how to address these challenges:
Adjusting for Uneven Floors
If the floor is uneven, use a level to find the highest point near the throwing line. Measure the 7 feet 9 1/4 inches (2.37 meters) from the dartboard to this highest point. This ensures that your throwing distance is consistent relative to the dartboard, even if the floor slopes away from you.
Compensating for Uneven Walls
If the wall is not perfectly vertical, a plumb bob can be your best friend. Hang the plumb bob from the wall directly above the center of where you intend to mount the dartboard. Adjust the dartboard’s position until it aligns perfectly with the plumb bob line. This ensures that the dartboard is vertical, regardless of the wall’s angle. Many people use a Darts scorekeeper app these days.
These adjustments ensure that your setup is as close to the official specifications as possible, even when dealing with less-than-ideal conditions. The goal is to minimize any external factors that could affect your throw.
Common Mistakes to Avoid in Dartboard Setup
Even with careful measurements, it’s easy to make mistakes during the setup process. Being aware of these common pitfalls can help you avoid them:
- Measuring from the Wall, Not the Dartboard Face: As mentioned earlier, always measure from the face of the dartboard to the throwing line.
- Ignoring the Height of the Bullseye: Ensure the bullseye is exactly 5 feet 8 inches (1.73 meters) from the floor.
- Not Using a Level: A level is essential for ensuring the dartboard is vertical and that the throwing line is horizontal.
- Insecure Mounting: Make sure the dartboard is securely mounted to prevent wobbling or movement.
- Neglecting Lighting: Proper lighting is crucial for visibility and accuracy.
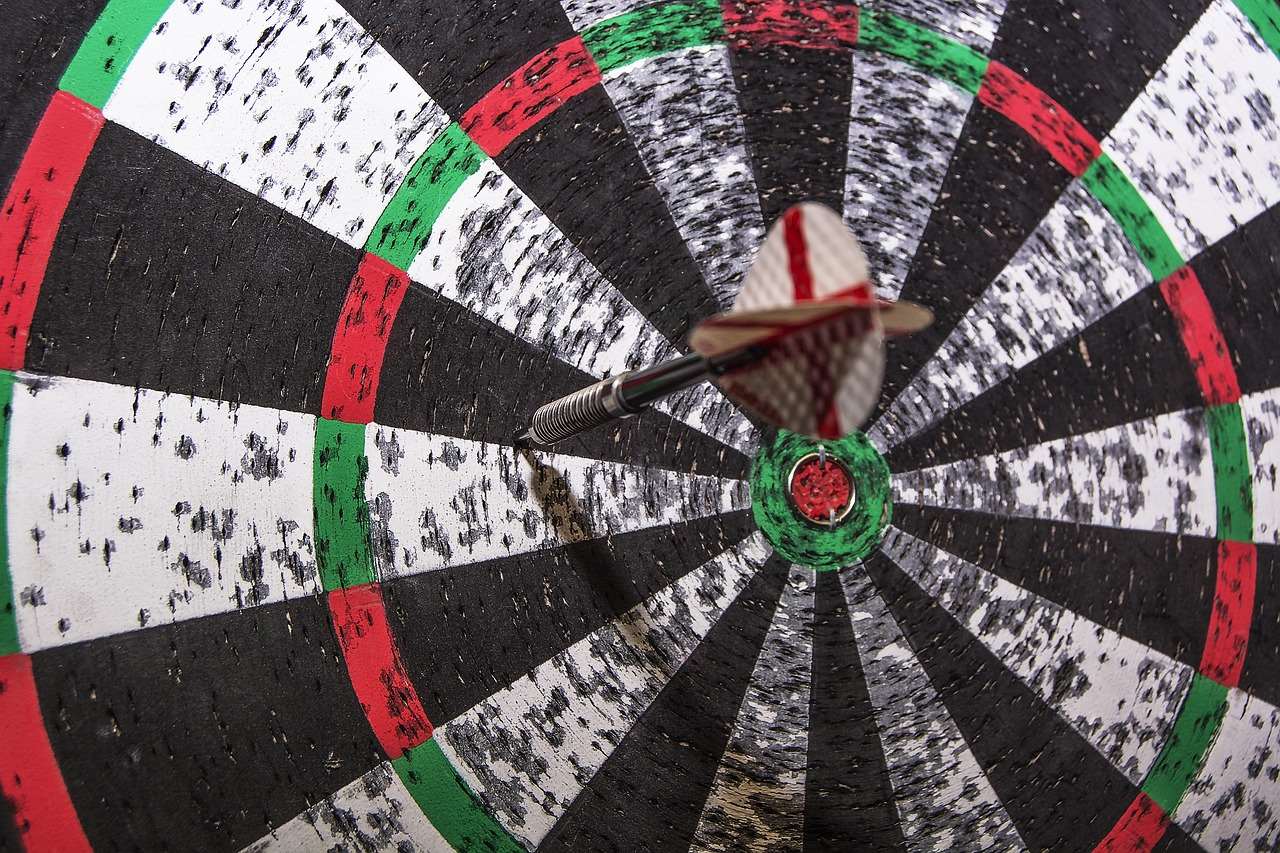
By avoiding these mistakes, you can create a consistent and fair playing environment. A well-set-up dartboard is the foundation for improving your game.
The Impact of Lighting on Your Game
Lighting plays a significant role in your ability to accurately aim and throw darts. Shadows can obscure the board, making it difficult to see the target. Here’s how to optimize your lighting setup:
Ideal Lighting Conditions
- Shadow-Free Illumination: The ideal lighting setup provides consistent, shadow-free illumination across the entire dartboard.
- Dedicated Dartboard Lights: Specialized dartboard lights are designed to provide optimal lighting conditions.
- Positioning: Position the lights above and slightly in front of the dartboard to eliminate shadows cast by the darts.
- Brightness: Ensure the lighting is bright enough to clearly see the board without causing glare.
Good lighting can significantly improve your accuracy and reduce eye strain. It’s an investment that’s well worth making if you’re serious about improving your game. A poorly lit board may cause dart flight with shaft issues with visibility.
Creating a Dedicated Darts Space
If you’re serious about darts, creating a dedicated space can enhance your experience and help you improve your game. Here are some considerations for setting up your own darts area:
Choosing the Right Location
- Space: Ensure you have enough space to stand comfortably at the throwing line without obstructions.
- Backboard: Install a backboard behind the dartboard to protect the wall from stray darts.
- Lighting: As discussed above, good lighting is essential.
- Flooring: Consider using a mat or rug to protect the floor and provide a comfortable standing surface.
- Scoring System: Integrate a physical or digital scoring system.
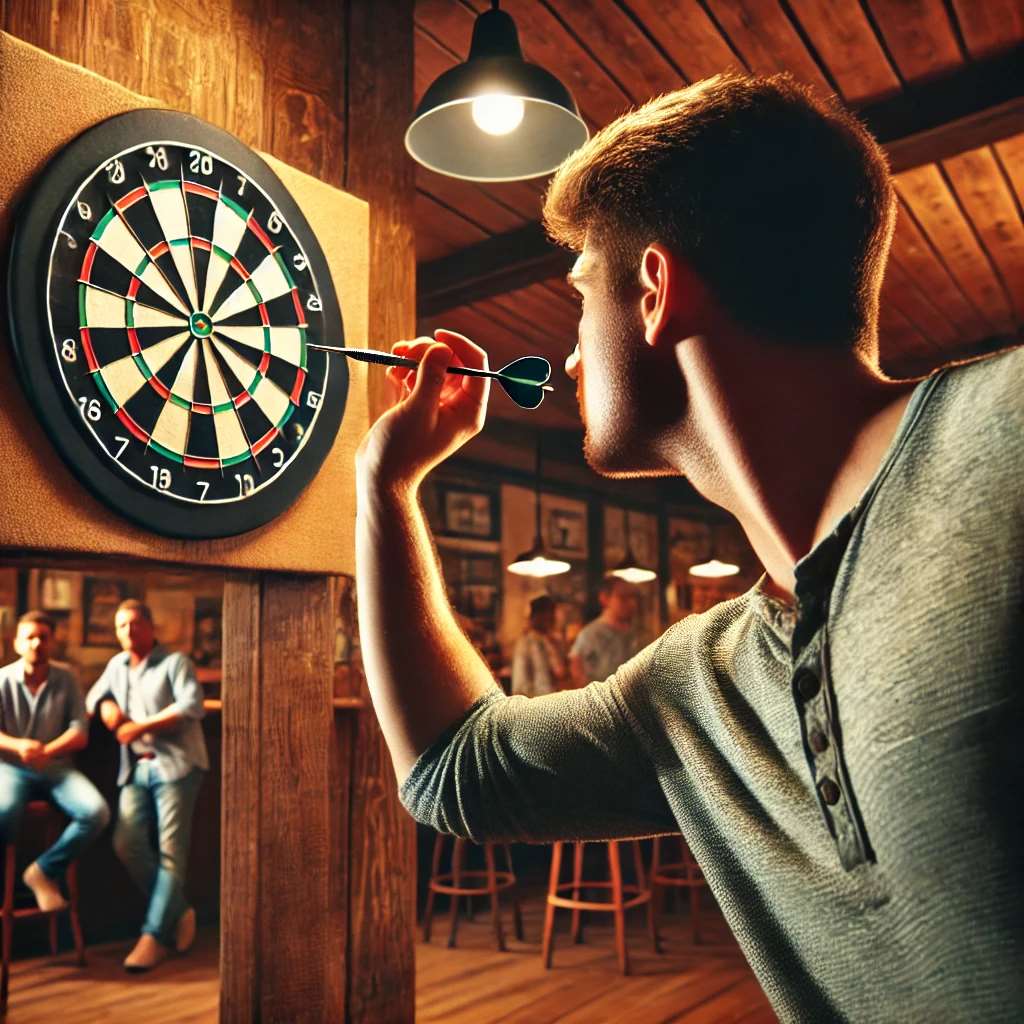
A dedicated darts space not only enhances your practice sessions but also creates a more enjoyable and immersive gaming experience. It’s a space where you can focus on improving your skills and enjoying the game to its fullest. If you ever have a dart frog show up, you know you’ve taken your dedication too far!
Advanced Tips for Optimizing Your Dartboard Setup
Once you’ve mastered the basics, there are a few advanced tips you can use to further optimize your dartboard setup:
Fine-Tuning Your Throwing Line
Experiment with slight adjustments to your throwing line position. Some players prefer to stand slightly to the left or right of the center line. Find the position that feels most comfortable and natural for your throwing style. Consider the steel tip dart length and your personal throwing habits.
Dartboard Rotation
Regularly rotate your dartboard to distribute wear and tear evenly. This will help prolong the life of your dartboard and maintain consistent scoring surfaces. Ensure the dartboard setup distance remains accurate after rotation.
Calibration
Periodically check the calibration of your dartboard by throwing a series of darts at specific targets. If you consistently miss in the same direction, it may indicate that the board is slightly tilted or misaligned. If you are a fan of treble 1 darts, calibration is key.
These advanced tips can help you fine-tune your setup and maximize your performance. It’s all about finding what works best for you and consistently applying it.
Maintaining Your Dartboard for Longevity
Proper maintenance will extend the life of your dartboard and ensure consistent performance. Here are some essential maintenance tips:
- Regular Rotation: As mentioned earlier, rotate the board regularly.
- Remove Darts Properly: Avoid twisting or bending darts when removing them from the board. Use a dart puller if necessary.
- Clean the Board: Periodically clean the board with a soft brush to remove dust and debris.
- Avoid Moisture: Keep the dartboard dry and away from excessive humidity.
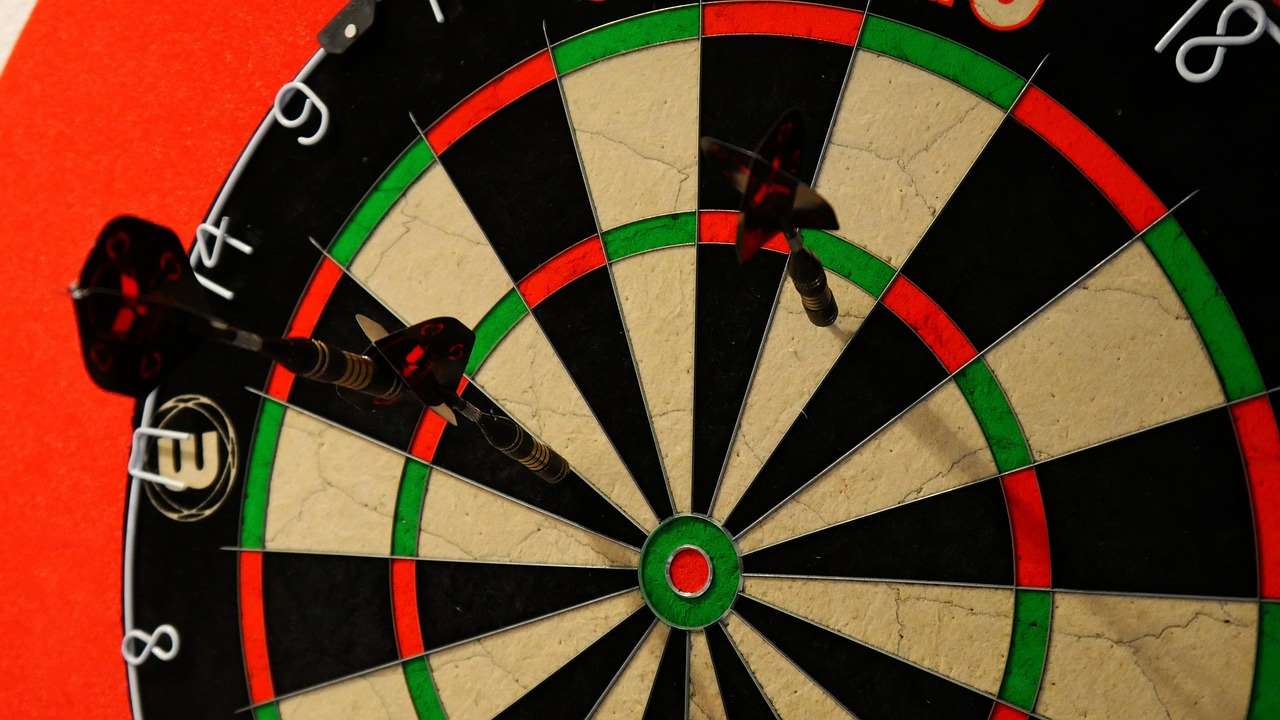
By following these maintenance tips, you can keep your dartboard in top condition for years to come. Remember, a well-maintained dartboard is a reliable and accurate one.
Conclusion: Perfecting Your Dartboard Setup Distance
Achieving the correct dartboard setup distance and height is essential for consistent and accurate dart throwing. By following the steps outlined in this article, you can ensure that your dartboard setup meets official regulations and provides a fair and enjoyable playing experience. Remember to use accurate measuring tools, adjust for uneven surfaces, and pay attention to lighting. With a properly set-up dartboard, you’ll be well on your way to improving your skills and enjoying the game to its fullest. Now, grab your darts and start practicing!
Hi, I’m Dieter, and I created Dartcounter (Dartcounterapp.com). My motivation wasn’t being a darts expert – quite the opposite! When I first started playing, I loved the game but found keeping accurate scores and tracking stats difficult and distracting.
I figured I couldn’t be the only one struggling with this. So, I decided to build a solution: an easy-to-use application that everyone, no matter their experience level, could use to manage scoring effortlessly.
My goal for Dartcounter was simple: let the app handle the numbers – the scoring, the averages, the stats, even checkout suggestions – so players could focus purely on their throw and enjoying the game. It began as a way to solve my own beginner’s problem, and I’m thrilled it has grown into a helpful tool for the wider darts community.