Hanging a dartboard on drywall requires careful planning and execution to prevent damage and ensure stability; the key is proper anchoring. This article will guide you through the process, covering everything from choosing the right mounting hardware to protecting your walls.
⚠️ Still Using Pen & Paper (or a Chalkboard)?! ⚠️
Step into the future! The Dart Counter App handles all the scoring, suggests checkouts, and tracks your stats automatically. It's easier than you think!
Try the Smart Dart Counter App FREE!Ready for an upgrade? Click above!
Why Mounting Your Dartboard on Drywall Needs Extra Care
Simply screwing a dartboard into drywall is a recipe for disaster. The soft, crumbly nature of drywall doesn’t provide enough support, and the weight of the board, combined with the impact of thrown darts, will quickly cause the screws to loosen and the board to fall. This can damage both your dartboard and your wall, potentially leading to costly repairs. Understanding the limitations of drywall is the first step in ensuring a successful and secure installation. This means you need to consider appropriate mounting hardware. Proper wall protection should also be high on your list of priorities.
Choosing the Right Mounting Hardware for Your Dartboard
Selecting the correct hardware is crucial for a secure dartboard on drywall setup. Here’s a breakdown of your options:
- Drywall Anchors: These are designed to grip the drywall and provide a more secure hold. Look for heavy-duty anchors rated for at least 50 pounds, such as toggle bolts or Molly bolts. These expand behind the drywall, distributing the weight over a larger area.
- Stud Finder: Ideally, you want to mount your dartboard directly into a wall stud. A stud finder will help you locate these solid wooden beams behind the drywall. Mounting into a stud provides the strongest and most stable support. If you can hit even one stud, that will significantly enhance the stability.
- Mounting Plate: A mounting plate is a piece of wood (plywood or a similar material) that you attach to the wall. The dartboard is then attached to the plate. This distributes the weight and provides a larger surface area for the dartboard to be secured to. This is especially helpful if you can’t hit any studs.
- Screws: Use screws that are long enough to go through the dartboard bracket and at least an inch into the wall stud or anchor. Make sure the screw head is large enough to securely hold the bracket.
Consider using a combination of methods for maximum security. For example, you could use a mounting plate and attach it to the wall using drywall anchors. Before drilling, always double-check the depth to avoid hitting any plumbing or electrical wiring.
Drywall Anchor Types: A Closer Look
Different types of drywall anchors offer varying levels of support. Here’s a more detailed look:
- Plastic Anchors: These are the least reliable option for a dartboard. They are best suited for very light objects.
- Self-Drilling Anchors: These screw directly into the drywall, creating their own hole. They offer slightly better support than plastic anchors but are still not ideal for heavy items like a dartboard.
- Molly Bolts: These anchors expand behind the drywall as you tighten the screw, providing a much stronger hold. They are a good choice for medium-weight items.
- Toggle Bolts: These are the strongest type of drywall anchor. They consist of a bolt and a butterfly-shaped toggle that expands behind the drywall, distributing the weight over a large area. Toggle bolts are ideal for heavy items like a dartboard.
Always follow the manufacturer’s instructions when installing drywall anchors. Overtightening can damage the drywall and weaken the anchor. And remember, while Darts scorekeeper app can help you keep score, it can’t fix a badly mounted dartboard!
Step-by-Step Guide to Mounting a Dartboard on Drywall
Here’s a step-by-step guide to help you safely and securely mount your dartboard on drywall:
- Gather Your Materials: You’ll need a dartboard, mounting bracket (usually included with the dartboard), stud finder, drill, screwdriver, drywall anchors (toggle bolts recommended), level, measuring tape, pencil, and optionally, a mounting plate.
- Locate Wall Studs (Optional): Use a stud finder to locate any wall studs in the desired area. Mark the location of the studs with a pencil.
- Determine Dartboard Height: The official height for the center of the bullseye is 5 feet 8 inches (1.73 meters) from the floor. Mark this height on the wall.
- Attach Mounting Bracket to Dartboard: Attach the mounting bracket to the back of the dartboard according to the manufacturer’s instructions.
- Position Dartboard on Wall: Hold the dartboard against the wall at the marked height, ensuring the bullseye is at the correct height. Use a level to make sure the dartboard is straight.
- Mark Mounting Holes: Use a pencil to mark the location of the mounting holes on the wall.
- Install Drywall Anchors: If you’re not mounting into a stud, drill holes at the marked locations according to the drywall anchor manufacturer’s instructions. Insert the drywall anchors into the holes.
- Attach Dartboard to Wall: Align the mounting bracket with the drywall anchors and screw the dartboard into the wall. Tighten the screws until the dartboard is securely attached.
- Test Stability: Gently push and pull on the dartboard to ensure it is securely mounted. If it feels loose, tighten the screws or consider using larger drywall anchors.
Protecting Your Wall: Backboards and Surrounds
Even with a securely mounted dartboard on drywall, stray darts can still damage your wall. Consider using a backboard or surround to protect the surrounding area.
- Backboard: A backboard is a large piece of wood or cork that you mount behind the dartboard. It provides a large surface area to catch stray darts and protect the wall.
- Surround: A surround is a ring of soft material (usually foam or rubber) that fits around the dartboard. It provides a smaller area of protection but is less bulky than a backboard.
Choose a backboard or surround that complements your décor and provides adequate protection for your wall. You can even find decorative surrounds that enhance the look of your game room. This is important wall protection and will save you on repairs.
Addressing Common Problems with Dartboard Mounting
Even with careful planning, you might encounter some common problems when mounting a dartboard on drywall. Here are some solutions:
- Dartboard Wobbles: If the dartboard wobbles, tighten the screws or use larger drywall anchors. If the holes are stripped, try using a different location or filling the holes with wood filler and re-drilling.
- Darts Damage the Wall: Use a backboard or surround to protect the wall from stray darts. You can also use darts line o to prevent throws that are significantly off target.
- Dartboard Falls Down: This is usually caused by using inadequate mounting hardware or not properly installing the drywall anchors. Upgrade to toggle bolts and follow the manufacturer’s instructions carefully.
Regularly check the stability of your dartboard and tighten the screws as needed. Prevention is always better than repair.
Alternative Mounting Options When Drywall Fails
Sometimes, despite your best efforts, drywall simply isn’t a suitable surface for mounting a dartboard. If you’ve tried various methods and still can’t achieve a secure mount, consider these alternative options:
- Mounting on a Stud: As mentioned earlier, this is the most secure option. If possible, shift the location of your dartboard slightly to align with a wall stud.
- Using a Freestanding Dartboard Stand: A dartboard stand is a portable option that doesn’t require any wall mounting. This is ideal for renters or those who don’t want to damage their walls.
- Creating a Dedicated Dartboard Backing: Build a sturdy backing using plywood or a similar material and attach it to the wall using multiple studs. This provides a solid surface for mounting the dartboard.
Evaluate your options and choose the one that best suits your needs and skill level. Remember to prioritize safety and stability.
The Importance of Proper Lighting for Your Dartboard
While not directly related to mounting a dartboard on drywall, proper lighting is essential for an enjoyable and accurate game. Poor lighting can make it difficult to see the target and can lead to eye strain. Good lighting enhances the playing experience, and protects your vision. Consider consulting which dartboard light suits your playing environment.
- Dartboard Light: Invest in a dedicated dartboard light that illuminates the entire board evenly. This will eliminate shadows and make it easier to see the target.
- Overhead Lighting: Supplement the dartboard light with overhead lighting to brighten the entire room.
- Adjustable Lighting: Choose lighting that can be adjusted to suit your preferences and the time of day.
Proper lighting will not only improve your game but also make your dartboard area more inviting and enjoyable.
Dartboard Maintenance and Care
To ensure your dartboard lasts for years to come, it’s important to perform regular maintenance and care. Here are some tips:
- Rotate the Dartboard: Regularly rotate the dartboard to distribute wear and tear evenly. This will prevent certain areas from becoming overly worn.
- Remove Darts Properly: Remove darts by twisting them gently as you pull them out. This will prevent damage to the sisal fibers.
- Clean the Dartboard: Use a soft brush to clean the dartboard regularly. This will remove dust and debris that can accumulate over time.
- Avoid Moisture: Keep the dartboard away from moisture, as this can damage the sisal fibers.
Proper maintenance will extend the life of your dartboard and ensure that it remains in good condition for years to come. Remember to consult darts game explanation for the official rules of the game!
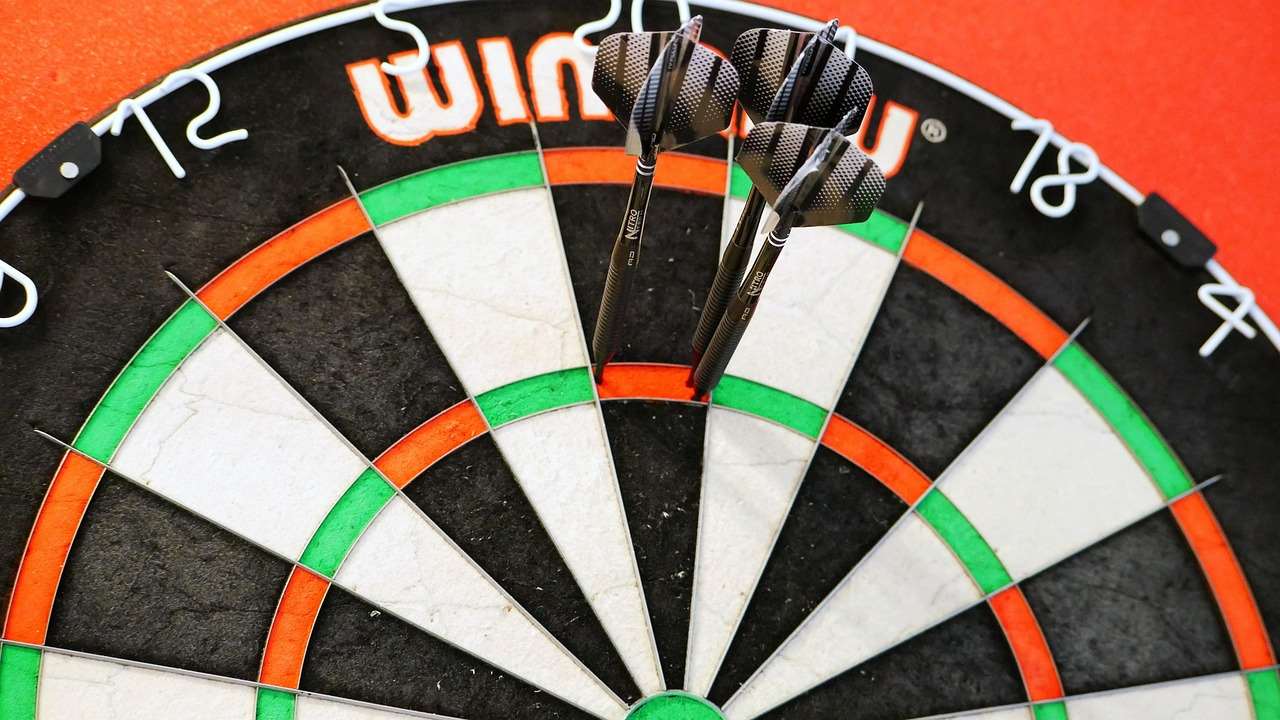
Is a Dartboard Backboard Necessary?
The necessity of a dartboard backboard depends on a few factors. If you’re confident in your throwing accuracy and have sturdy walls, you might be able to get away without one. However, if you’re a beginner, have plasterboard walls, or simply want to protect your walls from stray darts, a backboard is a wise investment. It’s far easier and cheaper to replace a damaged backboard than to repair damaged drywall. Think of it as insurance against accidents, and a chance to add some style to your game room. Plus, they come in various sizes and styles, so you can find one that fits your space and budget.
Choosing the Right Darts: A Brief Overview
While the focus of this article is mounting a dartboard on drywall, it’s worth briefly touching on the importance of choosing the right darts. Different darts are suited to different throwing styles and preferences. Consider factors such as weight, grip, and material when selecting your darts. Experiment with different types to find the ones that feel most comfortable and help you achieve the best accuracy. Just remember, even the best darts won’t compensate for a poorly mounted dartboard! And speaking of accuracy, understanding why dartboard numbers are arranged the way they are can give you a mental edge.
Conclusion
Mounting a dartboard on drywall can be a straightforward process if you take the time to plan carefully and use the right hardware. Remember to prioritize safety and stability by using appropriate drywall anchors or mounting into a stud. Protect your walls with a backboard or surround, and perform regular maintenance to ensure your dartboard lasts for years to come. By following these tips, you can create a safe and enjoyable dartboard setup in your home. Now that you have your board securely mounted, get practicing and improve your game. Consider visiting Darts scorekeeper app to enhance the experience!
Hi, I’m Dieter, and I created Dartcounter (Dartcounterapp.com). My motivation wasn’t being a darts expert – quite the opposite! When I first started playing, I loved the game but found keeping accurate scores and tracking stats difficult and distracting.
I figured I couldn’t be the only one struggling with this. So, I decided to build a solution: an easy-to-use application that everyone, no matter their experience level, could use to manage scoring effortlessly.
My goal for Dartcounter was simple: let the app handle the numbers – the scoring, the averages, the stats, even checkout suggestions – so players could focus purely on their throw and enjoying the game. It began as a way to solve my own beginner’s problem, and I’m thrilled it has grown into a helpful tool for the wider darts community.