Mounting a dartboard on a brick wall requires a bit more care than hanging it on drywall, but with the right tools and techniques, you can create a secure and professional setup. This article covers everything you need to know, from choosing the right fixings to protecting your wall and ensuring your dartboard is perfectly level for optimal gameplay.
⚠️ Still Using Pen & Paper (or a Chalkboard)?! ⚠️
Step into the future! The Dart Counter App handles all the scoring, suggests checkouts, and tracks your stats automatically. It's easier than you think!
Try the Smart Dart Counter App FREE!Ready for an upgrade? Click above!
Choosing the Right Fixings for Your Dartboard on Brick Wall
Before you even think about hammering anything, selecting the correct fixings is paramount when installing a dartboard on a brick wall. Brick is a strong but brittle material, and using the wrong type of anchor can lead to cracks, loose fixings, and a dartboard that isn’t securely mounted. Here’s what you need to consider:
- Rawl Plugs (Wall Plugs): These are plastic or nylon inserts that expand when a screw is driven into them, creating a tight grip within the brick. Choose a size appropriate for the weight of your dartboard.
- Screws: Use screws that are long enough to penetrate the wall plug and the dartboard mounting bracket. Ensure they are made of a durable material like steel or stainless steel to prevent corrosion.
- Masonry Drill Bit: A masonry drill bit is essential for drilling clean and accurate holes in brick. It’s made of hardened steel with a tungsten carbide tip to withstand the abrasive nature of brick.
For a standard dartboard, which typically weighs around 10-12 pounds, consider using wall plugs and screws rated for at least 20 pounds. This provides a safety margin and ensures your dartboard remains securely in place even with repeated use.
Preparing the Brick Wall Surface
Once you have your fixings, preparing the brick wall is crucial for a successful installation. A clean and even surface will ensure the dartboard sits flush against the wall and that the fixings have a secure grip.
- Cleaning: Use a brush or cloth to remove any dust, dirt, or debris from the brick surface. This will prevent the drill bit from slipping and ensure the wall plugs adhere properly.
- Marking: Use a pencil to mark the exact location where you want to drill the holes. Use a level to ensure the marks are aligned horizontally and vertically. Remember that the bullseye should be exactly 5 feet 8 inches (1.73 meters) from the floor.
- Pilot Hole (Optional): For very hard brick, consider drilling a small pilot hole with a smaller drill bit before using the full-size masonry bit. This can help guide the larger bit and prevent it from wandering.
Accuracy is key when marking the holes. Double-check your measurements and use a level to ensure the dartboard will be perfectly aligned. A slightly off-center dartboard can be frustrating and affect your game.
Drilling into Brick: A Step-by-Step Guide
Drilling into brick requires patience and precision. Rushing the process can lead to cracked bricks, uneven holes, and a poorly mounted dartboard. Here’s a step-by-step guide to help you do it right:
- Safety First: Wear safety glasses to protect your eyes from flying debris.
- Start Slow: Begin drilling at a slow speed to create a clean entry point. Apply firm and steady pressure to the drill.
- Increase Speed Gradually: Once the drill bit has established a good grip, you can gradually increase the speed. Avoid applying excessive pressure, as this can overheat the drill bit and damage the brick.
- Drill to the Correct Depth: Drill to the depth recommended by the wall plug manufacturer. You can use a piece of tape on the drill bit to mark the correct depth.
- Clear Debris: Periodically remove the drill bit and clean out any debris from the hole. This will prevent the bit from binding and ensure a clean, even hole.
If you encounter particularly hard brick, you may need to use a hammer drill. A hammer drill provides a percussive action that helps the drill bit penetrate the brick more easily. Remember to use the appropriate settings on your drill and to apply steady pressure.
Mounting the Dartboard Bracket
With the holes drilled, it’s time to mount the dartboard bracket. This is the component that will hold the dartboard securely against the brick wall.
- Insert Wall Plugs: Insert the wall plugs into the drilled holes. Make sure they are flush with the surface of the brick. You may need to use a hammer to gently tap them into place.
- Align the Bracket: Align the dartboard bracket with the holes in the wall plugs. Make sure the bracket is oriented correctly, with the mounting points facing outwards.
- Insert and Tighten Screws: Insert the screws through the bracket and into the wall plugs. Tighten the screws until the bracket is securely mounted to the brick wall. Avoid over-tightening, as this can strip the screws or damage the wall plugs.
Once the bracket is mounted, give it a firm tug to ensure it’s securely attached to the wall. If it feels loose, double-check the fixings and tighten the screws as needed.
Protecting Your Brick Wall from Darts
Even the most skilled dart players occasionally miss the dartboard. To protect your brick wall from stray darts, consider installing a surround or backboard. Here are some options:
- Dartboard Surround: A dartboard surround is a circular pad made of foam or rubber that surrounds the dartboard. It provides a soft surface for stray darts to land on, preventing them from damaging the wall.
- Backboard: A backboard is a larger panel of wood or other material that covers a larger area of the wall behind the dartboard. It provides even greater protection against stray darts and can also add a decorative touch to your game room.
- Corkboard: Corkboard is a relatively inexpensive and easy-to-install option for protecting your wall. It provides a soft and forgiving surface for stray darts.
Choosing the right protection depends on your budget, the size of your playing area, and your personal preferences. A dartboard surround is a good option for smaller spaces, while a backboard is better suited for larger rooms where you have more wall space to cover.
Leveling and Securing the Dartboard
With the bracket mounted and the wall protected, it’s time to hang the dartboard and ensure it’s perfectly level. A level dartboard is essential for fair and accurate gameplay.
- Hang the Dartboard: Carefully hang the dartboard on the mounted bracket. Make sure it’s securely seated and won’t easily fall off.
- Use a Level: Use a level to check the dartboard‘s horizontal and vertical alignment. Adjust the dartboard as needed until it’s perfectly level.
- Secure the Dartboard: Many dartboards come with a locking mechanism or screws to secure them to the bracket. Use these to prevent the dartboard from rotating or falling off the wall.
Take your time and ensure the dartboard is perfectly level before tightening the screws. A slightly off-level dartboard can affect your aim and lead to frustrating gameplay. Consider using a dart counter linux to keep track of your progress once your board is up.
Essential Dartboard Accessories
To complete your dartboard setup, consider investing in some essential accessories. These can enhance your gameplay experience and protect your equipment.
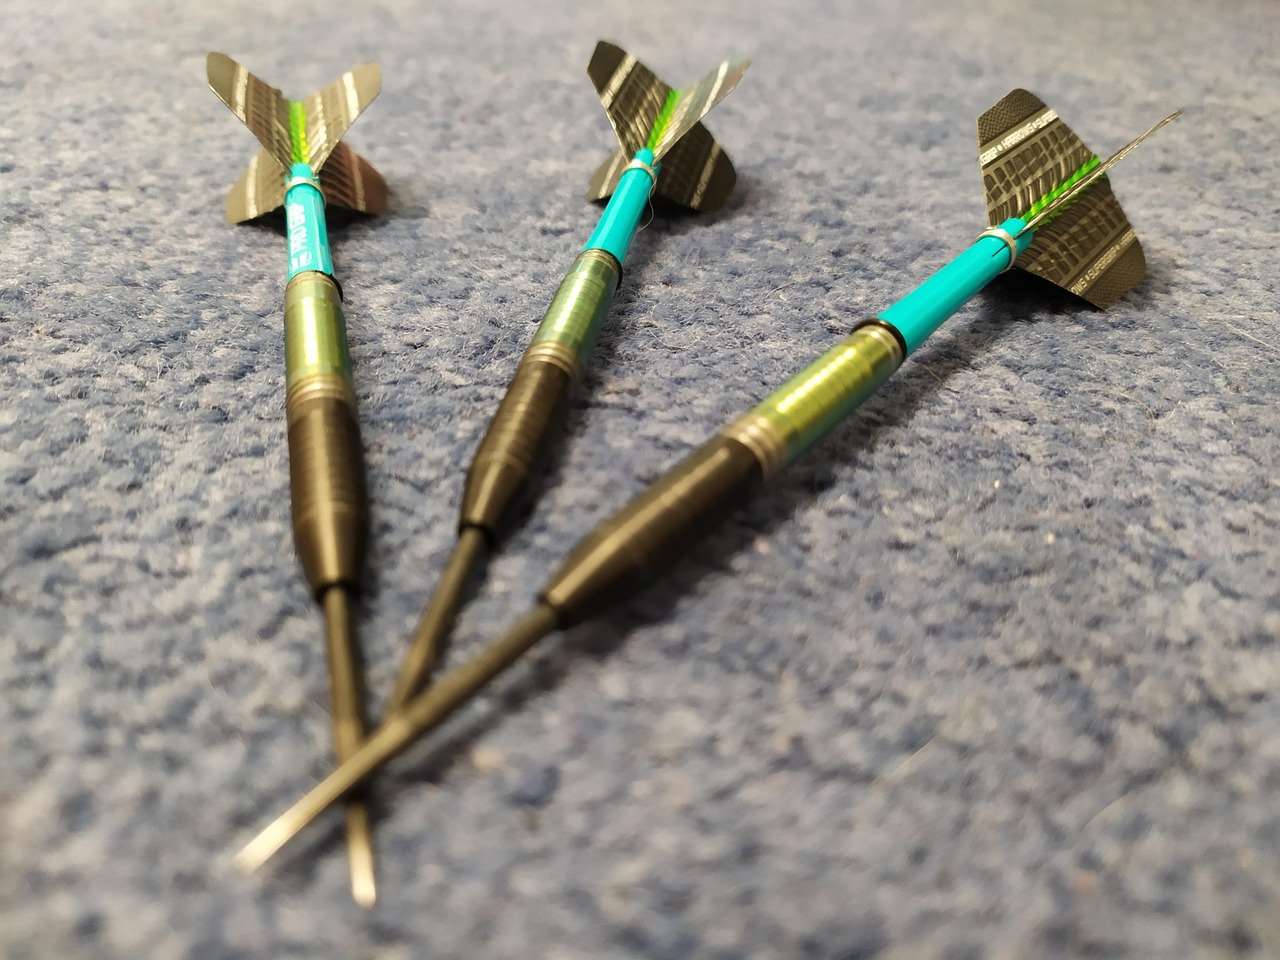
- Darts: A good set of darts is essential for accurate and consistent throws. Choose darts that are the right weight and balance for your throwing style.
- Dartboard Lighting: Proper lighting can improve visibility and reduce eye strain. Consider installing a dartboard light that illuminates the entire playing area.
- Oche (Throw Line): An oche, or throw line, marks the distance from which you must throw your darts. Ensure the oche is placed at the correct distance from the dartboard (7 feet 9 1/4 inches or 2.37 meters).
- Scoreboard: A scoreboard is essential for keeping track of your score. You can use a traditional chalkboard or a digital scoreboard. Many people opt to use a
to easily keep score and track your progress.
With the right accessories, you can create a professional and enjoyable dartboard setup in your home. Remember to choose accessories that are durable and well-suited to your playing style.
Alternative Mounting Options for Brick Walls
While drilling and using wall plugs is the most common method for mounting a dartboard on a brick wall, there are alternative options to consider, especially if you want to avoid drilling:
- Freestanding Dartboard Stands: These stands are self-supporting and don’t require any drilling. They are a good option if you want to move your dartboard around or if you’re renting and can’t make permanent changes to the wall.
- Adhesive Mounting Strips: Some heavy-duty adhesive mounting strips are designed for use on brick walls. However, it’s important to choose strips that are rated for the weight of your dartboard and to follow the manufacturer’s instructions carefully. There is no guarantee this approach will hold the weight of the dartboard and surround over the long term.
Freestanding dartboard stands offer flexibility and convenience, while adhesive mounting strips can be a good option for temporary installations. However, drilling and using wall plugs is generally the most secure and reliable method for mounting a dartboard on a brick wall. Learning how to score darts cricket can also enhance your game.
Dartboard Maintenance and Care
To keep your dartboard in good condition and prolong its lifespan, it’s important to perform regular maintenance. Here are some tips:
- Rotate the Dartboard: Regularly rotate the dartboard to distribute wear evenly. This will prevent certain sections of the board from becoming overly worn.
- Remove Darts Carefully: Remove darts with a twisting motion to avoid damaging the sisal fibers. Avoid pulling darts straight out, as this can cause the fibers to loosen.
- Clean the Dartboard: Use a soft brush to remove any dust or debris from the dartboard. Avoid using water or cleaning solutions, as these can damage the sisal fibers.
Proper maintenance will help keep your dartboard in good condition and ensure it provides years of enjoyment. Consider the darts flight and how it can impact your throws. Also, check out double top darts address for tips on improving your game.
Troubleshooting Common Issues
Even with careful planning and execution, you may encounter some issues when mounting a dartboard on a brick wall. Here are some common problems and how to fix them:
- Loose Fixings: If the fixings become loose over time, try using larger wall plugs or screws. You may also need to re-drill the holes and use new fixings.
- Cracked Bricks: If you accidentally crack a brick while drilling, you can repair it with a brick repair compound. Follow the manufacturer’s instructions carefully to ensure a strong and durable repair.
- Dartboard Not Level: If the dartboard is not level, double-check the bracket and adjust the dartboard as needed. You may need to use shims to level the bracket.
With a little troubleshooting, you can overcome any challenges and ensure your dartboard is securely and professionally mounted on your brick wall.
Ensuring Correct Dartboard Height and Distance
The official height and distance for a dartboard are crucial for fair play and consistent practice. Make sure to double-check these measurements:
- Dartboard Height: The center of the bullseye should be 5 feet 8 inches (1.73 meters) from the floor.
- Throwing Distance: The distance from the front of the dartboard to the oche (throw line) should be 7 feet 9 1/4 inches (2.37 meters).
Accurate measurements are essential for developing your dart-throwing skills and ensuring fair competition. Use a tape measure and a level to verify these measurements.
Conclusion
Mounting a dartboard on a brick wall requires careful planning and execution, but with the right tools and techniques, you can create a secure and professional setup. Remember to choose the right fixings, prepare the wall surface properly, drill carefully, and protect your wall from stray darts. By following these tips, you can enjoy countless hours of dart-playing fun in your home. So, gather your supplies, grab your darts, and get ready to experience the thrill of hitting that perfect bullseye! Now that you have the dartboard on brick wall mounted, consider downloading a
Hi, I’m Dieter, and I created Dartcounter (Dartcounterapp.com). My motivation wasn’t being a darts expert – quite the opposite! When I first started playing, I loved the game but found keeping accurate scores and tracking stats difficult and distracting.
I figured I couldn’t be the only one struggling with this. So, I decided to build a solution: an easy-to-use application that everyone, no matter their experience level, could use to manage scoring effortlessly.
My goal for Dartcounter was simple: let the app handle the numbers – the scoring, the averages, the stats, even checkout suggestions – so players could focus purely on their throw and enjoying the game. It began as a way to solve my own beginner’s problem, and I’m thrilled it has grown into a helpful tool for the wider darts community.