Setting up your dartboard at the correct height is crucial for consistent play and enjoyable games. This Dartboard mounting height guide provides the official measurements and expert tips to ensure your dartboard is perfectly positioned, allowing you to focus on your aim and technique. We’ll cover everything from official regulations to practical mounting advice for various situations.
⚠️ Still Using Pen & Paper (or a Chalkboard)?! ⚠️
Step into the future! The Dart Counter App handles all the scoring, suggests checkouts, and tracks your stats automatically. It's easier than you think!
Try the Smart Dart Counter App FREE!Ready for an upgrade? Click above!
Understanding the Official Dartboard Mounting Height
When it comes to setting up a dartboard, adhering to the official regulations is important, especially if you’re aiming for competitive play or simply want to ensure a fair game. These regulations, established by organizations like the World Darts Federation (WDF) and the Professional Darts Corporation (PDC), define the precise **dartboard mounting height** and throwing distance.
The Magic Numbers: Height and Distance
The two key measurements you need to know are:
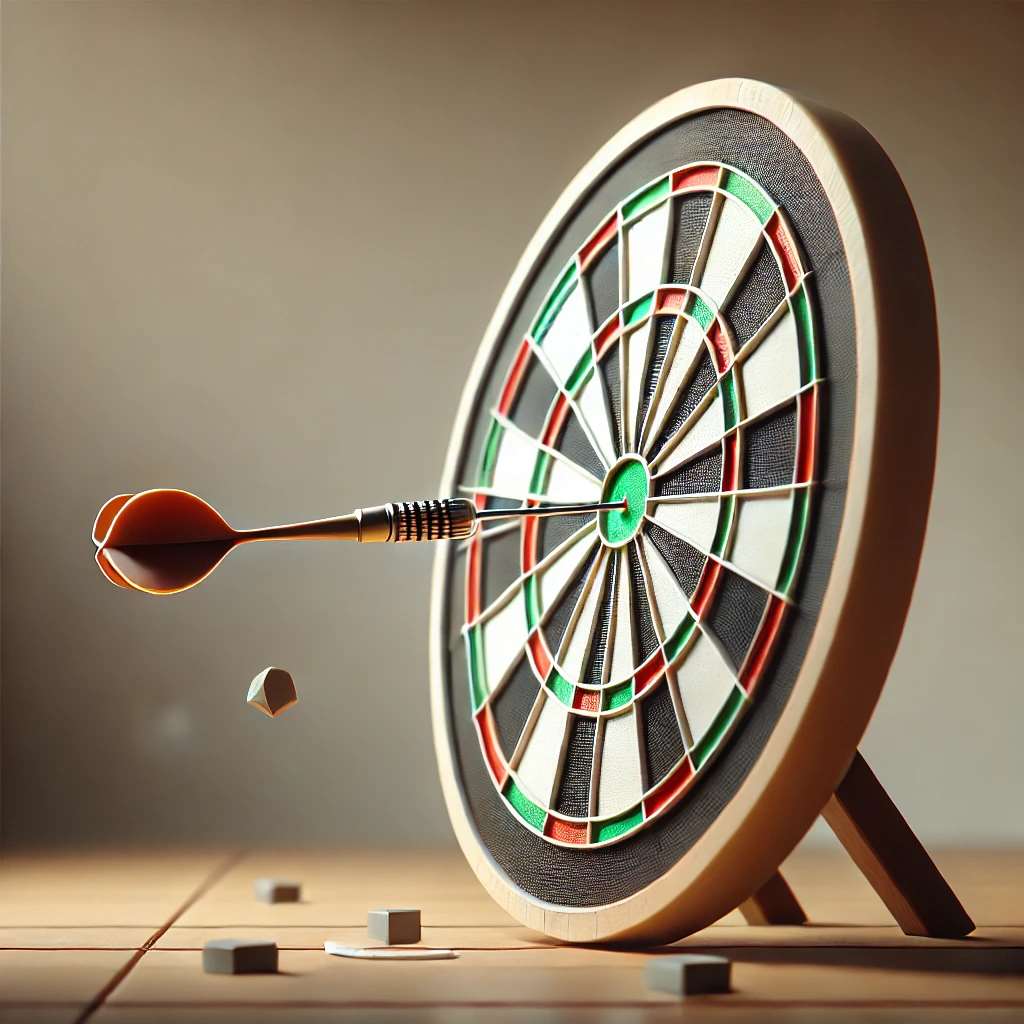
- Dartboard Height: The center of the bullseye should be exactly 5 feet 8 inches (1.73 meters) from the floor.
- Throwing Distance (Oche): The throwing line, known as the oche (pronounced “ockey”), should be 7 feet 9 1/4 inches (2.37 meters) from the face of the dartboard. Alternatively, measured diagonally from the bullseye to the oche, it should measure 9 feet 7 3/8 inches.
These measurements are designed to provide a standardized and consistent playing experience, regardless of the location. Failing to adhere to these distances will impact your accuracy. It’s worth reviewing Basic Darts Fundamentals for Beginners to understand how stance and throwing technique are influenced by proper setup.
Why These Measurements Matter
The standardized height and distance ensure fairness in competition and allow players to develop consistent techniques. Deviations can significantly impact a player’s aim and overall performance. Ignoring the official throwing distance will disrupt your muscle memory. Therefore, double-check these measurements during setup. Even a slight difference can affect your game.
Step-by-Step Guide to Mounting Your Dartboard
Now that you know the official measurements, let’s walk through the process of mounting your dartboard correctly. This dartboard mounting height guide will cover everything from choosing the right location to securing your board safely.
1. Choosing the Right Location
Before you start drilling any holes, consider the location of your dartboard. Here are a few factors to keep in mind:
- Wall Surface: Choose a solid wall that can support the weight of the dartboard and withstand repeated impacts. Drywall is generally acceptable if you use appropriate anchors, but a solid wood or concrete wall is preferable.
- Clearance: Ensure there’s ample space around the dartboard for players to move freely and safely. Account for the full throwing distance and any backswing motion.
- Lighting: Good lighting is essential for accurate aiming. Consider installing a dedicated dartboard light or ensuring adequate ambient light in the area.
- Protection: Darts can occasionally miss the board, so protect the surrounding wall with a dartboard surround. This is especially important if you have delicate wallpaper or painted surfaces.
2. Gathering Your Tools and Materials
You’ll need the following tools and materials for mounting your dartboard:
- Dartboard mounting bracket (usually included with the dartboard)
- Measuring tape
- Level
- Pencil
- Drill
- Screws and wall anchors (if needed)
- Stud finder (optional, but recommended for drywall)
Investing in a good quality stud finder can help you locate wall studs for more secure mounting. For more creative ideas, consider checking out creative dart rules for parties and social gatherings while planning your game room.
3. Marking the Mounting Point
Use a measuring tape to measure 5 feet 8 inches (1.73 meters) from the floor. Mark this point on the wall with a pencil. This is where the center of your dartboard (the bullseye) will be located.
Use the level to ensure your mark is perfectly vertical. This will prevent your dartboard from being mounted at an angle.
4. Installing the Mounting Bracket
Position the mounting bracket over the marked point. Use a pencil to mark the screw holes on the wall. If possible, align the bracket with a wall stud for maximum support. If you’re mounting on drywall and can’t find a stud, use appropriate wall anchors.
Drill pilot holes at the marked locations. Insert the wall anchors (if needed) and screw the mounting bracket securely to the wall.
5. Hanging the Dartboard
Most dartboards come with a rotating mechanism on the back. Align this mechanism with the mounting bracket on the wall and carefully hang the dartboard. Make sure it’s securely attached and doesn’t wobble.
6. Measuring the Throwing Distance (Oche)
Now, measure the throwing distance. Using your measuring tape, measure 7 feet 9 1/4 inches (2.37 meters) from the face of the dartboard. Mark this point on the floor. This is where the oche (throwing line) will be located.
You can use a piece of tape, a wooden board, or a commercially available oche to mark the throwing line. Ensure the oche is straight and secure.
Dealing with Common Mounting Challenges
Even with a detailed dartboard mounting height guide, you might encounter some challenges during the installation process. Here are some common issues and how to address them.
Mounting on Uneven Floors
If your floor is uneven, accurately measuring the dartboard height can be tricky. Use a level to ensure the measuring tape is vertical. Alternatively, you can use a laser level for greater precision.
Mounting on Concrete Walls
Mounting on concrete walls requires specialized drill bits and anchors. Use a masonry drill bit to drill pilot holes and concrete anchors to secure the mounting bracket.
Finding Wall Studs
Finding wall studs can be challenging, especially in older homes. A stud finder is a valuable tool for locating studs behind drywall. If you don’t have a stud finder, you can try knocking on the wall to listen for solid spots, or use a small nail to probe for studs.

Protecting the Wall
As mentioned earlier, protecting the wall around your dartboard is essential. A dartboard surround is a worthwhile investment. Alternatively, you can create a DIY surround using foam padding or corkboard.
Alternative Mounting Options
While wall mounting is the most common method, there are alternative options for setting up your dartboard. These options can be useful if you’re renting, have limited wall space, or want a more portable setup.
Dartboard Stands
Dartboard stands are a convenient and portable option. They typically consist of a tripod base and a mounting bracket for the dartboard. Dartboard stands are easy to set up and can be moved around as needed. Plus, stands eliminate the need for drilling into walls, which is ideal for renters. If you are new to the game, make sure you understand adapting darts rules for beginners before playing.
Cabinet Mounts
Cabinet mounts offer a more aesthetically pleasing solution. The dartboard is mounted inside a cabinet, which can be closed when not in use. Cabinet mounts often include storage space for darts and other accessories.
Portable Dartboard Sets
Portable dartboard sets are designed for easy transportation and setup. They typically include a dartboard, stand, and darts, all in a compact carrying case. These sets are ideal for taking your game on the road.
Optimizing Your Dartboard Setup for Different Skill Levels
While the official measurements are the standard, you might consider making slight adjustments to accommodate different skill levels, especially when playing with children or beginners. This dartboard mounting height guide can be adapted to suit various player needs.
Adjusting for Children
For younger children, you might lower the dartboard slightly and shorten the throwing distance. There’s no official rule for this, but you can experiment to find what works best for them. Consider reducing the bullseye height by 6-12 inches and the throwing distance proportionally. Be sure to adapt adapting dart game rules for children to make the game even more enjoyable.
Handicap Systems
For mixed-skill groups, consider using a handicap system to level the playing field. This could involve adjusting the starting score or giving less skilled players extra darts. For more strategies on fair play, investigate how to make darts fairer with handicap rules.
Improving Lighting
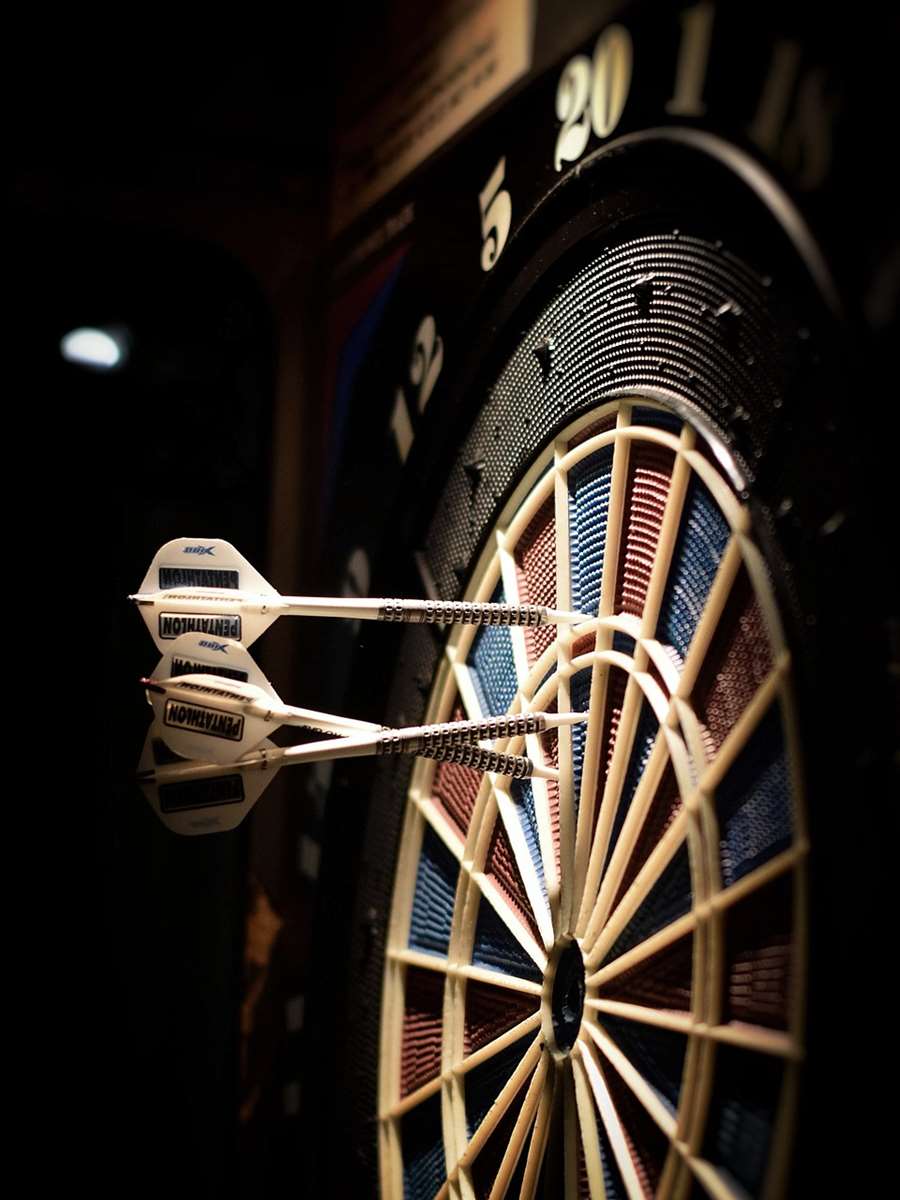
Proper lighting is crucial for players of all skill levels. Invest in a dedicated dartboard light or ensure adequate ambient light in the area. The goal is to eliminate shadows and provide clear visibility of the dartboard.
Maintaining Your Dartboard
Proper maintenance will extend the life of your dartboard and ensure consistent play. Here are a few tips:
- Rotate the Dartboard: Regularly rotate the dartboard to distribute wear evenly. Most dartboards have a rotating number ring that allows you to easily change the position of the segments.
- Keep the Board Dry: Moisture can damage the dartboard fibers. Keep the board dry and avoid playing in humid conditions.
- Remove Darts Correctly: Avoid twisting or yanking darts when removing them from the board. Use a dart removal tool to gently ease them out.
- Clean the Board: Periodically clean the dartboard with a soft brush to remove dust and debris.
Advanced Tips for Serious Players
For serious dart players, optimizing every aspect of your setup can give you a competitive edge. This dartboard mounting height guide has provided basics but now lets delve further.
Fine-Tuning the Oche
Experiment with the precise position of the oche to find what feels most comfortable and natural for your throwing style. Even a slight adjustment of a few millimeters can make a difference.
Lighting Optimization
Experiment with different lighting configurations to find the optimal setup for your vision. Some players prefer overhead lighting, while others prefer side lighting. Try different bulb types and angles to minimize glare and shadows. Remember that alternative darts rules for home play can sometimes involve adjustments to setup if space is limited.
Dartboard Surround Material
Consider the material of your dartboard surround. Some surrounds are made of soft materials that absorb darts more easily, while others are more durable but may cause darts to bounce out more frequently. Choose a surround that suits your throwing style and preferences.
Troubleshooting Common Dartboard Problems
Even with proper setup and maintenance, you might encounter some common dartboard problems. Here are some solutions:
Darts Bouncing Out
If darts are frequently bouncing out of the board, try the following:
- Sharpen your dart points.
- Use a higher-quality dartboard.
- Adjust your throwing technique.
Loose Segments
If segments on your dartboard are loose, gently tap them back into place with a hammer. You can also use a segment tightener to secure them.
Wobbly Dartboard
If your dartboard is wobbly, check the mounting bracket and screws. Make sure everything is securely tightened. You may also need to adjust the leveling mechanism on the back of the dartboard.
Conclusion
Proper dartboard mounting height guide setup is fundamental to enjoying a fair, consistent, and ultimately more rewarding darts experience. By following the official measurements for height and throwing distance, addressing common mounting challenges, and optimizing your setup for your skill level, you can create the perfect playing environment. Remember to maintain your dartboard regularly and troubleshoot any issues that arise. Now that you have the tools, start throwing with confidence! Ready to elevate your game? Browse our selection of high-quality dartboards and accessories today and take your darts experience to the next level!
Hi, I’m Dieter, and I created Dartcounter (Dartcounterapp.com). My motivation wasn’t being a darts expert – quite the opposite! When I first started playing, I loved the game but found keeping accurate scores and tracking stats difficult and distracting.
I figured I couldn’t be the only one struggling with this. So, I decided to build a solution: an easy-to-use application that everyone, no matter their experience level, could use to manage scoring effortlessly.
My goal for Dartcounter was simple: let the app handle the numbers – the scoring, the averages, the stats, even checkout suggestions – so players could focus purely on their throw and enjoying the game. It began as a way to solve my own beginner’s problem, and I’m thrilled it has grown into a helpful tool for the wider darts community.