Tired of squinting at your dartboard? A bright, evenly lit board is crucial for accurate throws, and a **dartboard light diy** solution is often the most affordable and customizable option. This article will guide you through creating your own efficient and stylish dartboard lighting system, exploring different designs, essential materials, and step-by-step instructions to elevate your game.
⚠️ Still Using Pen & Paper (or a Chalkboard)?! ⚠️
Step into the future! The Dart Counter App handles all the scoring, suggests checkouts, and tracks your stats automatically. It's easier than you think!
Try the Smart Dart Counter App FREE!Ready for an upgrade? Click above!
Why Build Your Own Dartboard Light?
While commercially available dartboard lights exist, crafting a **dartboard light diy** project offers several advantages:
- Cost Savings: DIY solutions are often significantly cheaper than buying pre-made lighting systems.
- Customization: You can tailor the design and brightness to perfectly suit your dartboard setup and preferences.
- Personal Satisfaction: There’s a unique sense of accomplishment that comes with building something yourself.
- Upcycling Opportunities: You can repurpose old materials and give them a new lease on life.
Essential Materials for Your Dartboard Light DIY Project
Before you start, gather these essential materials:
- Lighting Source: LED strip lights are a popular choice due to their energy efficiency, brightness, and flexibility. Consider different color temperatures for optimal visibility. Look for LEDs with a CRI (Color Rendering Index) above 80 for accurate color representation. You can explore wired dart board light options, but LEDs offer superior energy savings.
- Power Supply: A compatible power supply for your chosen LED strip lights is crucial. Ensure it provides the correct voltage and amperage.
- Mounting Hardware: This includes screws, brackets, or adhesive strips to attach the light fixture to the wall or ceiling.
- Wiring and Connectors: Depending on your design, you might need wiring, connectors, and a soldering iron to connect the LED strips to the power supply.
- Diffuser (Optional): A diffuser can help to soften the light and reduce glare, creating a more comfortable playing experience. This can be a piece of frosted acrylic or a similar translucent material.
- Wood or Metal (for the Frame): Choose a material that complements your dartboard cabinet or the overall aesthetic of your game room. Consider the weight and durability of the chosen material.
- Tools: You’ll likely need a drill, screwdriver, measuring tape, wire stripper, and soldering iron (if soldering is required).
Dartboard Light DIY: Design Ideas and Inspiration
There are numerous design possibilities for your **dartboard light diy** project. Here are a few ideas to get you started:
Circular Ring Light
A classic design involves creating a circular ring of light that surrounds the dartboard. This provides even illumination across the entire target area.
Overhead Bar Light
An overhead bar light is a simple and effective option. It consists of a straight bar with LED strip lights mounted underneath, positioned above the dartboard.
Horseshoe Light
Similar to the circular ring light, a horseshoe-shaped light provides excellent illumination while leaving the bottom of the board unobstructed.
Recessed Lighting
If you have a dartboard cabinet, you can integrate recessed lighting into the top of the cabinet for a clean and seamless look. This dartboard outdoor setup will also offer great aesthetics.
Step-by-Step Guide: Building a Simple Overhead Bar Dartboard Light
Let’s walk through the process of building a simple overhead bar light:
- Measure and Cut: Measure the width of your dartboard and cut a piece of wood or metal slightly wider than the board. This will be the base of your light fixture.
- Prepare the LED Strips: Cut the LED strip lights to the desired length and attach them to the underside of the wood or metal bar using adhesive backing or clips.
- Wire the LED Strips: Connect the LED strips to the power supply using wiring and connectors. If necessary, solder the connections for a secure and reliable connection.
- Mount the Light Fixture: Attach mounting brackets to the top of the light fixture and use screws to secure it to the wall or ceiling above the dartboard.
- Test and Adjust: Plug in the power supply and test the light. Adjust the position of the light fixture until you achieve optimal illumination of the dartboard.
Remember to prioritize safety when working with electricity. If you’re not comfortable with electrical wiring, consult a qualified electrician.
Choosing the Right LED Strip Lights
Selecting the right LED strip lights is crucial for achieving the desired lighting effect. Consider these factors:
- Brightness: Choose LED strips with sufficient brightness to adequately illuminate the dartboard. Look for LEDs with a high lumen output.
- Color Temperature: Opt for a color temperature that provides comfortable and natural-looking illumination. Warm white (2700-3000K) is a popular choice for creating a cozy atmosphere, while cool white (4000-4500K) offers a brighter and more modern feel.
- Water Resistance: If your dartboard is located in a humid environment, consider using waterproof LED strip lights.
- Voltage: Ensure that the LED strip lights are compatible with your power supply (typically 12V or 24V).
You can find high-quality LED strip lights at most hardware stores or online retailers. Don’t be afraid to experiment with different types to find the perfect fit for your **dartboard light diy** project.
Adding a Diffuser for Glare Reduction
Glare can be a major issue when playing darts, especially if the light source is too bright or direct. A diffuser can help to soften the light and reduce glare, creating a more comfortable and enjoyable playing experience.
There are several ways to add a diffuser to your dartboard light:
- Frosted Acrylic: A sheet of frosted acrylic can be placed in front of the LED strip lights to diffuse the light.
- Diffuser Film: A diffuser film can be applied directly to the LED strip lights.
- Fabric: A thin, translucent fabric can be stretched over the LED strip lights to diffuse the light.
Experiment with different materials and techniques to find the diffuser that works best for your setup. Also consider using a professional dart board for the best experience.
Power Supply Considerations
Choosing the right power supply is essential for ensuring the safe and reliable operation of your dartboard light. Consider these factors:
- Voltage: The power supply must provide the correct voltage for your LED strip lights (typically 12V or 24V).
- Amperage: The power supply must have sufficient amperage to power all of the LED strip lights. Calculate the total amperage required by adding up the amperage draw of each LED strip.
- Safety Features: Look for a power supply with built-in safety features such as over-voltage protection, over-current protection, and short-circuit protection.
- Certification: Ensure that the power supply is certified by a reputable testing organization.
Tips for Achieving Optimal Dartboard Illumination
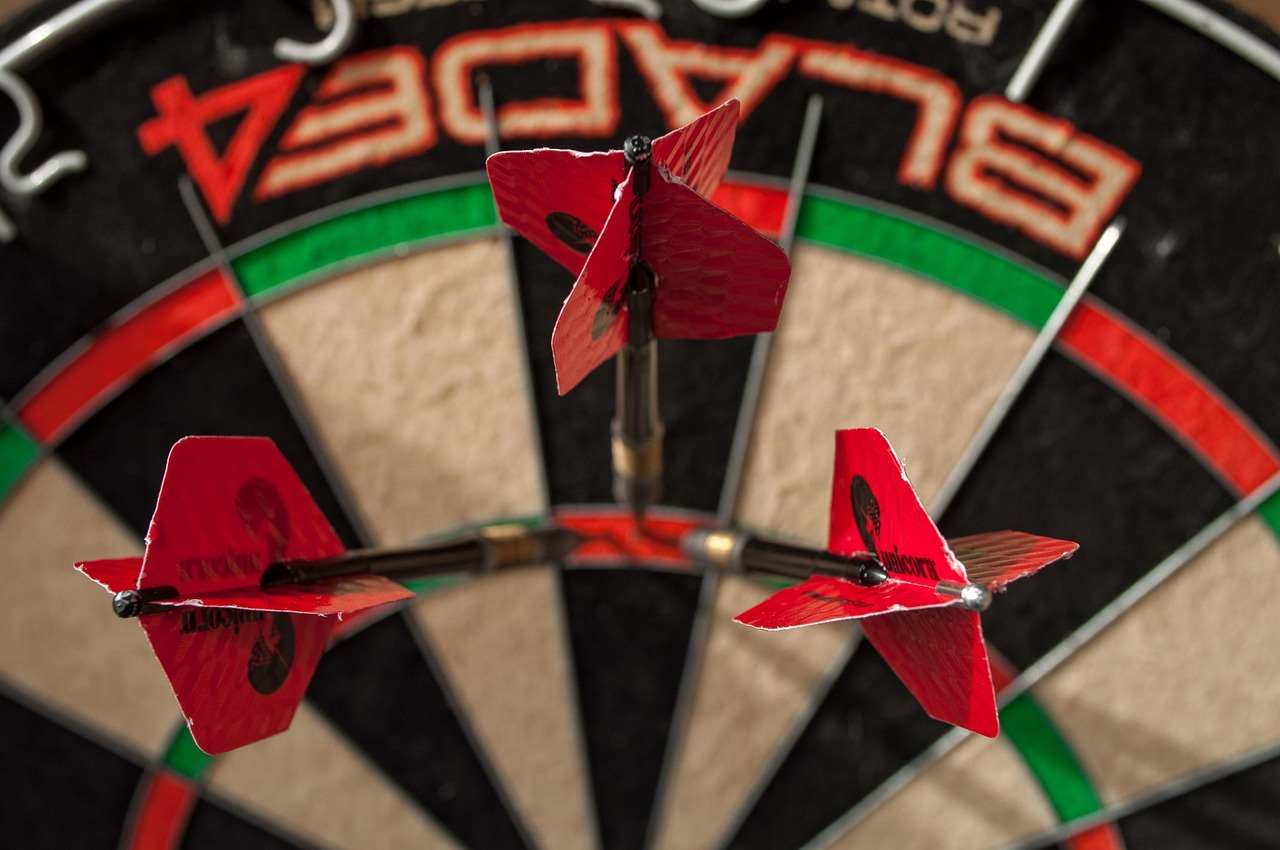
Here are some tips for achieving optimal dartboard illumination:
- Positioning: Position the light fixture directly above the dartboard, ensuring that the light is evenly distributed across the target area.
- Brightness: Adjust the brightness of the light to a comfortable level. Too much brightness can cause glare, while too little brightness can make it difficult to see the target.
- Color Temperature: Choose a color temperature that provides natural-looking illumination.
- Diffuser: Use a diffuser to soften the light and reduce glare.
- Ambient Lighting: Consider the ambient lighting in the room. If the room is too dark, the dartboard light may appear too bright. Adjust the ambient lighting to create a balanced and comfortable environment.
Troubleshooting Common Dartboard Light Issues
If you encounter any problems with your **dartboard light diy** project, here are some common issues and their solutions:
- LEDs Not Lighting: Check the power supply, wiring connections, and LED strip lights. Ensure that the power supply is plugged in and providing the correct voltage. Verify that all wiring connections are secure and that the LED strip lights are not damaged.
- Flickering Lights: Flickering lights can be caused by a loose wiring connection, a faulty power supply, or damaged LED strip lights. Check all wiring connections and replace the power supply or LED strip lights if necessary.
- Uneven Illumination: Uneven illumination can be caused by improper positioning of the light fixture, insufficient brightness of the LED strip lights, or the absence of a diffuser. Adjust the position of the light fixture, increase the brightness of the LED strip lights, or add a diffuser to improve the illumination.
- Overheating: Overheating can be caused by using a power supply that is not powerful enough, using LED strip lights that are too close together, or failing to provide adequate ventilation. Use a more powerful power supply, space the LED strip lights further apart, or improve ventilation to prevent overheating.
By addressing these common issues, you can ensure that your **dartboard light diy** project provides reliable and effective illumination for years to come.
Safety Precautions When Working with Electricity
Working with electricity can be dangerous, so it’s essential to take the following safety precautions:
- Disconnect Power: Always disconnect the power supply before working on any electrical components.
- Use Insulated Tools: Use insulated tools to prevent electric shock.
- Wear Safety Glasses: Wear safety glasses to protect your eyes from sparks and debris.
- Avoid Wet Conditions: Avoid working with electricity in wet conditions.
- Consult an Electrician: If you’re not comfortable with electrical wiring, consult a qualified electrician.
Prioritizing safety is paramount when undertaking any electrical project. Remember that an Electronic dart score counter can also add extra fun to the experience.
Upgrading Your Dartboard Experience
Once your **dartboard light diy** project is complete, consider further upgrades to enhance your dartboard experience:
- Dartboard Cabinet: A dartboard cabinet protects your walls and provides a stylish backdrop for your dartboard.
- Dart Mat: A dart mat protects your floor from stray darts and provides a consistent throwing surface.
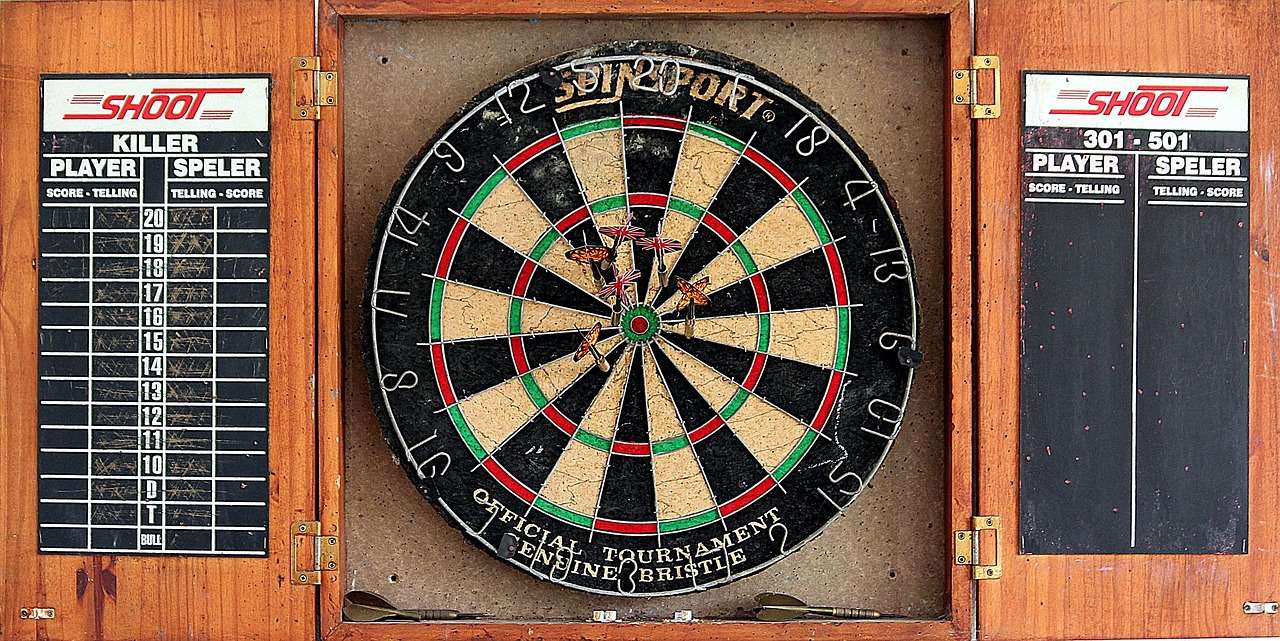
- Scoreboard: A scoreboard helps you keep track of your scores. You can choose from a traditional chalkboard, a digital scoreboard, or even a dedicated dartboard scoring app.
- Darts: Invest in a quality set of darts that are comfortable to hold and throw. Experiment with different weights and barrel shapes to find the perfect fit for your throwing style. Consider dart shaft length for beginners as a starting point.
Conclusion
Building your own **dartboard light diy** is a rewarding project that can significantly improve your dart-playing experience. By following the steps outlined in this guide, you can create a customized lighting system that provides optimal illumination, reduces glare, and enhances the overall aesthetics of your game room. Remember to prioritize safety when working with electricity and don’t be afraid to experiment with different designs and materials to create a unique and personalized lighting solution. Now that you have a well-lit dartboard, why not invite some friends over for a friendly competition? Get started on your **dartboard light diy** project today and elevate your dart game to the next level!
Hi, I’m Dieter, and I created Dartcounter (Dartcounterapp.com). My motivation wasn’t being a darts expert – quite the opposite! When I first started playing, I loved the game but found keeping accurate scores and tracking stats difficult and distracting.
I figured I couldn’t be the only one struggling with this. So, I decided to build a solution: an easy-to-use application that everyone, no matter their experience level, could use to manage scoring effortlessly.
My goal for Dartcounter was simple: let the app handle the numbers – the scoring, the averages, the stats, even checkout suggestions – so players could focus purely on their throw and enjoying the game. It began as a way to solve my own beginner’s problem, and I’m thrilled it has grown into a helpful tool for the wider darts community.