A dartboard fixing kit is your essential tool for ensuring your dartboard remains securely mounted and ready for action. This article will guide you through everything you need to know about choosing, using, and maintaining a dartboard fixing kit, including addressing common problems and ensuring longevity for your setup. We’ll also explore related accessories and provide tips for optimal dartboard placement.
⚠️ Still Using Pen & Paper (or a Chalkboard)?! ⚠️
Step into the future! The Dart Counter App handles all the scoring, suggests checkouts, and tracks your stats automatically. It's easier than you think!
Try the Smart Dart Counter App FREE!Ready for an upgrade? Click above!
Many people underestimate the importance of a proper dartboard fixing kit. A poorly secured dartboard not only risks damage to the board itself but can also pose a safety hazard. A sturdy and reliable fixing mechanism is crucial for a safe and enjoyable game. Proper installation is key to enjoying hours of stress-free dart throwing. 
Choosing the Right Dartboard Fixing Kit
The market offers a variety of dartboard fixing kits, each designed for different dartboard types and wall materials. Before purchasing, consider these factors:
- Dartboard Type: Different dartboards have varying weight and dimensions. Ensure the kit’s capacity matches your dartboard’s specifications.
- Wall Material: The type of wall you’re mounting the dartboard on (e.g., drywall, brick, concrete) will dictate the type of fixing mechanism required. Some kits are specifically designed for certain wall types.
- Kit Components: A comprehensive kit should include screws, wall plugs (if needed), and potentially a mounting bracket or frame for enhanced stability. Check for durable, high-quality components.
- Ease of Installation: Look for kits with clear instructions and easy-to-use components. A more intuitive installation process reduces the risk of errors. Some kits offer innovative solutions like self-adhesive mounting systems.
Installing Your Dartboard Fixing Kit: A Step-by-Step Guide
Once you have your dartboard fixing kit, follow these steps for a secure and level installation. Remember to always prioritize safety!
Step 1: Preparing the Wall
Locate the desired position for your dartboard. Mark the location accurately. Use a stud finder to identify wall studs for optimal support, especially for heavier dartboards. This is crucial for ensuring a secure fit using your dartboard fixing kit, avoiding wall damage, and preventing accidental falling. If mounting on drywall, you’ll need appropriate wall plugs to provide sufficient anchoring.
Step 2: Attaching the Mounting Bracket (If Applicable)
Many kits include a mounting bracket. Securely attach the bracket to the wall using the appropriate screws and wall plugs provided. Ensure the bracket is level using a spirit level for a perfect, professional-looking finish. This bracket is a key component in a robust dartboard fixing kit, greatly enhancing stability. 
Step 3: Securing the Dartboard
Carefully place the dartboard onto the mounting bracket or directly onto the wall (depending on your kit). Use the screws provided to fasten the dartboard securely to the bracket or wall. Again, a spirit level will help you maintain a perfectly level surface. This is a critical step for ensuring the integrity of your dartboard fixing kit and for accurate dart throwing.
Step 4: Testing the Installation
Gently tug on the dartboard to ensure it’s firmly secured. The dartboard should not move or wobble. If there’s any movement, tighten the screws. This final check guarantees the effectiveness of your dartboard fixing kit and ensures a safe playing environment.
Troubleshooting Common Dartboard Fixing Problems
Even with the best dartboard fixing kit, problems can arise. Here’s how to tackle some common issues:
- Wobbling Dartboard: This often indicates insufficient support or loose screws. Check the screws and tighten them. If the wobbling persists, you may need stronger wall plugs or to reposition the dartboard to a wall stud.
- Dartboard Coming Loose: This could be due to using incorrect screws or wall plugs for your wall type. Review your installation and ensure you’re using the appropriate hardware from your dartboard fixing kit. You might also need to consider a more heavy-duty kit.
- Damage to the Wall: If you’ve noticed damage to your wall, you might need to use larger wall plugs or select a different mounting location. Some dartboard wall mounts are designed to minimise damage.
Maintaining Your Dartboard and Fixing Kit
Regular maintenance extends the life of both your dartboard and your dartboard fixing kit. Periodically check the screws and tighten them if necessary. Inspect the mounting bracket for any signs of wear or damage. Replacing worn-out components ensures continued safety and functionality. Regular inspection is a key part of effective dartboard maintenance.
Choosing the Right Accessories for Your Dartboard Setup
Beyond the dartboard fixing kit itself, several accessories can enhance your dart playing experience. Consider adding:
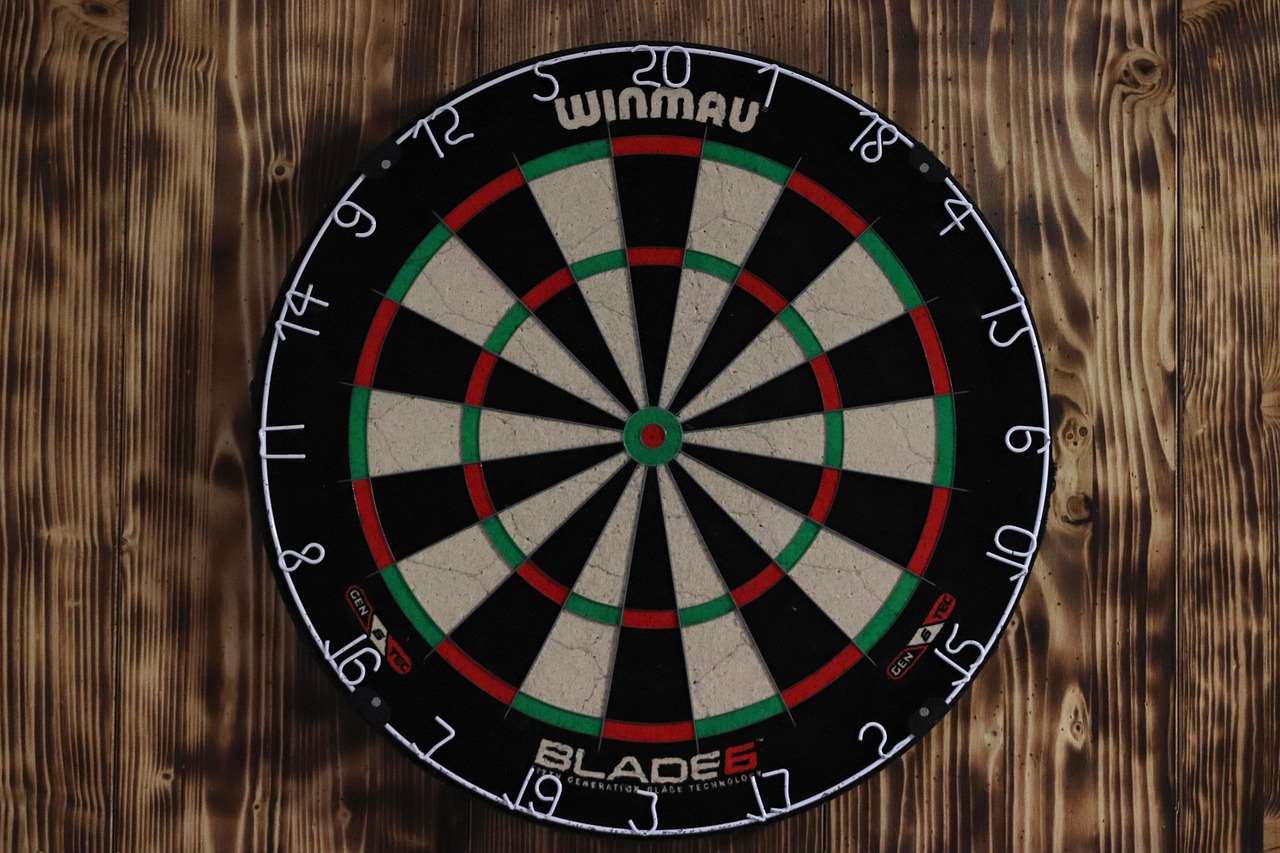
- An Oche: An oche is the line marking the legal throwing distance in darts. A high-quality oche ensures consistent throwing distance and improves gameplay. The Winmau Sabre Oche Master is a popular choice.
- A Dartboard Surround: A surround protects your wall from stray darts, minimizing damage and keeping the area looking neat. Many surrounds offer added aesthetic appeal.
- A Scoring System: Digital dart score apps or electronic scoring systems streamline game tracking and add a modern touch to your dart setup. Alternatively, for a classic touch, you can practice counting your darts.
Investing in a quality dartboard fixing kit is essential for a safe and enjoyable dart-throwing experience. Remember to choose a kit appropriate for your dartboard and wall type, follow installation instructions carefully, and perform regular maintenance checks. With the right setup, you can focus on honing your skills and enjoying the game without worrying about a wobbly dartboard.
While we primarily focus on the practical aspects of using a dartboard fixing kit, understanding the correct dartboard installation helps you to fully enjoy and appreciate the sport. Improving your throwing technique can drastically improve your game. For example, did you know that understanding the length of your dart set can influence your accuracy? Or have you tried to solve the darts game killer puzzle? All these factors contribute to a complete and fulfilling dart-playing experience.
Furthermore, understanding some basic principles of probability can aid in your understanding of darts 9 dart finishes. It’s not just about brute force! It’s about understanding the fundamentals of the game and choosing the right tool for the job. And in the case of setting up your dartboard, that tool is the right dartboard fixing kit. 
Consider also using tools like Smartsheet to plan your game and track your scores, adding another dimension to your dart experience. Mastering the art of darts requires understanding your tools, your environment, and your game strategy. Selecting the best dartboard fixing kit is an essential step in that journey.
Remember, a secure and properly installed dartboard will dramatically enhance your dart-playing experience. A wobbly, unsteady dartboard can be frustrating and may even lead to injuries. Invest in a proper dartboard fixing kit, follow the installation instructions precisely, and your darts practice sessions will become significantly more enjoyable.
For those interested in the technical aspects of dartboard technology, you might find the topic of using dart objects or dart regex match groups quite intriguing. Although not directly related to fixing your dartboard, these concepts touch upon the broader world of dart game development and analysis, offering a deeper dive into the technicalities if you wish to explore further.
Finally, if you find yourself curious about various aspects of scoring systems and calculations within the game, exploring how to use a darts counter could prove beneficial for maximizing efficiency and accuracy during gameplay. Similarly, if you are interested in using dartboards with punch-out features, you may want to look into a dartboard punch. 
Conclusion
Investing in a quality dartboard fixing kit is crucial for a safe and enjoyable dart-playing experience. By understanding the factors involved in selecting the right kit, following the installation steps carefully, and performing regular maintenance, you can ensure your dartboard remains securely mounted and ready for years of use. Remember to consider accessories like oches and surrounds to further enhance your setup. Now that you’re equipped with the knowledge to select and use your dartboard fixing kit correctly, go ahead and enjoy those perfect 180s!
Hi, I’m Dieter, and I created Dartcounter (Dartcounterapp.com). My motivation wasn’t being a darts expert – quite the opposite! When I first started playing, I loved the game but found keeping accurate scores and tracking stats difficult and distracting.
I figured I couldn’t be the only one struggling with this. So, I decided to build a solution: an easy-to-use application that everyone, no matter their experience level, could use to manage scoring effortlessly.
My goal for Dartcounter was simple: let the app handle the numbers – the scoring, the averages, the stats, even checkout suggestions – so players could focus purely on their throw and enjoying the game. It began as a way to solve my own beginner’s problem, and I’m thrilled it has grown into a helpful tool for the wider darts community.