Creating a **dartboard drawing** is easier than you think, and this guide will walk you through simple steps to get you started, whether for artistic expression or to better understand the board’s layout. You’ll learn how to accurately represent the segments, numbers, and central bullseye, plus some tips for adding your own creative flair.
⚠️ Still Using Pen & Paper (or a Chalkboard)?! ⚠️
Step into the future! The Dart Counter App handles all the scoring, suggests checkouts, and tracks your stats automatically. It's easier than you think!
Try the Smart Dart Counter App FREE!Ready for an upgrade? Click above!
The Fundamentals of a Dartboard Drawing
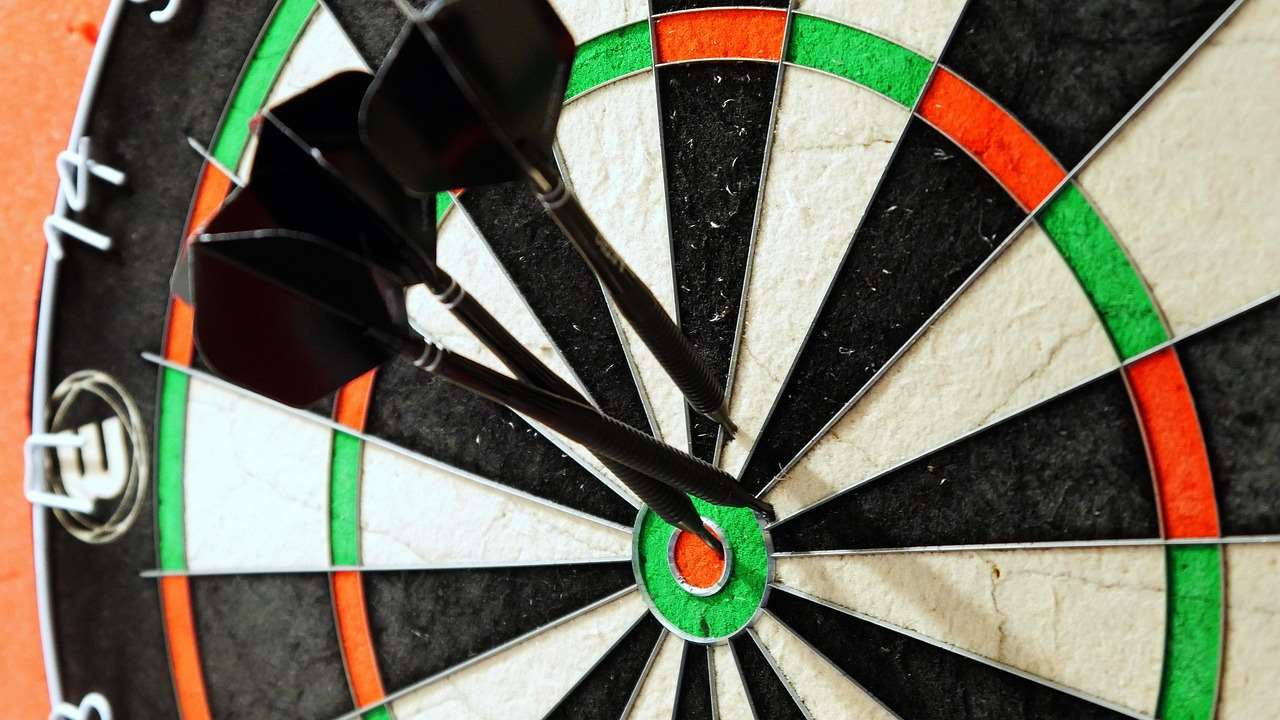
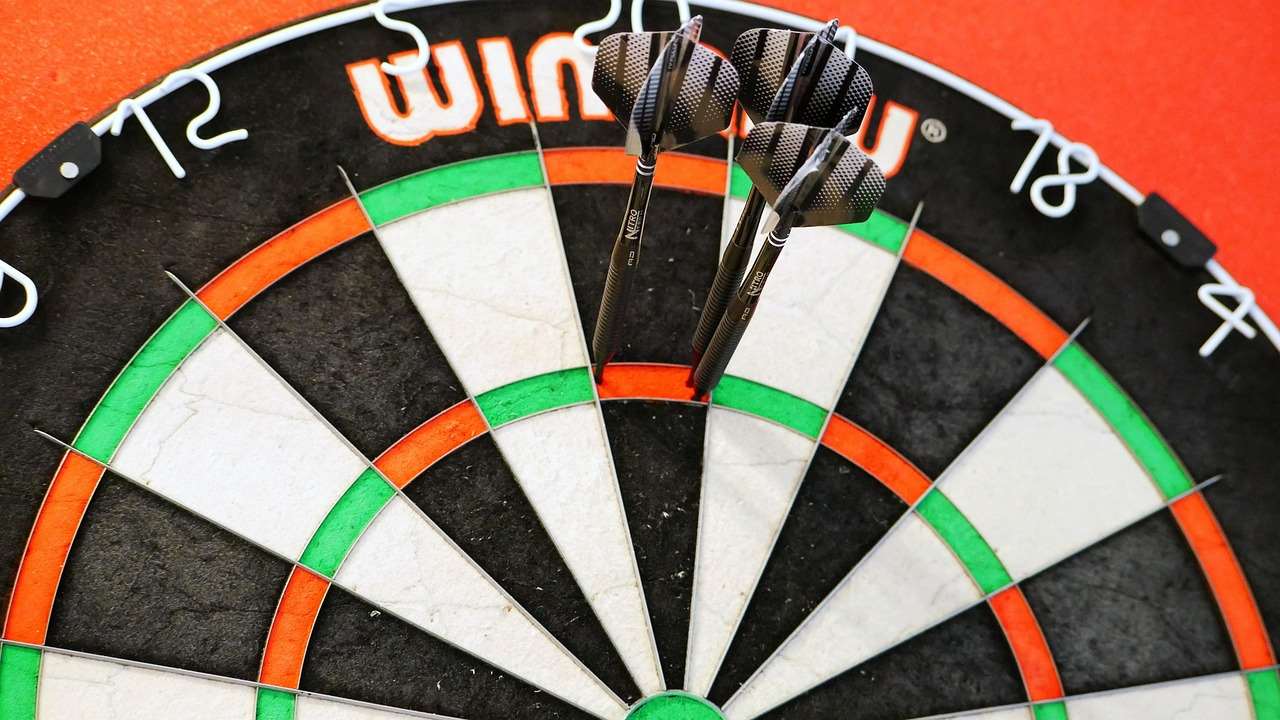
Before you even pick up a pencil, it’s crucial to understand the basic structure of a standard dartboard. A regulation dartboard is 17.75 inches in diameter and is divided into twenty numbered sections. The bullseye is at the center, surrounded by the single bull (outer bull). Understanding these elements is the first step in creating an accurate **dartboard drawing**.
Let’s break down the key components:
- Bullseye: The innermost circle, worth 50 points.
- Single Bull (Outer Bull): The ring surrounding the bullseye, worth 25 points.
- Treble Ring: The narrow ring halfway between the bullseye and the outer edge, scores triple the number of the section.
- Double Ring: The narrow ring at the outer edge of the board, scores double the number of the section.
- Single Sections: The large areas between the rings, score the number of the section.
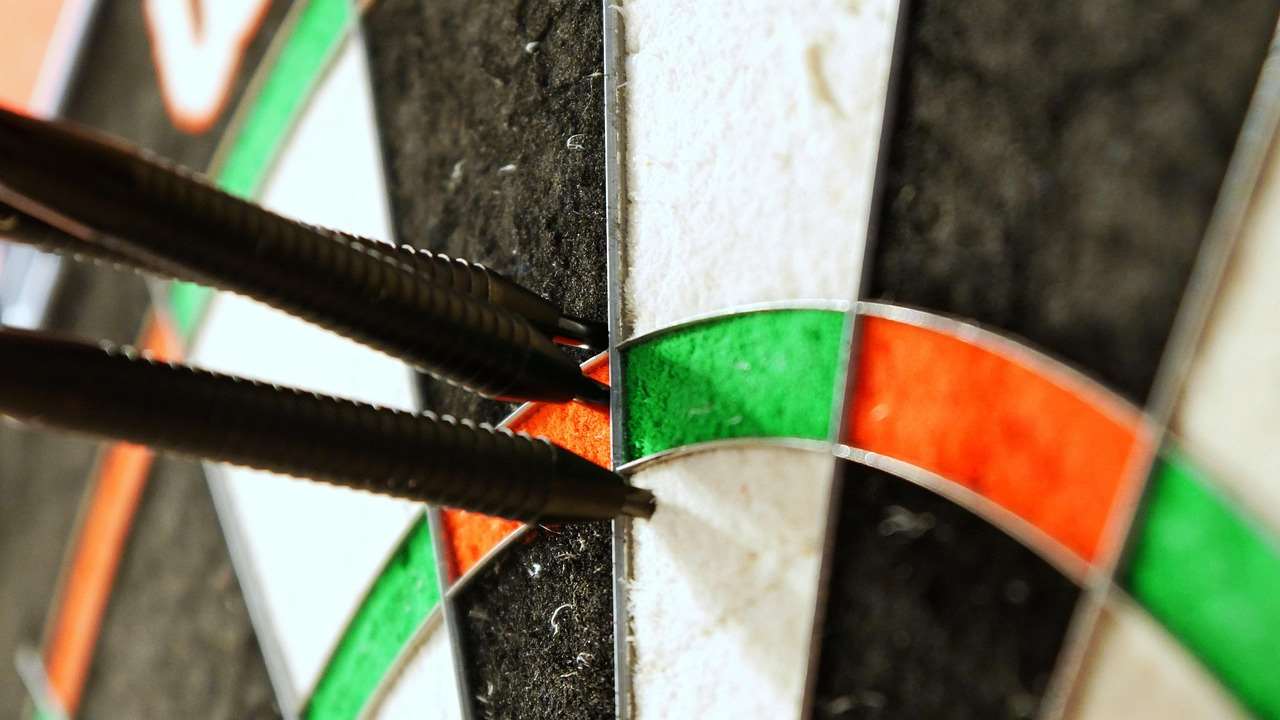
- Wire Spider: The thin wires that separate the sections and rings.
Step-by-Step Guide to Creating Your Dartboard Drawing
Ready to get started? Follow these simple steps to create your own **dartboard drawing**.
1. Drawing the Basic Circle
Start by drawing a large, light circle. You can use a compass for accuracy or trace around a large object if you don’t have one. This circle will form the outer edge of your dartboard.
2. Marking the Center
Find the center of your circle. This is where the bullseye will be located. Mark this point lightly with your pencil.
3. Drawing the Bullseye and Single Bull
Draw two smaller concentric circles around the center point. The inner circle is the bullseye, and the outer circle is the single bull (outer bull). Aim for accuracy in their relative sizes.
4. Dividing the Circle into Sections
This is where things get a little trickier. You need to divide the circle into 20 equal sections. The easiest way to do this is to draw a light line from the center of the circle to the edge, then use a protractor to measure 18-degree intervals (360 degrees / 20 sections = 18 degrees per section). Draw a line at each 18-degree mark until you have divided the circle into 20 segments.
5. Adding the Treble and Double Rings
Draw two more concentric circles between the single bull and the outer edge of the dartboard. These will represent the treble and double rings. Make sure they are relatively narrow and evenly spaced. The positioning of these rings is crucial for visually correct representation of a regulation dartboard, which contributes to more accurate **dartboard drawing**.
6. Defining the Wire Spider
Carefully draw the lines representing the wire spider. These lines should run from the center of the circle to the outer edge, dividing the sections. Make sure the lines are straight and evenly spaced. This requires a steady hand, so take your time.
7. Adding the Numbers
This is perhaps the most challenging part. The numbers on a dartboard are arranged in a specific order, designed to minimize predictability and penalize inaccuracy. The standard dartboard numbering sequence is as follows (starting after the 20, going clockwise): 1, 18, 4, 13, 6, 10, 15, 2, 17, 3, 19, 7, 16, 8, 11, 14, 9, 12, 5, 20. You’ll need to carefully position each number within its respective section. Remember that the numbers face inwards towards the center of the board.
8. Final Touches
Erase any unnecessary guidelines and darken the lines of your **dartboard drawing**. You can add shading to give the board a more realistic look, or color it in using markers or colored pencils. Consider using different shades for the single and double/treble sections.
Tips for a More Accurate Dartboard Drawing
Want to improve your **dartboard drawing** skills? Here are a few tips to keep in mind:
- Use a Compass: A compass is essential for drawing accurate circles.
- Use a Protractor: A protractor will help you divide the circle into equal sections.
- Lightly Sketch First: Use a light hand when sketching the initial lines. This will make it easier to erase mistakes.
- Take Your Time: Don’t rush the process. Accuracy is key to a good dartboard drawing.
- Reference Images: Use reference images of real dartboards to ensure accuracy, especially with the number placement.
Adding Your Own Creative Flair to Your Dartboard Drawing
While accuracy is important, you can also add your own creative flair to your **dartboard drawing**. Here are a few ideas:
- Add Color: Use colored pencils, markers, or paint to bring your drawing to life.
- Add Shading: Use shading to create depth and dimension.
- Create a 3D Effect: Try using techniques like perspective to create a 3D effect.
- Incorporate a Background: Add a background to your drawing, such as a pub or a dart-throwing scene.
Consider drawing from different angles to challenge yourself and enhance your artistic abilities. A three-dimensional **dartboard drawing** can be quite impressive! Understanding dart tips will also help you visualize the trajectory of darts in your drawing, further enhancing the realism.
Common Mistakes to Avoid When Drawing a Dartboard
Here are some common mistakes to avoid when creating your **dartboard drawing**:
- Unequal Sections: Make sure all 20 sections are equal in size.
- Incorrect Number Placement: The numbers must be in the correct order.
- Misplaced Rings: The bullseye, single bull, treble ring, and double ring must be in the correct positions.
- Wobbly Lines: Use a steady hand to draw straight lines.
- Disproportionate Sizes: Ensure the relative sizes of the board features are accurate.
Understanding the Importance of Dartboard Dimensions
While you’re focused on the drawing itself, it’s useful to understand the real-world dimensions. The standard height for hanging a dartboard is 5 feet 8 inches (1.73 meters) from the floor to the bullseye. The oche (the throwing line) is 7 feet 9.25 inches (2.37 meters) from the face of the dartboard. These dimensions ensure fair play and consistency. You might want to consider the darts flight length when visualizing a player throwing darts at your **dartboard drawing**.
Materials You’ll Need for Your Dartboard Drawing
Gathering the right supplies will make your drawing experience smoother and more enjoyable. Here’s a list of suggested materials:
- Pencils: A range of pencils from 2H to 2B will allow for light sketching and darker lines.
- Eraser: A good quality eraser that won’t smudge the paper.
- Compass: Essential for drawing perfect circles.
- Protractor: Helps divide the circle into equal sections accurately.
- Ruler: Useful for drawing straight lines.
- Paper: Choose a smooth, heavyweight paper that can handle pencil and eraser work.
- Colored Pencils/Markers (Optional): For adding color and shading.
Dartboard Drawing as a Tool for Learning the Game
Creating a **dartboard drawing** isn’t just a fun artistic exercise; it’s also a fantastic way to learn the layout of the board and understand the scoring system. By carefully drawing each section and number, you’ll reinforce your knowledge of the game’s rules and strategy. It’s a practical way to improve your darts game even when you’re not throwing darts.
Exploring Different Types of Dartboards
While the standard bristle dartboard is the most common, there are other types of dartboards available, such as electronic dartboards. Understanding the differences can inspire unique variations in your **dartboard drawing**. While the basic layout remains the same, the materials and designs can vary.
Electronic dartboards often feature segmented plastic boards with small holes for the darts to stick into. They automatically calculate the score and can offer different game modes. Check out Electronic dart score counter (https://dartcounterapp.com/) for apps that can help you track your scores.
Further Exploration of Dartboard Art and Design
Once you’ve mastered the basics of **dartboard drawing**, you can explore more advanced techniques and designs. Consider researching different dartboard art styles, from realistic depictions to abstract interpretations. The possibilities are endless! You could even create a custom dartboard design for your own game room. The bull shot darts is always a classic move.
Conclusion
Creating a **dartboard drawing** is a rewarding experience that combines artistic skill with knowledge of the game of darts. By following these steps and tips, you can create an accurate and visually appealing representation of a dartboard, whether for learning the game, artistic expression, or simply for fun. Remember to pay attention to the details, use quality materials, and don’t be afraid to experiment with your own creative style. Now, grab your pencils and start drawing!
Hi, I’m Dieter, and I created Dartcounter (Dartcounterapp.com). My motivation wasn’t being a darts expert – quite the opposite! When I first started playing, I loved the game but found keeping accurate scores and tracking stats difficult and distracting.
I figured I couldn’t be the only one struggling with this. So, I decided to build a solution: an easy-to-use application that everyone, no matter their experience level, could use to manage scoring effortlessly.
My goal for Dartcounter was simple: let the app handle the numbers – the scoring, the averages, the stats, even checkout suggestions – so players could focus purely on their throw and enjoying the game. It began as a way to solve my own beginner’s problem, and I’m thrilled it has grown into a helpful tool for the wider darts community.