Achieving the perfect game of darts hinges on precise dart board installation measurements. Knowing the correct height and distance ensures fair play and prevents injury; this article will guide you through these crucial measurements, plus offer tips for secure mounting and optimal lighting to enhance your darting experience.
⚠️ Still Using Pen & Paper (or a Chalkboard)?! ⚠️
Step into the future! The Dart Counter App handles all the scoring, suggests checkouts, and tracks your stats automatically. It's easier than you think!
Try the Smart Dart Counter App FREE!Ready for an upgrade? Click above!
Understanding Standard Dart Board Installation Measurements
Getting the dart board installation measurements right is paramount for both casual players and serious competitors. These standards are set by governing bodies like the Professional Darts Corporation (PDC) and are designed to ensure a level playing field. Deviating from these measurements can significantly impact your game and make practice sessions less effective.
The two key measurements to focus on are the height of the bullseye and the throwing distance (oche).
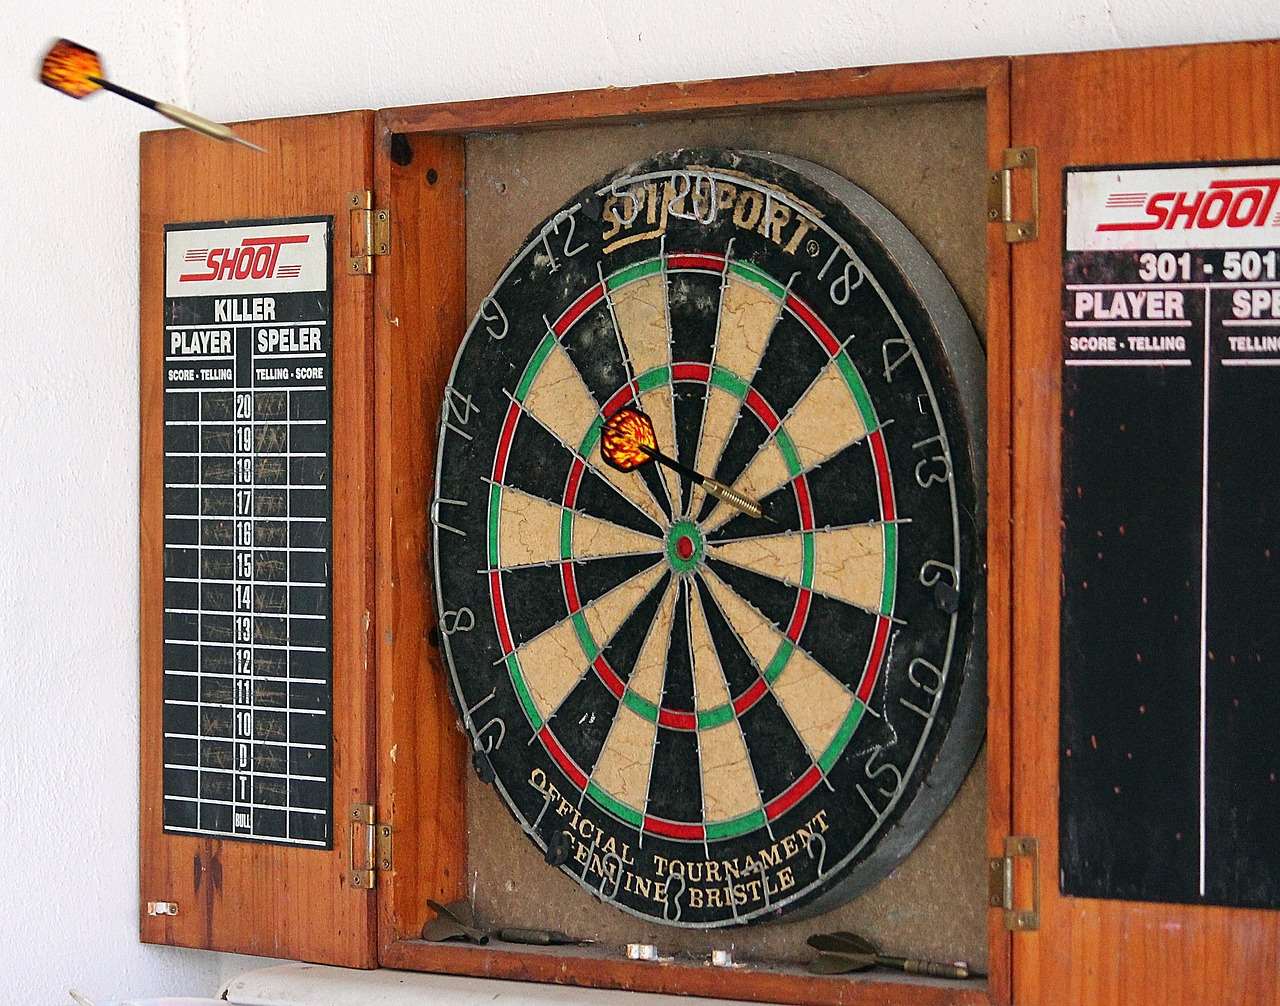
Bullseye Height
The official height of the bullseye from the floor is 5 feet 8 inches (1.73 meters). This measurement is taken from the floor to the center of the bullseye. Use a reliable tape measure and ensure the board is perfectly vertical during installation. A slight tilt can throw off your aim and impact your scoring.
Oche Distance
The oche, or throwing line, is the distance a player must stand from the face of the dartboard when throwing their darts. This measurement can be taken in two ways:
- Horizontal Distance: The horizontal distance from the face of the dartboard to the oche is 7 feet 9 1/4 inches (2.37 meters).
- Diagonal Distance: Alternatively, you can measure diagonally from the bullseye to the oche. This measurement should be 9 feet 7 3/8 inches (2.93 meters).
Choose whichever method you find easier, but ensure you are consistent. A properly placed oche is crucial for consistent throwing.
Step-by-Step Guide to Installing Your Dart Board
Now that you know the correct dart board installation measurements, let’s walk through the process of mounting your dartboard.
- Gather Your Tools: You will need a tape measure, level, pencil, drill, wall anchors (if needed), mounting bracket (usually included with the dartboard), and screws.
- Locate a Suitable Spot: Choose a location with ample space and minimal obstructions. Consider wall stability and avoid areas with high traffic or where darts could potentially damage furniture. Think about the lighting as well; you will need good visibility.
- Mark the Bullseye Height: Using your tape measure, mark a point on the wall exactly 5 feet 8 inches from the floor. This will be the center of your bullseye.
- Install the Mounting Bracket: Align the mounting bracket with the marked point and use a pencil to mark the screw holes. If you are drilling into drywall, use wall anchors for added support. Drill pilot holes and securely attach the bracket to the wall.
- Hang the Dartboard: Most dartboards have a rotating mechanism that allows you to easily attach it to the mounting bracket. Carefully hang the dartboard and ensure it is securely in place.
- Mark the Oche: Measure the correct distance from the face of the dartboard (either horizontally or diagonally) and mark the oche on the floor. You can use tape, a piece of wood, or a commercially available oche marker.
- Test and Adjust: Throw a few darts to ensure the board is stable and the oche is properly positioned. Make any necessary adjustments until you are comfortable with the setup.
Essential Considerations for Secure Mounting
A wobbly or unstable dartboard can be frustrating and even dangerous. Here are some tips for ensuring a secure and stable installation:
- Use Wall Anchors: If you are mounting the dartboard on drywall, always use wall anchors. These provide extra support and prevent the screws from pulling out. Choose anchors that are appropriate for the weight of your dartboard.
- Find a Stud: If possible, try to mount the bracket directly into a wall stud. This will provide the most secure and stable connection. Use a stud finder to locate the studs behind the drywall.
- Consider a Backboard: Installing a backboard behind the dartboard can protect your wall from stray darts and provide additional support. You can purchase a commercially available backboard or make your own using plywood or corkboard. See if you can hang a dartboard like this.
- Tighten Screws Regularly: Check the screws on the mounting bracket periodically and tighten them as needed. This will prevent the board from becoming loose over time.
Optimizing Lighting for Darts
Proper lighting is crucial for a good darting experience. Poor lighting can strain your eyes, make it difficult to see the target, and affect your accuracy. Here are some tips for optimizing the lighting around your dartboard:
- Use a Dedicated Dartboard Light: The best option is to use a dedicated dartboard light, which is designed to provide even and shadow-free illumination. These lights typically attach to the dartboard itself or to the surrounding backboard.
- Position Lights Strategically: If you are not using a dedicated light, position two or more lights on either side of the dartboard to minimize shadows. Avoid placing lights directly above the board, as this can create glare.
- Use Bright, White Light: Choose bright, white light bulbs that provide good visibility without being too harsh. LED bulbs are a good option because they are energy-efficient and produce minimal heat.
- Avoid Glare: Make sure the lights are positioned in a way that prevents glare from reflecting off the dartboard. Adjust the angle of the lights as needed to eliminate glare.
Understanding Different Dartboard Types and Materials
While the dart board installation measurements remain consistent, the type of dartboard you choose can impact your overall experience. Different materials offer varying levels of durability and playability. Here’s a quick overview:
Bristle Dartboards
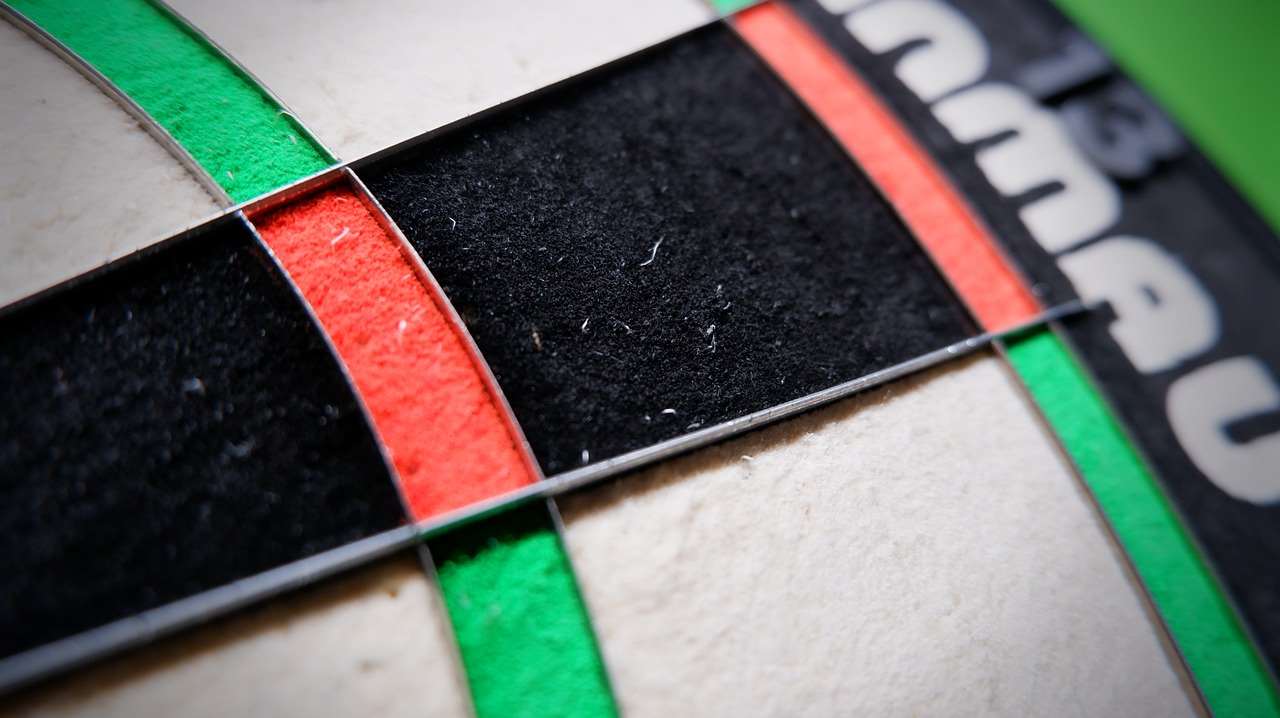
Bristle dartboards are the most common type used in professional and recreational play. They are made from tightly packed sisal fibers, which allow the darts to penetrate easily and the holes to heal over time. Bristle boards offer excellent durability and are considered the standard for serious dart players. Consider checking out target darts ebay for some high-quality bristle boards.
Electronic Dartboards
Electronic dartboards are typically made of plastic and feature pre-drilled holes that register scores automatically. These boards are popular for casual play and are often used in bars and arcades. While convenient, they generally offer less durability and a different playing feel compared to bristle boards. Electronic dartboards often have features like automatic scoring and game variations.
Paper Dartboards
Paper dartboards are the most inexpensive option and are suitable for beginners or casual players. They are made from rolled paper and are less durable than bristle or electronic boards. Paper dartboards are not recommended for serious play, as they wear out quickly and offer inconsistent dart penetration.
Common Mistakes to Avoid During Installation
Even with careful planning, it’s easy to make mistakes during dart board installation. Here are some common pitfalls to avoid:
- Incorrect Height: Double-check the bullseye height to ensure it is exactly 5 feet 8 inches (1.73 meters) from the floor. An incorrect height can significantly impact your aim.
- Incorrect Oche Distance: Similarly, ensure the oche is properly positioned at either 7 feet 9 1/4 inches (2.37 meters) horizontally or 9 feet 7 3/8 inches (2.93 meters) diagonally from the bullseye.
- Unstable Mounting: Use wall anchors and/or mount the bracket into a stud to ensure the dartboard is securely attached to the wall. A wobbly board can be frustrating and even dangerous.
- Poor Lighting: Invest in proper lighting to ensure good visibility and minimize shadows. Poor lighting can strain your eyes and affect your accuracy.
- Ignoring Safety: Ensure the area around the dartboard is clear of obstructions and that there is adequate space for players to throw darts safely.
Don’t forget to download a Dart game scoring app to keep track of your scores accurately!
Maintaining Your Dartboard for Longevity
Once you’ve nailed the dart board installation measurements and have your board set up perfectly, proper maintenance is key to extending its lifespan. Here are some simple tips to keep your dartboard in top condition:
- Rotate Your Dartboard: Bristle dartboards are designed to heal over time, but the areas around the bullseye and frequently hit numbers will inevitably wear down. Rotating your dartboard regularly helps to distribute the wear more evenly, prolonging its life.
- Remove Loose Fibers: Occasionally, loose sisal fibers may protrude from the board. Gently pluck these out to prevent them from interfering with your darts.
- Keep it Dry: Moisture can damage sisal fibers. Keep your dartboard in a dry environment and avoid spilling liquids on it.
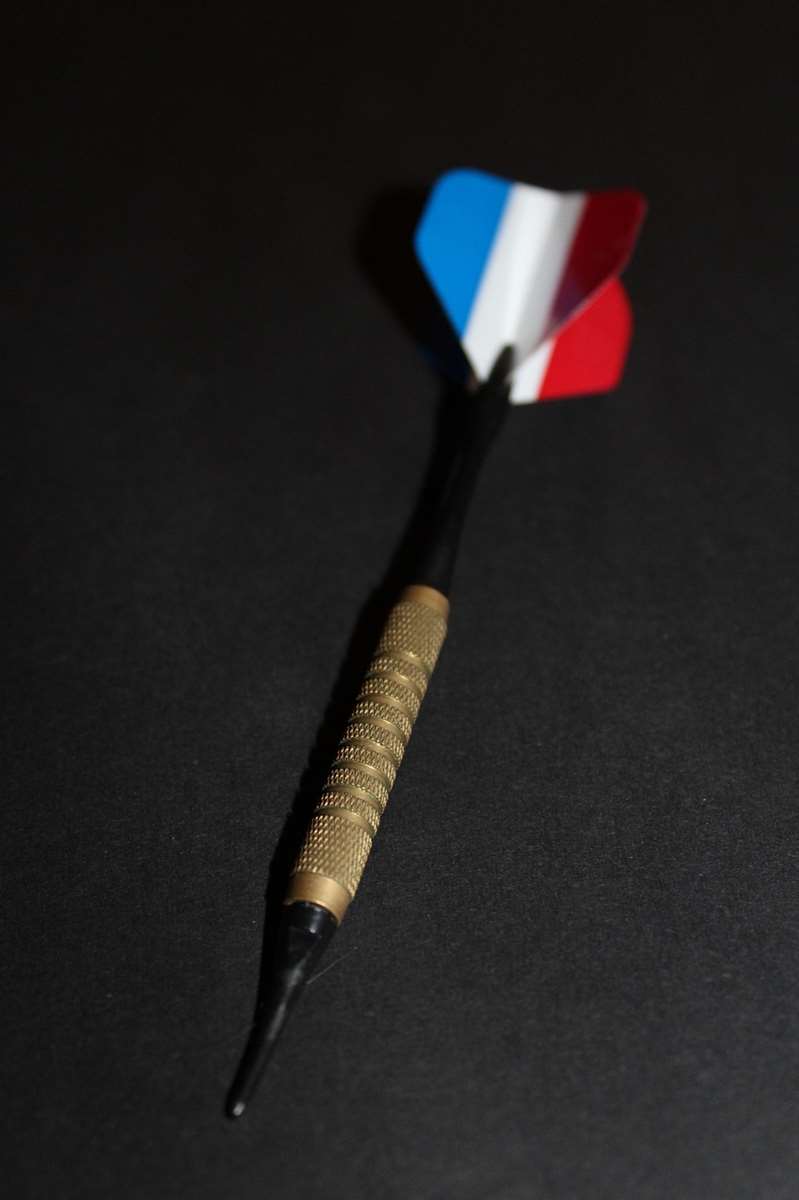
- Use Proper Darts: Using darts with sharp, well-maintained points will help them penetrate the board cleanly and reduce wear.
- Clean Regularly: Dust and debris can accumulate on the dartboard over time. Use a soft brush or vacuum cleaner attachment to gently clean the surface.
If you want to practice other kind of darts, dart spelletjes will give you great insight.
Troubleshooting Common Installation Issues
Even with careful planning, you might encounter some issues during dart board installation. Here are some common problems and how to resolve them:
- Dartboard Wobbles: If the dartboard wobbles, check the mounting bracket and screws to ensure they are securely tightened. If the wall anchors are loose, replace them with new ones.
- Darts Don’t Stick: If darts are not sticking properly, make sure the dart points are sharp and clean. Also, check the sisal fibers on the dartboard for excessive wear. Rotating the board can help.
- Wall Damage: To prevent wall damage from stray darts, consider installing a backboard behind the dartboard. You can also use dart mats to protect the floor.
- Incorrect Measurement: Double and triple check all measurements before drilling any holes. It’s easier to measure correctly than to fix a mistake later.
Beyond the Basics: Advanced Tips and Customization
Once you’ve mastered the fundamentals of dart board installation measurements, you can explore some advanced tips and customization options to further enhance your darting setup:
- Dartboard Surround: A dartboard surround is a padded ring that fits around the dartboard to protect the wall from stray darts. Surrounds are available in various materials and colors, allowing you to customize the look of your darting area.
- Oche Mat: An oche mat is a floor mat that clearly marks the throwing line. These mats can be made of rubber, carpet, or other materials and often feature printed measurements.
- Scoreboard: A scoreboard is essential for keeping track of scores during games. You can use a traditional chalkboard, a whiteboard, or an electronic scoreboard.
- Custom Lighting: Explore different lighting options to create the perfect ambiance for your darting area. Consider using adjustable spotlights or colored lights to set the mood.
Conclusion: Achieving Darting Perfection Through Precise Measurements
Mastering dart board installation measurements is the cornerstone of a fulfilling and competitive darting experience. By adhering to the official height and distance guidelines, ensuring a secure mount, and optimizing lighting, you create an environment conducive to accuracy and enjoyment. Remember the bullseye height of 5 feet 8 inches (1.73 meters) and the oche distance of 7 feet 9 1/4 inches (2.37 meters) horizontally or 9 feet 7 3/8 inches (2.93 meters) diagonally. Now, grab your darts, aim true, and enjoy the game!
Ready to elevate your dart game? Install your board with precision and get throwing!
Hi, I’m Dieter, and I created Dartcounter (Dartcounterapp.com). My motivation wasn’t being a darts expert – quite the opposite! When I first started playing, I loved the game but found keeping accurate scores and tracking stats difficult and distracting.
I figured I couldn’t be the only one struggling with this. So, I decided to build a solution: an easy-to-use application that everyone, no matter their experience level, could use to manage scoring effortlessly.
My goal for Dartcounter was simple: let the app handle the numbers – the scoring, the averages, the stats, even checkout suggestions – so players could focus purely on their throw and enjoying the game. It began as a way to solve my own beginner’s problem, and I’m thrilled it has grown into a helpful tool for the wider darts community.