Creating a dart board homemade is a surprisingly achievable project that can save you money and provide a unique, personalized addition to your game room; this guide will teach you how to craft your own dartboard, from sourcing materials to construction, and even delve into the fun of making your own darts and setting up your playing area.
⚠️ Still Using Pen & Paper (or a Chalkboard)?! ⚠️
Step into the future! The Dart Counter App handles all the scoring, suggests checkouts, and tracks your stats automatically. It's easier than you think!
Try the Smart Dart Counter App FREE!Ready for an upgrade? Click above!
Why Build a Dart Board Homemade?
There are several compelling reasons to consider building a dart board homemade instead of purchasing one. Perhaps the most obvious is the cost savings. A professionally made dartboard can be quite expensive, especially if you’re looking for a high-quality sisal board. Building your own allows you to control the materials and the budget.
Beyond cost, crafting your own dartboard offers a unique opportunity for personalization. You can choose the size, the colors, and even the materials used, resulting in a dartboard that perfectly matches your style and preferences. It’s also a fantastic DIY project that can be both fun and rewarding. Plus, you gain a deeper appreciation for the craftsmanship involved in making a dartboard.
Furthermore, building a dart board homemade can be a sustainable choice. By using recycled or repurposed materials, you can reduce your environmental impact and create a truly unique and eco-friendly game.
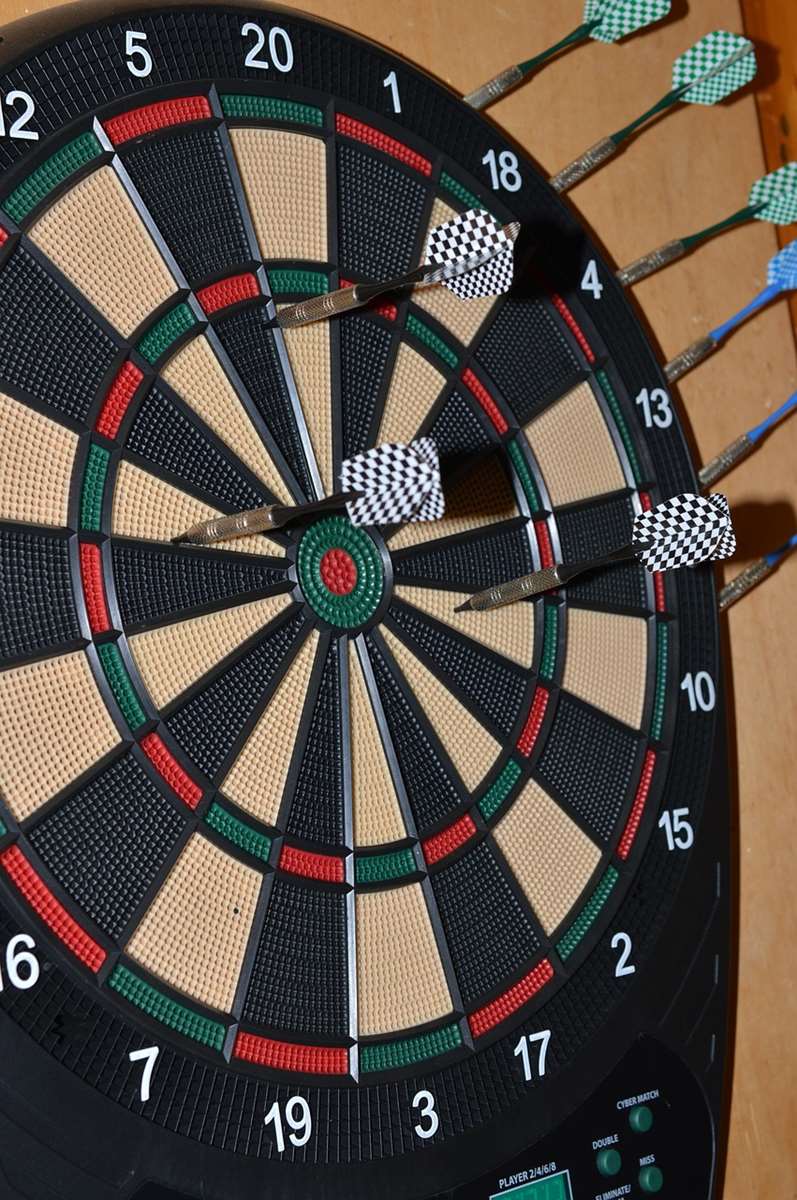
Materials Needed for Your Dart Board Homemade
Before you dive into the construction process, it’s essential to gather the necessary materials. The core of your dartboard will be the material used for the playing surface. While traditional dartboards use sisal fibers, you can explore alternative options for a dart board homemade:
- Sisal Bristle Board Alternative: Cork is a good substitute for the main board because it’s sturdy yet soft enough to allow darts to penetrate.
- Backing Material: You’ll need a solid backing material, such as plywood or a thick piece of sturdy cardboard, to provide support for the playing surface.
- Wire Spider: The wire spider divides the dartboard into scoring sections. You can salvage wire from old coat hangers or purchase wire from a hardware store.
- Numbers: You’ll need numbers to indicate the scoring values of each section. You can either purchase pre-made numbers or create your own using stencils and paint.
- Fasteners: Use nails, screws, or glue to secure the various components of your dartboard together.
- Paint/Markers: To color the board with the corresponding numbers and rings.
Additional tools and supplies you might need include a saw, drill, hammer, measuring tape, sandpaper, and safety glasses.
Step-by-Step Guide to Creating Your Dart Board Homemade
Now that you have all the materials, let’s move on to the construction process. Here’s a step-by-step guide to help you create your own dart board homemade:
- Prepare the Backing: Cut the plywood or cardboard backing to the desired size. A standard dartboard is 18 inches in diameter, so your backing should be slightly larger than that.
- Prepare the Cork: Cut cork sheets or roll into the shape of the dartboard, ensuring a snug fit within the backing material. Glue the cork to the prepared backing board.
- Creating the Spider: Bend and shape the wire to create the spider that divides the dartboard into sections. Secure the wire spider to the playing surface using small nails or glue. Accurate spacing is key here. Check how far darts oche for more information on dartboard measurements.
- Marking the Sections: Divide the cork into equal sections to represent the different scoring zones, such as the 20, 1, 18, 4, 13, 6, 10, 15, 2, 17, 3, 19, 7, 16, 8, 11, 14, 9, 12, and 5 zones.
- Applying the Numbers: Attach the numbers to their corresponding sections using glue or small tacks. Ensure they are securely fastened and properly aligned.
- Finishing Touches: Sand any rough edges and apply a protective coating to the playing surface. This will help to prolong the life of your dartboard.
Using Recycled Materials for Your Dart Board Homemade
One of the great things about building a dart board homemade is the opportunity to use recycled materials. Here are some ideas to get you started:
- Cardboard Dartboard: Instead of plywood, use layers of corrugated cardboard glued together to create a sturdy backing.
- Wire from Old Coat Hangers: Repurpose wire coat hangers to create the spider for your dartboard.
- Scrap Wood: Use scrap wood from other projects to build a frame for your dartboard.
By using recycled materials, you can reduce waste and create a unique and eco-friendly dartboard.
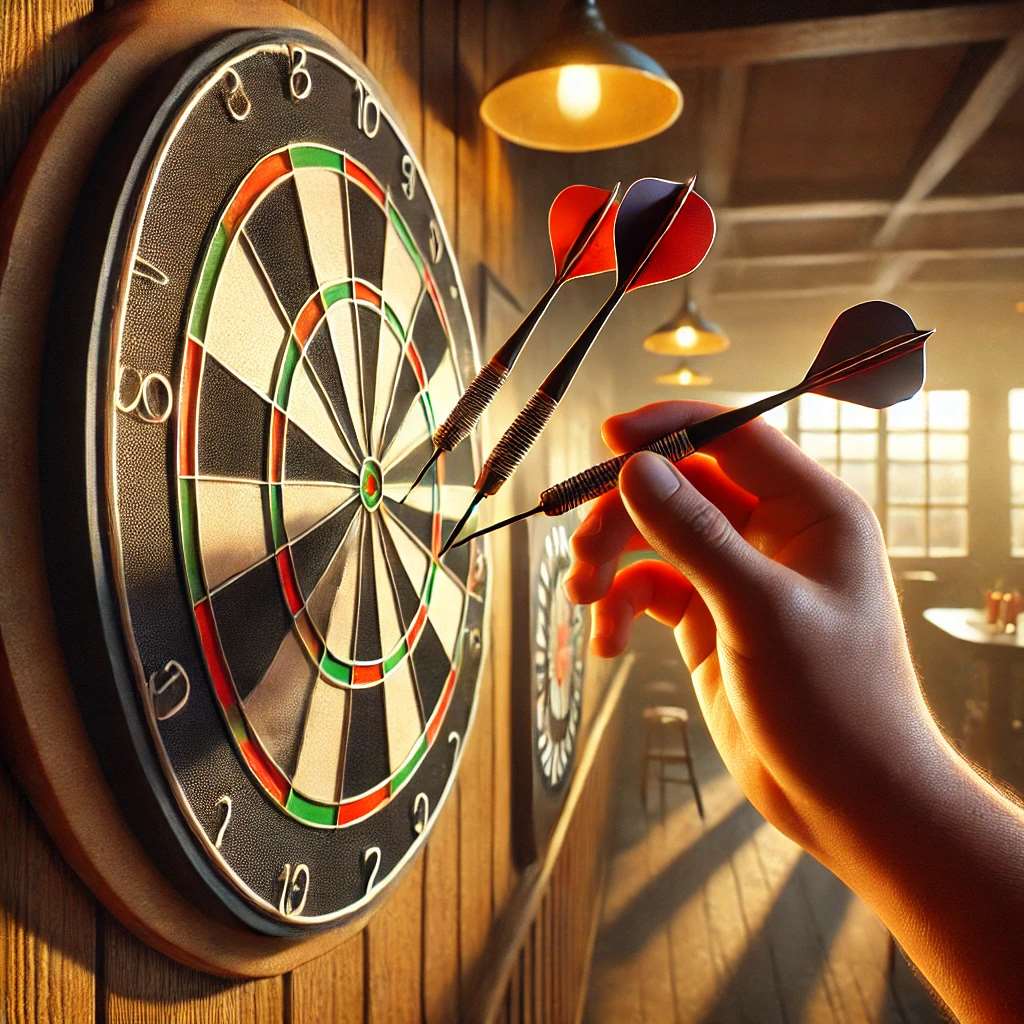
Making Your Own Darts
Once you’ve built your dartboard, you might also consider making your own darts. While it’s more challenging than building a dartboard, it can be a rewarding experience.
Here’s a brief overview of the process:
- Dart Barrels: These are the main bodies of the darts. You’ll need a lathe to shape them accurately.
- Dart Shafts: These connect the barrel to the flight. You can purchase these separately or attempt to craft them.
- Dart Flights: These are the wings of the dart that provide stability in flight. You can make these from cardstock or purchase them. Consider using a flight punch darts for a professional finish.
Making your own darts requires specialized tools and skills, but it can be a fun and rewarding project for experienced DIYers.
Setting Up Your Dartboard
Properly setting up your dartboard is crucial for ensuring fair play and preventing injuries. Here are some guidelines to follow:
- Dartboard Height: The center of the bullseye should be 5 feet 8 inches (1.73 meters) from the floor.
- Throwing Distance: The oche (throwing line) should be 7 feet 9 1/4 inches (2.37 meters) from the face of the dartboard.
- Lighting: Ensure adequate lighting so that the dartboard is well-lit and shadows do not obstruct the view.
- Surround: Consider installing a surround around your dartboard to protect your walls from stray darts.
By following these guidelines, you can create a safe and enjoyable dart-playing environment.
Essential Dartboard Accessories
To complete your dart setup, consider investing in these essential accessories:
- Dartboard Cabinet: Protects your dartboard and provides a convenient storage space for your darts.
- Dartboard Surround: Protects your walls from stray darts.
- Dart Mat: Provides a non-slip surface for the throwing area.
- Dart Sharpener: Keeps your dart points sharp for optimal performance.
- Scoreboard: To easily keep track of the game. There’s also now the option to use a free Free dart score app.
These accessories will enhance your dart-playing experience and help to protect your equipment and surroundings.
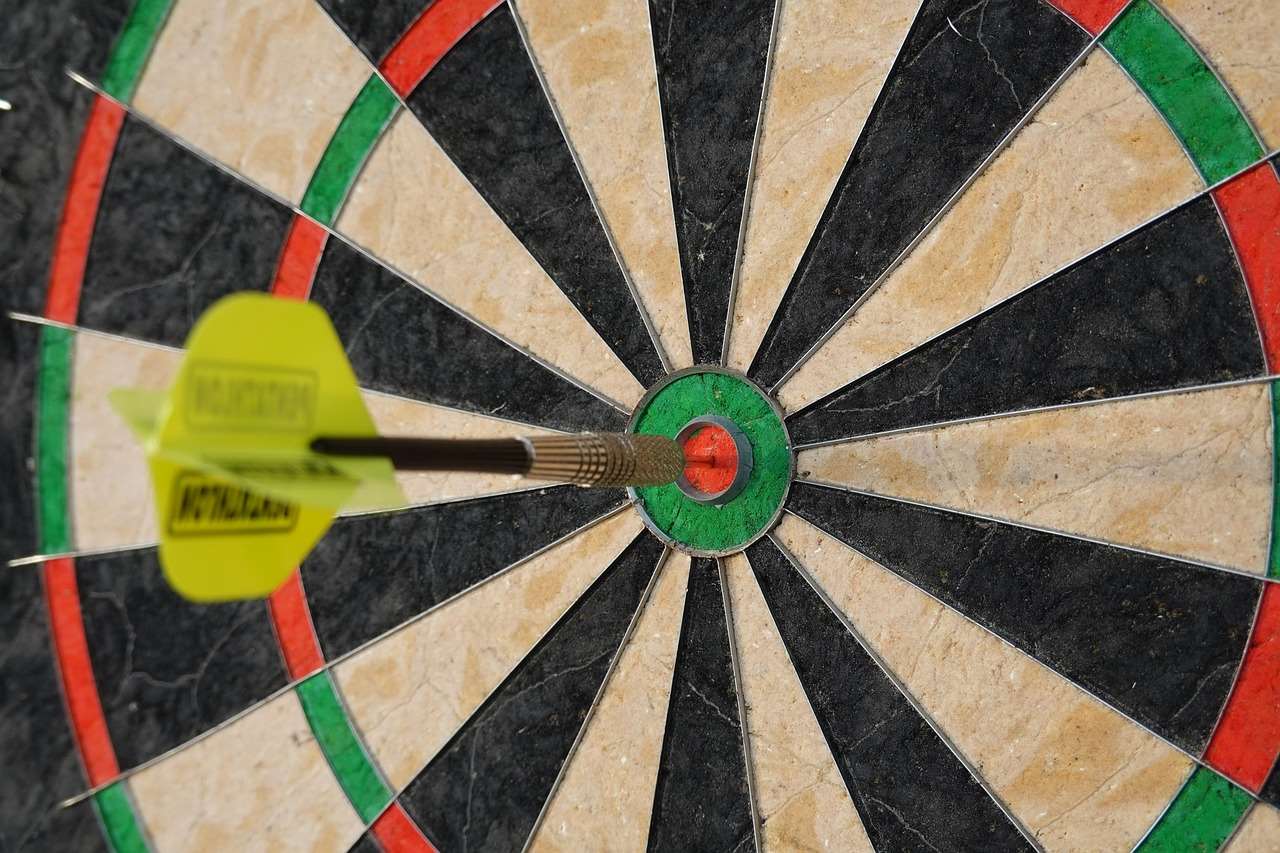
Tips for Improving Your Dart Game
Once you have your dart board homemade and your darts, it’s time to start playing. Here are some tips to help you improve your dart game:
- Stance: Maintain a consistent stance with your weight balanced on your front foot.
- Grip: Hold the dart firmly but not too tightly.
- Aim: Focus on your target and aim carefully.
- Throw: Use a smooth, fluid throwing motion.
- Follow Through: Follow through with your arm after releasing the dart.
- Practice: The more you practice, the better you will become.
By following these tips and practicing regularly, you can improve your accuracy and consistency and become a better dart player.
Advanced Dart Techniques
As you become more experienced, you can start experimenting with advanced dart techniques, such as:
- Double Out: Finishing the game by hitting a double.
- Treble Scoring: Aiming for the treble section of the dartboard.
- Checkouts: Learning common checkout combinations.
Mastering these techniques will take your dart game to the next level.
The Mental Game of Darts
Darts is not just a physical game; it’s also a mental game. To excel at darts, you need to be able to:
- Stay Focused: Avoid distractions and concentrate on your target.
- Manage Pressure: Stay calm and composed under pressure.
- Visualize Success: Imagine yourself hitting the target before you throw.
- Learn from Mistakes: Analyze your mistakes and learn from them.
By developing your mental game, you can improve your consistency and performance.
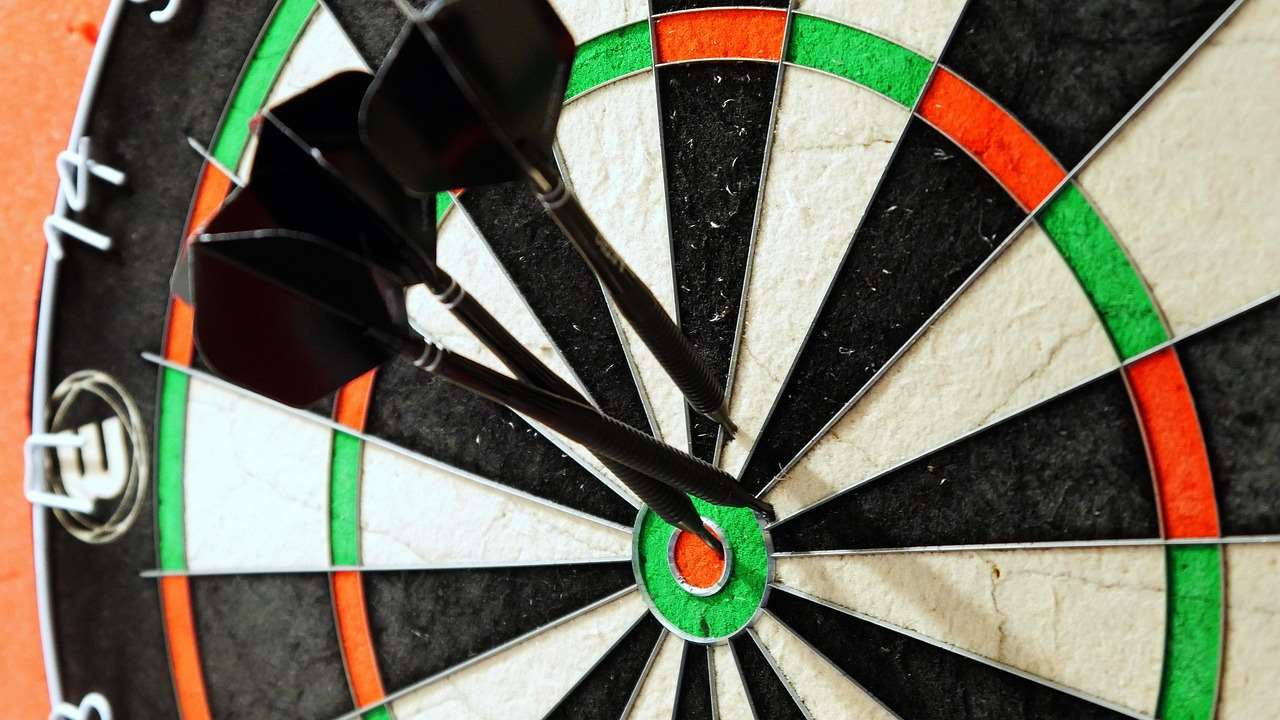
Maintaining Your Dart Board Homemade
To ensure that your dart board homemade lasts for years to come, it’s essential to properly maintain it. Here are some tips:
- Rotate the Board: Regularly rotate the dartboard to distribute wear evenly.
- Remove Darts Carefully: Avoid twisting or bending the darts when removing them.
- Clean the Board: Use a soft brush to remove dust and debris from the playing surface.
- Store Properly: Store your dartboard in a dry, cool place when not in use.
By following these maintenance tips, you can extend the life of your dartboard and keep it in good condition.
Troubleshooting Common Dartboard Problems
Even with proper maintenance, you may encounter some common dartboard problems. Here are some troubleshooting tips:
- Darts Falling Out: If your darts are falling out of the board, the points may be dull or damaged. Sharpen or replace the points.
- Bounce-Outs: Bounce-outs can be caused by a worn or damaged playing surface. Rotate the board or replace the damaged section.
- Wire Spider Coming Loose: If the wire spider is coming loose, re-secure it with small nails or glue.
By addressing these common problems promptly, you can keep your dartboard in good working order.
Dartboard Safety Tips
Safety should always be a top priority when playing darts. Here are some safety tips to follow:
- Keep Spectators at a Safe Distance: Ensure that spectators are standing behind the throwing line.
- Never Throw Darts When Someone is in Front of the Board: Wait until the area in front of the board is clear before throwing.
- Use Proper Lighting: Ensure that the dartboard is well-lit to prevent accidents.
- Supervise Children: Supervise children closely when they are playing darts.
- Store Darts Safely: Store darts in a safe place where they cannot be accessed by children.
By following these safety tips, you can prevent accidents and injuries.
Conclusion
Building a dart board homemade is a rewarding project that can save you money and provide a personalized addition to your game room. By following the steps outlined in this guide, you can create your own dartboard using recycled materials and customize it to your liking. Remember to practice regularly, follow safety guidelines, and maintain your dartboard properly to enjoy years of dart-playing fun. Now that you know how to construct your own dartboard, why not give it a try? Gather your materials, unleash your creativity, and start building your very own dart board homemade today! Remember to keep safety a priority and enjoy the process of creating something unique and functional. Good luck, and may your darts always hit their mark!
Hi, I’m Dieter, and I created Dartcounter (Dartcounterapp.com). My motivation wasn’t being a darts expert – quite the opposite! When I first started playing, I loved the game but found keeping accurate scores and tracking stats difficult and distracting.
I figured I couldn’t be the only one struggling with this. So, I decided to build a solution: an easy-to-use application that everyone, no matter their experience level, could use to manage scoring effortlessly.
My goal for Dartcounter was simple: let the app handle the numbers – the scoring, the averages, the stats, even checkout suggestions – so players could focus purely on their throw and enjoying the game. It began as a way to solve my own beginner’s problem, and I’m thrilled it has grown into a helpful tool for the wider darts community.