Achieving consistent dart throws requires a strategic approach, and the cornerstone of that consistency is a well-planned and executed Controlled Dart Testing Setup. This article dives into the essential elements of creating such a setup, allowing you to analyze your technique, identify areas for improvement, and ultimately, elevate your dart game.
⚠️ Still Using Pen & Paper (or a Chalkboard)?! ⚠️
Step into the future! The Dart Counter App handles all the scoring, suggests checkouts, and tracks your stats automatically. It's easier than you think!
Try the Smart Dart Counter App FREE!Ready for an upgrade? Click above!
Why a Controlled Dart Testing Setup Matters
Many dart players overlook the importance of a dedicated and controlled testing environment. Simply throwing darts without structure or measurement leads to inconsistent results and makes it difficult to pinpoint specific weaknesses in your throw. A proper setup allows you to objectively assess your performance, experiment with different techniques and equipment, and track your progress over time. This focused approach is essential for anyone serious about improving their dart game and consistently hitting those crucial doubles and trebles.
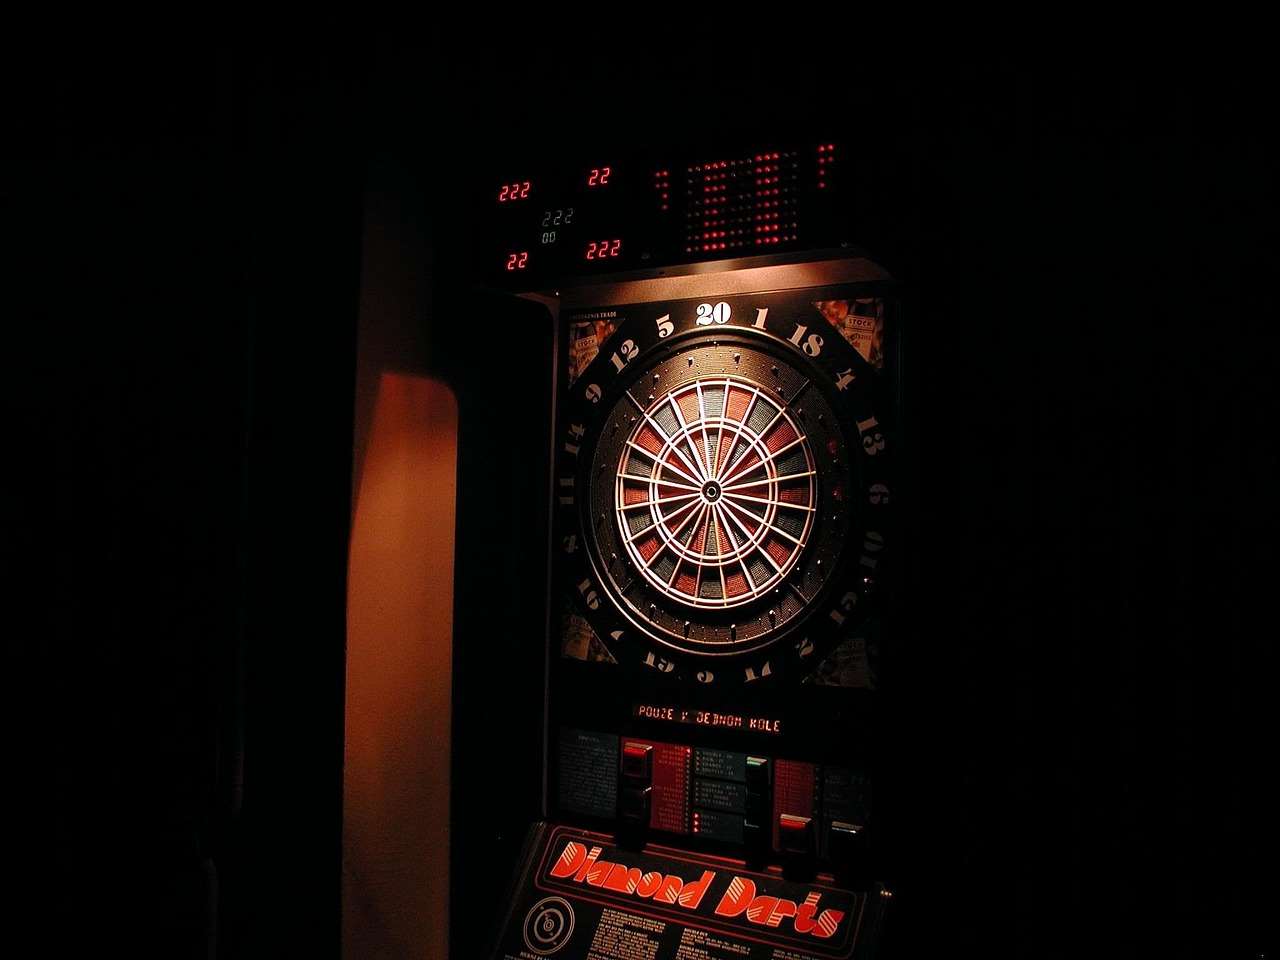
Benefits of a Structured Testing Approach
- Identifies Strengths and Weaknesses: Pinpoint areas where you excel and areas needing improvement.
- Quantifiable Progress: Track your scores and accuracy over time to measure improvement.
- Equipment Optimization: Test different dart setups (weight, shaft length, flights) to find what works best for you.
- Technique Refinement: Experiment with grip, stance, and release to optimize your throwing motion.
- Reduced Frustration: Gain a sense of control over your game and reduce frustration from inconsistent performance.
Elements of an Effective Controlled Dart Testing Setup
A comprehensive Controlled Dart Testing Setup goes beyond simply setting up a dartboard. It involves creating an environment that allows for accurate measurement, consistent conditions, and focused practice. Here’s a breakdown of the key elements:
1. The Dartboard
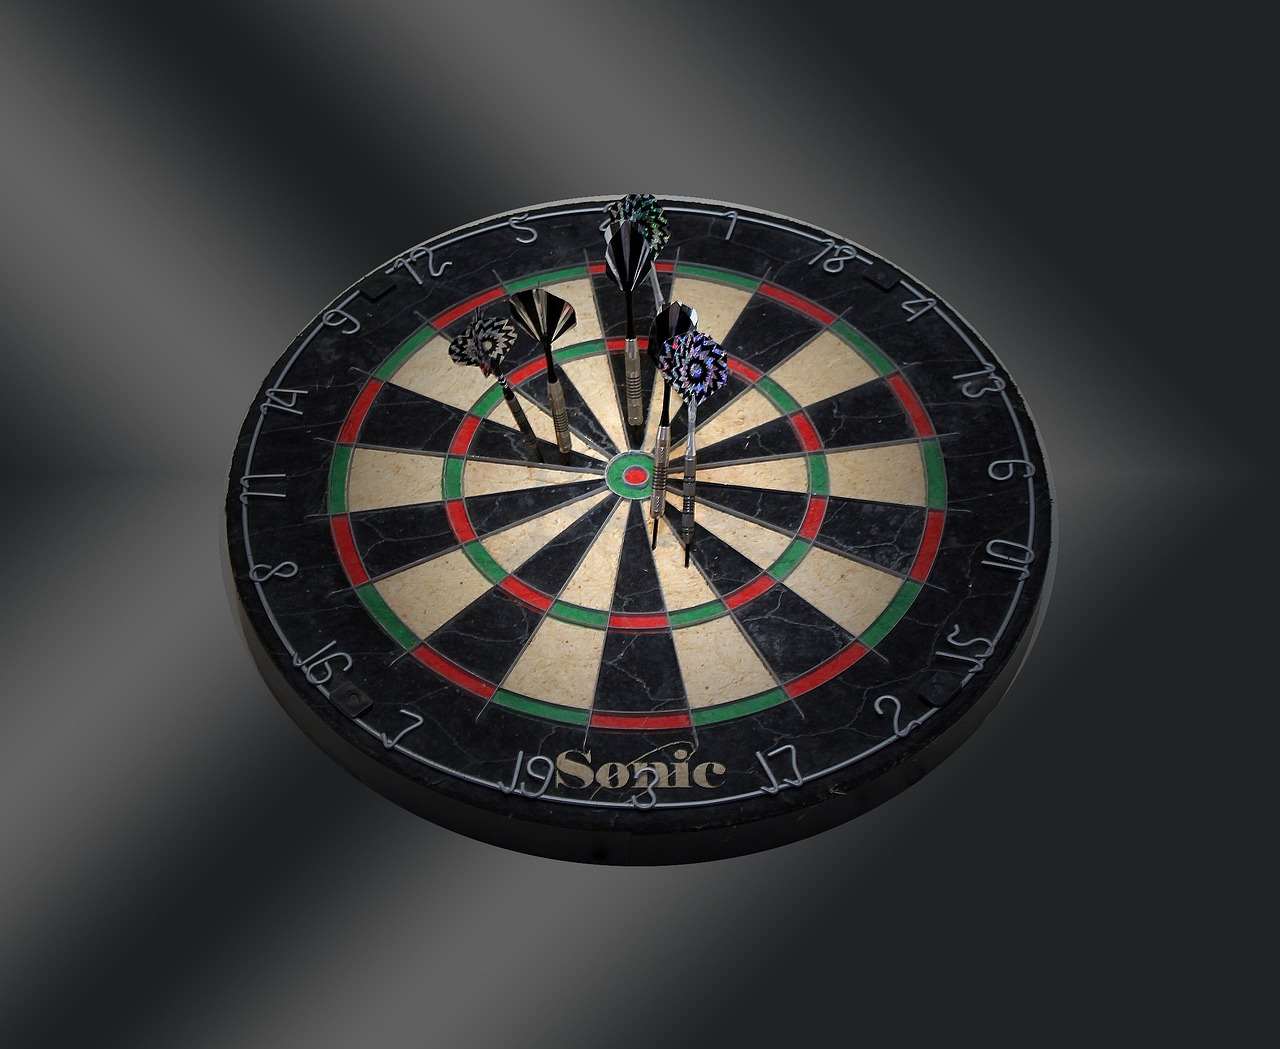
First and foremost, you need a high-quality dartboard. Opt for a regulation-size bristle dartboard from a reputable brand. Ensure it is properly mounted at the regulation height (5 feet 8 inches to the bullseye) and distance (7 feet 9 1/4 inches from the oche to the face of the board). Regularly rotate the dartboard to evenly distribute wear and tear, prolonging its lifespan. When it comes to dart equipment, you can Choose Best Dart Equipment according to your preferences, budget, and skill level.
2. The Oche (Throwing Line)
The oche, or throwing line, is crucial for maintaining consistent distance. Use a clearly defined oche, either a physical marker or a designated spot on the floor. Ensure it is precisely 7 feet 9 1/4 inches from the face of the dartboard. Consistency here is paramount for accurate testing. Consider using a laser oche for ultimate precision, though these can sometimes be costly.
3. Lighting
Adequate and consistent lighting is essential for clear visibility and reduced eye strain. Shadows can significantly impact your perception and throwing accuracy. Consider investing in a dedicated dartboard lighting system that evenly illuminates the board. Explore different options like Best Dartboard Lighting Systems to find a setup that suits your needs and budget. Consistent and shadow-free lighting promotes focused practice and reliable testing.
4. Recording System
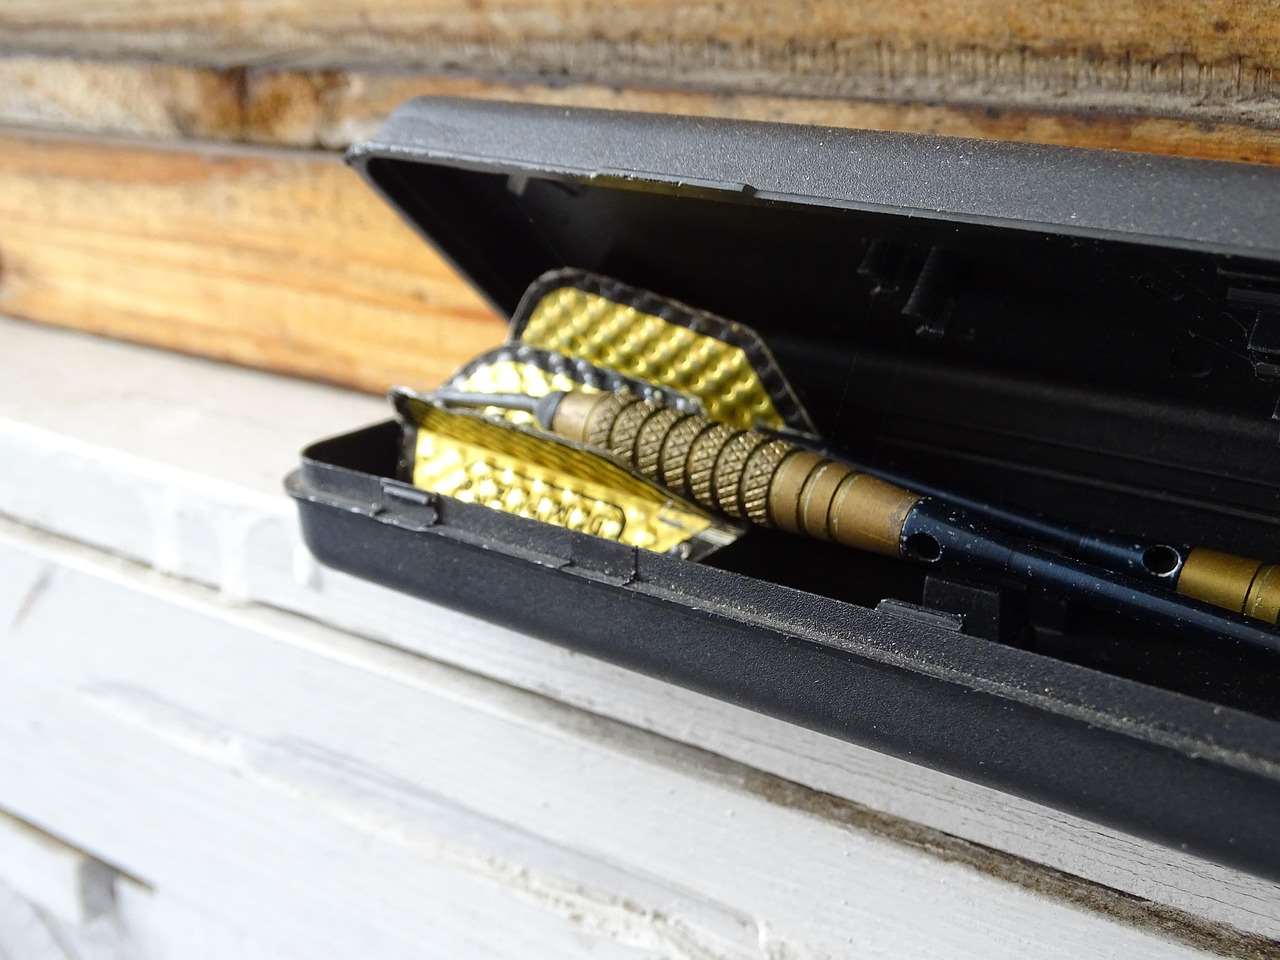
To track your progress and analyze your performance, you need a system for recording your throws. This can be as simple as a notebook and pen, or a more sophisticated digital scoring app. Record the following data for each throw: dart number (1, 2, 3), score, location on the board, and any observations about your throw. Analyzing this data will reveal patterns and highlight areas for improvement.
5. Controlled Environment
Minimize distractions and external factors that could influence your throws. Choose a quiet location with minimal foot traffic. Ensure the temperature and humidity are relatively stable. Control the lighting and noise levels to create a consistent and predictable environment. Even small changes in these factors can impact your throwing accuracy.
Setting Up Your Controlled Dart Testing Environment
Now that you understand the key elements, let’s outline the steps for setting up your Controlled Dart Testing Setup:
- Choose Your Location: Select a suitable room or area with enough space for throwing and minimal distractions.
- Mount Your Dartboard: Securely mount your dartboard at the regulation height. Use a level to ensure it’s perfectly vertical.
- Define Your Oche: Clearly mark your oche at the regulation distance. Double-check the measurement for accuracy.
- Install Lighting: Install your chosen dartboard lighting system and adjust it for optimal illumination and minimal shadows. Consider How To Light Your Dartboard for best results.
- Set Up Your Recording System: Prepare your notebook or scoring app for recording your throws.
- Eliminate Distractions: Minimize noise, foot traffic, and other potential distractions in your testing area.
- Calibrate Your Setup: Before starting your testing session, take a few practice throws to get a feel for the environment and ensure everything is properly calibrated.
Testing Protocols and Drills
Once your setup is complete, it’s time to implement specific testing protocols and drills to analyze your performance. Here are a few examples:
1. Accuracy Testing
Focus on hitting specific targets on the dartboard, such as doubles, trebles, or specific numbers. Throw a set number of darts (e.g., 30 darts) at each target and record your accuracy rate. This will reveal your strengths and weaknesses in hitting different areas of the board.
2. Consistency Testing
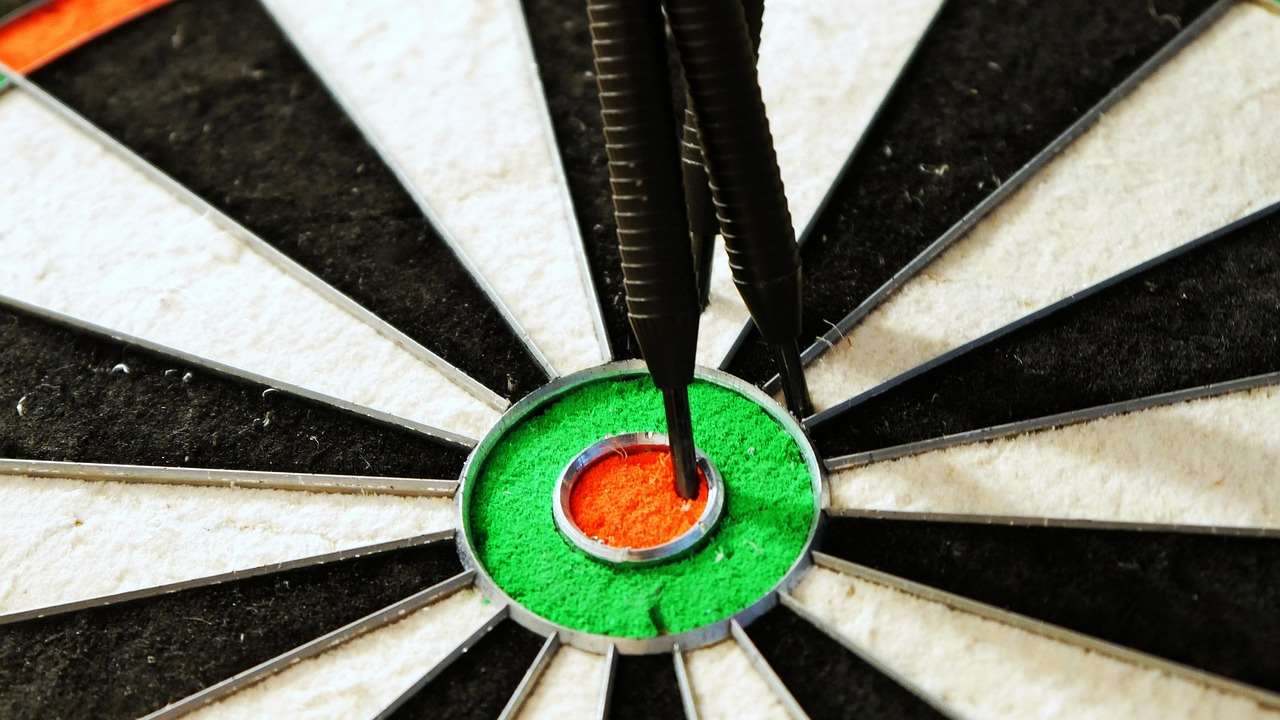
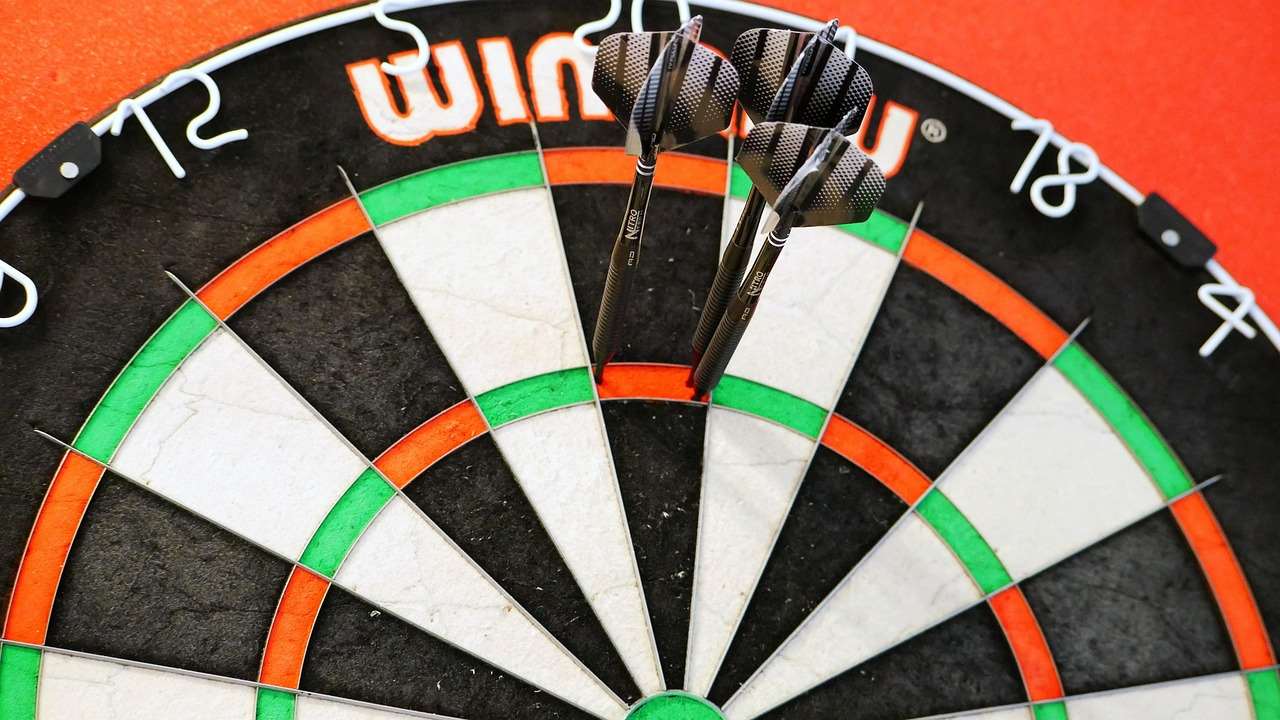
Throw a series of darts at the same target (e.g., the bullseye) and analyze the grouping of your throws. Tight groupings indicate good consistency, while scattered throws suggest inconsistencies in your technique.
3. Equipment Testing
Experiment with different dart setups (weight, shaft length, flights) and compare your performance with each setup. Record your scores and accuracy rates for each setup to determine which one works best for you. This can involve testing out different flight types and shafts to observe how they impact dart trajectory and stability. For example, you might find LED Dartboard Lights Benefits outweigh the drawbacks for your testing due to their longevity and consistent illumination.
4. Technique Testing
Experiment with subtle changes to your grip, stance, or release and observe how these changes affect your throwing accuracy and consistency. Record your observations and track your performance to identify the optimal technique for you. This is where having a recording system really pays off, as you can meticulously track your results with each change.
Analyzing Your Data and Making Adjustments
The final step in the Controlled Dart Testing Setup process is to analyze your data and make adjustments to your technique or equipment. Look for patterns in your scores and accuracy rates. Identify areas where you consistently struggle and areas where you excel. Use this information to make targeted adjustments to your grip, stance, release, or dart setup. Regular testing and analysis are essential for continuous improvement.
Interpreting the Results
When evaluating your data, consider the following:
- Average Score: What is your average score per dart? This provides a general overview of your overall performance.
- Accuracy Rate: What percentage of your throws hit the target? This indicates your accuracy on specific targets.
- Grouping: How tight are your groupings of throws? This reveals your consistency.
- Trends: Are there any trends in your data? For example, do you perform better with certain dart setups or techniques?
Continuous Improvement
Remember that a Controlled Dart Testing Setup is not a one-time event. It’s an ongoing process of testing, analyzing, and adjusting. Regularly test your performance and track your progress over time. Be patient and persistent, and you will see significant improvements in your dart game.
Conclusion
Creating a Controlled Dart Testing Setup is a powerful tool for improving your dart game. By providing a consistent and measurable environment, you can identify your strengths and weaknesses, optimize your equipment and technique, and track your progress over time. Implement the strategies outlined in this article, and you’ll be well on your way to achieving your darting goals. Start by setting up your dedicated testing area today and witness the positive impact on your performance. Ready to take your dart game to the next level? Begin implementing these strategies now!
Hi, I’m Dieter, and I created Dartcounter (Dartcounterapp.com). My motivation wasn’t being a darts expert – quite the opposite! When I first started playing, I loved the game but found keeping accurate scores and tracking stats difficult and distracting.
I figured I couldn’t be the only one struggling with this. So, I decided to build a solution: an easy-to-use application that everyone, no matter their experience level, could use to manage scoring effortlessly.
My goal for Dartcounter was simple: let the app handle the numbers – the scoring, the averages, the stats, even checkout suggestions – so players could focus purely on their throw and enjoying the game. It began as a way to solve my own beginner’s problem, and I’m thrilled it has grown into a helpful tool for the wider darts community.