Building a dartboard surround is a simple yet effective way to protect your walls and create a dedicated, stylish space for your darts games. This article will guide you through the entire process, from choosing the right materials to the final touches. You’ll also learn about different design options and helpful tips for a successful project.
⚠️ Still Using Pen & Paper (or a Chalkboard)?! ⚠️
Step into the future! The Dart Counter App handles all the scoring, suggests checkouts, and tracks your stats automatically. It's easier than you think!
Try the Smart Dart Counter App FREE!Ready for an upgrade? Click above!
Before diving into the specifics of building a dartboard surround, let’s consider why it’s a worthwhile project. A well-constructed surround not only protects your walls from damage caused by errant darts, but it also enhances the overall look and feel of your game room. It can transform a simple wall into a dedicated and stylish dart playing area. This makes your games more enjoyable and adds to your home’s style and character.
Choosing the Right Materials for Your Dartboard Surround
The materials you select significantly impact the durability, aesthetics, and overall success of your building a dartboard surround project. Here are some popular choices:
- Wood: A classic and versatile option, offering a wide range of styles and finishes. Consider using sturdy hardwoods like oak or pine for optimal durability. The wood’s grain and colour can add a unique aesthetic touch.
- Plywood: A more budget-friendly alternative to solid wood, plywood is still strong enough to withstand the impact of darts. Choose a thicker plywood for increased strength and stability.
- MDF (Medium-Density Fiberboard): MDF is a smooth, dense material that’s easy to work with. It’s excellent for painting or applying veneers, allowing for considerable customization. However, it’s not as strong as wood or plywood, so extra care may be needed for particularly vigorous dart throwers.
- Sheet Metal: For a more industrial or modern look, sheet metal can provide a robust and stylish surround. Consider using aluminum or steel for superior protection. You will likely want some wood backing for mounting the dartboard itself.
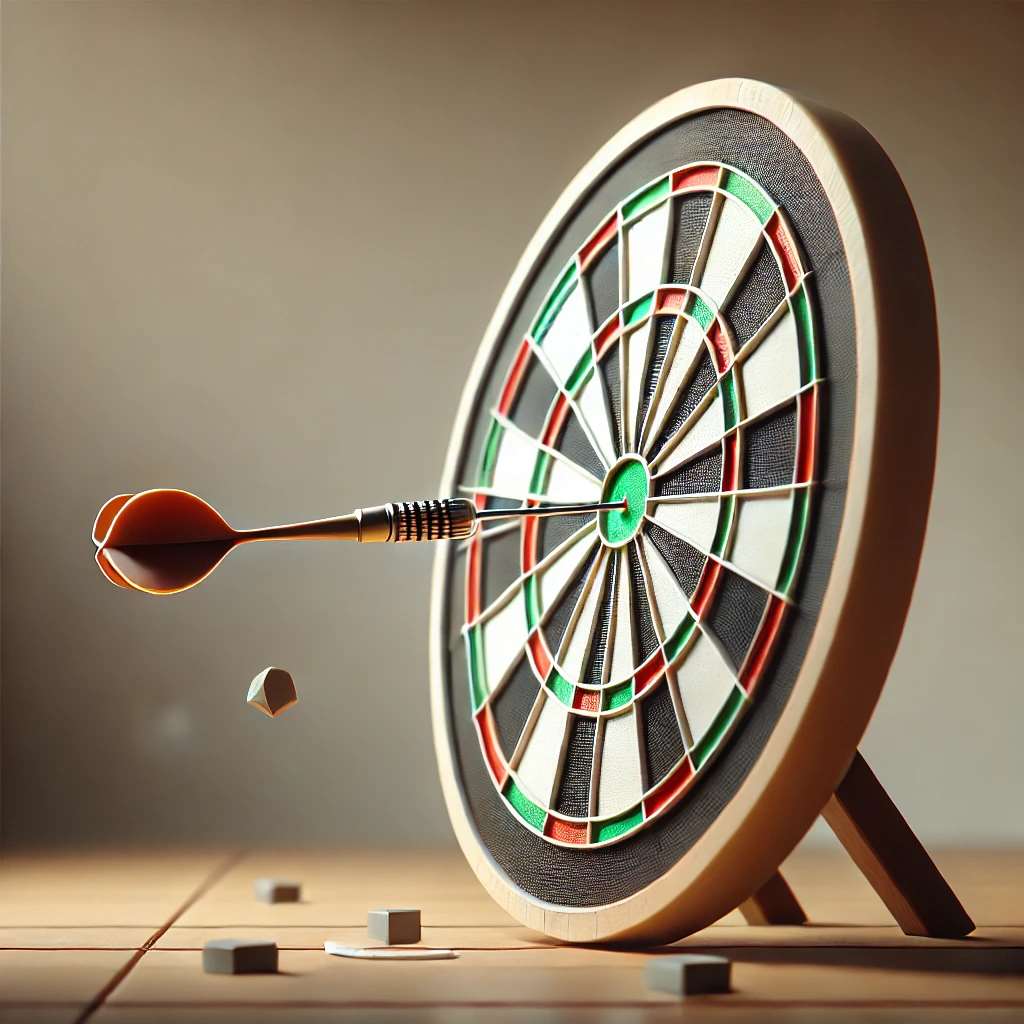
Remember to choose materials that are thick enough to absorb the impact of darts and prevent them from penetrating the wall behind. Consider the overall style of your game room when making your selection. For instance, a rustic game room might benefit from a reclaimed wood surround, while a modern space may look better with a sleek metal frame.
Designing Your Dartboard Surround: Size and Style
The size of your building a dartboard surround will depend largely on the dimensions of your dartboard and your personal preferences. Most dartboards are roughly 18 inches in diameter. You’ll want a surround that extends at least several inches beyond the dartboard on all sides to adequately protect the surrounding wall. A good rule of thumb is to add 6-12 inches to each side of the dartboard. For larger surround designs consider 18-24 inches of extra space.
The style of your surround can be as simple or complex as you wish. You can create a simple frame, a more elaborate cabinet with storage for darts and accessories, or even an intricately carved surround. Remember to factor in the amount of space available in your room and your own skill level when planning your design.
Measuring and Cutting Your Materials
Accurate measurements are crucial for a successful project. Carefully measure your dartboard and plan the dimensions of your surround accordingly. Use a saw (circular saw or jigsaw, depending on the material) to cut your chosen material to the required dimensions. Ensure your cuts are clean and straight for a professional-looking finish. Cleaning up the sawdust can be as important as the initial cut, so make sure to have sufficient cleanup supplies on hand.
Building Your Dartboard Surround: A Step-by-Step Guide
Once you’ve chosen your materials and designed your surround, it’s time to start building! The exact steps will vary depending on your chosen design, but here’s a general outline for a simple frame surround:
- Cut the wood or other material: Cut four pieces of your chosen material to the desired length to form the frame.
- Assemble the frame: Use wood glue and screws to join the four pieces, creating a rectangular frame. Use clamps to hold the pieces together while the glue dries.
- Attach the back panel: Cut a piece of plywood or MDF to fit inside the frame. Use wood glue and/or screws to securely attach it to the frame. This forms the back of your surround.
- Attach the dartboard: Carefully mount your dartboard securely to the back panel. Ensure it is centrally positioned.
- Finishing touches: Sand the edges of your surround smooth, and apply your desired finish such as paint, stain or varnish. Proper maintenance is key to a longer lasting dartboard.
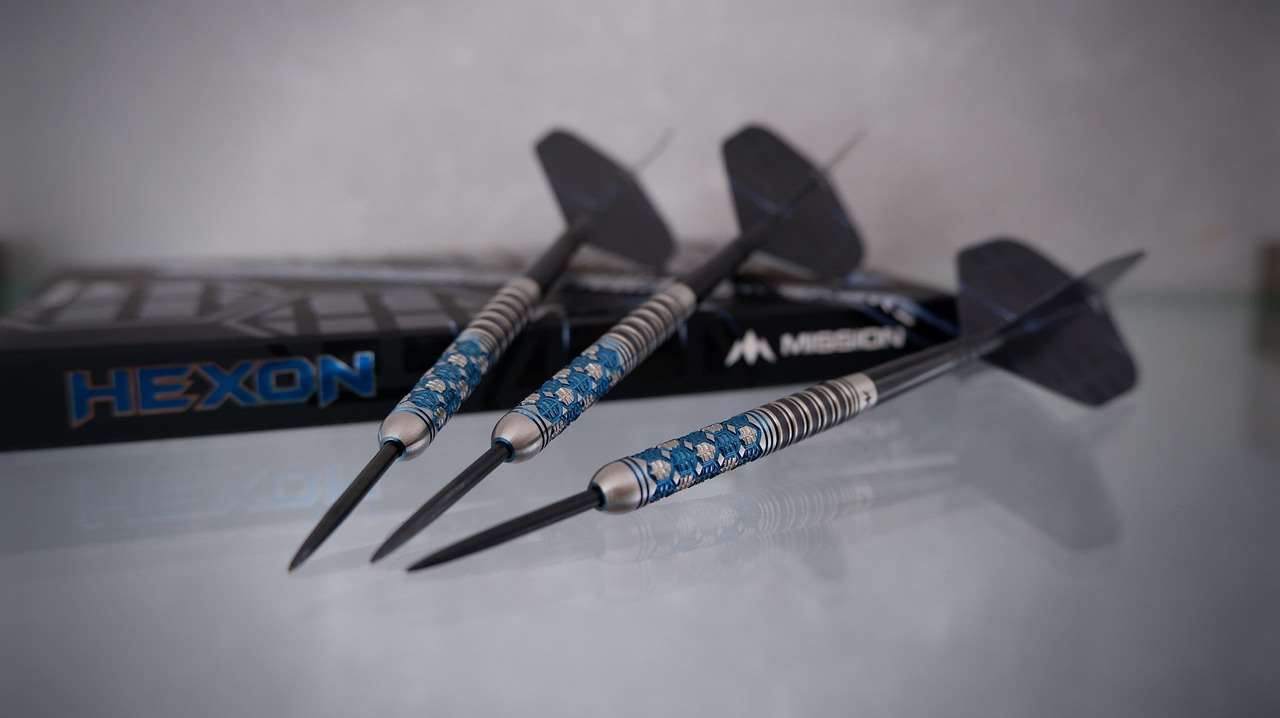
For more complex designs, you may need to add additional elements such as shelves, cabinets, or decorative trim. Remember to always prioritize safety and ensure that all parts are securely fastened to prevent accidental injury. Proper construction is a crucial step in successfully building a dartboard surround.
Adding Finishing Touches: Enhancing Your Dartboard Surround
Once the basic structure is complete, you can add personal touches to make your surround truly unique. Consider these options:
- Painting or staining: Apply a coat of paint or stain to match your game room’s decor. Multiple coats provide better protection and more vibrant colours.
- Adding trim or molding: Use trim or molding to add decorative accents and create a more polished look.
- Installing lighting: Installing efficient dartboard lighting can significantly enhance the playing experience and highlight your surround’s details. Consider LED strip lights or dedicated dartboard lamps.
- Adding shelves or storage: Incorporate shelves to store darts, accessories, or other game-related items. This keeps everything organized and within easy reach.
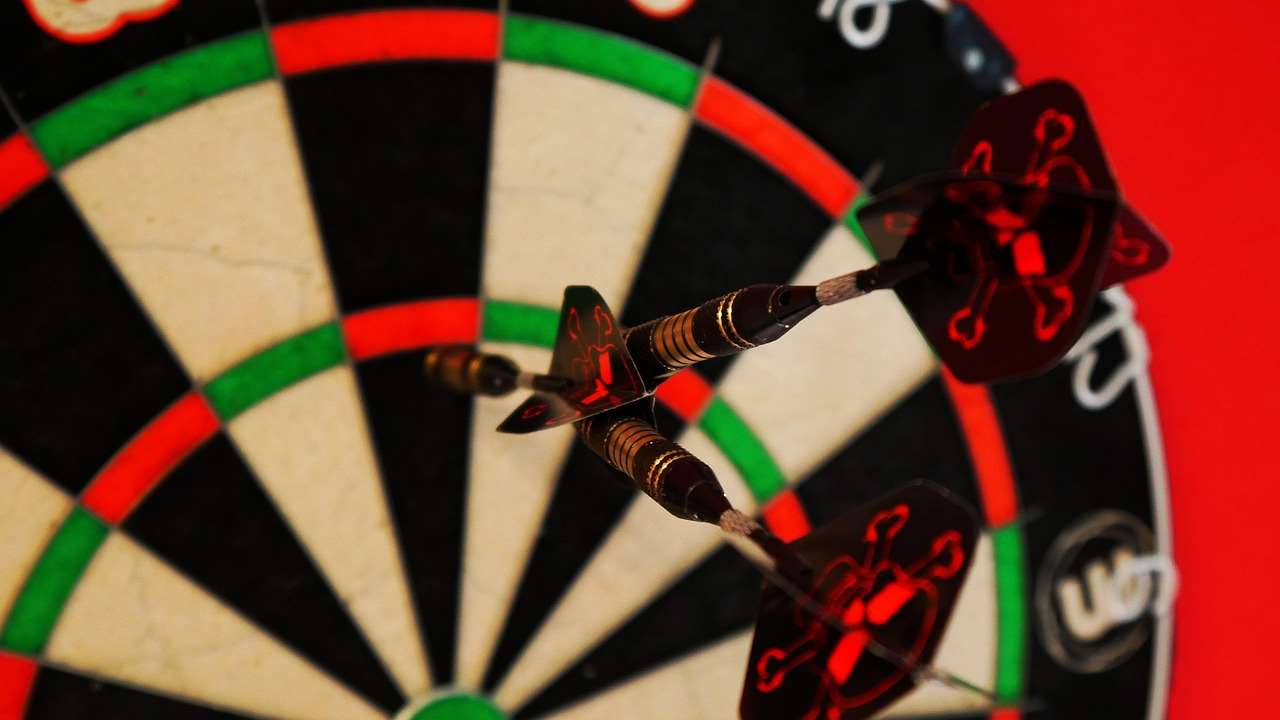
Remember to choose finishes that are durable and easy to clean. Consider using sealant to protect the wood from moisture and damage. A well-finished surround will enhance your game room’s overall aesthetic appeal and add a professional touch to your dedicated space.
Troubleshooting Common Issues in Building a Dartboard Surround
While building a dartboard surround is generally a straightforward project, you may encounter some challenges. Here are a few common issues and solutions:
- Uneven surfaces: Ensure your wall is level before mounting the surround to prevent tilting or instability.
- Loose screws: Use screws of appropriate length and diameter to ensure a secure fit. Consider using pilot holes to prevent splitting the wood.
- Difficult-to-cut materials: Use the appropriate saw and blade for your chosen material. Work slowly and carefully to avoid chipping or breaking the material.
- Inconsistent finishes: Sand thoroughly between coats of paint or stain for a smooth, even finish.
If you encounter any significant problems, don’t hesitate to seek advice from experienced DIYers or professionals. Remember that meticulous planning and careful execution are key to achieving a satisfactory outcome.
Safety Considerations for Your Dartboard Surround
Safety should be your top priority when building a dartboard surround. Here are a few important tips:
- Secure mounting: Ensure the surround is securely mounted to the wall to prevent it from falling or becoming dislodged during use.
- Sharp edges: Sand all sharp edges and corners smooth to avoid injury.
- Proper materials: Choose materials that are strong and durable enough to withstand the impact of darts.
- Sufficient thickness: Ensure the surround is thick enough to stop darts from penetrating it. Consult specifications provided by your dartboard manufacturer for additional recommendations. Consider dart point style also, as longer darts might require a thicker surround.
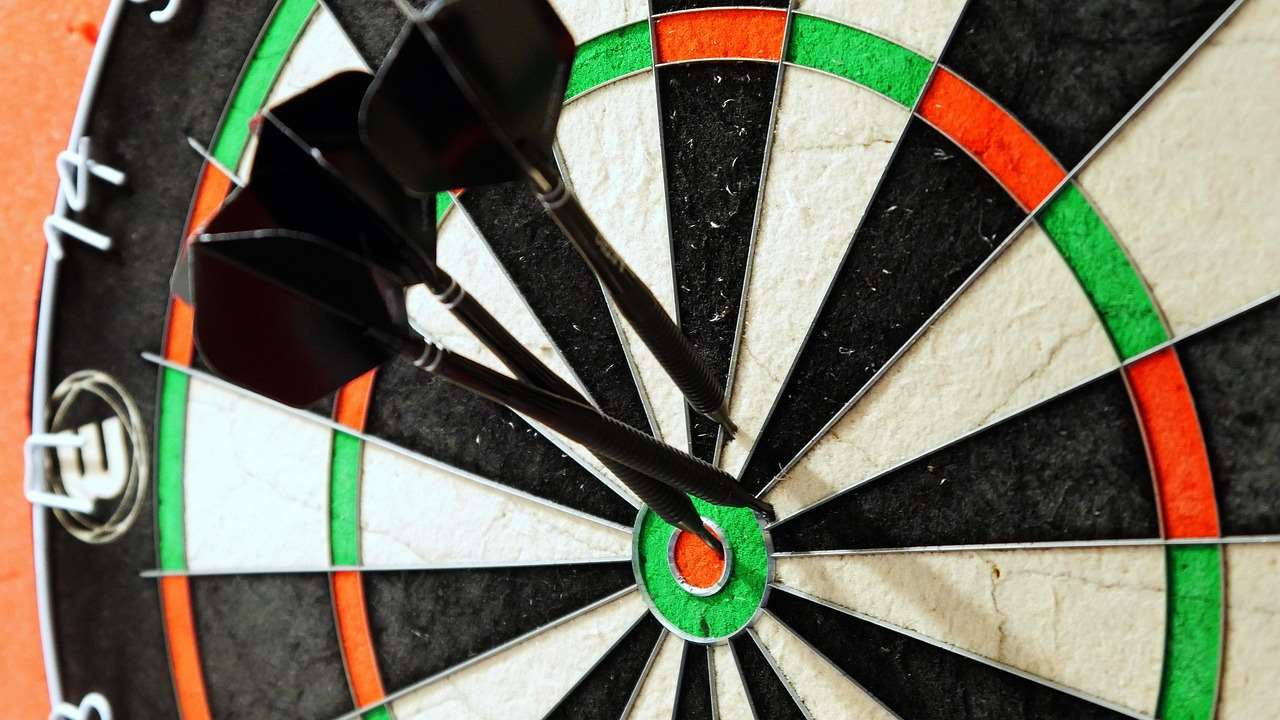
By following these safety guidelines, you can minimize the risk of injury and create a safe and enjoyable space for your darts games. Always remember to prioritize safety when using power tools.
Beyond the Basics: Advanced Dartboard Surround Ideas
Once you’ve mastered the basics of building a dartboard surround, you can explore more advanced techniques and designs. Consider incorporating features like:
- Integrated scoring system: For a truly high-tech setup, consider integrating an electronic scoring system into your surround.
- Customizable lighting: Add programmable LED lighting that changes colour or intensity to match your mood or create an exciting atmosphere.
- Built-in storage: Incorporate spacious storage compartments for darts, flights, and other accessories.
- Soundproofing: If you live in an apartment or have noise-sensitive neighbours, consider adding soundproofing materials to your surround to minimize noise levels.
These additions can elevate your dart playing area to the next level, creating a truly personalized and functional space. Using your creativity you can find more advanced building a dartboard surround techniques.
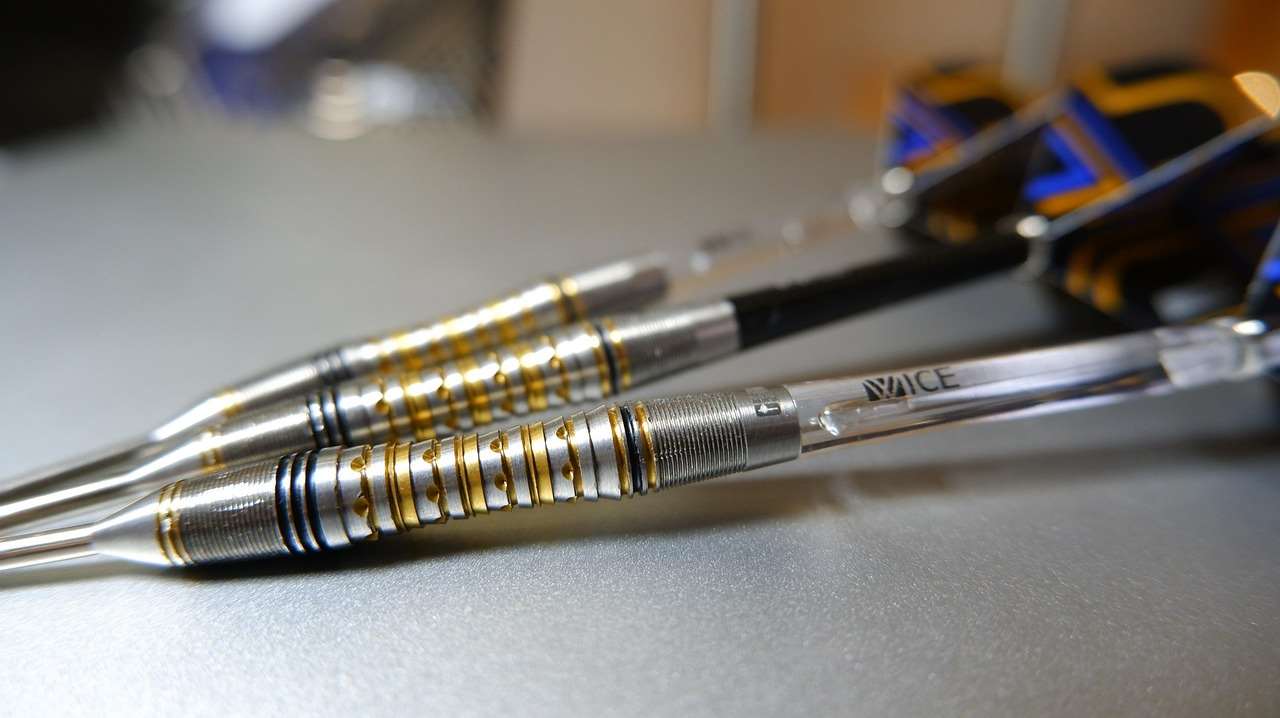
Remember, a properly constructed surround will enhance your playing experience while providing your wall with lasting protection. Your choice in design elements can add personality to this space.
Conclusion: Your Perfect Dartboard Surround Awaits
Building a dartboard surround is a rewarding project that improves both the safety and style of your game area. By carefully choosing your materials, planning your design, and following the steps outlined in this guide, you can create a custom surround that perfectly complements your game room. Don’t forget to prioritize safety throughout the process, and remember that even small details can make a big difference in the final outcome. Now, get started on building a dartboard surround, and let the games begin!
Learn more about darts culture and maintenance
Hi, I’m Dieter, and I created Dartcounter (Dartcounterapp.com). My motivation wasn’t being a darts expert – quite the opposite! When I first started playing, I loved the game but found keeping accurate scores and tracking stats difficult and distracting.
I figured I couldn’t be the only one struggling with this. So, I decided to build a solution: an easy-to-use application that everyone, no matter their experience level, could use to manage scoring effortlessly.
My goal for Dartcounter was simple: let the app handle the numbers – the scoring, the averages, the stats, even checkout suggestions – so players could focus purely on their throw and enjoying the game. It began as a way to solve my own beginner’s problem, and I’m thrilled it has grown into a helpful tool for the wider darts community.