Protecting your walls and enhancing your dart-playing experience starts with building a dart board backboard. This article provides a comprehensive guide to creating your own backboard, covering everything from material selection and construction techniques to mounting and finishing, ensuring your walls stay safe from stray darts.
⚠️ Still Using Pen & Paper (or a Chalkboard)?! ⚠️
Step into the future! The Dart Counter App handles all the scoring, suggests checkouts, and tracks your stats automatically. It's easier than you think!
Try the Smart Dart Counter App FREE!Ready for an upgrade? Click above!
Why You Need a Dart Board Backboard
Before diving into building a dart board backboard, it’s crucial to understand its importance. A backboard serves several vital functions:
- Wall Protection: The primary purpose is to shield your wall from damage caused by errant darts. Darts, especially when learning or after a few beverages, tend to miss the board.
- Dart Protection: A good backboard can also protect your darts. Hitting a hard wall can damage the points and flights.
- Aesthetics: A well-designed backboard can enhance the look of your dart playing area, making it a more enjoyable space.
- Noise Reduction: A backboard can slightly dampen the sound of darts hitting the wall, which can be beneficial in apartments or shared living spaces.
Investing in or building a dart board backboard is a worthwhile investment for any darts enthusiast.
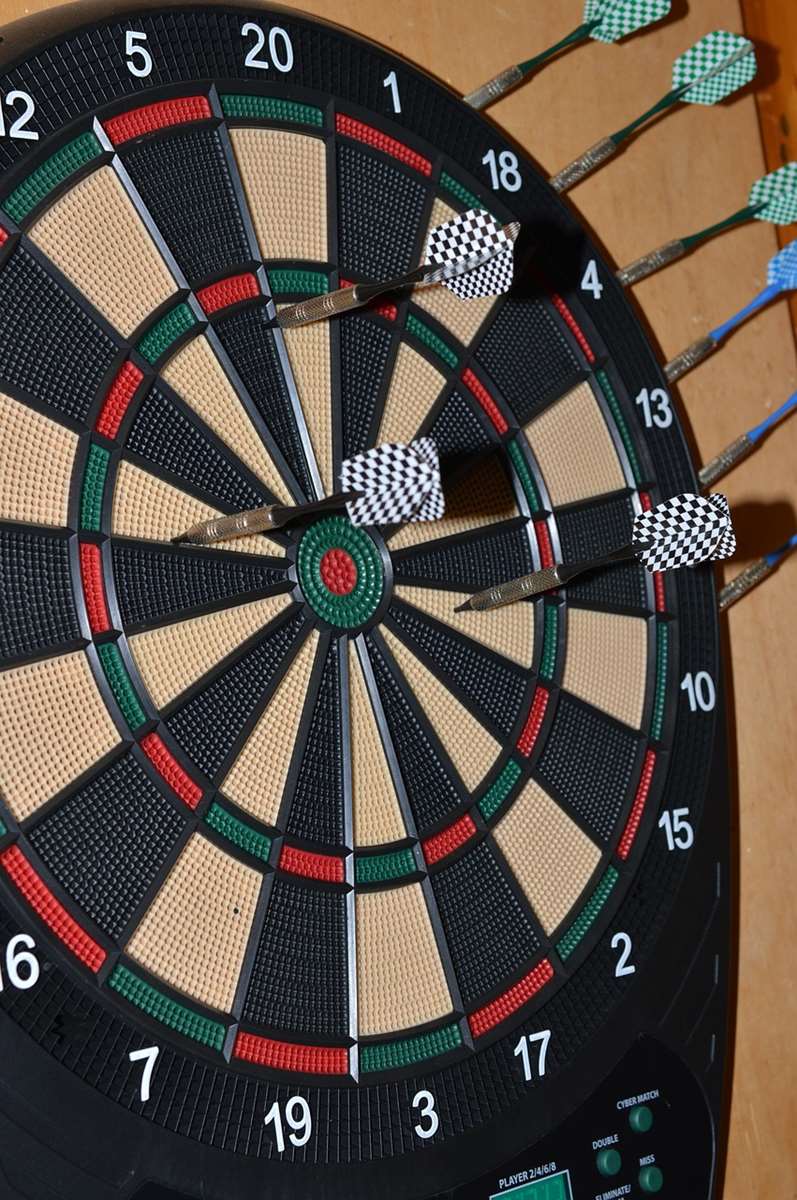
Planning Your Dart Board Backboard Project
Careful planning is essential for successful building a dart board backboard. Here’s what to consider:
1. Determining the Size
The size of your backboard depends on several factors:
- Your Skill Level: Beginners typically need a larger backboard to compensate for less accurate throws.
- Available Space: Consider the dimensions of your room and the surrounding furniture.
- Aesthetic Preferences: Do you want a minimalist backboard or a statement piece?
A common starting point is a square backboard, roughly 4 feet by 4 feet. This provides ample coverage without being overly large. You may want to consider purchasing a ray k dartboard later on as you upgrade your set up.
2. Choosing the Right Materials
Selecting the appropriate materials is crucial for durability and aesthetics. Here are some popular options:
- Wood: Plywood, MDF (Medium-Density Fiberboard), and solid wood are all viable choices. Plywood is strong and relatively inexpensive, while MDF offers a smooth surface for painting. Solid wood provides a premium look but is more expensive and requires more skill to work with.
- Cork: Cork is an excellent choice for absorbing darts and minimizing bounce-outs. It’s also self-healing, meaning the holes close up over time. However, cork can be more expensive than other options and might require a backing for added support.
- Foam: High-density foam boards offer excellent wall protection and are lightweight and easy to cut. Consider layering foam sheets for better dart absorption.
Consider the pros and cons of each material before making your decision. For example, if you plan on painting the backboard, MDF is a good choice. If you prioritize dart absorption and aesthetics, cork might be preferable.
3. Gathering the Necessary Tools
Having the right tools on hand will make the building a dart board backboard process much smoother. Here’s a list of essential tools:
- Measuring Tape: For accurate measurements.
- Saw: For cutting the backboard material to size (circular saw, jigsaw, or hand saw).
- Drill: For creating pilot holes and attaching the dartboard.
- Screws: For securing the backboard to the wall and attaching the dartboard.
- Sandpaper: For smoothing rough edges.
- Paint or Stain: For finishing the backboard (optional).
- Level: For ensuring the dartboard is mounted straight.
- Stud Finder: For locating wall studs to securely mount the backboard.
Consider safety gear like safety glasses and gloves when using power tools.
Step-by-Step Guide: Building Your Dart Board Backboard
Now, let’s get into the practical steps of building a dart board backboard:
1. Cutting the Backboard Material
Using your measurements, carefully cut the backboard material to size. If using a power saw, ensure you have a stable work surface and follow all safety precautions. If using a hand saw, take your time to ensure a straight cut. Accuracy at this stage will make the rest of the process easier.
2. Sanding and Finishing the Edges
After cutting, sand all the edges of the backboard to remove any splinters or rough spots. This will prevent injuries and create a smoother surface for painting or staining. Use progressively finer grits of sandpaper for the best results.
3. Painting or Staining (Optional)
If you choose to paint or stain your backboard, now is the time to do it. Apply multiple thin coats for a more even finish. Allow each coat to dry completely before applying the next. Consider using a primer before painting to improve adhesion and durability. Let your dartboard set reflect your dart set collection with a matching backboard color.
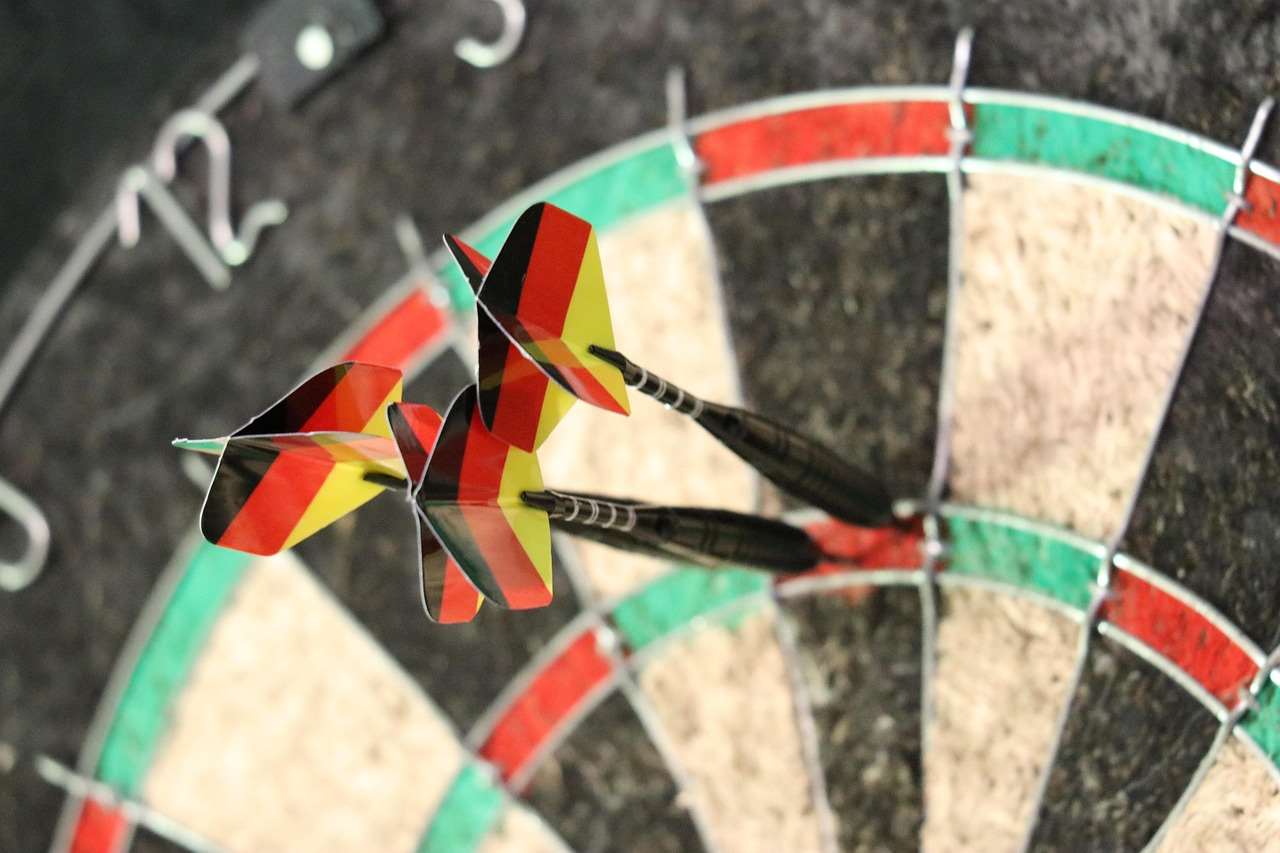
4. Mounting the Dartboard
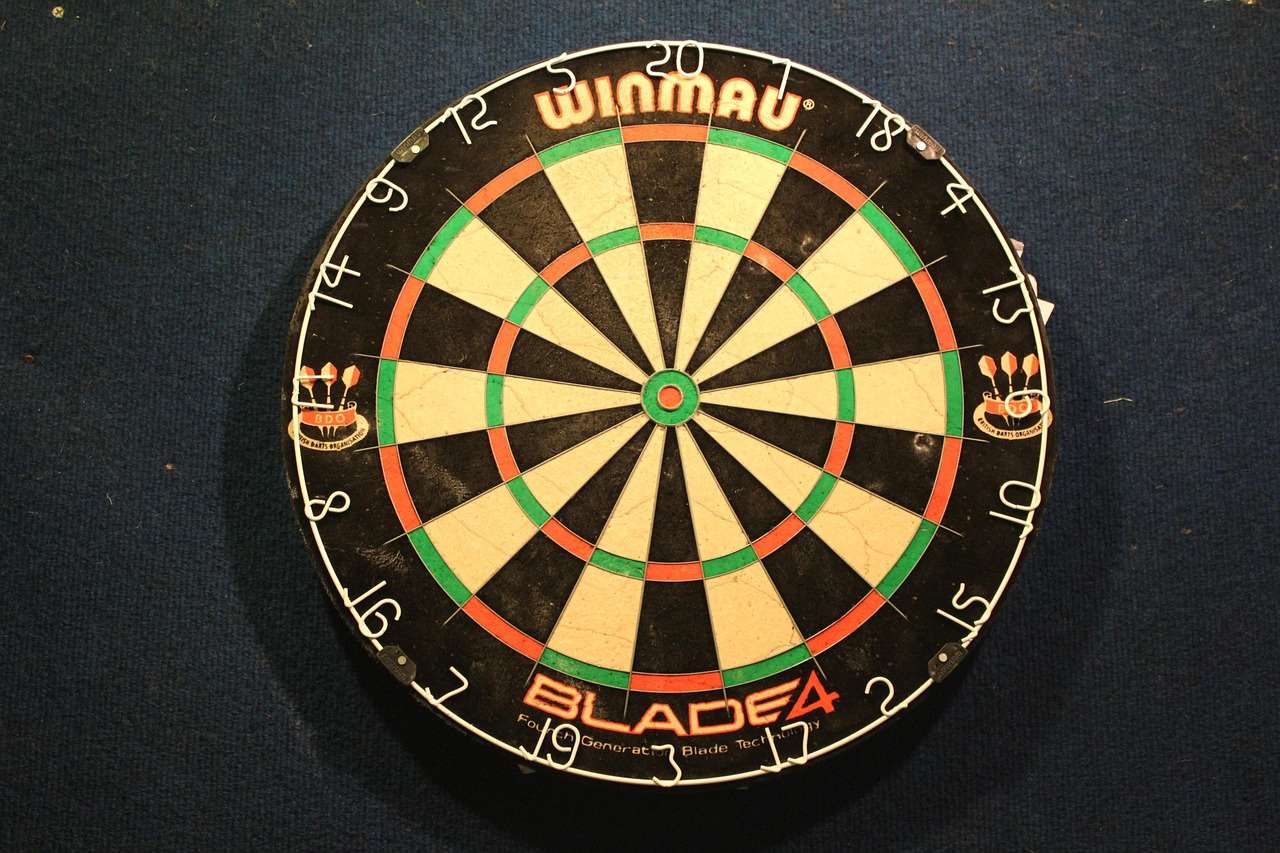
Mounting the dartboard correctly is crucial for accurate gameplay. Use a measuring tape and a level to ensure the dartboard is at the regulation height. The center of the dartboard (the bullseye) should be 5 feet 8 inches (1.73 meters) from the floor. Most dartboards come with mounting hardware and instructions. Follow these instructions carefully. Consider a dartboard rota lock to keep your board firmly in place.
5. Attaching the Backboard to the Wall
The final step is attaching the backboard to the wall. Use a stud finder to locate wall studs. Attaching the backboard to studs will provide the most secure mounting. If you can’t attach to studs, use drywall anchors. Use a level to ensure the backboard is straight before screwing it into the wall. Check the Dart Counter App for tips to improve your accuracy, and you might not need the backboard at all!
Tips for a Professional-Looking Backboard
Here are some tips to elevate your building a dart board backboard project:
- Use a Router: A router can create decorative edges on the backboard, adding a professional touch.
- Add Trim: Adding trim around the perimeter of the backboard can enhance its appearance.
- Consider Lighting: Install a dartboard light to illuminate the playing area and improve visibility. An xqmax dartboard light may be the best option for your needs.
- Incorporate Design Elements: Personalize your backboard with stencils, decals, or custom artwork.
These extra touches can transform your backboard from a functional item into a stylish addition to your game room. If you have a darts set review blog, this backboard is the perfect prop for your content.
Alternative Backboard Ideas
While a standard square backboard is a great option, here are some alternative ideas to consider:
- Circular Backboard: A circular backboard can add a unique visual element.
- Reclaimed Wood Backboard: Using reclaimed wood can create a rustic and eco-friendly look.
- Chalkboard Backboard: A chalkboard backboard allows you to keep score directly on the backboard.
These alternative designs can help you create a backboard that reflects your personal style.
Troubleshooting Common Problems
Even with careful planning, you might encounter some problems while building a dart board backboard. Here are some common issues and solutions:
- Backboard Wobbles: Ensure the backboard is securely attached to the wall studs or use more robust drywall anchors.
- Darts Bounce Out Frequently: Consider using a thicker backboard material or adding a layer of cork or foam behind the primary surface.
- Paint Peeling: Prepare the surface properly by sanding and priming before painting.
Addressing these problems proactively will ensure a long-lasting and enjoyable dart-playing experience.
Maintaining Your Dart Board Backboard
Proper maintenance will extend the life of your dart board backboard. Here are some tips:
- Regular Cleaning: Wipe down the backboard with a damp cloth to remove dust and dirt.
- Dart Hole Repair: Fill dart holes in cork or foam backboards with wood filler or a similar material.
- Periodic Inspection: Check the backboard for signs of wear and tear, such as loose screws or damaged edges.
Taking care of your backboard will ensure it continues to protect your walls and enhance your dart-playing experience for years to come. Perhaps darts darts f is your niche!
Conclusion
Building a dart board backboard is a simple yet effective way to protect your walls, enhance your dart-playing experience, and add a personal touch to your game room. By carefully planning your project, choosing the right materials, and following the steps outlined in this guide, you can create a backboard that meets your needs and enhances your playing space. Remember to consider safety precautions when using power tools and take your time to ensure accuracy. Now that you are finished, you may need help with your dartboard oche distance. Get started on your project today and enjoy the peace of mind knowing your walls are safe from stray darts. If you like playing, try flight club darts. Have fun and aim true!
Hi, I’m Dieter, and I created Dartcounter (Dartcounterapp.com). My motivation wasn’t being a darts expert – quite the opposite! When I first started playing, I loved the game but found keeping accurate scores and tracking stats difficult and distracting.
I figured I couldn’t be the only one struggling with this. So, I decided to build a solution: an easy-to-use application that everyone, no matter their experience level, could use to manage scoring effortlessly.
My goal for Dartcounter was simple: let the app handle the numbers – the scoring, the averages, the stats, even checkout suggestions – so players could focus purely on their throw and enjoying the game. It began as a way to solve my own beginner’s problem, and I’m thrilled it has grown into a helpful tool for the wider darts community.