Building a custom dartboard surround is a fantastic way to personalize your game room and protect your walls from errant darts. This guide will walk you through the entire process, from planning and material selection to construction and finishing, ensuring you end up with a stunning and functional addition to your dart setup.
⚠️ Still Using Pen & Paper (or a Chalkboard)?! ⚠️
Step into the future! The Dart Counter App handles all the scoring, suggests checkouts, and tracks your stats automatically. It's easier than you think!
Try the Smart Dart Counter App FREE!Ready for an upgrade? Click above!
Before you even think about grabbing a saw, it’s crucial to plan your dartboard surround. Measure your dartboard carefully, noting not only its diameter but also its thickness. This will dictate the internal dimensions of your surround. Consider the overall style you’re aiming for – rustic, modern, sleek, or something else entirely? This will influence your material choices and design.
Planning Your Custom Dartboard Surround
The first step in building a custom dartboard surround is meticulous planning. Decide on the overall dimensions of your surround. Will it be a simple frame, or will it incorporate shelves for darts, scorecards, or drinks? Sketch out a design, noting the dimensions of each component. Remember to account for the thickness of the materials you’ll be using. This detailed design will be your blueprint throughout the building process. Accurate measurements are key to a successful project. Failing to plan properly can lead to costly mistakes and frustration down the line.
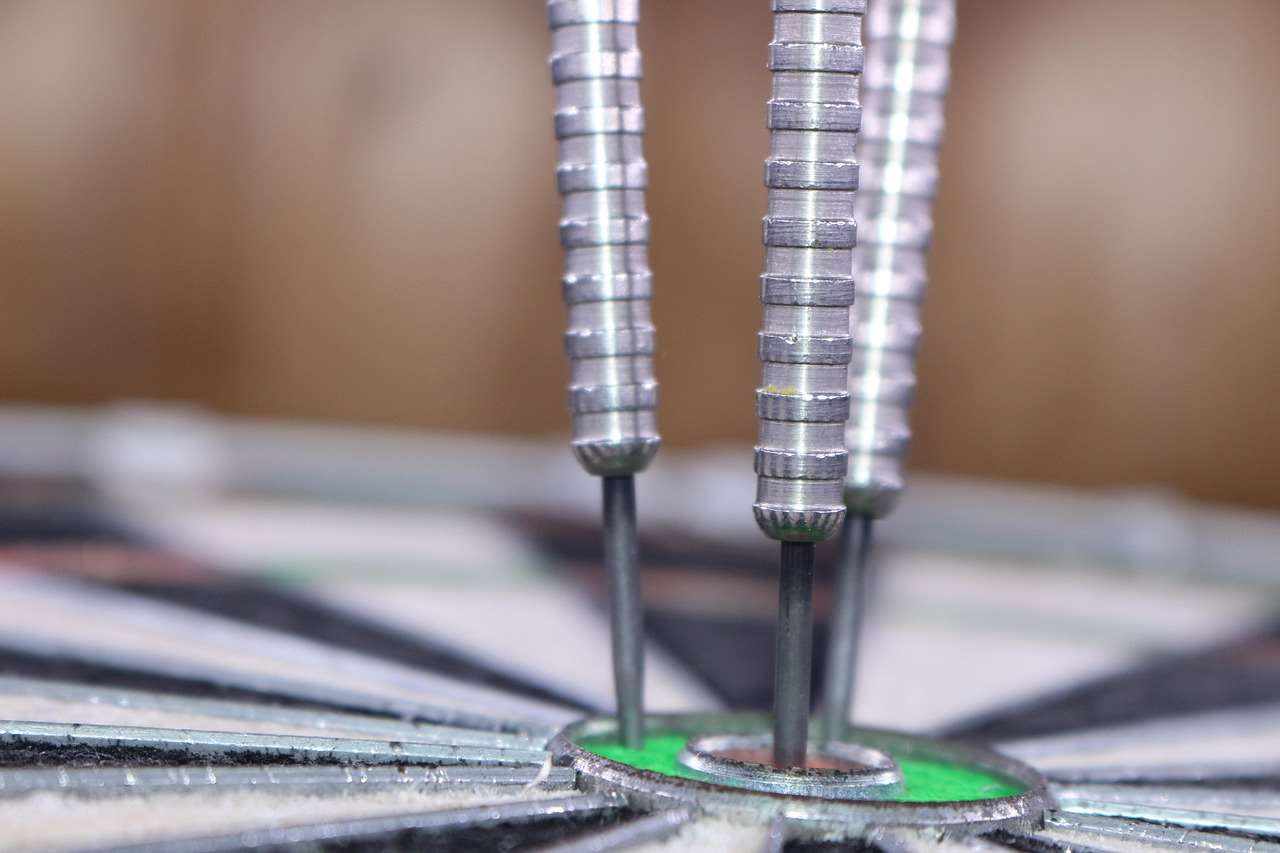
Once you have your design finalized, it’s time to source your materials. Popular choices include wood (pine, oak, or even reclaimed wood for a rustic look), MDF (for a smoother finish), or even metal for a more industrial aesthetic. Consider the weight of the material – a heavier surround will require more robust mounting hardware. For added protection, line the inside of your surround with a soft material like felt or rubber to minimize dart bounce-back and wall damage.
Choosing the Right Materials for Your Surround
The material you choose greatly impacts the final look and feel of your custom dartboard surround. Wood offers a classic, warm aesthetic and can be easily customized with stains and finishes. MDF provides a smooth, consistent surface that’s perfect for painting or wrapping. Metal offers a modern, industrial vibe, but it can be more challenging to work with. Think about the overall style of your game room and choose materials that complement it. Don’t forget to consider the cost, availability, and ease of working with each material.
Remember that you’ll need additional materials like screws, wood glue (if using wood), sandpaper, paint or stain (if desired), and mounting hardware for securing your surround to the wall. Make a comprehensive list before heading to the hardware store to avoid unnecessary trips.
Building Your Custom Dartboard Surround: A Step-by-Step Guide
With your plans and materials ready, it’s time to get your hands dirty. The specific steps will vary depending on the design and materials you’ve chosen, but here’s a general outline:
- Cut the Materials: Using your design as a guide, accurately cut the pieces of wood or other chosen material to the required dimensions. A miter saw is ideal for clean, precise cuts, but a hand saw will suffice for simpler designs. Remember to account for any joints or overlaps in your cuts.
- Assemble the Frame: Carefully assemble the frame, using wood glue and screws or other appropriate fasteners. Ensure that all corners are square and the joints are tight. Clamps can be extremely helpful in holding pieces together while the glue dries.
- Add Additional Features (Optional): If your design incorporates shelves, drawers, or other features, now is the time to add them. Follow the same careful measuring and cutting procedures as before.
- Sand and Finish: Once the assembly is complete, sand all surfaces smooth. Apply paint, stain, or a sealant as desired. Multiple coats may be needed for a professional finish. Let each coat dry completely before applying the next.
- Mount the Surround: Securely mount the completed surround to the wall using appropriate mounting hardware. Ensure it’s level and securely fastened to prevent any accidental damage or movement.
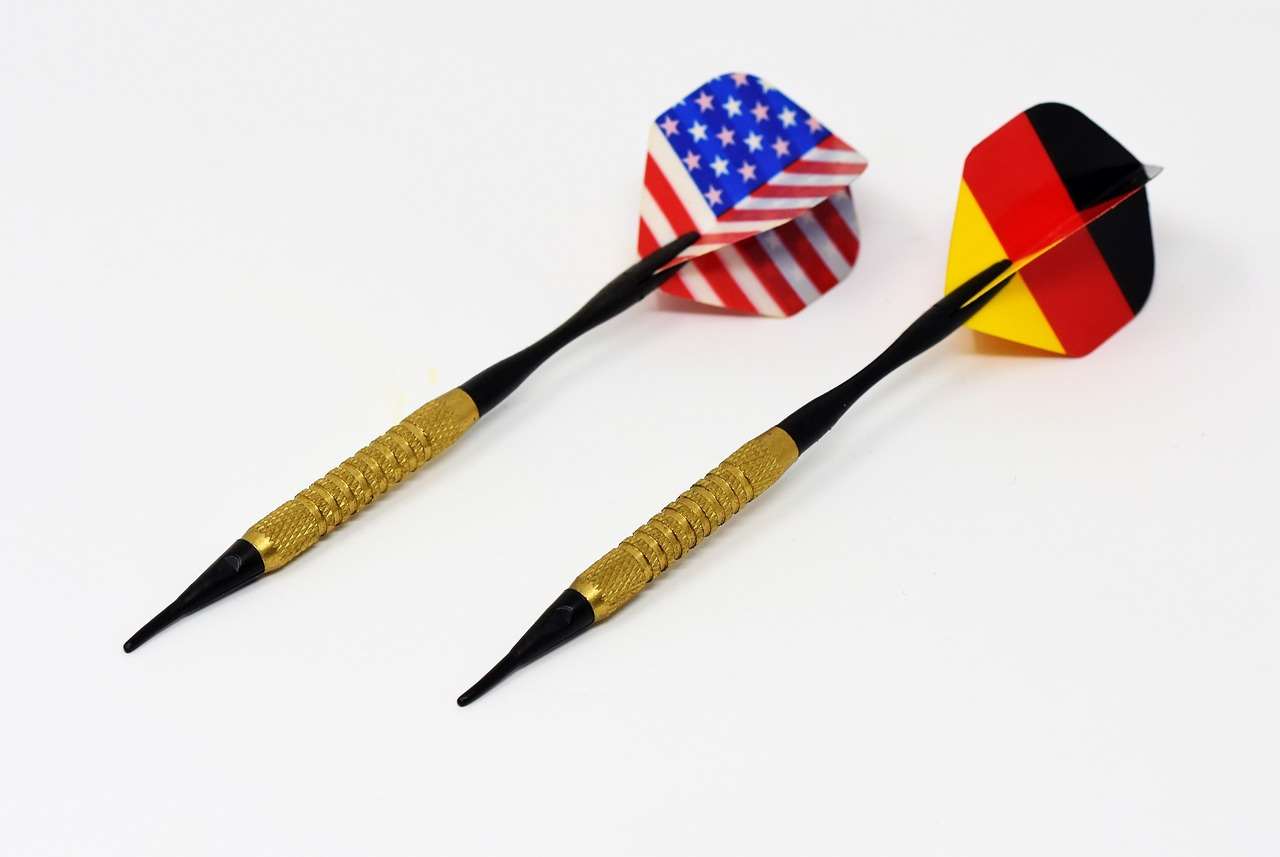
Remember to always prioritize safety when using power tools. Wear appropriate safety glasses and hearing protection. Take your time and double-check your measurements at each stage to avoid mistakes. If you’re not comfortable using power tools, consider asking a friend or professional for assistance.
Finishing Touches and Customization
Once your dartboard surround is built and mounted, you can add personal touches to truly make it your own. Consider adding a decorative trim, personalized engravings, or even a custom paint job. You can incorporate lighting, such as a homemade dartboard light ring, to enhance the playing experience. Think outside the box – the possibilities are endless.
Adding a felt or rubber lining to the inside of the surround will help absorb the impact of thrown darts, reducing noise and protecting your walls. You might also want to integrate small storage compartments for darts or accessories to keep everything organized. Consider darts gear lifespan to understand your equipment’s longevity and maintainence.
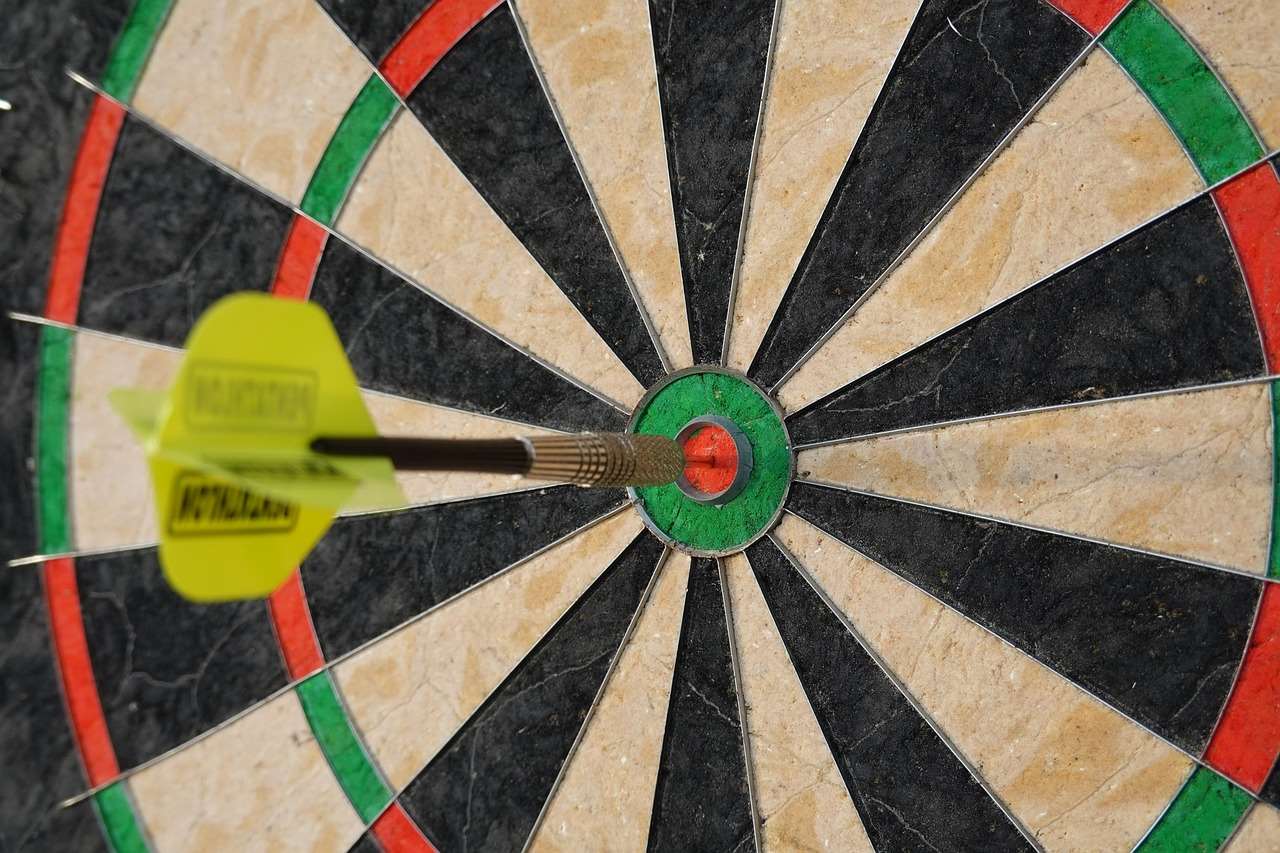
For a truly unique look, consider incorporating reclaimed wood or other unique materials into your design. You could even add a chalkboard section for scorekeeping or a small whiteboard for strategic planning. The goal is to create a dartboard area that reflects your personal style and enhances your game-playing experience.
Consider adding a small shelf for holding your darts, scorecard, and other accessories. A built-in cup holder or a small area to store snacks and drinks will enhance the social aspect of your darts game. The key is to think creatively and tailor the design to your personal preferences and needs. This is your opportunity to create a custom dartboard surround that’s both functional and aesthetically pleasing, reflecting your unique style and enhancing the overall dart-throwing experience.
Troubleshooting Common Issues
Even with careful planning and execution, you might encounter some challenges during the building a custom dartboard surround process. One common issue is uneven surfaces. To avoid this, ensure your base material is perfectly flat and level before beginning construction. Another potential problem is incorrect measurements. Always double-check your measurements before cutting any materials. If you encounter problems with the mounting, use appropriate wall anchors to ensure a secure hold.
If you’re working with wood, be mindful of potential warping or cracking. Using high-quality wood and allowing for proper drying time can help prevent this. For metal surrounds, ensure proper welding or fastening techniques to avoid any structural weaknesses. If you encounter any issues with the material, remember that patience and attention to detail are crucial for a successful outcome. Don’t hesitate to seek advice from experienced woodworkers or DIY enthusiasts if you encounter any significant challenges. You can even explore online resources to find solutions to specific problems you encounter.
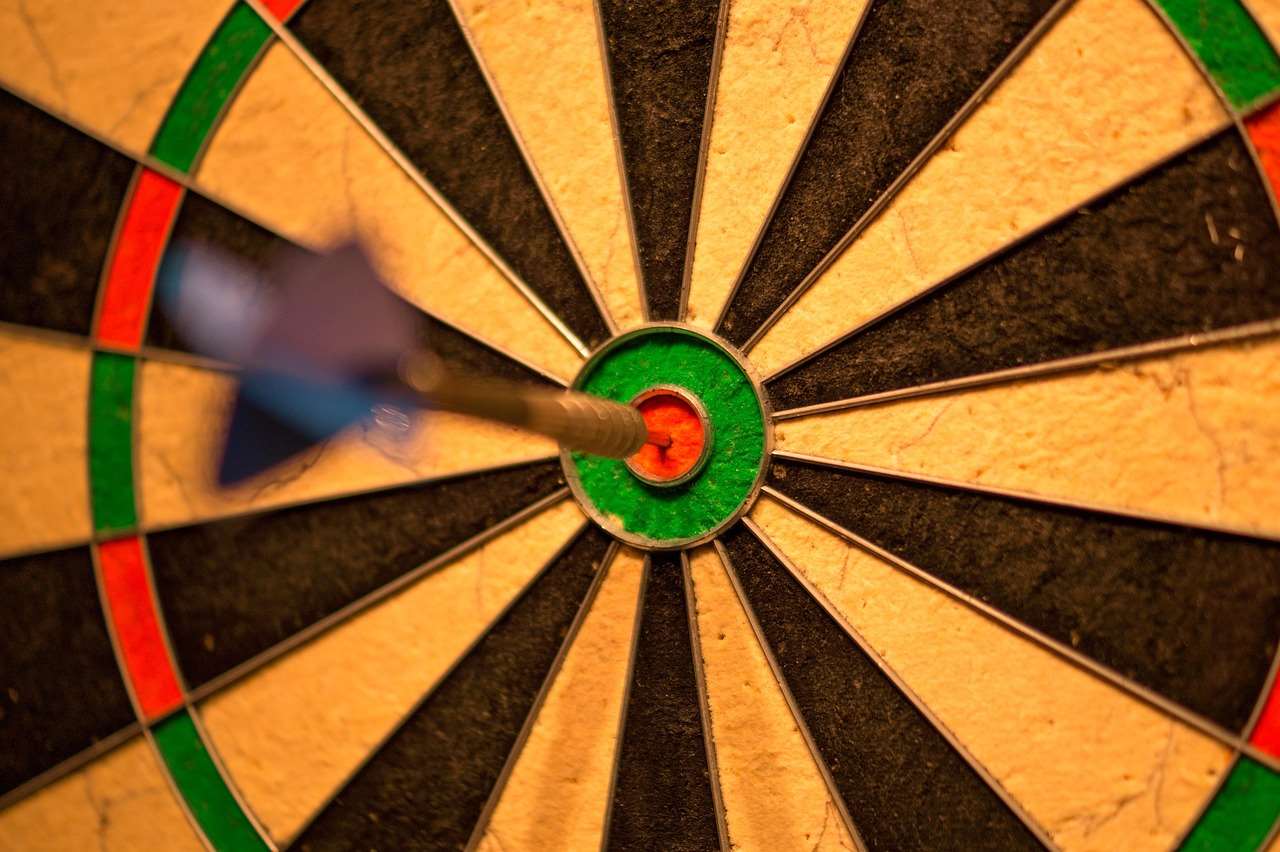
Proper maintenance of your dartboard and its surround is also important. Regular cleaning of the dartboard and surrounding area can help extend the life of your equipment. Remember to use appropriate cleaning solutions. If you have any issues with your dart points, consult the movable dart point manual or learn about preventing movable dart point issues. Additionally, for optimal performance, ensure your dartboard is properly illuminated with good lighting, and consider homemade dartboard light ring guide for custom lighting solutions. Proper care and maintenance of your darts are also crucial. Learn about cleaning dart barrels for better grip and cleaning dart barrels baking soda for optimal performance and durability.
Remember, creating a great dart environment is about more than just the board; it’s about the whole atmosphere. Consider the wall color, flooring, and overall decor to create a cohesive and inviting space. A well-designed and carefully constructed surround can be a game-changer, adding both functionality and aesthetic appeal to your dart-throwing setup. Consider how proper dartboard maintenance connects to overall equipment longevity, as described in our guide on darts gear warranty information.
Conclusion
Building a custom dartboard surround is a rewarding project that can significantly enhance your dart-playing experience. By following the steps outlined in this guide, and with a bit of patience and attention to detail, you can create a personalized and functional addition to your game room. Remember to plan carefully, choose the right materials, and take your time throughout the construction process. The result will be a stunning and durable dartboard surround that you can enjoy for years to come. Start planning your project today, and don’t forget to share your amazing creation with us!
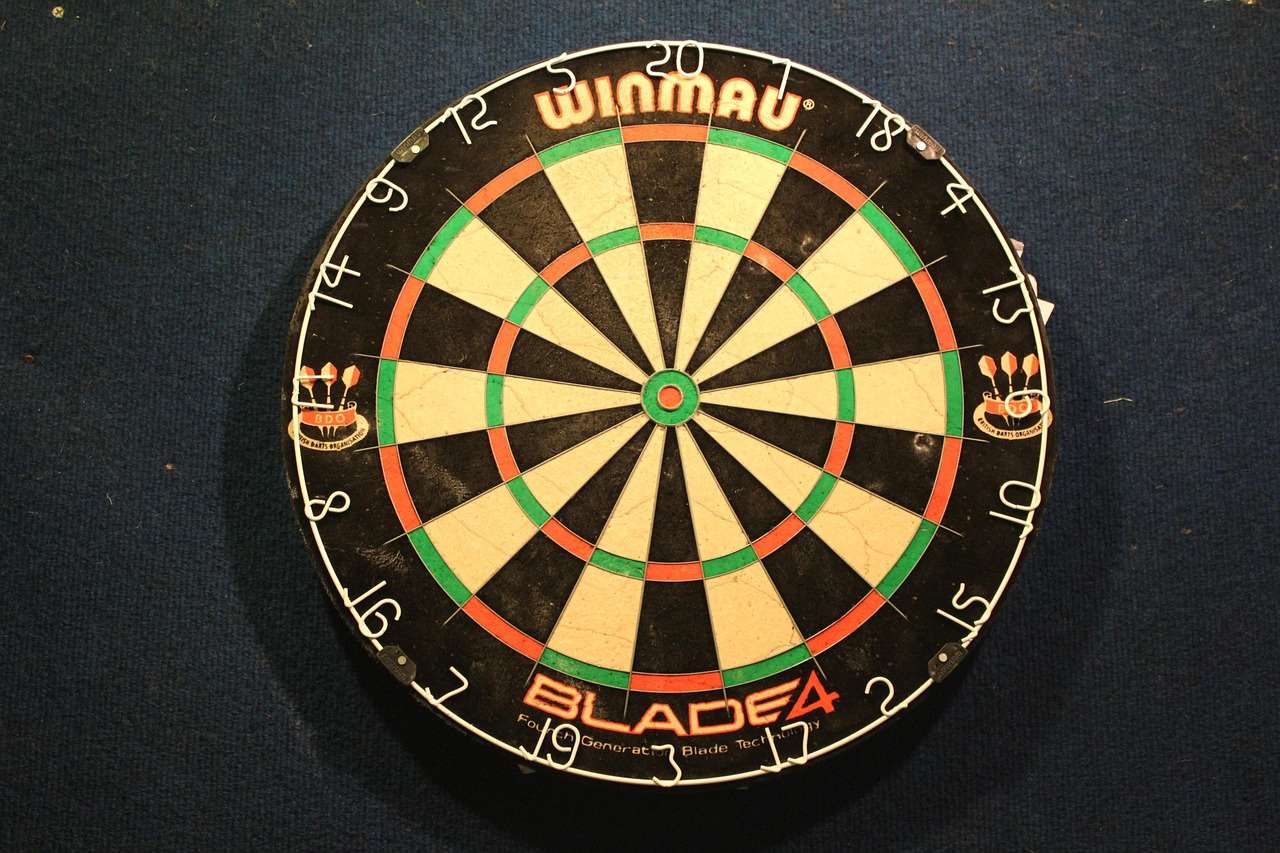
Remember to consult our guide on Darts Equipment Maintenance Customization for further insights into maintaining your dart setup. Happy throwing!
Hi, I’m Dieter, and I created Dartcounter (Dartcounterapp.com). My motivation wasn’t being a darts expert – quite the opposite! When I first started playing, I loved the game but found keeping accurate scores and tracking stats difficult and distracting.
I figured I couldn’t be the only one struggling with this. So, I decided to build a solution: an easy-to-use application that everyone, no matter their experience level, could use to manage scoring effortlessly.
My goal for Dartcounter was simple: let the app handle the numbers – the scoring, the averages, the stats, even checkout suggestions – so players could focus purely on their throw and enjoying the game. It began as a way to solve my own beginner’s problem, and I’m thrilled it has grown into a helpful tool for the wider darts community.