Building a cabinet for darts is a rewarding project that elevates your game room and protects your valuable dartboard and accessories. This article will guide you through the entire process, from planning and design to construction and finishing, ensuring your new cabinet is both functional and aesthetically pleasing.
⚠️ Still Using Pen & Paper (or a Chalkboard)?! ⚠️
Step into the future! The Dart Counter App handles all the scoring, suggests checkouts, and tracks your stats automatically. It's easier than you think!
Try the Smart Dart Counter App FREE!Ready for an upgrade? Click above!
Before diving into the specifics of building a cabinet for darts, let’s consider the overall design. The size of your cabinet will depend on the dimensions of your dartboard and the additional storage you require. You’ll need to account for the dartboard itself, space for storing darts, and possibly additional features like shelves for accessories or a compartment for scorekeeping materials. Careful planning at this stage will prevent costly mistakes later on.
Choosing the right materials is crucial. Plywood is a popular choice for its durability, affordability, and ease of workability. However, you can also explore other options such as MDF (Medium-Density Fiberboard) or even reclaimed wood for a unique rustic look. Remember to factor in the weight of the completed cabinet – particularly if you are building a larger one – and select materials strong enough to support it.
Building a Cabinet for Darts: A Step-by-Step Guide
Planning and Design
The first step in building a cabinet for darts is careful planning. Consider the dimensions of your dartboard and the desired storage space. Sketch a design, noting the size and placement of shelves, doors, and any other features. This will serve as your blueprint throughout the process. You might even want to consider incorporating features such as built-in lighting to enhance the ambiance of your game room. Remember to account for any additional dart accessories you wish to store in your cabinet, and their size.

Once you have your design, create a detailed cutting list specifying the dimensions of each piece of wood. This will help you accurately estimate the amount of material needed and minimize waste. Accurately measuring and cutting the wood is essential for a well-fitting and visually appealing cabinet. Consider using a miter saw or circular saw for accurate cuts, depending on your budget and experience level. This is where precision is key, so take your time and double-check measurements. A well-planned design will lead to a smooth and enjoyable construction process.
Choosing the Right Materials
The choice of materials significantly impacts the durability and aesthetic appeal of your dart cabinet. Plywood remains a popular choice due to its strength-to-weight ratio and ease of working with. It’s relatively inexpensive and readily available at most hardware stores. However, for a more sophisticated look, consider using hardwood such as oak or cherry. Remember to consider the type of finish you plan to apply; some woods are easier to stain or paint than others. Moreover, the thickness of the plywood you choose will affect the overall structural integrity of the cabinet, so choose wisely.
In addition to the main body of the cabinet, you’ll need to select materials for the doors, hinges, handles, and any internal shelving. Consider the overall aesthetic you want to achieve. For example, you might choose brass hinges and handles for a classic look or modern chrome accents for a contemporary feel. Ensure you select materials that are durable enough to withstand the daily use your cabinet will experience.
Construction Techniques
Building your cabinet involves various woodworking techniques. Ensure you have the proper tools, including a saw, drill, screwdriver, clamps, and sandpaper. Precise measuring and cutting are crucial at this stage. Start by assembling the cabinet’s frame, ensuring all corners are square and secure. Use wood glue and screws to create strong and lasting joints. You can also use dowels or biscuits for added stability. Pay close attention to detail and ensure all components are properly aligned before tightening screws. A little patience pays off here for optimal results. Remember to check your measurements frequently throughout this stage.

Once the frame is assembled, add the shelves and any other internal components. Remember to leave enough space to accommodate your dartboard and accessories. If you’re installing a door, carefully measure and cut the appropriate sized piece of wood. You can also install recessed lighting now to enhance visibility and create a more inviting atmosphere. Consider adding extra support elements to the areas that will be burdened by the weight of the dartboard.
Finishing Touches
After the construction phase, apply the chosen finish to your dart cabinet. This could involve sanding, staining, or painting the wood to achieve your desired look. Make sure to thoroughly sand the wood before applying any finish for a smooth, even surface. Apply multiple thin coats of stain or paint rather than one thick coat for a better finish. Allow each coat to dry completely before applying the next. This is a crucial step in protecting the wood from damage and moisture.
Finally, install the doors, hinges, handles, and any other hardware. Ensure all hardware is securely attached and functioning properly. Proper installation prevents unwanted noise or movement when opening and closing the cabinet doors. Regularly check the bolts and screws to ensure that everything is properly tightened.
Remember to always consult with a professional if you are unsure about any aspect of the construction process, especially when working with power tools. Safety is paramount.
Choosing the Right Dartboard and Accessories
While building a cabinet for darts is a significant accomplishment, the cabinet’s purpose is to house and protect your dartboard and accessories. Selecting the right dartboard is crucial for gameplay and enjoyment. Consider the type of dartboard – sisal or electronic – and the size and weight to ensure it fits correctly within your cabinet. If building a large cabinet, consider adding space for multiple dartboards. You can also make your dart cabinet unique by personalizing it with elements that reflect your personality and playing style.
Furthermore, storing and organizing your dart accessories is essential for maintaining them in good condition. A well-organized cabinet will extend the lifespan of your darts and other equipment. Proper storage helps prevent damage and makes it easier to locate specific items. Consider incorporating compartments or organizers within your cabinet to keep everything neatly in place. Regularly cleaning your darts and dartboard is also critical. For a comprehensive guide, refer to our article on dart accessories cleaning routine.
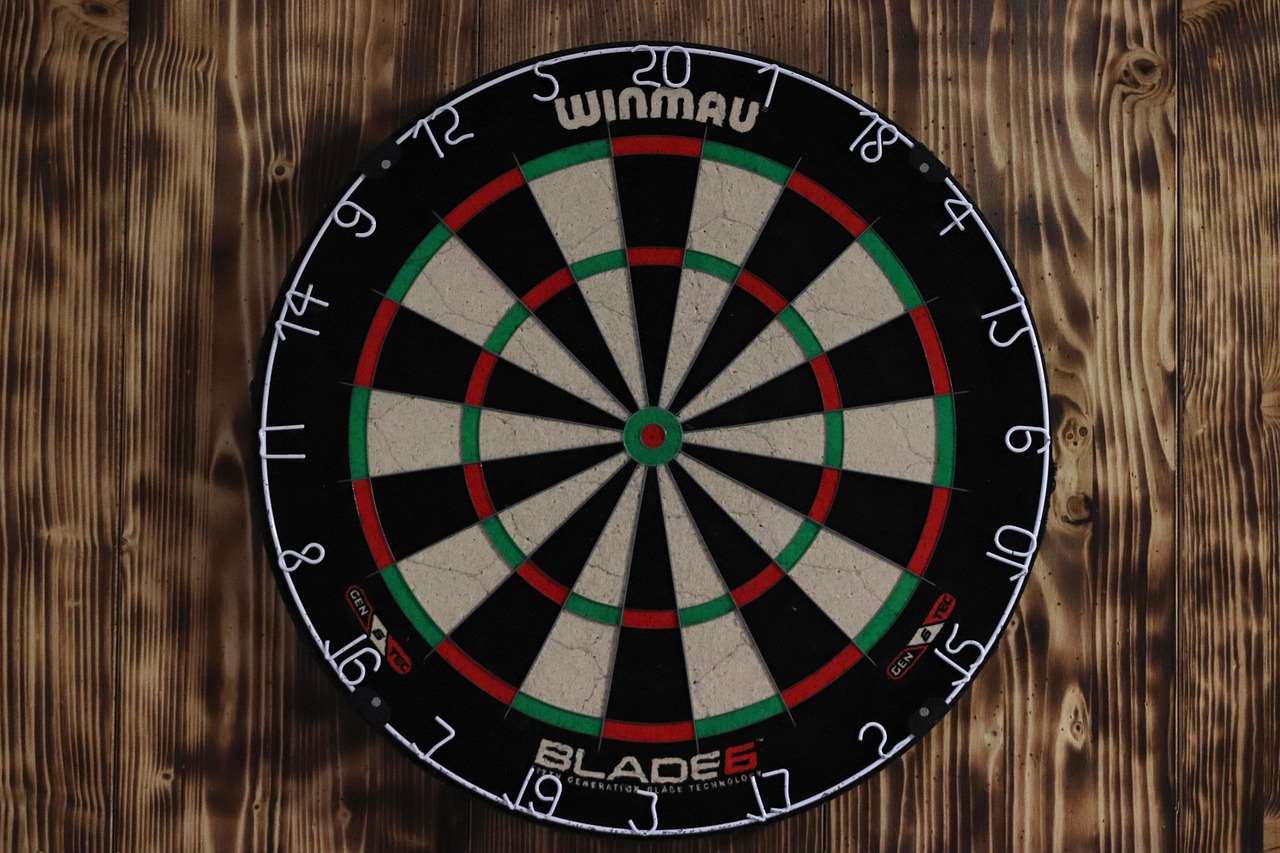
Regular maintenance of your darts and dartboard is important to extend their lifespan. Refer to our detailed guide on darts gear lifespan information for tips and tricks on maintaining your equipment.
Beyond the Basics: Enhancing Your Dart Cabinet
Customization Options
Once you’ve mastered the fundamentals of building a cabinet for darts, you can explore customization options to personalize your project. Add features like built-in lighting to illuminate your dartboard, improving visibility and enhancing the gaming experience. Incorporate a scoreboard or chalk board to easily track game scores during intense play sessions. These additions transform your cabinet from a simple storage solution into a fully integrated game centre.
Consider adding extra shelves or compartments for storing darts, flights, shafts, and other accessories. You can also install a lockable door to protect your expensive darts and equipment from unwanted access. The level of customization depends on your skill level and the time you are willing to invest in the project.
Advanced Techniques
For more experienced woodworkers, you can explore advanced joinery techniques to enhance the durability and aesthetics of your dart cabinet. Dovetail joints, mortise and tenon joints, or even intricate carvings can add a professional touch. These techniques require more skill and precision but result in a superior final product. Consider adding a custom-designed back panel with a decorative motif reflecting your individual style.
Incorporating different types of wood can also create a visually striking cabinet. Consider using contrasting wood species for the frame and panels, or inlay decorative strips of wood to add an artistic touch. Remember to carefully select complementary wood types, paying attention to grain and color. Careful planning and precise execution are paramount in successfully integrating advanced woodworking techniques.
Troubleshooting Common Issues
During construction, you might encounter some common issues. For example, if your doors don’t close properly, check the hinges and adjust them as needed. If the cabinet is unstable, ensure all joints are securely fastened and consider adding additional supports. If the paint or stain isn’t applying evenly, make sure the wood is properly sanded and you’re using the right techniques. Always address issues as they arise, as it’s often easier to fix small problems early on than to struggle with larger problems later.
If you’re having trouble with the overall alignment of your cabinet, double-check your measurements and ensure that all components are square and properly fitted. If the weight of the dartboard is causing sag, consider adding extra support beams or braces to the cabinet’s structure. And always remember to refer to detailed instructions and online resources if needed.

For guidance on fixing issues related to your dartboard, check out our guides on calibrating dartboard matrix issues and electronic dartboard sensitivity adjustment.
Maintaining Your Dart Cabinet
Once your dart cabinet is built, maintaining its condition is essential for longevity. Regularly inspect the joints and hardware, tightening any loose screws or bolts as needed. Clean the cabinet’s surface periodically to remove dust and dirt. For tips on keeping your dart surrounds clean, see our guide on cleaning dart surrounds.
Protect the wood from moisture and direct sunlight to prevent warping or damage. Use appropriate cleaning products and avoid harsh chemicals that could damage the finish. If you notice any signs of damage, address them promptly to prevent further issues. Consider applying a fresh coat of stain or paint periodically to maintain the cabinet’s appearance and protect the wood.
Remember, proper maintenance extends the life and beauty of your custom-built cabinet. For information on maintaining other dart equipment, take a look at our guide on Darts Equipment Maintenance Customization .
Tips for Long-Term Care
- Regularly inspect the cabinet for loose screws, damaged joints, or other issues.
- Clean the cabinet’s surface with a damp cloth and mild detergent.
- Avoid placing the cabinet in direct sunlight or areas with high humidity.
- Apply a fresh coat of finish as needed to protect the wood.

Conclusion
Building a cabinet for darts is a fulfilling project that combines woodworking skills with a passion for the game. By following the steps outlined in this guide, you can create a custom cabinet that perfectly complements your game room and protects your valuable dartboard and accessories. Remember that planning, precision, and attention to detail are key to a successful build. Now, grab your tools, unleash your creativity, and enjoy the process of building a cabinet for darts! Start your project today and elevate your dart-playing experience.
For further insights into specific dart-related maintenance, check out our guides on movable dart point for soft tip and movable dart point lifespan, and learn more about dart point length and weight distribution.
Don’t forget to share your finished project with us – we’d love to see your creation!
Hi, I’m Dieter, and I created Dartcounter (Dartcounterapp.com). My motivation wasn’t being a darts expert – quite the opposite! When I first started playing, I loved the game but found keeping accurate scores and tracking stats difficult and distracting.
I figured I couldn’t be the only one struggling with this. So, I decided to build a solution: an easy-to-use application that everyone, no matter their experience level, could use to manage scoring effortlessly.
My goal for Dartcounter was simple: let the app handle the numbers – the scoring, the averages, the stats, even checkout suggestions – so players could focus purely on their throw and enjoying the game. It began as a way to solve my own beginner’s problem, and I’m thrilled it has grown into a helpful tool for the wider darts community.