Mastering the game of darts requires more than just a good throw; it demands a precisely configured setup. This article is about Breaking Down Pro Dart Setups Step Step, revealing the secrets to optimizing your dartboard, lighting, and stance for peak performance. We’ll explore each element, from dartboard height and toe line distance to optimal lighting and stance, so you can elevate your game to a professional level.
⚠️ Still Using Pen & Paper (or a Chalkboard)?! ⚠️
Step into the future! The Dart Counter App handles all the scoring, suggests checkouts, and tracks your stats automatically. It's easier than you think!
Try the Smart Dart Counter App FREE!Ready for an upgrade? Click above!
Breaking Down Pro Dart Setups Step Step: Essential Elements
Creating a pro dart setup involves careful consideration of several key factors. These elements work together to provide a consistent and comfortable playing environment, ultimately leading to improved accuracy and performance. Here are the core components we’ll be examining:
- Dartboard Height: The standard height for the bullseye.
- Toe Line Distance (Oche): The precise distance a player must stand from the dartboard.
- Lighting: Ensuring adequate and shadow-free illumination of the dartboard.
- Surrounds: Protecting the surrounding area from stray darts.
- Stance: Adopting a stable and balanced posture for consistent throws.
Setting the Stage: Dartboard Height and Distance
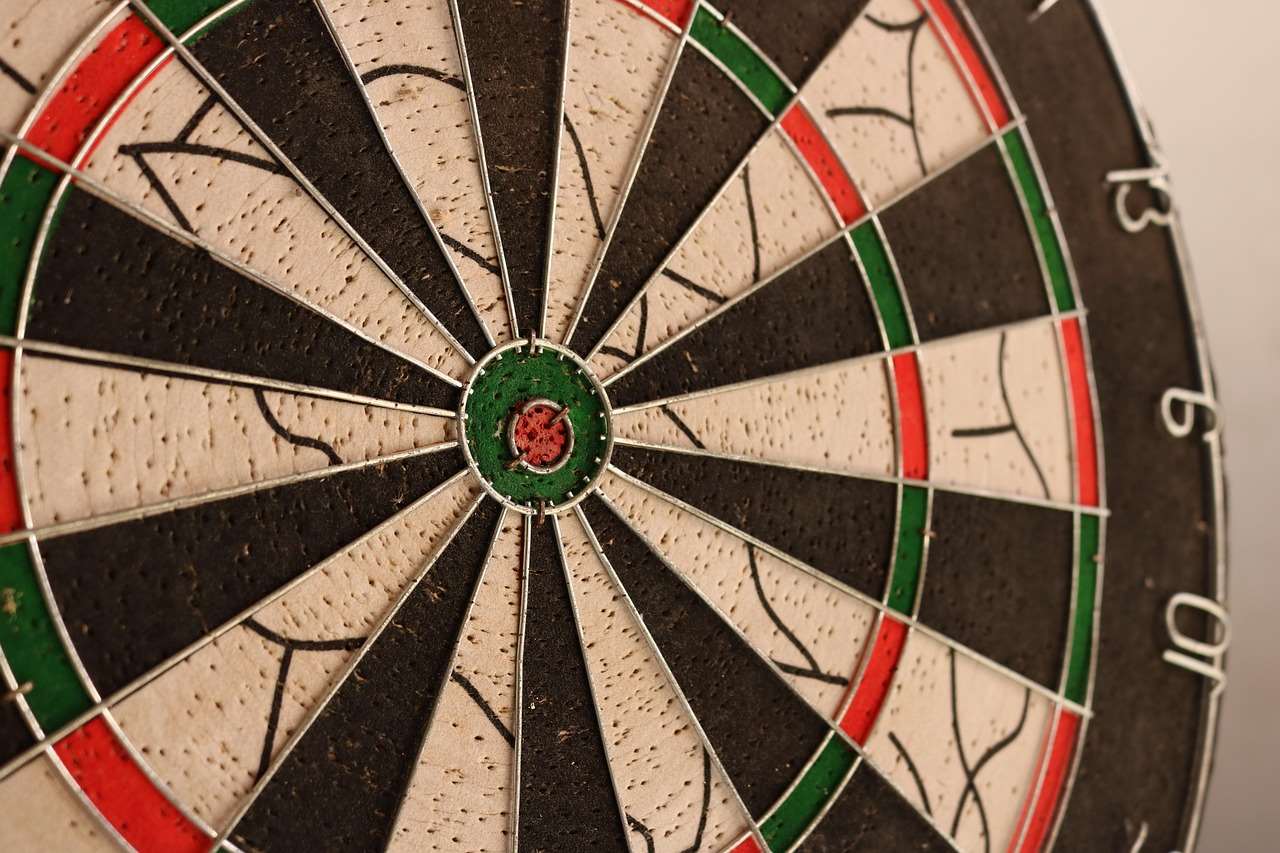
One of the most fundamental aspects of breaking down pro dart setups step step is understanding the precise measurements required. Deviations from these standards can significantly impact your throwing accuracy. The official measurements are defined by organizations like the PDC (Professional Darts Corporation) and the BDO (British Darts Organisation).
Dartboard Height
The height of the dartboard is measured from the floor to the center of the bullseye. The standard height is:
- 5 feet 8 inches (68 inches or 173 cm)
Accurate measurement is crucial. Use a reliable measuring tape and ensure the dartboard is mounted level. A slight tilt can throw off your perception and affect your throw.
Toe Line Distance (Oche)
The toe line, also known as the oche, is the line behind which the player must stand when throwing. The distance from the front of the oche to the face of the dartboard is:
- 7 feet 9 1/4 inches (93.25 inches or 237 cm)
This measurement is equally important. While a few millimeters might seem insignificant, consistent practice requires consistent conditions. Mark your oche clearly and consider using a raised oche for a more tactile feel. You may want to Choose Best Dart Equipment for your setup.
Some players prefer a slightly different oche distance based on their arm length and throwing style. Experiment to find what feels most comfortable for you, but always maintain consistency once you’ve established your preferred distance.
Illuminating the Target: Dartboard Lighting
Proper lighting is often overlooked, but it’s a crucial component of a professional dart setup. Shadows can obscure the board, making it difficult to target specific numbers. Poor lighting can also strain your eyes, leading to fatigue and decreased accuracy. Let’s explore some optimal dartboard lighting solutions guide.
Types of Dartboard Lighting
There are several types of lighting systems commonly used for dartboards:
- Overhead Lighting: A single light source positioned above the dartboard. This can create shadows and glare if not properly diffused.
- Side Lighting: Lights positioned on either side of the dartboard. This can help reduce shadows but may create uneven illumination.
- Ring Lighting: A circular light that surrounds the dartboard. This provides even and consistent lighting, minimizing shadows.
- Cabinet Lighting: Integrated lighting within a dartboard cabinet. This is a convenient option for home setups.
Ring lighting is generally considered the best option for professional setups, as it provides the most consistent and shadow-free illumination. Be sure to read up on Best Dartboard Lighting Systems if you are unsure which system to use.
Choosing the Right Bulbs
The type of bulb you use is also important. LED bulbs are a popular choice due to their energy efficiency and long lifespan. Look for bulbs with a color temperature of around 5000-6000K (Kelvin) for a bright, natural light. Avoid bulbs that are too warm (yellowish) or too cool (bluish), as these can distort your perception of color.
Protecting Your Surroundings: Dartboard Surrounds
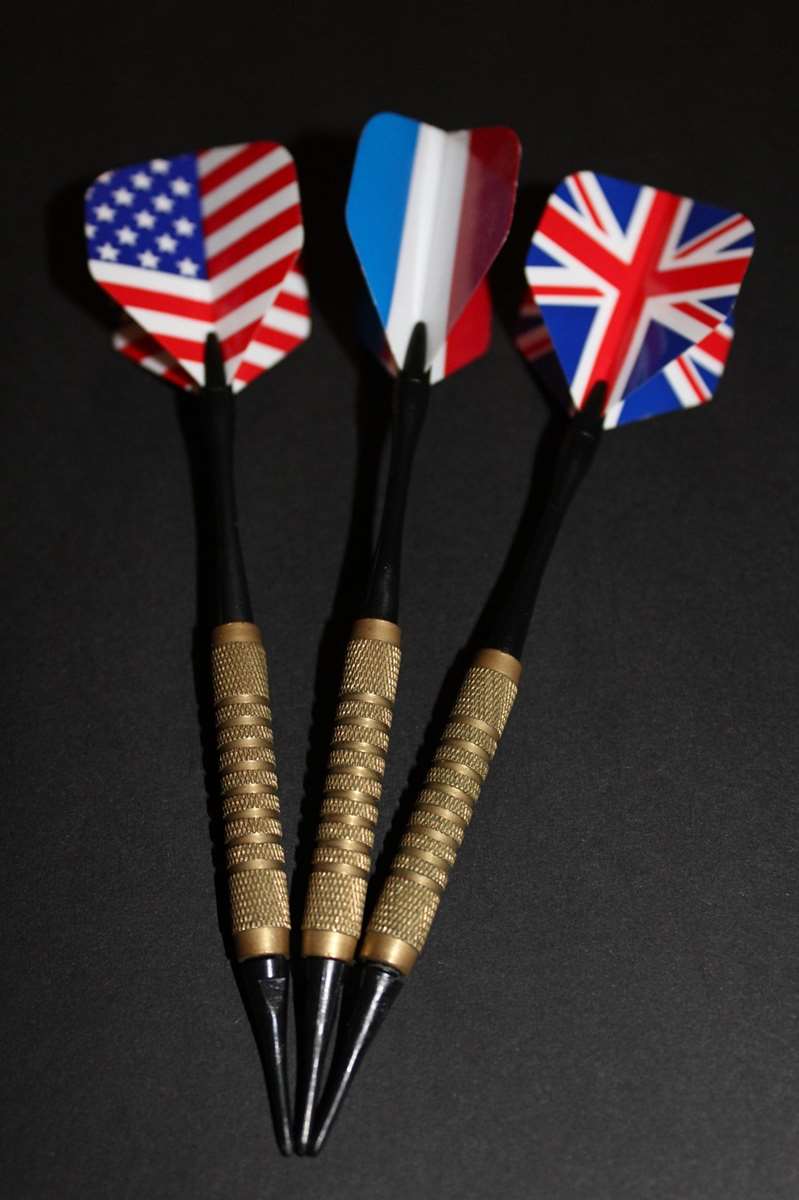
A dartboard surround is a protective barrier that surrounds the dartboard, preventing damage to your walls from stray darts. This is an essential safety measure, especially for beginners who are still developing their accuracy. There are several types of surrounds available:
- Bristle Surrounds: Made from compressed sisal fibers, similar to the dartboard itself. These are durable and self-healing, meaning the holes from darts will close up over time.
- Foam Surrounds: Made from high-density foam. These are less durable than bristle surrounds but are more affordable and offer good protection.
- Cabinet Surrounds: Integrated surrounds that are part of a dartboard cabinet. These provide a complete and aesthetically pleasing solution.
When choosing a surround, consider its size and thickness. A larger surround will provide more protection, while a thicker surround will be more durable. Ensure the surround is compatible with your dartboard and mounting system. Remember to carefully consider how to Optimal Dartboard Lighting Solutions Guide and the surround work together for a seamless darting experience.
Perfecting Your Posture: The Dart Stance
Your stance is the foundation of your throw. A stable and balanced stance will allow you to maintain consistency and accuracy. While there’s no one-size-fits-all stance, there are some general principles to follow:
Key Elements of a Good Stance
- Foot Placement: Most players stand with one foot forward, pointing towards the dartboard, and the other foot slightly behind for balance. Experiment to find what feels most comfortable and stable for you.
- Weight Distribution: Your weight should be evenly distributed between your feet. Avoid leaning too far forward or backward.
- Body Alignment: Your body should be aligned with the dartboard. This will help you maintain a consistent throwing motion.
- Head Position: Keep your head still and focused on the target. Avoid tilting or moving your head during your throw.
Practice your stance regularly and pay attention to how it affects your throw. Minor adjustments can make a big difference in your accuracy. Videoing yourself can be a great way to identify areas for improvement. It is important to note that Reduce Dartboard Shadows Effectively can greatly improve your visibility and throwing ability!
Choosing the Right Darts
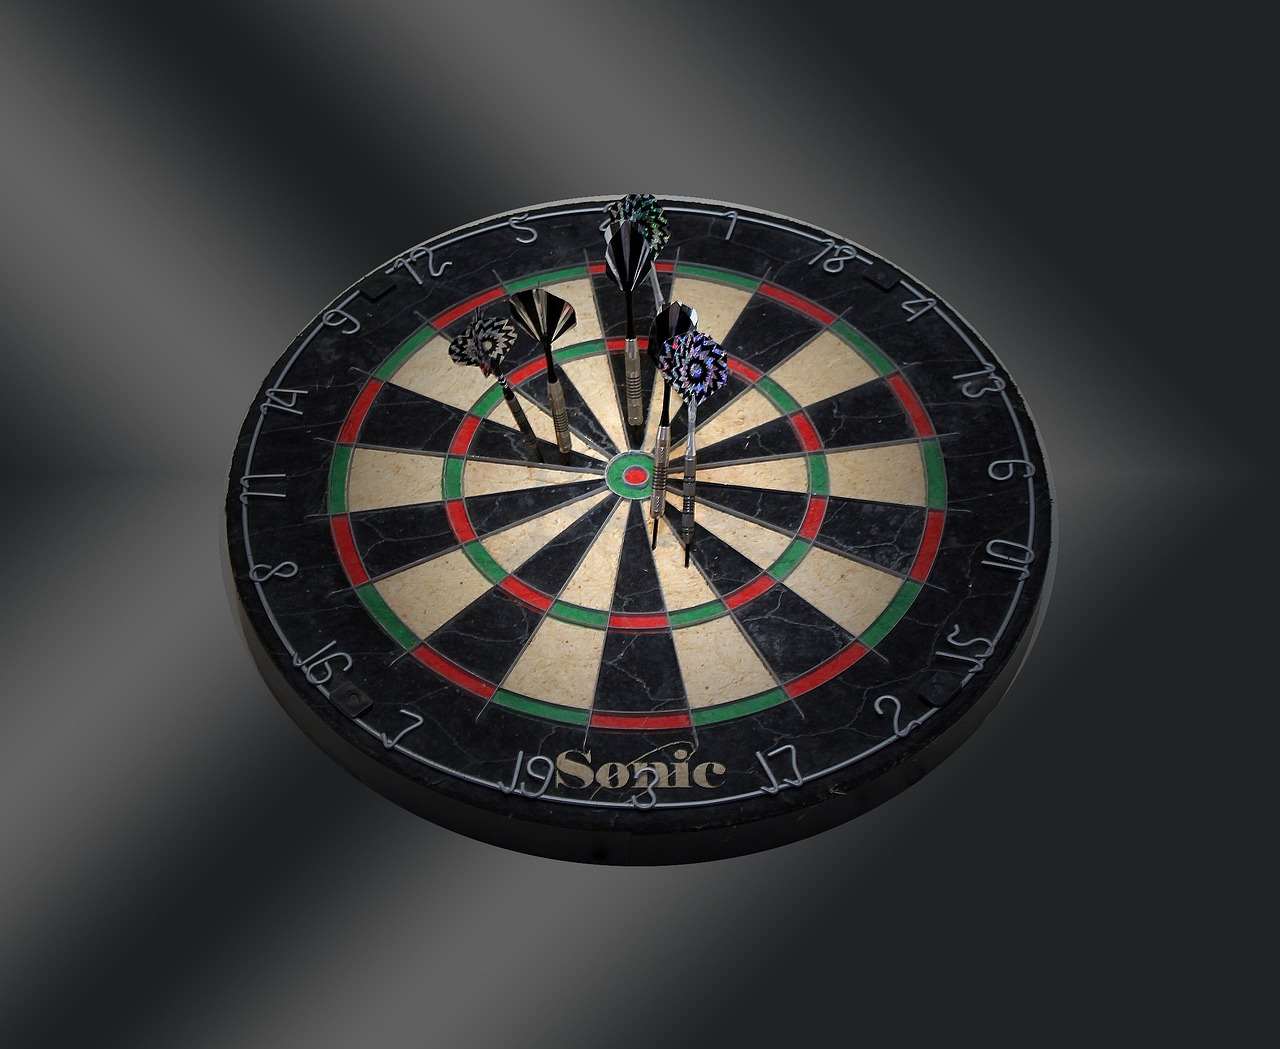
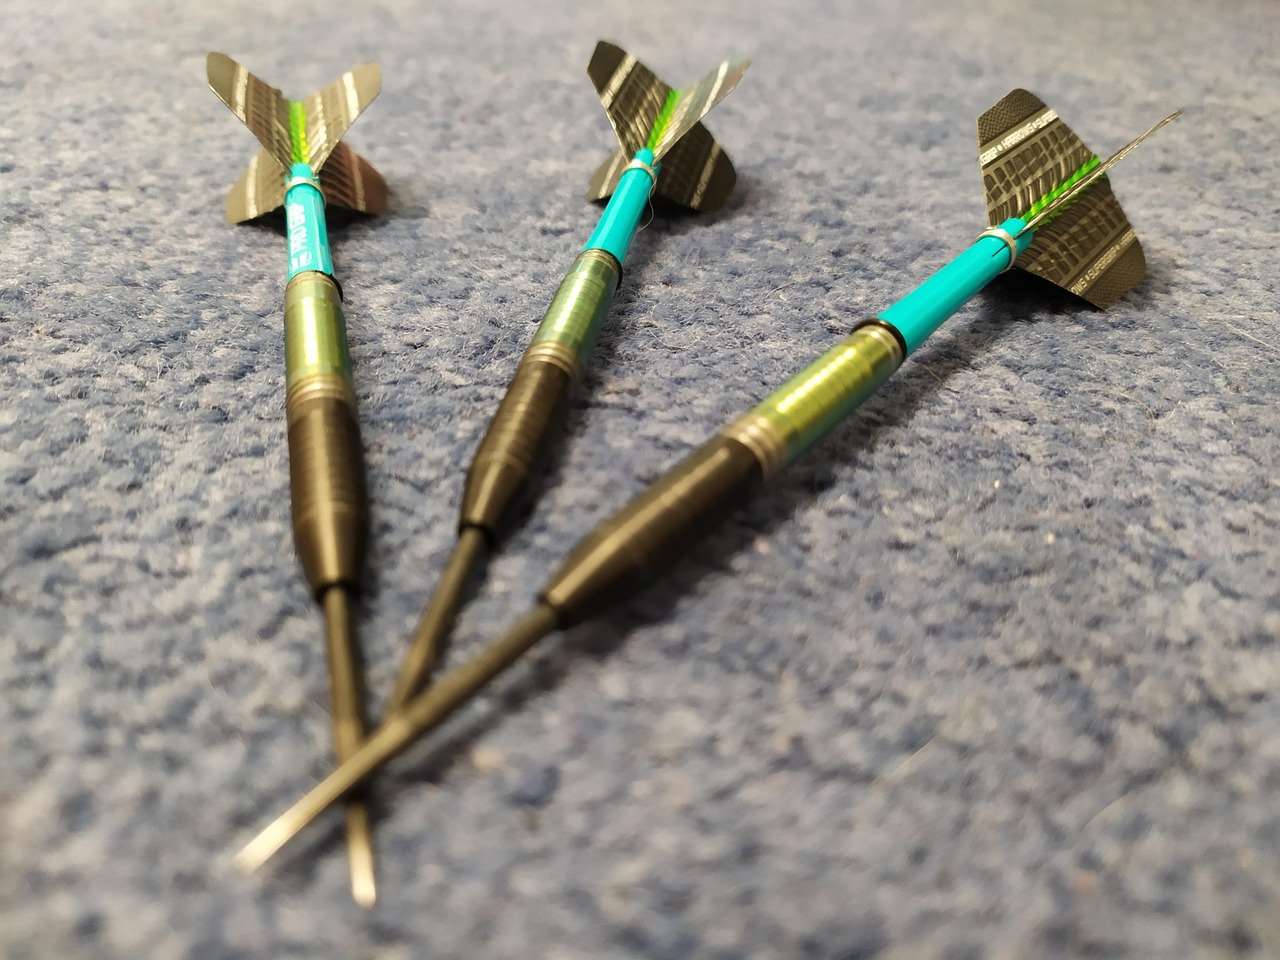
While technically not part of the “setup” of the *board* itself, selecting the right darts is crucial for a professional-level experience. Factors to consider include:
- Weight: Darts typically range from 20-26 grams. Beginners often start with heavier darts as they are easier to control, but ultimately, the best weight is what feels most comfortable for you.
- Grip: The grip refers to the texture of the dart barrel. Some players prefer a knurled grip for a more secure hold, while others prefer a smoother grip. Experiment to find what feels best in your hand.
- Material: Darts are typically made from brass, nickel silver, or tungsten. Tungsten darts are more expensive but are also more durable and allow for a slimmer barrel, which can improve grouping.
- Flights: Flights affect the dart’s stability in the air. Larger flights provide more stability but can also slow the dart down. Smaller flights are less stable but allow for a faster throw.
- Shafts: Shafts connect the flight to the barrel. They come in various lengths and materials. Shorter shafts generally improve grouping, while longer shafts provide more stability.
Visit a local darts shop to try out different darts and get advice from experienced players. Don’t be afraid to experiment until you find a set that feels perfect for you.
Maintaining Your Dartboard
Proper maintenance is essential for extending the lifespan of your dartboard and ensuring consistent performance. Here are some tips:
- Rotate Your Dartboard Regularly: Rotating your dartboard will distribute wear and tear more evenly, preventing certain sections from becoming overly worn.
- Remove Darts Properly: Avoid pulling darts straight out of the board. Instead, twist them slightly as you pull to minimize damage to the sisal fibers.
- Keep Your Dartboard Clean: Use a soft brush to remove dust and debris from the dartboard. Avoid using water or cleaning solutions, as these can damage the sisal fibers.
- Use a Dartboard Conditioner: Dartboard conditioners can help keep the sisal fibers moist and prevent them from drying out and cracking.
Advanced Tips for Fine-Tuning Your Setup
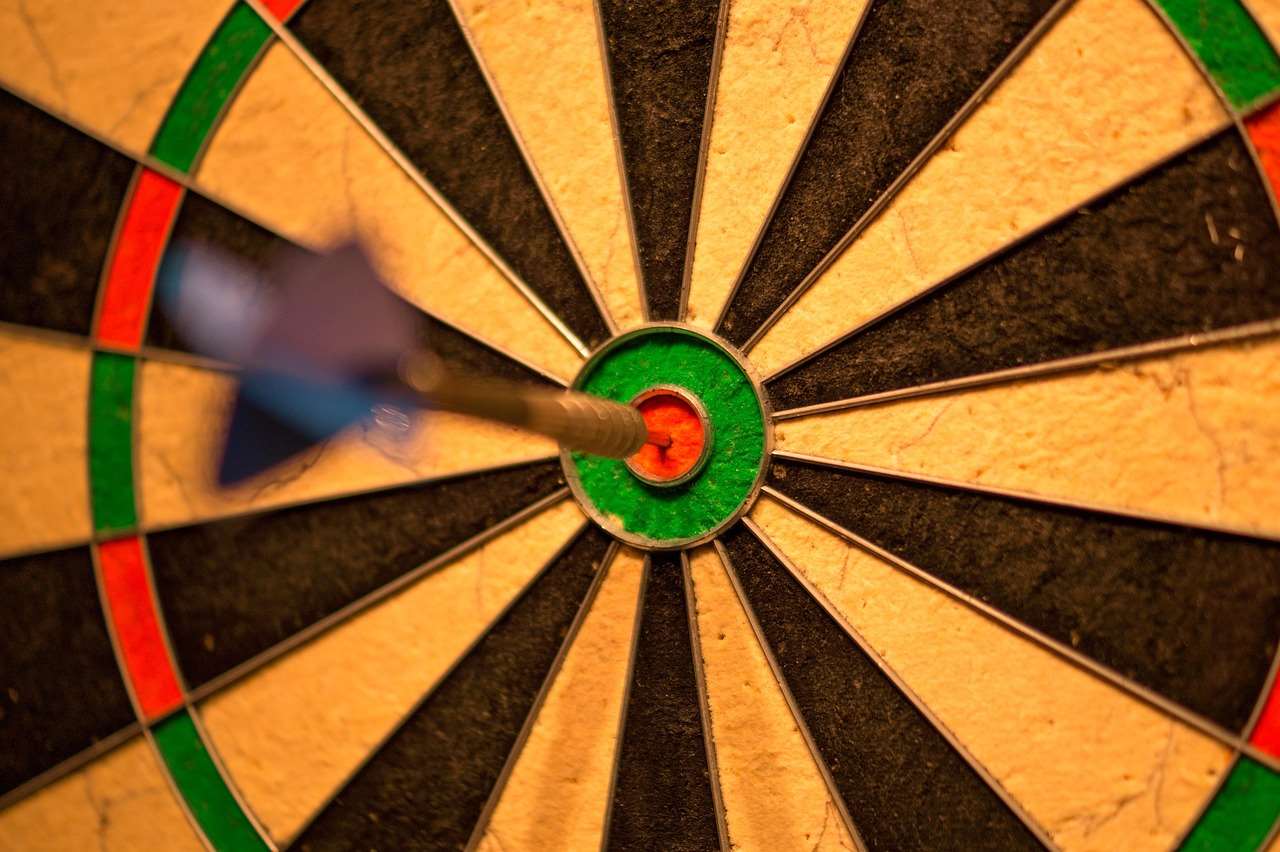
Once you’ve established the basic elements of your setup, you can start fine-tuning it to optimize your performance. Here are some advanced tips to consider:
- Experiment with Oche Height: Some players find that raising the oche slightly can improve their throwing posture and accuracy.
- Adjust Lighting Angle: Experiment with the angle of your lighting to minimize shadows and glare.
- Use a Dartboard Calibration Tool: A dartboard calibration tool can help you ensure that your dartboard is perfectly level and that the bullseye is centered.
- Record and Analyze Your Throws: Videoing yourself and analyzing your throws can help you identify areas for improvement in your stance, grip, and throwing motion.
Practice Makes Perfect: Consistent Practice Routine
Even the most meticulously crafted dart setup is useless without consistent practice. Develop a regular practice routine and stick to it. Focus on specific targets and track your progress. Experiment with different techniques and strategies. The more you practice, the more comfortable and confident you will become.
Consider joining a local darts league or club to compete against other players and learn from their experiences. This is a great way to improve your skills and have fun at the same time. Remember to regularly revisit Breaking Down Pro Dart Setups Step Step for any further refinements you may require!
Troubleshooting Common Issues
Even with a well-planned setup, you may encounter some common issues. Here are some troubleshooting tips:
- Darts Bouncing Out: This could be due to dull dart points, a dry dartboard, or an incorrect throwing technique. Sharpen your dart points, condition your dartboard, and focus on a smooth release.
- Inconsistent Grouping: This could be due to an unstable stance, an inconsistent grip, or poor lighting. Review your stance, grip, and lighting setup. Practice consistently to improve your muscle memory.
- Eye Strain: This is usually caused by poor lighting. Ensure your dartboard is adequately illuminated and that the light is not too harsh. Consider using a dimmer to adjust the brightness.
By addressing these common issues and continually refining your setup, you can create a playing environment that maximizes your potential.
Conclusion
Breaking Down Pro Dart Setups Step Step is about more than just following measurements; it’s about creating a personalized environment that allows you to play your best. From precise dartboard placement and optimal lighting to a stable stance and well-maintained equipment, every detail matters. By focusing on these key elements and consistently practicing, you can elevate your dart game to new heights. Now that you understand the principles of a pro dart setup, take action! Evaluate your current setup, identify areas for improvement, and start making adjustments. Start with finding out what Choose Best Dart Equipment suits you. The bullseye awaits!
Hi, I’m Dieter, and I created Dartcounter (Dartcounterapp.com). My motivation wasn’t being a darts expert – quite the opposite! When I first started playing, I loved the game but found keeping accurate scores and tracking stats difficult and distracting.
I figured I couldn’t be the only one struggling with this. So, I decided to build a solution: an easy-to-use application that everyone, no matter their experience level, could use to manage scoring effortlessly.
My goal for Dartcounter was simple: let the app handle the numbers – the scoring, the averages, the stats, even checkout suggestions – so players could focus purely on their throw and enjoying the game. It began as a way to solve my own beginner’s problem, and I’m thrilled it has grown into a helpful tool for the wider darts community.