Replacing worn-out wires is a crucial part of maintaining your dartboard, and understanding how to effectively perform changing dartboard wires is key to prolonging its lifespan. This article will guide you through the entire process, from identifying the need for replacement to the final steps of securing the new wires, and will also cover related topics to ensure your dartboard remains in top condition.
⚠️ Still Using Pen & Paper (or a Chalkboard)?! ⚠️
Step into the future! The Dart Counter App handles all the scoring, suggests checkouts, and tracks your stats automatically. It's easier than you think!
Try the Smart Dart Counter App FREE!Ready for an upgrade? Click above!
Before diving into the specifics of changing dartboard wires, let’s first discuss why it’s even necessary. Over time, consistent use can lead to wire breakage, loosening, or even rust, significantly impacting the gameplay experience. A damaged wire can cause darts to bounce unpredictably, leading to frustration and inaccurate throws. Regularly inspecting your dartboard for wear and tear is crucial for maintaining its integrity and ensuring a fair game. This is a key element of proper darts equipment maintenance.
Changing Dartboard Wires: A Step-by-Step Guide
This section will focus on the practical aspects of changing dartboard wires. We’ll assume you have a new set of wires ready. If not, sourcing them is typically straightforward through online retailers or specialist sports stores. Always ensure the wires are compatible with your dartboard model.
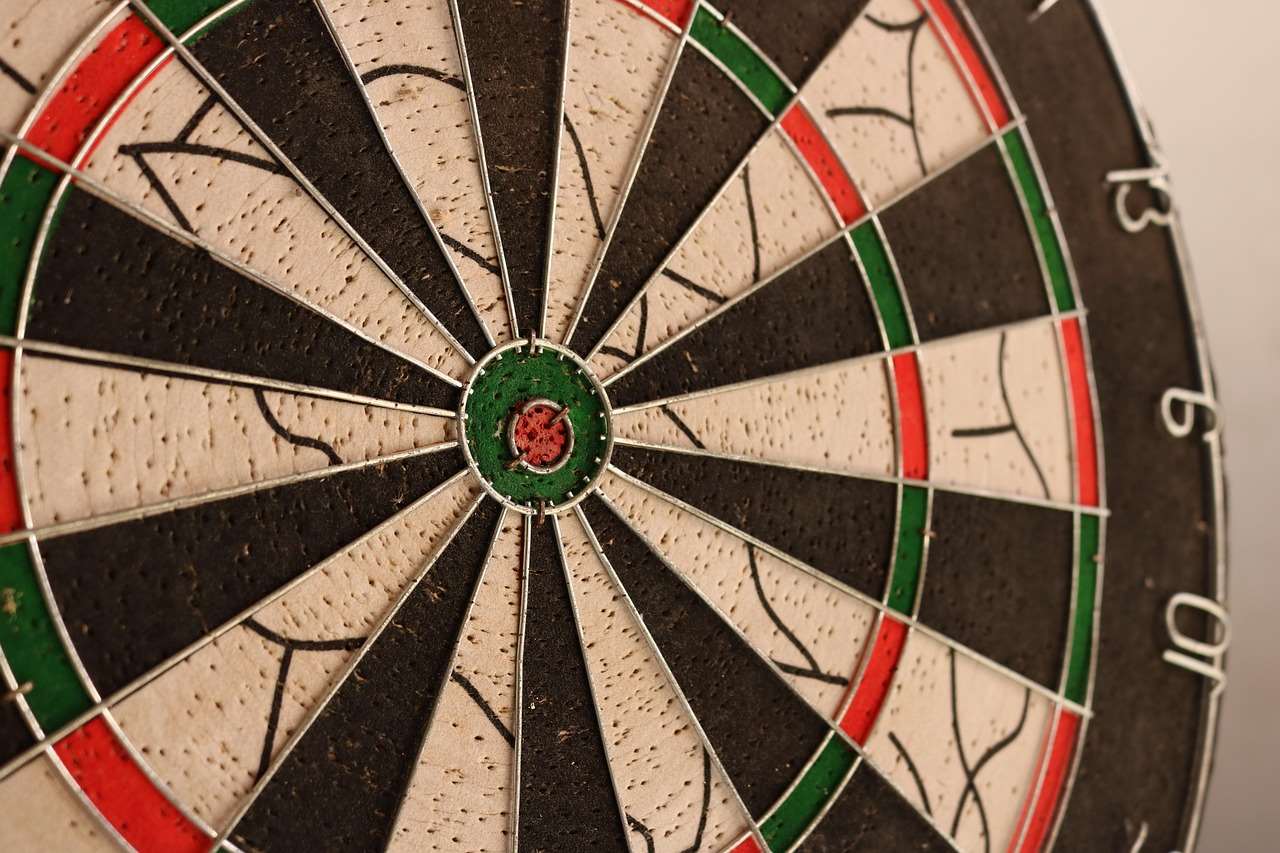
The process of changing dartboard wires often involves careful removal of the old wires and precise installation of new ones. It requires patience and attention to detail to ensure a secure and even fit. This step-by-step guide will help avoid common pitfalls. Remember, safety should always be a top priority. Handle sharp objects with care, and if unsure about any step, consider seeking assistance from someone experienced in changing dartboard wires.
Preparing the Dartboard
Before you begin changing dartboard wires, ensure you have all the necessary tools. This typically includes a small flathead screwdriver (or similar tool for prying), pliers, and possibly wire cutters. You might also find a pair of needle-nose pliers helpful for precise wire manipulation. Begin by carefully removing the old wires. Work methodically, removing one wire section at a time to avoid confusion and damage to the dartboard.
Installing the New Wires
Once the old wires are removed, clean the grooves where the new wires will be inserted. This will ensure a secure and tight fit. This simple step improves the overall longevity of your dartboard. Consider using a dartboard cleaning product to remove any dust or debris.
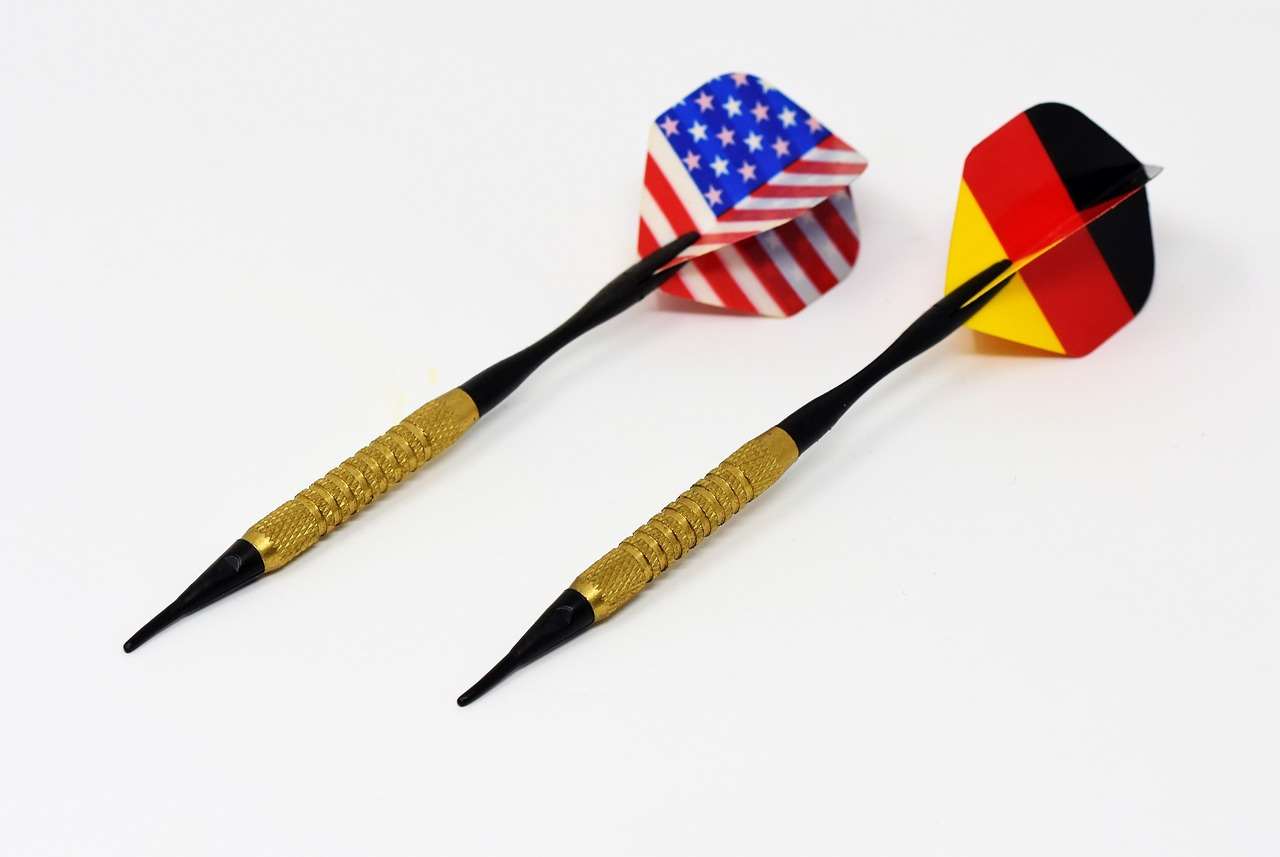
Now, carefully insert the new wires into the grooves, ensuring they are seated correctly and evenly. It’s essential to avoid any kinks or twists in the wires; a smooth, straight wire insertion is vital for a properly functioning dartboard. For a truly professional finish, you may want to refer to the manufacturer’s instructions for your specific dartboard model.
Securing the Wires
Once all the new wires are in place, use the pliers to securely fasten them in place. Take care not to overtighten, as this can damage the wires. Proper tension is critical – enough to keep them taut without risking breakage. Remember the importance of proper Darts Equipment Maintenance Customization. A well-maintained dartboard significantly enhances gameplay.
Testing the New Wires
After securing the new wires, thoroughly test the dartboard. Throw a few darts to ensure the wires are securely fitted and the darts stick properly. This simple test will highlight any loose wires that require further attention. If you notice any inconsistencies, carefully re-adjust the wires until you’re satisfied with their performance.
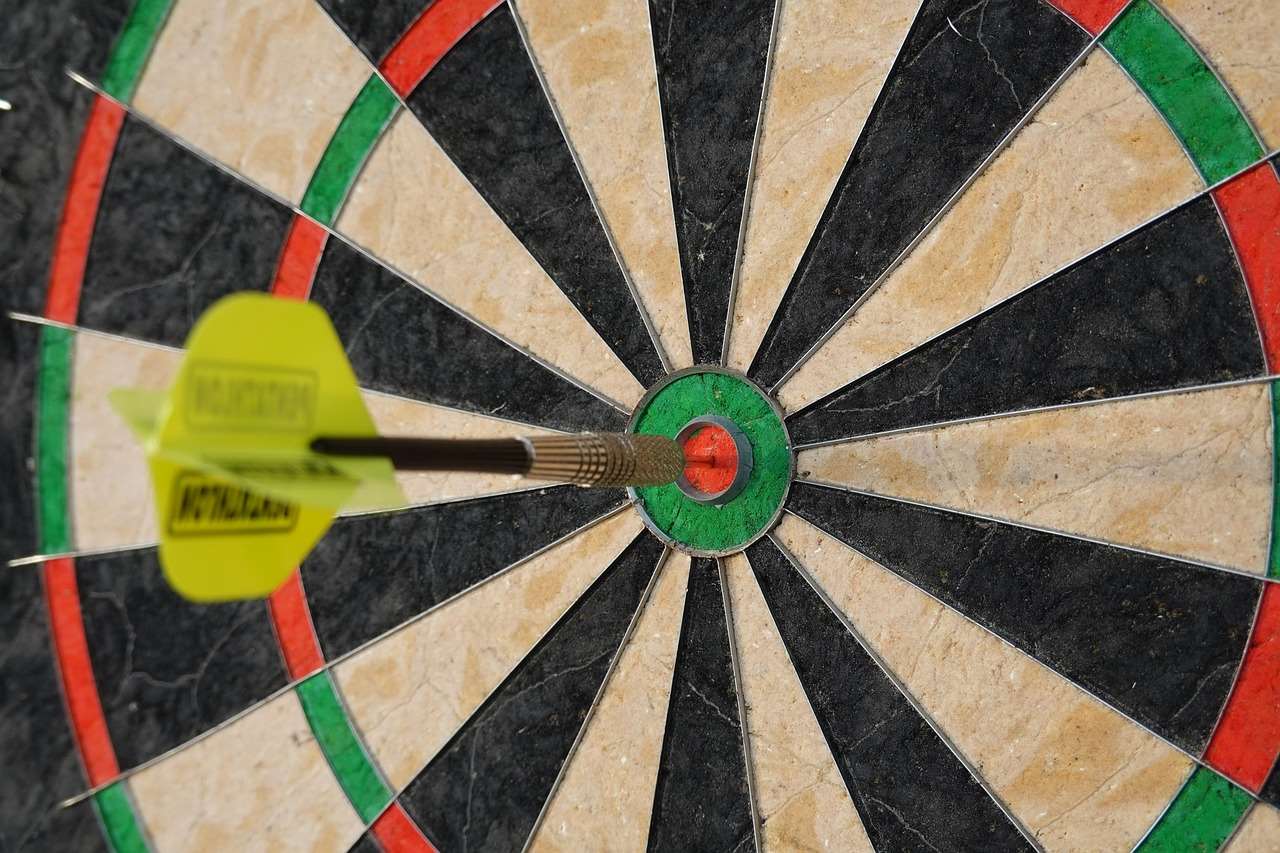
Remember that changing dartboard wires isn’t just about functionality; it also impacts the visual appeal of your dartboard. Ensuring the wires are evenly spaced and neatly installed contributes to an aesthetically pleasing game area, boosting the overall experience. Proper maintenance, including changing dartboard wires, is a key factor in extending your dartboard’s lifespan.
Troubleshooting Common Issues During Wire Replacement
Sometimes, you might encounter unexpected challenges during the process of changing dartboard wires. This section covers a few common problems and their solutions.
Broken Wires During Removal
If a wire breaks while removing it, don’t panic. Carefully use your pliers to extract the broken piece. You might need to use a smaller tool to access more intricate areas. If a significant portion remains embedded, you might need to consider a more comprehensive repair – which might involve seeking assistance from a professional dartboard repair service.
Wires That Are Too Tight or Too Loose
If the new wires are too tight, carefully loosen them using pliers. If they are too loose, consider using additional securing methods, such as small cable ties or adhesive designed for wire fastening. This step emphasizes the importance of paying careful attention to the tension while fixing the wires.
Difficulty Accessing Certain Areas
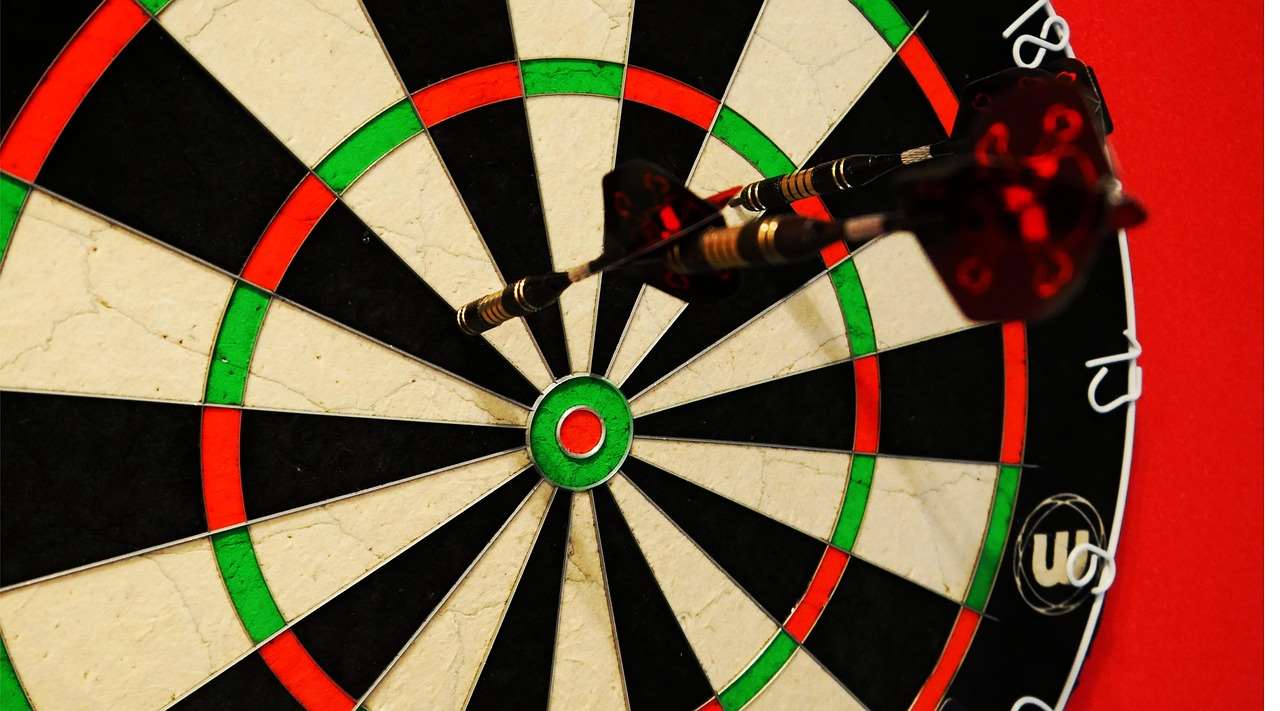
Some dartboards have intricate designs that can make accessing certain areas challenging. In such cases, using a small, flexible tool, like a thin screwdriver or a needle-nose pliers, will be invaluable. Patience and careful manipulation are key here; forcing the wires can cause damage to your dartboard.
Beyond Changing Dartboard Wires: Other Maintenance Tips
While changing dartboard wires is an important task, maintaining your dartboard involves more than just the wires. Regular cleaning, proper storage, and attention to other components are all crucial for long-term performance and enjoyment. If you notice issues with your darts, consider reading our guides on replacing ripped dart flights, sharpening bent dart points, or changing dart shafts. Understanding dart shaft material for durability and dart shaft material and balance is also essential for optimizing your game.
Regularly cleaning your dartboard will help prevent the buildup of dust and dirt, which can affect the performance of the wires and the overall feel of the game. Consider investing in a dartboard cleaning product specifically designed for this purpose.
Conclusion: Mastering the Art of Changing Dartboard Wires
Knowing how to perform changing dartboard wires is a valuable skill for any dart enthusiast. By following the steps outlined in this guide, you can ensure your dartboard remains in top condition for years to come. Remember, preventative maintenance, such as regular inspections and proactive wire replacement, will prevent more extensive damage and ensure many more hours of enjoyable games. This is particularly pertinent if you’re regularly using your dartboard in a public place. For tips on maintaining a dartboard in a pub environment, refer to our article on repairing dartboard for pubs. Don’t hesitate to check out our other resources on dart maintenance and repair for further insights!
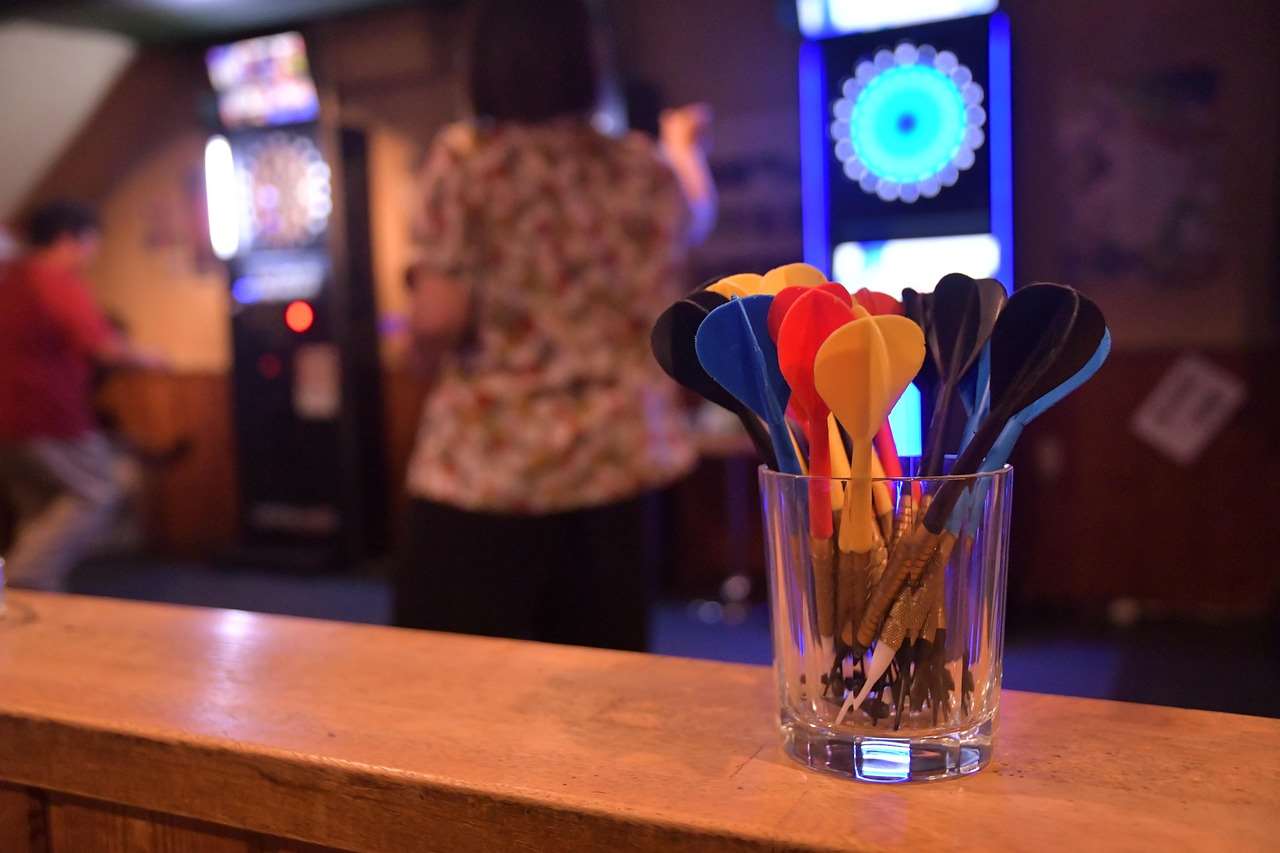
By understanding the process of changing dartboard wires and implementing the other maintenance tips discussed, you’ll not only enjoy more consistent game play but will also significantly extend the life of your dartboard, saving you money and ensuring hours of enjoyable competition in the future. Remember to check your dartboard frequently for any issues, and don’t hesitate to seek professional help if needed. Happy darting!
Hi, I’m Dieter, and I created Dartcounter (Dartcounterapp.com). My motivation wasn’t being a darts expert – quite the opposite! When I first started playing, I loved the game but found keeping accurate scores and tracking stats difficult and distracting.
I figured I couldn’t be the only one struggling with this. So, I decided to build a solution: an easy-to-use application that everyone, no matter their experience level, could use to manage scoring effortlessly.
My goal for Dartcounter was simple: let the app handle the numbers – the scoring, the averages, the stats, even checkout suggestions – so players could focus purely on their throw and enjoying the game. It began as a way to solve my own beginner’s problem, and I’m thrilled it has grown into a helpful tool for the wider darts community.