Extending the life of your beloved dartboard is easier than you think! This Repairing dartboard for home use tutorial will guide you through common repairs, ensuring your game nights remain enjoyable. We’ll cover everything from fixing small damages to replacing numbers and wires, making sure your dartboard remains in top condition.
⚠️ Still Using Pen & Paper (or a Chalkboard)?! ⚠️
Step into the future! The Dart Counter App handles all the scoring, suggests checkouts, and tracks your stats automatically. It's easier than you think!
Try the Smart Dart Counter App FREE!Ready for an upgrade? Click above!
Before we dive into the specifics of repairing dartboard for home use, it’s important to understand the different types of damage you might encounter. This knowledge will greatly help in choosing the most effective repair method. We’ll also be exploring preventative maintenance tips to minimize future repairs.
Assessing Your Dartboard: Types of Damage and Repair Options
The first step in any Repairing dartboard for home use tutorial is a thorough inspection of your dartboard. Identifying the type and extent of the damage is crucial in determining the best course of action. Common problems include:
- Small punctures and tears in the sisal fiber: These are often easily repaired using methods we’ll cover later in this guide. For more in-depth information on handling small damages, you might find our article on Repairing small damages on sisal helpful.
- Loose or damaged wires: The wires that hold the numbers in place can become loose or broken over time. We’ll address this specific problem later in this tutorial, and you may also be interested in our comprehensive guide on dartboard wire and number repair.
- Missing or damaged numbers: Replacing these numbers requires careful attention to detail, but it’s a fixable problem. We’ll provide guidance on how to complete these repairs correctly and effectively.
- Significant damage to the sisal: If the damage is extensive, replacing the entire dartboard may be the most cost-effective solution. This tutorial will highlight when repair is viable versus when replacement is necessary, along with a comparative guide available at Dartboard equipment repair vs replacement comparison chart.
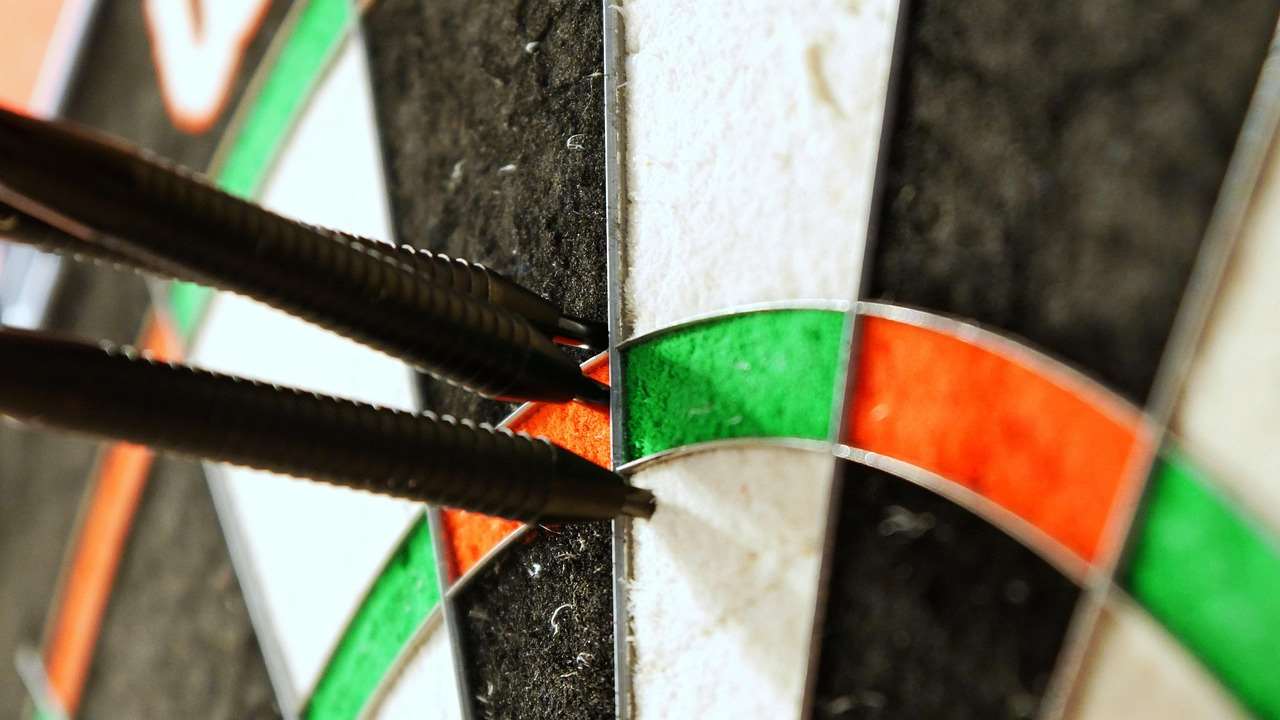
Once you’ve identified the damage, you can begin selecting the appropriate repair method. Remember, proper identification is key to a successful dartboard damage repair.
Repairing Small Puncture Damages in Your Sisal Dartboard
Materials You’ll Need
For minor repairs, you’ll need a few essential supplies. This Repairing dartboard for home use tutorial recommends gathering these items beforehand:
- Scissors or a sharp knife
- Strong adhesive (like super glue or a specialized dartboard repair glue)
- Small pieces of sisal fiber (if available, matching the color of your board)
- Tweezers (for precise work)
Repair Process
- Carefully clean the damaged area. For a deep dive into effective cleaning methods, check out our guide on cleaning dartboard effectively.
- If there’s a small hole, gently push any loose fibers back into place using tweezers.
- Apply a small amount of adhesive to the damaged area, ensuring not to overload it.
- If you have matching sisal fiber, apply it to the area to fill any gaps. Press firmly and allow the adhesive to dry completely. Depending on the adhesive type, this could take a few hours.
- Once the glue is completely dry, carefully trim any excess sisal to match the surrounding area.
Following these steps will effectively mend small punctures and maintain the integrity of your dartboard. Regular maintenance, as described in our Dartboard maintenance guide, can help prevent these minor issues from becoming larger problems.
Addressing Loose or Damaged Wires
Loose or broken wires are a common issue, often resulting in numbers falling off. This section of our Repairing dartboard for home use tutorial provides a step-by-step guide to fix this problem. This repair is relatively simple, but careful attention to detail is crucial for a lasting fix.

You’ll need small pliers, possibly wire cutters (if a wire needs to be completely replaced), and potentially a small piece of thin wire that matches the existing wire’s gauge and strength. Repairing these wires correctly will ensure your numbers stay securely in place. You may find advice on other aspects of customizing your darts in our guide on Darts Equipment Maintenance Customization.
Repair Steps:
- Carefully inspect the wire to locate the source of the problem (break, detachment).
- If a section of the wire is broken, use wire cutters to trim away the damaged portion, leaving enough wire to work with.
- If the wire is simply detached from the number, use pliers to gently reattach it.
- If replacing a section of wire, carefully thread the new wire through the appropriate holes, ensuring it’s securely attached to the number and the board’s structure.
- Once the wire is properly secured, check to make sure the number is firmly in place. You might find yourself needing a more potent tool. Check out our guide on Electric dart repointing tool.
Remember, when working with wires, patience is key! Rushing the process can lead to further damage. A well-executed repair will result in a stronger, more reliable dartboard.
Replacing Damaged or Missing Numbers
Replacing numbers requires more precision than other repairs. This part of the Repairing dartboard for home use tutorial details the process. You’ll need to find replacement numbers that match your board’s style and font. If you can’t find exact replacements, you might need to adapt your technique.
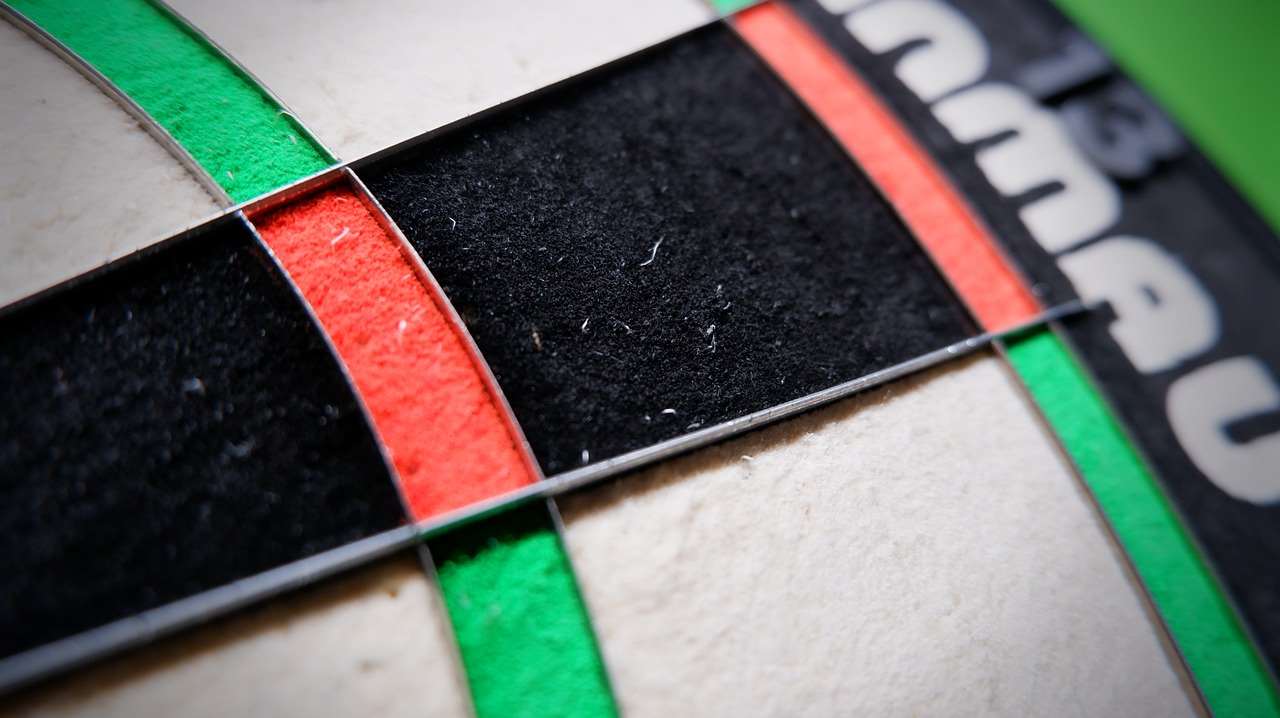
Depending on your dartboard’s construction, you may need additional materials. Carefully assess the existing number’s attachment before starting the repair to avoid further damage.
Replacing Numbers:
- Identify the correct replacement numbers. Ensure they match the size, font, and color of your existing numbers.
- Carefully remove any remaining adhesive or debris from the area where the number was previously attached.
- Apply a small amount of adhesive to the back of the replacement number and carefully place it in its designated position.
- Hold the number in place for a few minutes to ensure proper adhesion. Use weights or clamps if necessary.
- Let the adhesive dry completely before using the dartboard.
The proper adhesion of the numbers is crucial. If the numbers are not securely attached, they could easily become dislodged during play.
Maintaining Your Dartboard: Preventative Measures
Preventing damage is easier than repairing it! This section of our Repairing dartboard for home use tutorial covers preventative maintenance tips. These simple steps will significantly extend the lifespan of your dartboard and minimize the need for repairs. A great companion resource is our guide on Dartboard care for home use.
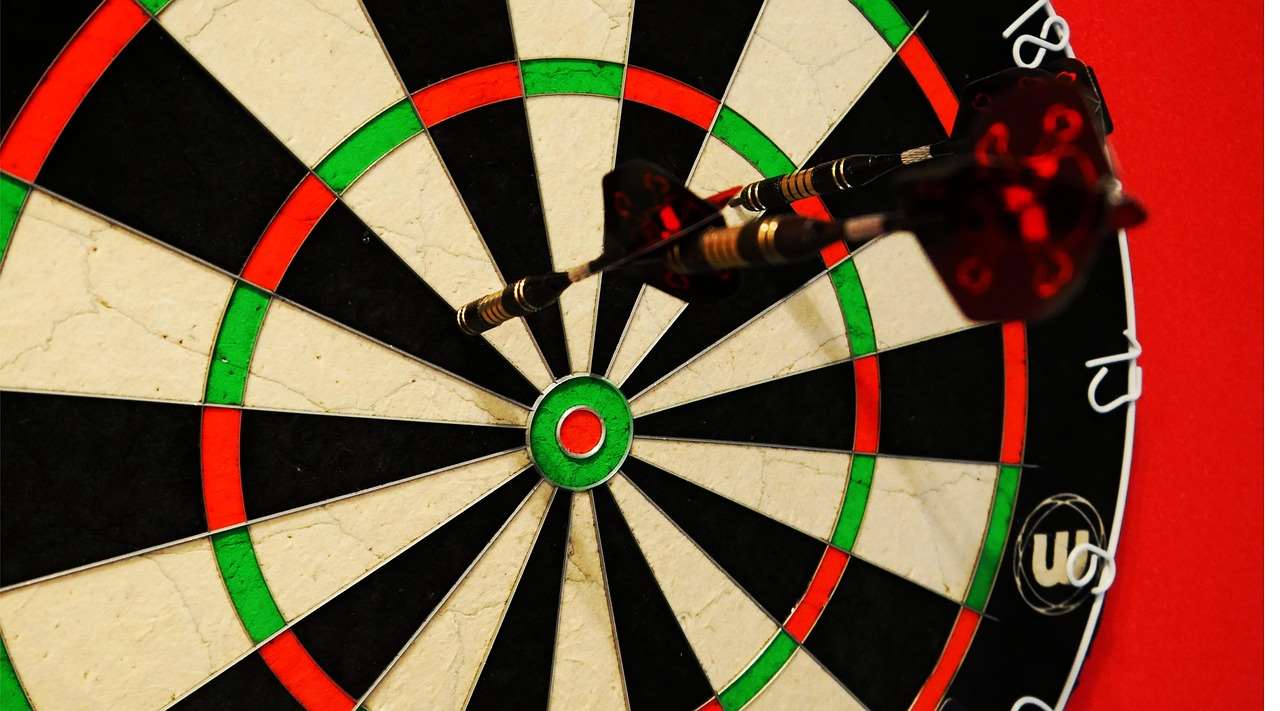
- Regular cleaning: Keep your dartboard clean and dust-free to prevent the accumulation of dirt and debris.
- Proper storage: When not in use, cover your dartboard to protect it from dust and other environmental factors.
- Inspect regularly: Periodically inspect your dartboard for any signs of damage. Early detection can prevent minor problems from escalating.
- Use high-quality darts: Avoid using cheap darts, as their poor construction can cause damage to the board.
- Proper throwing technique: Good throwing technique will minimize wear and tear on your dartboard.
By following these simple guidelines, you can help preserve your dartboard for years to come, minimizing the need for repairs or replacement.
When to Replace Your Dartboard
While this Repairing dartboard for home use tutorial focuses on repair, there are times when replacement is the more practical option. Extensive damage, such as large tears in the sisal or significant structural damage, often warrants replacement. Evaluating the overall condition of your board is important. If the repairs become extensive and costly, it might be time to invest in a new one.
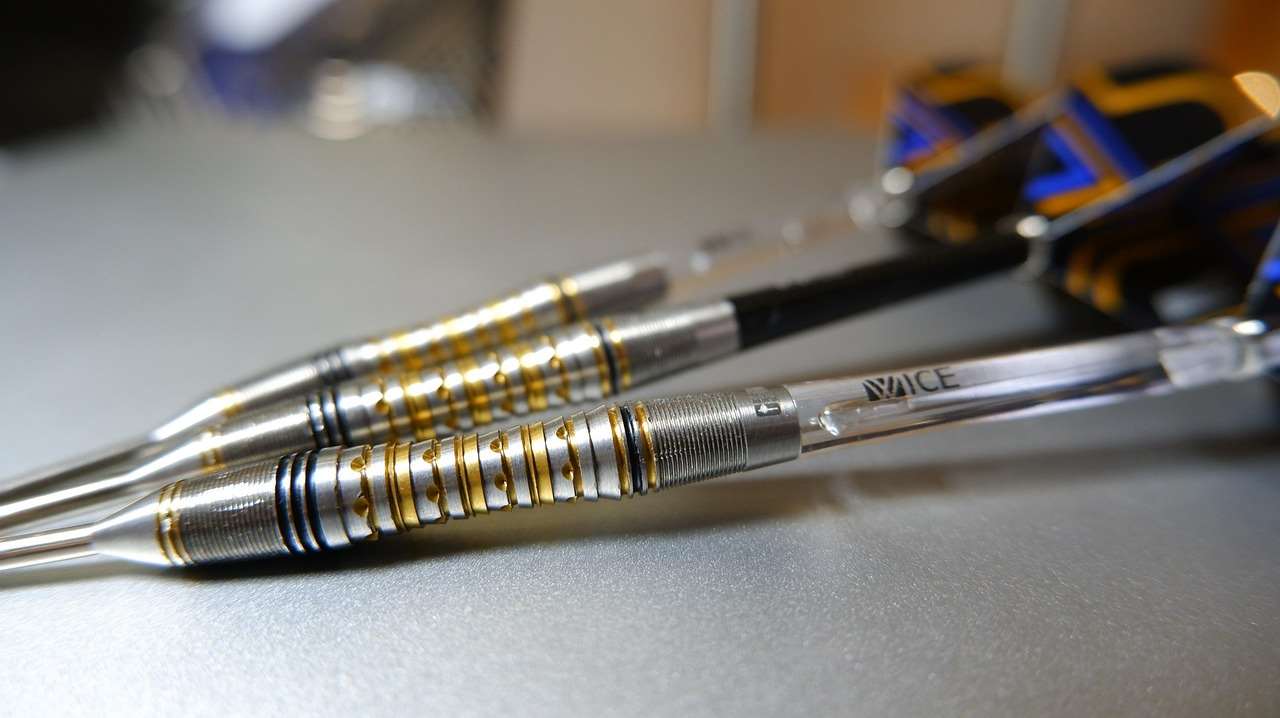
Consider these factors: The frequency of repairs, the cost of repair materials and effort invested in those repairs, and overall playability. If the quality of your game is affected, replacing the board might enhance your overall experience. Remember, a new dartboard provides a fresh, even playing surface.
Conclusion: Keeping Your Game Going Strong
This Repairing dartboard for home use tutorial has provided a comprehensive guide to common repairs, preventative maintenance, and determining when replacement is necessary. By understanding the different types of damage and implementing the appropriate repair techniques, you can significantly extend the life of your dartboard. Regular cleaning and inspection are crucial for maintaining the overall quality of your dartboard. Remember to always prioritize safety and take your time during the repair process. Happy darting!
For more information on specialized repairs, consider consulting our additional resources on dartboard damage repair effectively.
Hi, I’m Dieter, and I created Dartcounter (Dartcounterapp.com). My motivation wasn’t being a darts expert – quite the opposite! When I first started playing, I loved the game but found keeping accurate scores and tracking stats difficult and distracting.
I figured I couldn’t be the only one struggling with this. So, I decided to build a solution: an easy-to-use application that everyone, no matter their experience level, could use to manage scoring effortlessly.
My goal for Dartcounter was simple: let the app handle the numbers – the scoring, the averages, the stats, even checkout suggestions – so players could focus purely on their throw and enjoying the game. It began as a way to solve my own beginner’s problem, and I’m thrilled it has grown into a helpful tool for the wider darts community.