Repairing dartboard for personal use is often simpler than you think! This article will guide you through common repairs, providing practical solutions to get your dartboard back in playing condition. We’ll cover everything from fixing minor damage to replacing worn components.
⚠️ Still Using Pen & Paper (or a Chalkboard)?! ⚠️
Step into the future! The Dart Counter App handles all the scoring, suggests checkouts, and tracks your stats automatically. It's easier than you think!
Try the Smart Dart Counter App FREE!Ready for an upgrade? Click above!
Before we delve into the specifics of repairing dartboard for personal use, it’s important to assess the extent of the damage. A small nick or a loose wire is a much simpler fix than a significantly damaged bristle board. Knowing what you’re up against allows for better planning and selection of tools.
Assessing the Damage: Your First Step in Repairing Dartboard for Personal Use
The first crucial step in repairing dartboard for personal use is a thorough inspection. Determine the nature and extent of the damage. Is it a small tear in the sisal, a loose wire, or perhaps a completely detached number? Identifying the problem is half the battle. For example, a simple loose wire might only require a screwdriver, while a significant section of damaged sisal might demand more involved repair methods or, sadly, even replacement.

Consider the location of the damage too. A tear near the center might significantly affect gameplay more than a minor scuff in a less frequently hit area. This assessment influences your decision-making process and ensures you focus on the most impactful repairs first. Sometimes, a seemingly minor issue can point to a larger underlying problem, highlighting the importance of a careful assessment.
Common Dartboard Issues and How to Spot Them
- Loose Wires: Notice any wires that are coming loose or dangling? This is a common issue and easily addressed. Often a simple tightening is sufficient.
- Torn Sisal: Carefully examine the sisal surface for any tears or rips. The size and location of these tears determine the complexity of the repair. Small tears can often be addressed with a simple patch, while larger tears may require more elaborate solutions.
- Damaged Numbers: Check if any numbers have become detached or damaged. Replacing these often involves careful gluing and possibly some minor adjustments to ensure they are level and properly affixed.
- Worn-Out Bristles: Over time, the bristles of your dartboard will wear down, especially in high-use areas. This affects gameplay and the accuracy of throws. Replacing a completely worn-out board is usually the best solution in this case.
Understanding these common issues allows for a more efficient approach to repairing dartboard for personal use. Remember to always prioritize safety when handling tools and materials. Never rush the process, as this can lead to further damage and frustration.
Repairing Common Dartboard Problems
Now that we’ve assessed the damage, let’s look at how to fix some common problems. Remember, safety first! Always wear appropriate eye protection and work in a well-ventilated area.
Fixing Loose Wires
Loose wires are a common and easily fixable problem. You’ll typically need a small screwdriver. Carefully tighten the screws that hold the wires in place, ensuring that they are secure without over-tightening, which could damage the surrounding material. This seemingly simple task is crucial in maintaining the integrity of your scoreboard and enhancing the overall gaming experience. Learning to maintain your equipment properly is a key element of dart culture, as outlined in Darts Equipment Maintenance Customization.
Repairing Torn Sisal
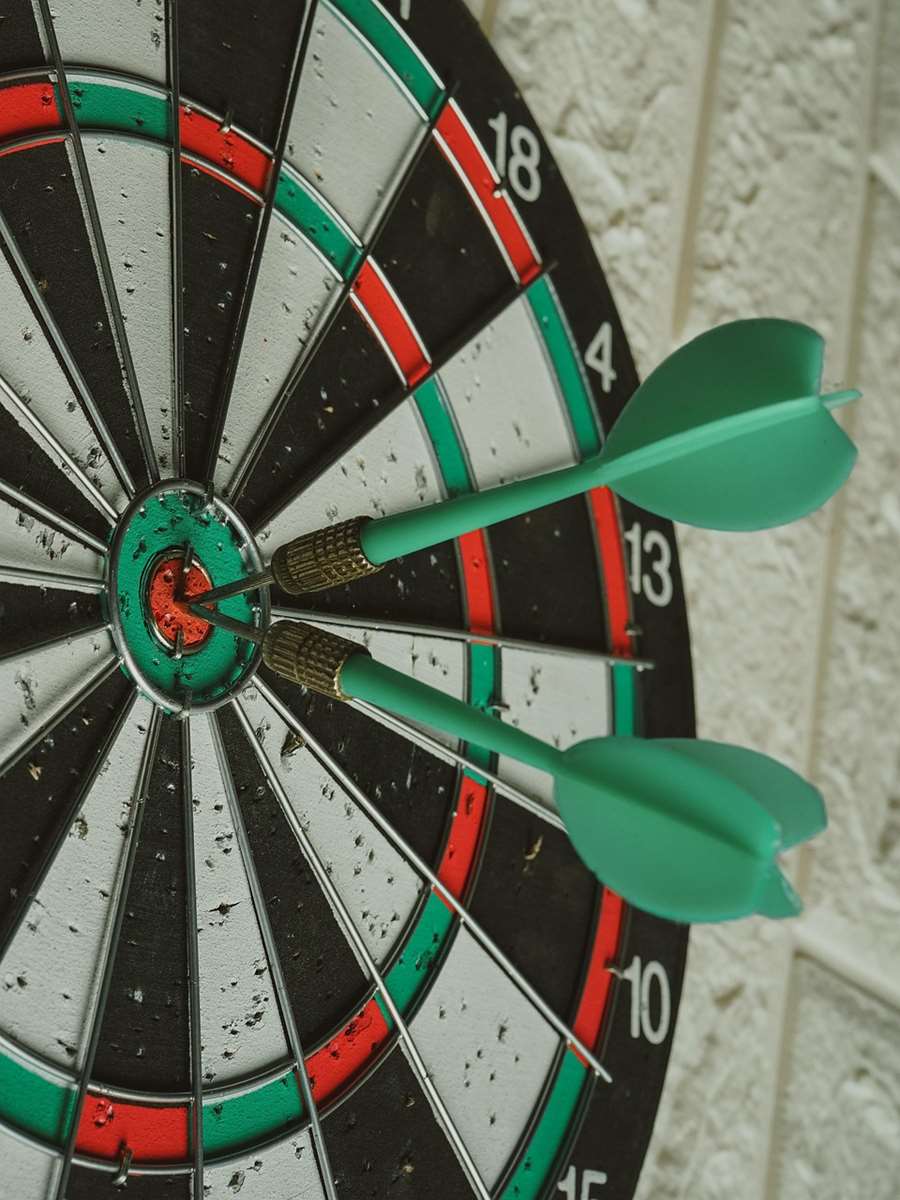
Repairing torn sisal requires a bit more finesse. For small tears, you can use a strong adhesive designed for fabric or sisal. Carefully apply the adhesive to the edges of the tear, ensuring it doesn’t seep onto the surrounding surface. Then, gently press the edges together and hold them in place until the adhesive sets. For larger tears, you may need to consider more advanced repair techniques or even replacement.
If you are struggling with more complex repairs, consider consulting online resources dedicated to dartboard damage repair tips such as Dartboard damage repair tips , which offer practical guides and step-by-step instructions. This will allow you to take a more methodical and effective approach to repairing your damaged dartboard, resulting in a better playing experience.
Replacing Damaged Numbers
Replacing a number involves carefully removing the damaged number, cleaning the area, applying a suitable adhesive, and then firmly pressing the new number into place. Ensure the number is straight and aligned correctly before letting the adhesive set. This is a relatively straightforward repair, but precision is key for a professional-looking finish. For detailed information on the number and wire layout, check out our guide on dartboard wire and number protocol.
Advanced Repair Techniques for Repairing Dartboard for Personal Use
While many repairs are straightforward, some situations may require more advanced techniques. This section addresses some more challenging scenarios you might encounter during the process of repairing dartboard for personal use.
Repairing Significant Sisal Damage
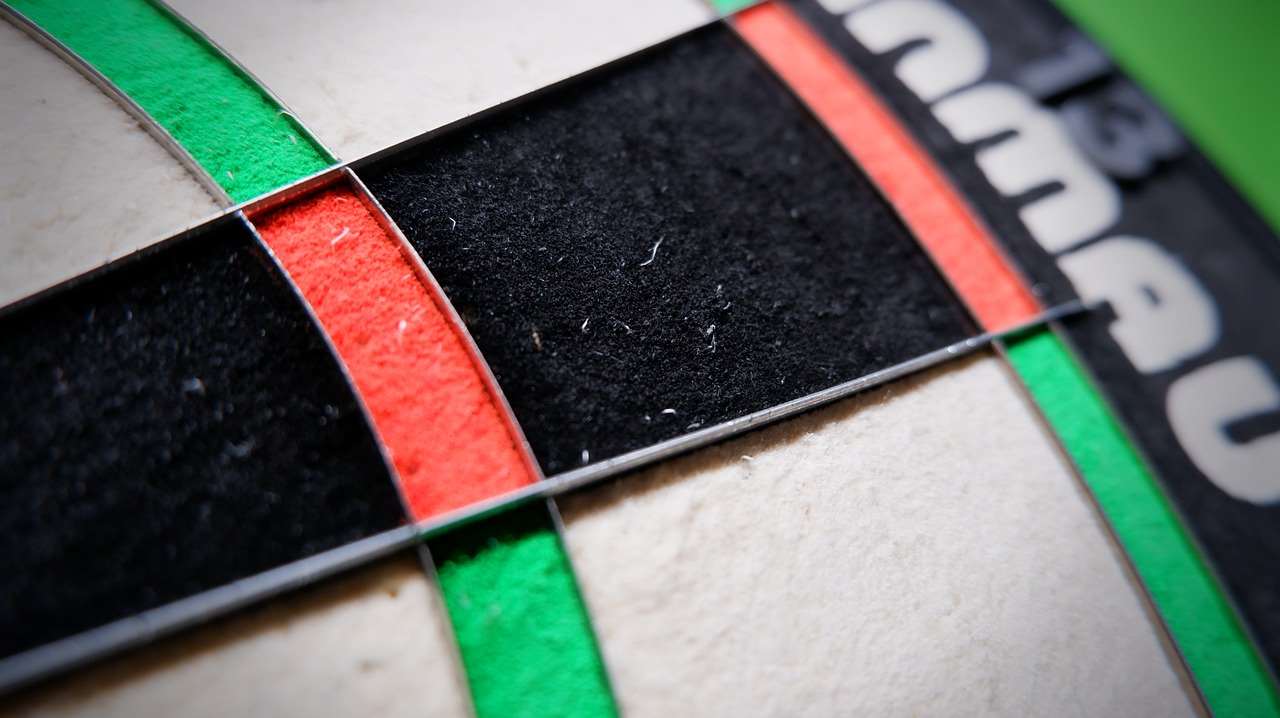
For significant sisal damage, you may need to patch the area with a similar material. This requires careful cutting and precise alignment of the patch to blend seamlessly with the existing sisal. The right adhesive is crucial for a strong and long-lasting repair. Consider consulting a professional if you’re uncomfortable tackling this repair yourself. This involves advanced techniques that might require specialized tools. You can check out Dart equipment repair vs replacement benefits chart to make an informed decision.
Replacing the Entire Wire System
Replacing the entire wire system is a more complex repair that often requires significant patience and skill. This involves carefully removing the old wires, cleaning the surface, and then installing the new wire system according to the manufacturer’s instructions. If you’re not comfortable tackling this task, it’s often best to seek professional help. Understanding Changing dartboard wires is a valuable skill, but don’t hesitate to get expert advice if you need it. If you find yourself in need of online troubleshooting advice, consider using resources like dart equipment troubleshooting methodology online.
Preventive Maintenance for Your Dartboard
The best way to minimize repairs is through regular preventive maintenance. This simple strategy can greatly extend the lifespan of your dartboard. Regularly cleaning your board and using a dartboard protector can significantly reduce wear and tear. A quick clean after each playing session can make a huge difference.
For detailed instructions on cleaning, check out our guide on Cleaning dartboard quick clean. This guide focuses on simple and quick methods to maintain your dartboard’s hygiene and prolong its lifespan. Learning about Repairability of dart equipment can also help you in making better decisions about its maintenance and care.
Consider using a high-quality dartboard protector. This helps to minimize direct impact on the sisal, thus reducing wear and tear. Proper storage of your flights in a flight protector storage can also help maintain their quality, improving your game and reducing the need for frequent repairs.
Conclusion
Repairing your dartboard for personal use can be a rewarding experience, saving you money and extending the life of your equipment. By following these guidelines and properly assessing damage, you can tackle many common repairs yourself. Remember to always prioritize safety and don’t hesitate to consult professional assistance for complex repairs. Proper maintenance is key to preventing future issues and enjoying your dartboard for years to come. Don’t forget to check out our guide on dart repointing strategy for improving your game and reducing unnecessary wear on the board.
Ready to get started? Grab your tools and let’s get that dartboard back in top shape! Remember to always follow safety precautions. Happy throwing!
Hi, I’m Dieter, and I created Dartcounter (Dartcounterapp.com). My motivation wasn’t being a darts expert – quite the opposite! When I first started playing, I loved the game but found keeping accurate scores and tracking stats difficult and distracting.
I figured I couldn’t be the only one struggling with this. So, I decided to build a solution: an easy-to-use application that everyone, no matter their experience level, could use to manage scoring effortlessly.
My goal for Dartcounter was simple: let the app handle the numbers – the scoring, the averages, the stats, even checkout suggestions – so players could focus purely on their throw and enjoying the game. It began as a way to solve my own beginner’s problem, and I’m thrilled it has grown into a helpful tool for the wider darts community.