This dartboard damage repair guide will show you how to fix common dartboard problems, from minor nicks to significant damage. We’ll cover various repair techniques and preventative measures to keep your dartboard in top condition for years to come. You’ll also learn how to choose the right repair materials and tools.
⚠️ Still Using Pen & Paper (or a Chalkboard)?! ⚠️
Step into the future! The Dart Counter App handles all the scoring, suggests checkouts, and tracks your stats automatically. It's easier than you think!
Try the Smart Dart Counter App FREE!Ready for an upgrade? Click above!
Before diving into the specifics of repairing your dartboard, let’s address some preventative measures. Proper dartboard maintenance can significantly reduce the frequency of damage. This includes ensuring your darts are in good condition, free from bends or damage, and correctly pointed. Regular cleaning, as outlined in our guide on cleaning dartboard with brush, can help prevent buildup that could affect the performance and longevity of your dartboard.
Furthermore, consider the placement of your dartboard. Ensure it’s securely mounted on a sturdy surface, away from potential hazards. Proper lighting can also improve visibility, reducing the chance of mis-throws and consequent damage. Following the tips in our comprehensive Darts Equipment Maintenance Customization guide will provide in depth knowledge on the topic.
Assessing the Damage: A Step-by-Step Dartboard Damage Repair Guide
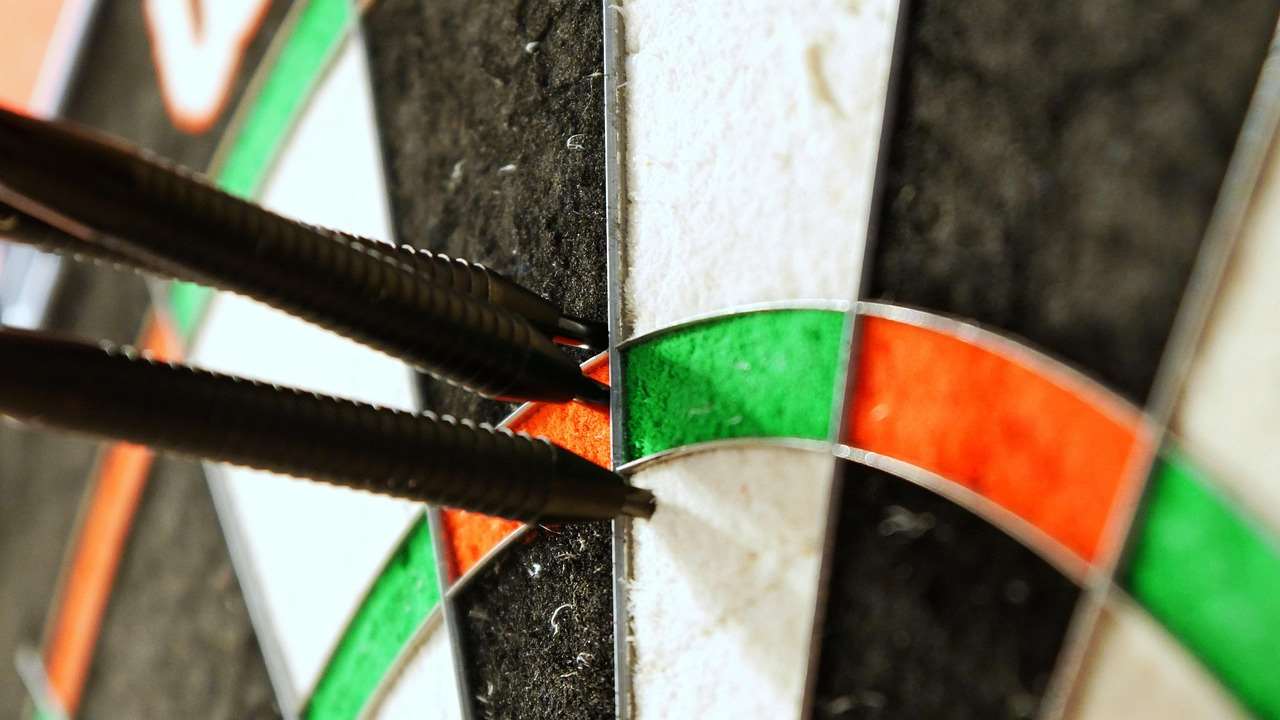
The first step in any dartboard damage repair guide is accurately assessing the extent of the damage. Minor nicks and scuffs can often be ignored, while larger holes or significant warping will require more extensive repairs. Categorizing the damage helps you choose the appropriate repair method and materials.
Minor Damage: Nicks and Scuffs
Small nicks and scuffs are common and usually don’t affect playability significantly. Often, these can be left as they are, adding character to your well-used dartboard. However, if they bother you, a light sanding with fine-grit sandpaper followed by a touch of touch-up paint can often make them less noticeable. Always choose a paint color that closely matches your dartboard.
Moderate Damage: Small Holes
Small holes, less than an inch in diameter, can sometimes be repaired using specialized dartboard repair kits. These kits usually include a filler compound designed to match the dartboard’s material. Follow the manufacturer’s instructions carefully for best results. You might also consider some dart repointing information as poorly maintained darts can contribute to damage.
Severe Damage: Large Holes and Warping
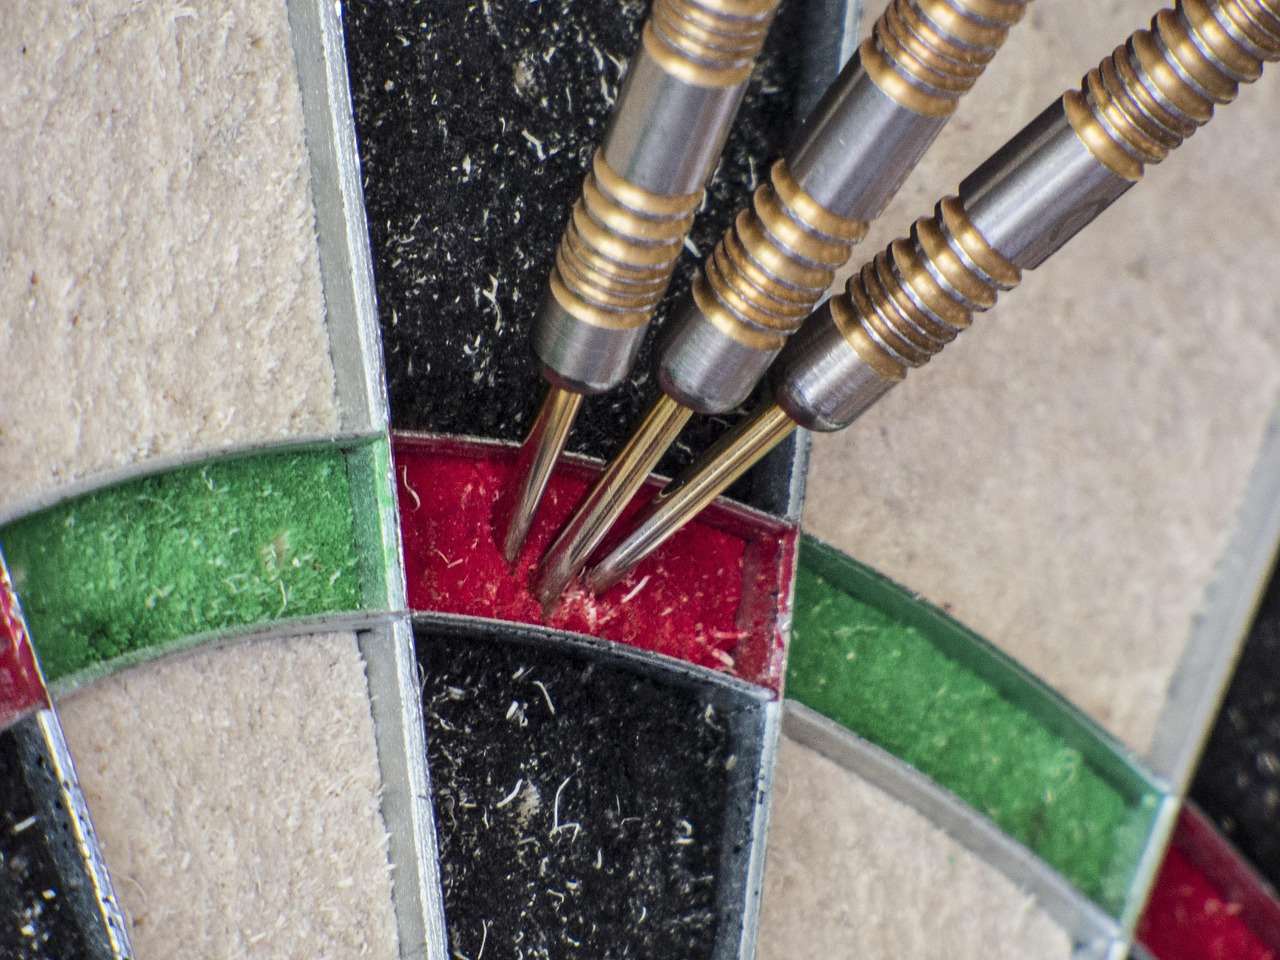
Large holes or significant warping usually require more drastic measures. Replacing damaged segments is often the best solution. This is a more advanced repair, and if you’re uncomfortable attempting it, you may wish to consult a professional or consider replacing the entire dartboard. Learning more about replacing dartboard segments is key to successful repair.
Choosing the Right Repair Materials
The success of your dartboard repair depends heavily on selecting the right materials. Using inappropriate materials can lead to further damage or an uneven playing surface. Consider these factors:
- Filler Compound: Choose a filler designed specifically for dartboards. Generic fillers may not adhere properly or may alter the playing characteristics of the board.
- Paint: If you need to touch up paint, select a high-quality acrylic paint that closely matches your dartboard’s color. Avoid using spray paint, as it can damage the surrounding area and compromise the board.
- Sandpaper: Fine-grit sandpaper is essential for smoothing out any repairs. Too coarse a grit can damage the surrounding area.
Investing in high-quality repair materials will yield better results and extend the life of your dartboard.
Tools for Dartboard Repair
In addition to the right materials, having the correct tools is crucial for a successful dartboard damage repair guide. Here’s a basic list:
- Sandpaper (fine-grit): For smoothing surfaces and blending repairs.
- Putty knife or similar tool: For applying filler compound smoothly.
- Small paintbrush: For applying touch-up paint precisely.
- Razor blade or utility knife (optional): For carefully removing loose or damaged sisal.
- Measuring tape or ruler: To accurately assess damage and plan your repair strategy.
Having these tools on hand will allow you to accurately and effectively conduct your repairs.
Step-by-Step Repair Process
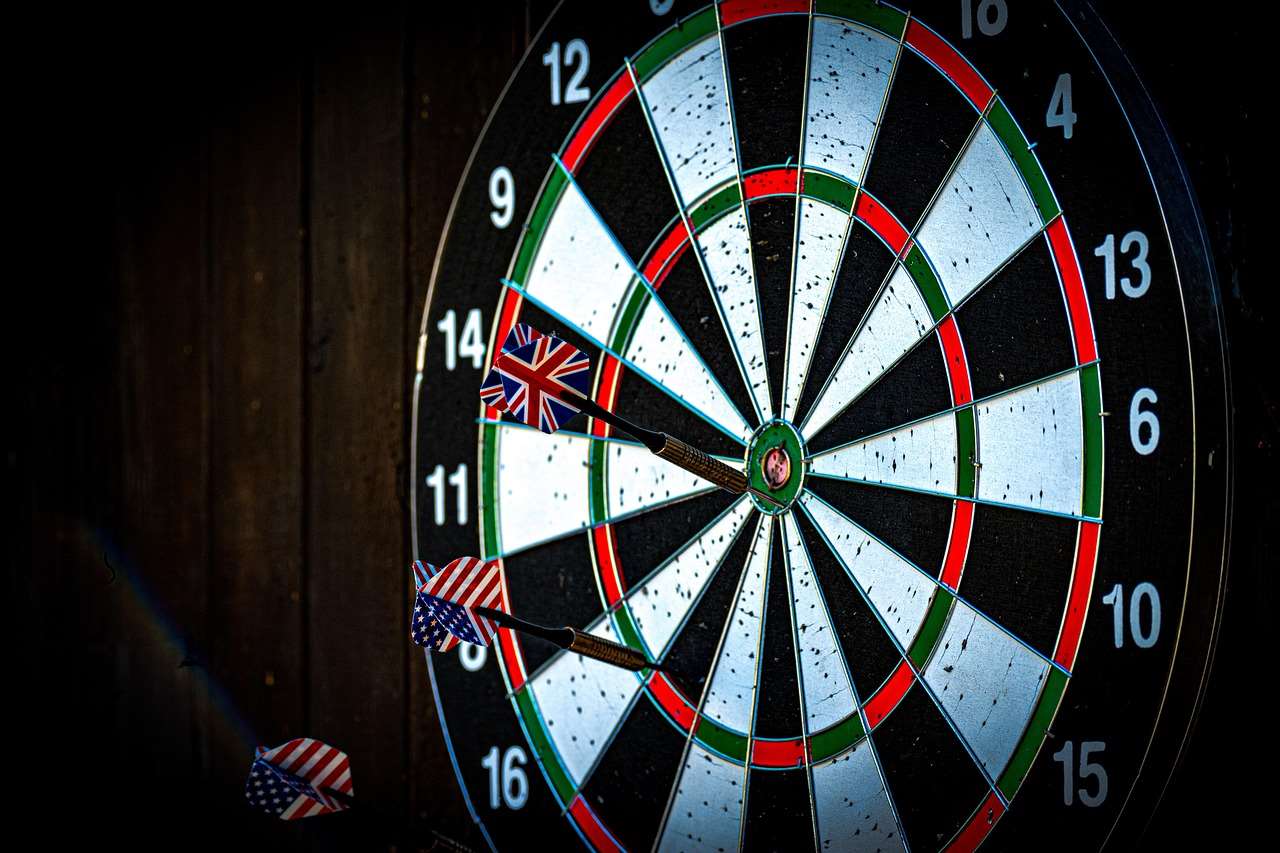
Now, let’s walk through a step-by-step process for repairing common dartboard damage. Remember, safety first! Always wear appropriate safety glasses when using sharp tools.
Step 1: Preparation
Before beginning any repairs, thoroughly clean the damaged area to remove any dust, dirt, or debris. This ensures proper adhesion of the filler and paint.
Step 2: Filling Holes
Apply the filler compound according to the manufacturer’s instructions. Use a putty knife to smooth the surface, ensuring an even application. Allow the filler to dry completely before moving to the next step. This is crucial for the longevity of your repair and your dartboard.
Step 3: Sanding
Once the filler is dry, carefully sand the repaired area with fine-grit sandpaper to create a smooth, even surface. Blend the repair seamlessly with the surrounding area to minimize its visibility.
Step 4: Painting (if necessary)
If necessary, apply a thin coat of touch-up paint using a small paintbrush. Allow the paint to dry completely before playing.
Step 5: Inspection
Finally, inspect your repair thoroughly. Ensure the surface is smooth, even, and free of any imperfections that could affect gameplay. You can always refer back to this dartboard damage repair guide for any clarifications.

Preventing Future Damage
Preventing future dartboard damage is just as important as repairing existing damage. Here are some preventative measures:
- Proper Dart Maintenance: Regularly inspect your darts for bends or damage. Replace any damaged darts immediately. Take a look at our tips for extend flight lifespan to prolong your game enjoyment.
- Proper Throwing Technique: Poor throwing technique is a major cause of dartboard damage. Consider taking lessons or practicing to improve your accuracy. Avoid common dart equipment malfunctions as well.
- Regular Cleaning: Regularly clean your dartboard to prevent dust and debris buildup. This helps maintain the integrity of the dartboard and improve its playability.
- Appropriate Mounting: Ensure your dartboard is securely mounted on a stable surface. This prevents vibrations and reduces the chance of accidental damage.
By following these tips, you can significantly reduce the risk of damaging your dartboard.
Understanding the different types of dart shafts and their properties can greatly affect the overall health of your dartboard. Our article on dart shaft material testing will provide more insights.
Cost Considerations: Repair vs. Replacement
Sometimes, the cost of repairing extensive dartboard damage can outweigh the cost of simply replacing the dartboard. Consider the extent of the damage, the cost of repair materials, and the time and effort involved in the repair process. If you are trying to maintain your equipment, be sure to consider the dart equipment replacement costs comparison.
Conclusion: Your Comprehensive Dartboard Damage Repair Guide
This dartboard damage repair guide provides a comprehensive overview of repairing common dartboard damage. From minor nicks to significant holes, we’ve covered various repair techniques and preventative measures. By following these steps and practicing good dartboard maintenance, you can keep your dartboard in top condition for years to come. Remember to always prioritize safety when working with sharp tools and consult a professional if you are unsure about any repair procedures. Happy throwing!
Hi, I’m Dieter, and I created Dartcounter (Dartcounterapp.com). My motivation wasn’t being a darts expert – quite the opposite! When I first started playing, I loved the game but found keeping accurate scores and tracking stats difficult and distracting.
I figured I couldn’t be the only one struggling with this. So, I decided to build a solution: an easy-to-use application that everyone, no matter their experience level, could use to manage scoring effortlessly.
My goal for Dartcounter was simple: let the app handle the numbers – the scoring, the averages, the stats, even checkout suggestions – so players could focus purely on their throw and enjoying the game. It began as a way to solve my own beginner’s problem, and I’m thrilled it has grown into a helpful tool for the wider darts community.