This Homemade dartboard light ring guide will show you how to dramatically improve your game by creating a custom light ring for your dartboard, enhancing visibility and consistency. We’ll cover everything from materials and tools to the assembly process and helpful tips for optimal performance.
⚠️ Still Using Pen & Paper (or a Chalkboard)?! ⚠️
Step into the future! The Dart Counter App handles all the scoring, suggests checkouts, and tracks your stats automatically. It's easier than you think!
Try the Smart Dart Counter App FREE!Ready for an upgrade? Click above!
Before diving into the specifics of our Homemade dartboard light ring guide, let’s establish the importance of proper dartboard lighting. Poor lighting can lead to inconsistent throws, frustrating missed shots, and ultimately, a less enjoyable gaming experience. A well-lit dartboard minimizes shadows and glare, allowing you to accurately assess your target and improve your precision. This is particularly crucial for those playing in dimly lit rooms or during evening sessions. A custom homemade dartboard light ring allows you to perfectly tailor the illumination to your needs and preferences.
Choosing the Right Materials for Your Homemade Dartboard Light Ring
The success of your Homemade dartboard light ring guide project hinges on selecting high-quality, durable materials. We’ll walk you through several options, considering factors like cost, ease of installation, and longevity. For the ring itself, you can explore different materials such as flexible LED strips, rigid LED tubes, or even repurposed PVC pipes. For the power source, a low-voltage power supply is recommended for safety.
LED strips are incredibly versatile, readily available online or at electronics stores, and come in various colors and brightness levels. They’re flexible, making them ideal for conforming to the shape of your dartboard. However, they can be more delicate than other options. Rigid LED tubes offer a sturdier alternative, providing more robust illumination. These are excellent if you prefer a brighter, more focused light source. Finally, PVC pipes offer a cost-effective and easily customizable solution. You can cut and shape them to your desired size and use them as a mounting base for your chosen light source. Remember to always prioritize safety when working with electricity and ensure proper insulation.
Material Options Breakdown:
- LED Strips: Flexible, widely available, various colors and brightness.
- LED Tubes: Sturdier, brighter, more focused light.
- PVC Pipes: Cost-effective, easily customizable, requires additional light source.
Step-by-Step Guide: Assembling Your Homemade Dartboard Light Ring
This section of our Homemade dartboard light ring guide provides a comprehensive, step-by-step approach to assembling your custom light ring. Remember, safety should always be your top priority when working with electrical components. Always unplug the power supply before making any adjustments or modifications to the wiring.
First, measure the circumference of your dartboard to determine the ideal length for your light ring. If using flexible LED strips, ensure you purchase enough to comfortably encircle the board. With rigid tubes or PVC pipes, carefully measure and cut the materials to the correct size, ensuring clean, even cuts. Next, securely attach your chosen lighting source to the ring. For LED strips, use adhesive backing provided or secure them with clips. For tubes or pipes, you may need to use adhesive or clamps. Once the light source is attached, carefully test the circuit to ensure everything works properly before permanently installing it. Consider the placement of the power supply and ensure it’s safely positioned away from the dartboard and out of reach during gameplay. This step is critical for the success of your Homemade dartboard light ring guide.
Troubleshooting Tips:
- Ensure all electrical connections are secure and properly insulated.
- Test the light ring frequently during assembly to identify and fix any issues.
- Refer to the manufacturer’s instructions for your chosen lighting components.
Optimizing Your Homemade Dartboard Light Ring for Optimal Performance
This section of the Homemade dartboard light ring guide focuses on fine-tuning your setup for peak performance. The goal is to eliminate shadows and glare while providing even illumination across the entire dartboard surface. Proper lighting significantly impacts game accuracy and enjoyment. Experiment with different brightness levels and positions to find the perfect balance. If you are using a homemade dartboard light ring with adjustable brightness, play around with the settings to see what works best for your eyes and the ambient light in your room. Incorrect lighting can make it harder to judge the distance to the bullseye and lead to many missed darts. Considering the dartboard lighting angles can also drastically improve your game.
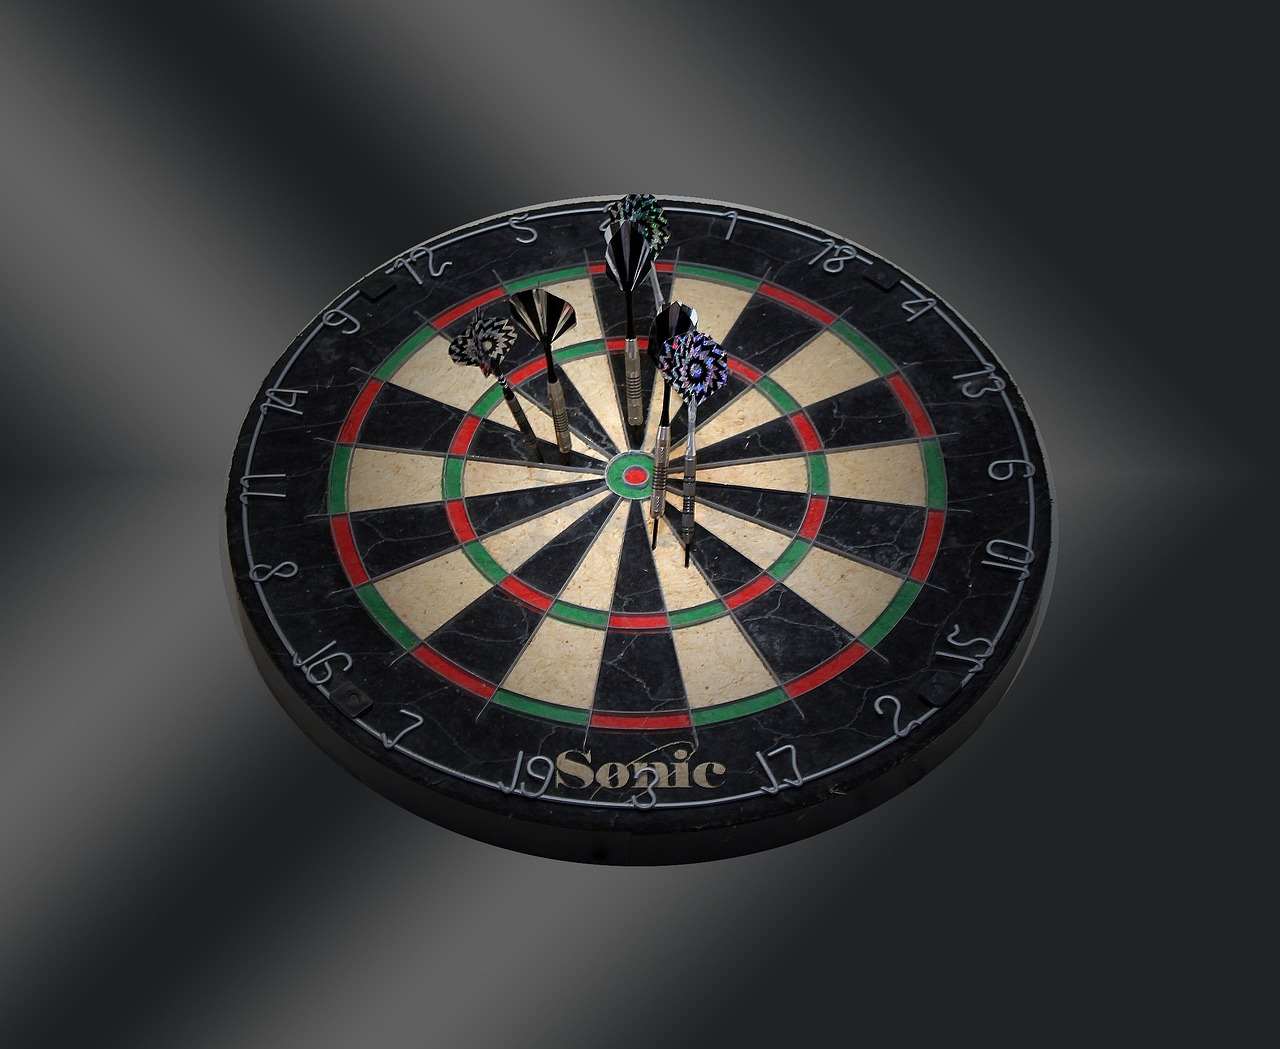
Remember that even lighting is key. Avoid having the light shine directly into your eyes, which can cause glare and discomfort. Positioning the light ring slightly above the dartboard and directing it downwards helps reduce shadows on the board itself. For an even more advanced setup, you might consider using a dimmer switch for adjustable brightness. This is especially useful if your game room has varied lighting conditions throughout the day. Proper dartboard lighting requirements will elevate your gaming experience.
Advanced Techniques and Customization Options
This Homemade dartboard light ring guide isn’t limited to simple setups; we can explore some creative customizations. Think about incorporating features like different color options to match your game room’s aesthetic. Some LED strips offer programmable color changing capabilities, allowing you to set the mood with dynamic lighting. You could even build a completely customizable system where you can switch between colors or patterns as you wish. Remember to check out some helpful resources like Dartboard lighting requirements for more detailed information about optimal lighting conditions.
Another interesting customization involves adding a timer or score display to the light ring. This could improve your game by adding a competitive edge or a more engaging experience. While more complex, integrating a small screen into your homemade dartboard light ring would enhance its functionality. You might even consider integrating other accessories, like speakers for playing music, or small storage compartments for your darts and accessories. Building a fancy cabinet is another fantastic option if you wish to improve your game setup. Be creative, and you could create your perfect dartboard setup. You might find the information in Darts Equipment Maintenance Customization beneficial for your projects.
Maintenance and Troubleshooting
Even a robust Homemade dartboard light ring needs occasional maintenance. Regularly check the wiring and connections for any signs of damage or loose fittings. This is crucial for your safety and to ensure the longevity of your light ring. If you notice any flickering or dimming, first check the power supply, then examine the connections to the LED strips or tubes. If any LEDs fail, replacing individual components is often easier than replacing the whole system, especially if you use modular LED strips. You can learn more about maintaining your dart equipment from Darts Equipment Maintenance Customization.
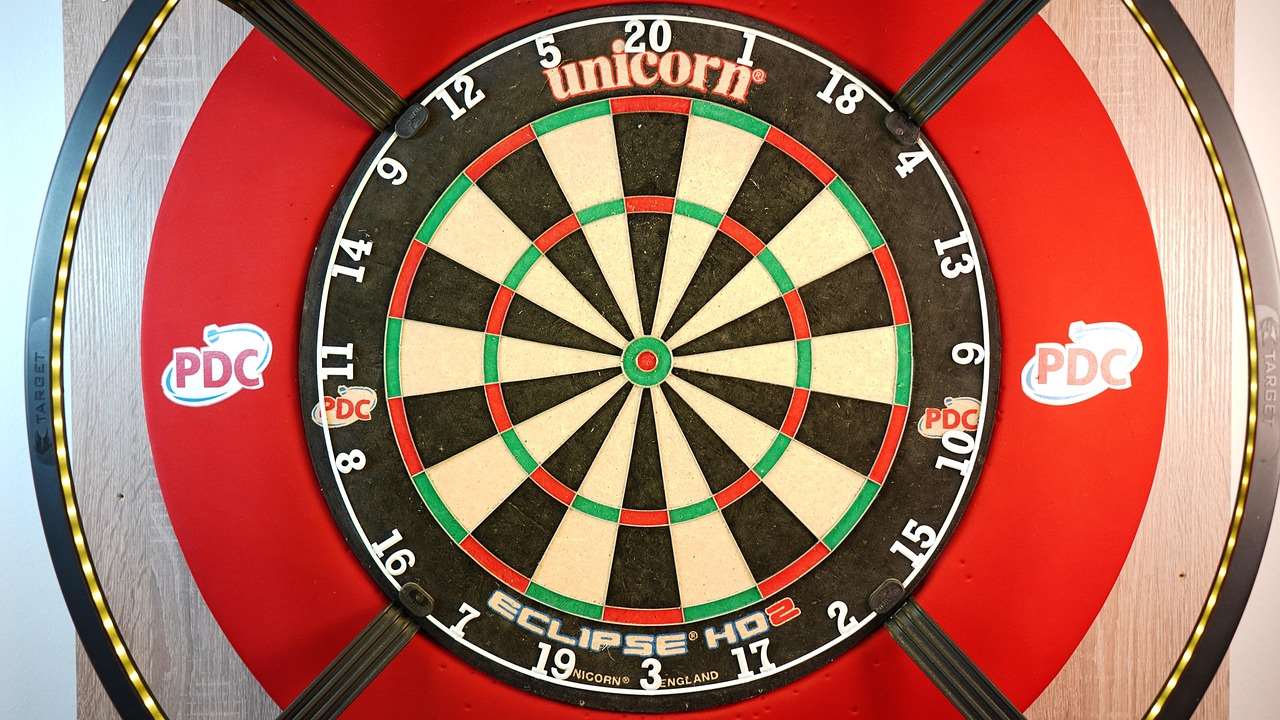
Remember to clean the light ring periodically, removing dust and debris that can accumulate over time. Depending on your chosen materials, you can use a damp cloth or even a compressed air canister for cleaning. For more advanced troubleshooting, consult the manufacturer’s instructions for your specific lighting components or seek advice from an electronics expert. Regular maintenance will keep your homemade dartboard light ring functioning optimally for years to come.
Conclusion: Elevate Your Game with Your Homemade Dartboard Light Ring
Creating your own Homemade dartboard light ring is a rewarding project that significantly enhances your dart-playing experience. By following this guide, you can craft a custom lighting solution tailored to your exact needs and preferences. From selecting the right materials and assembling the components to optimizing the setup for optimal performance and implementing creative customizations, this Homemade dartboard light ring guide provides a comprehensive walkthrough of the entire process. By learning how to adjust dartboard lighting angles, you can further enhance your game. Remember to check out articles about improving your throwing techniques such as Movable dart point and follow through or Dart point style for beginners. Don’t hesitate to experiment and personalize your design – the possibilities are endless! So, grab your tools, gather your materials, and get ready to illuminate your game!
Hi, I’m Dieter, and I created Dartcounter (Dartcounterapp.com). My motivation wasn’t being a darts expert – quite the opposite! When I first started playing, I loved the game but found keeping accurate scores and tracking stats difficult and distracting.
I figured I couldn’t be the only one struggling with this. So, I decided to build a solution: an easy-to-use application that everyone, no matter their experience level, could use to manage scoring effortlessly.
My goal for Dartcounter was simple: let the app handle the numbers – the scoring, the averages, the stats, even checkout suggestions – so players could focus purely on their throw and enjoying the game. It began as a way to solve my own beginner’s problem, and I’m thrilled it has grown into a helpful tool for the wider darts community.