Transform your game room with stunning illumination! This guide reveals how to achieve professional-looking DIY dartboard lighting with conduit. We’ll walk you through the entire process, from planning and materials to installation and safety tips, ensuring you create a perfectly lit dartboard setup.
⚠️ Still Using Pen & Paper (or a Chalkboard)?! ⚠️
Step into the future! The Dart Counter App handles all the scoring, suggests checkouts, and tracks your stats automatically. It's easier than you think!
Try the Smart Dart Counter App FREE!Ready for an upgrade? Click above!
Before we dive into the specifics of your DIY dartboard lighting with conduit project, let’s consider the advantages of using conduit. Conduit offers a clean, industrial aesthetic that complements many game rooms. Its durability ensures long-lasting performance, and the customizable nature of conduit allows you to tailor the lighting to your exact specifications and personal style. This DIY method offers a cost-effective alternative to pre-made solutions while allowing for superior customization. This guide will provide a step-by-step approach, addressing potential challenges and ensuring a successful outcome. We’ll also cover considerations for different room sizes and dartboard types, as well as safety precautions that are essential for a secure setup.
DIY Dartboard Lighting with Conduit: A Step-by-Step Guide
Creating DIY dartboard lighting with conduit is a rewarding project that enhances both the functionality and aesthetic appeal of your game space. The following steps will guide you through the process:
Planning and Material Selection
First, accurately measure the space around your dartboard to determine the ideal conduit length and placement for optimal lighting. Consider the height of your dartboard and the desired distance from the wall or ceiling. Next, choose your conduit material; black iron conduit is a popular choice for its durability and sleek appearance. You’ll also need appropriate fittings, light fixtures (LEDs are energy-efficient and long-lasting), wire, and electrical connectors. Remember to select fixtures compatible with the voltage in your location. For a more polished look, consider using a spray paint to match your existing room décor. Finally, ensure you have the necessary tools, including a pipe cutter or hacksaw, a wire stripper, and a screwdriver.
Installing the Conduit
This section will cover the installation of the conduit for your DIY dartboard lighting with conduit project. Begin by marking the locations for the conduit on your wall or ceiling. Carefully drill pilot holes and then attach the conduit fittings. Securely connect the conduit sections, ensuring they are properly aligned. Remember that proper installation is critical not only for the aesthetic appeal but also for the safety and longevity of the lighting setup. A secure conduit will be more resistant to accidental damage, and a well-planned layout will distribute the light evenly.
Wiring and Fixture Installation
With the conduit in place, carefully run the wires through the conduit. Connect the wires to the light fixtures, ensuring that you follow the wiring diagram provided with your chosen lights. Remember to double-check all connections to avoid short circuits or other electrical issues. If you’re unsure about any aspect of the wiring, consult a qualified electrician. Using LED light fixtures is highly recommended for both efficiency and safety in your DIY dartboard lighting with conduit project. Remember to always turn off the power before connecting any wires to minimize the risks of electrical hazards. Refer to your home’s electrical diagram for the main breaker for safety.
Testing and Finishing Touches
Before fully securing your fixtures, test the lighting to ensure all the bulbs are functioning correctly. After confirming the functionality, permanently attach the light fixtures. Consider adding additional decorative elements, such as accent lighting or dimmable switches to further enhance the ambiance of your dartboard area. This is a great opportunity to showcase your personal style and make your dartboard setup truly unique. Proper testing and safety precautions are critical before fully finalizing your DIY dartboard lighting with conduit project.
Choosing the Right Lighting for Your Dartboard
The type of lighting you choose significantly impacts your game. Too much light can create glare, while insufficient light makes it difficult to see the board properly. Consider these factors when selecting lighting for your DIY dartboard lighting with conduit project:
- Light Intensity: Aim for a brightness that allows you to clearly see the dartboard without causing glare or shadows. LEDs offer great control over brightness.
- Light Color Temperature: A neutral or slightly warm white light (around 3000-4000K) is typically ideal, as it minimizes eye strain.
- Light Distribution: Even lighting across the entire dartboard surface is essential for accurate throws. Avoid spotlights that create harsh shadows.
Troubleshooting Common Issues in DIY Dartboard Lighting
Even with careful planning, you might encounter some issues during your DIY dartboard lighting with conduit process. Here are a few common problems and solutions:
- Flickering Lights: Check all wiring connections and ensure the bulb wattage is compatible with the fixture.
- Uneven Lighting: Adjust the position of the light fixtures or consider adding additional lights for better coverage.
- Loose Conduit: Tighten the fittings to ensure a secure connection.
Remember, safety should always be your top priority. If you’re uncomfortable with any aspect of the electrical work, consult a qualified electrician. A safe and well-lit dartboard setup will enhance your enjoyment of the game for years to come. Properly installed conduit not only ensures proper lighting but also enhances the aesthetic appeal, transforming your game space into a professional-looking entertainment area.
Enhancing Your DIY Dartboard Lighting Project
Once your basic DIY dartboard lighting with conduit is complete, you can consider adding extra features to further personalize and improve your setup. Adding dimmable switches, for example, allows you to adjust the light intensity to suit your preferences and the time of day. This is a particularly useful feature if your game room is also used for other activities. Darts gear lifespan FAQs can also help you maintain this setup and improve its functionality.
Consider the placement of your lighting carefully. You can experiment with different configurations to achieve the optimal lighting effect for your dartboard and room. A well-placed light source can prevent harsh shadows from interfering with your aim. A well-lit dartboard is essential for an enjoyable and accurate game. Good lighting can significantly enhance your game. This DIY project will not only improve the functionality of your dartboard but also add to the overall ambiance of your game room, making it more inviting and enjoyable. Remember that maintenance is key to prolonging the life of your equipment; refer to our guide on maximize darts equipment life for more information.
Remember to regularly inspect your DIY dartboard lighting with conduit setup for any potential issues. This proactive approach can prevent problems before they escalate. Maintaining your equipment, including the lights and conduit, is key to prolonging their life. In addition, you can personalize your lighting setup by adding decorative elements. This could include adding colored gels over the light fixtures or even incorporating themed decorations around the dartboard area.
Safety First: Essential Precautions for Your DIY Project
When working with electricity, safety is paramount. Always turn off the power at the breaker box before starting any electrical work. Never work with live wires. If you’re unsure about any aspect of the electrical installation, consult a qualified electrician. Proper grounding is also crucial to prevent electrical shocks. This precaution is essential for a safe and successful completion of your DIY dartboard lighting with conduit project. Always wear appropriate safety gear, such as safety glasses, to prevent injuries during installation. Always prioritize safety. Safety should always be the utmost priority when dealing with electricity. Remember to always check your local building codes and regulations before starting any electrical work.
By following these guidelines, you can safely and efficiently create a personalized and high-quality lighting system for your dartboard. Appropriate lighting not only enhances visibility but also elevates the aesthetic appeal of your game area. Your DIY dartboard lighting with conduit installation will create an inviting and enjoyable environment for your games.
Conclusion: Elevate Your Game with DIY Dartboard Lighting
Creating DIY dartboard lighting with conduit is a fantastic way to upgrade your game room while showcasing your DIY skills. By carefully following the steps outlined in this guide, you can transform your dartboard area into a professionally lit and stylish space. Remember to prioritize safety throughout the process, and don’t hesitate to seek professional help if you’re unsure about any aspect of the electrical work. This personalized approach allows you to tailor the lighting to your specific needs and preferences, resulting in a truly unique and functional dartboard setup. The process allows for complete customization and allows you to create something that fits your personal style. Check our page on Darts Equipment Maintenance Customization for more customization ideas. Proper lighting can significantly improve your dart game and create a more enjoyable atmosphere. A well-lit dartboard enhances accuracy and overall gaming experience.
So, gather your tools and materials, and embark on this exciting project! With a little effort and attention to detail, you can create a stunning and functional lighting solution that enhances your dart game for years to come. To learn more about choosing the right dart points, you can check out our articles on Movable dart point comparisons and Dart point length for durability.
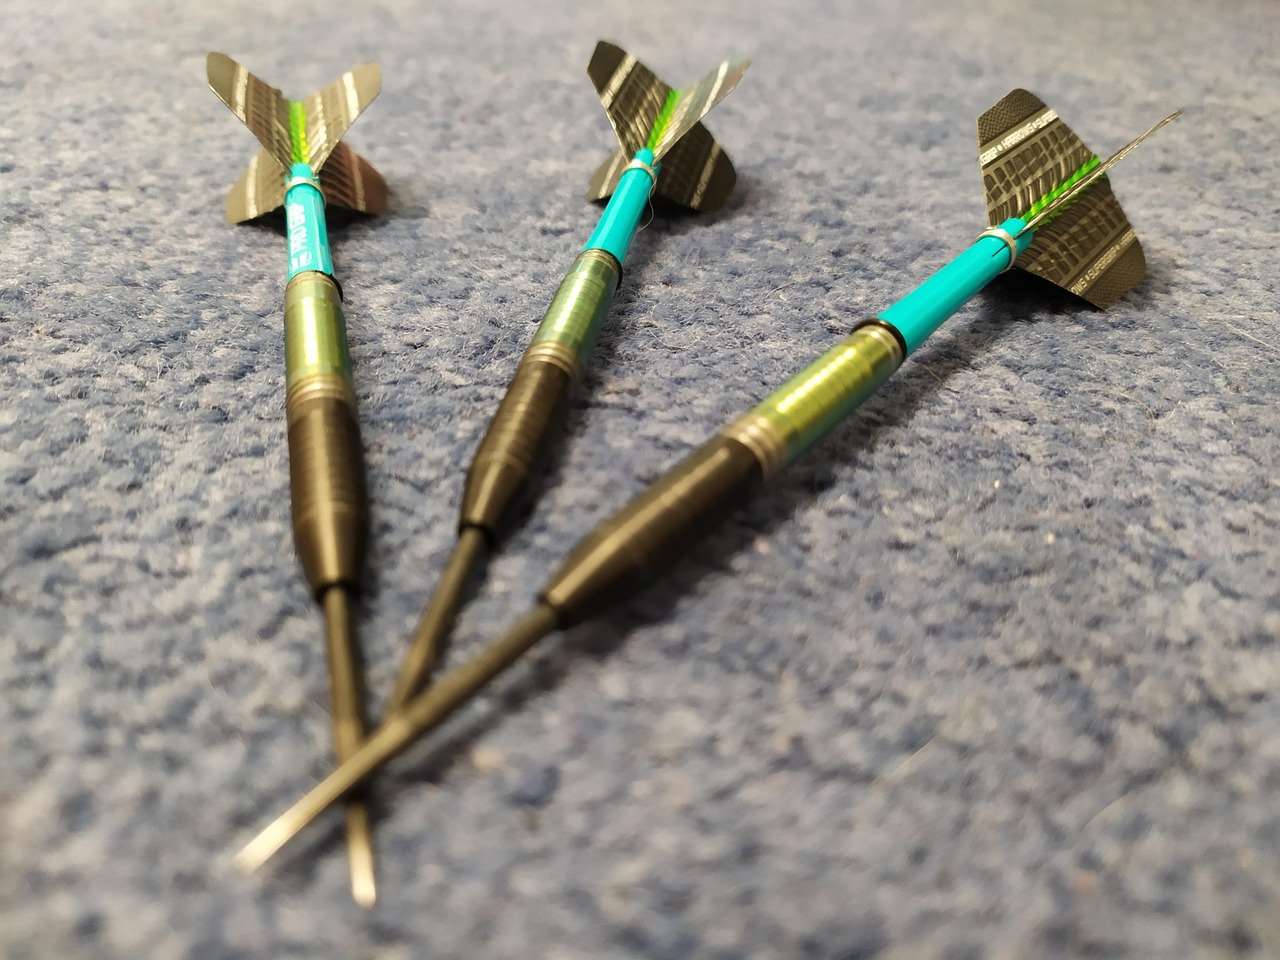
Ready to enhance your game room? Start your DIY dartboard lighting with conduit project today!
Hi, I’m Dieter, and I created Dartcounter (Dartcounterapp.com). My motivation wasn’t being a darts expert – quite the opposite! When I first started playing, I loved the game but found keeping accurate scores and tracking stats difficult and distracting.
I figured I couldn’t be the only one struggling with this. So, I decided to build a solution: an easy-to-use application that everyone, no matter their experience level, could use to manage scoring effortlessly.
My goal for Dartcounter was simple: let the app handle the numbers – the scoring, the averages, the stats, even checkout suggestions – so players could focus purely on their throw and enjoying the game. It began as a way to solve my own beginner’s problem, and I’m thrilled it has grown into a helpful tool for the wider darts community.